Finnish fishing boat overhaul [Splashed 2017]

Red Herring

Chief Petty Officer
Joined
Oct 1, 2012
Messages
536
Thanks, I'm looking forward to the final matte-layers of varnish, this glossy stuff isn't really my thing. Sanded through the veneer in one spot that luckily isn't very visible.

The thin veneer on the plywood will become a serious pita if I'll need to redo the varnishing. So now we decided to seriously overdo the initial layer for more longevity. Aiming for maybe 15 coats or even more.
 
Last edited:

gm280

Supreme Mariner
Joined
Jun 26, 2011
Messages
14,602
RH, are you talking 1 coats of varnish? I do know what you are talking about with the sanding through the thin veneer. I did that once trying to feather out a cabinet top. Luckily the sand through wasn't but a very same area and not actually noticeable. So a lesson learned for me. Have to tried to use some sanding sealer ahead of any finish coats? It does a great job filling and sealing the wood grain and then the top coats do a better job building up the finish. Just an idea.
 

Pusher

Lieutenant
Joined
Sep 2, 2014
Messages
1,273
I did that while at a cabinet shop as a teenager. The boss wasn't happy... Neither was the assemly department.
 

Red Herring

Chief Petty Officer
Joined
Oct 1, 2012
Messages
536
I thought I'd be fine with approx 7 coats of varnish, but because of the thin veneer we decided to go with 15 or something in the ballpark. Just to get as much longevity out of it as possible.

I spent most of today tinting varnish to match the darker teak, in hope of being able to hide the sand through with it. Will see the test results tomorrow v
 

Red Herring

Chief Petty Officer
Joined
Oct 1, 2012
Messages
536


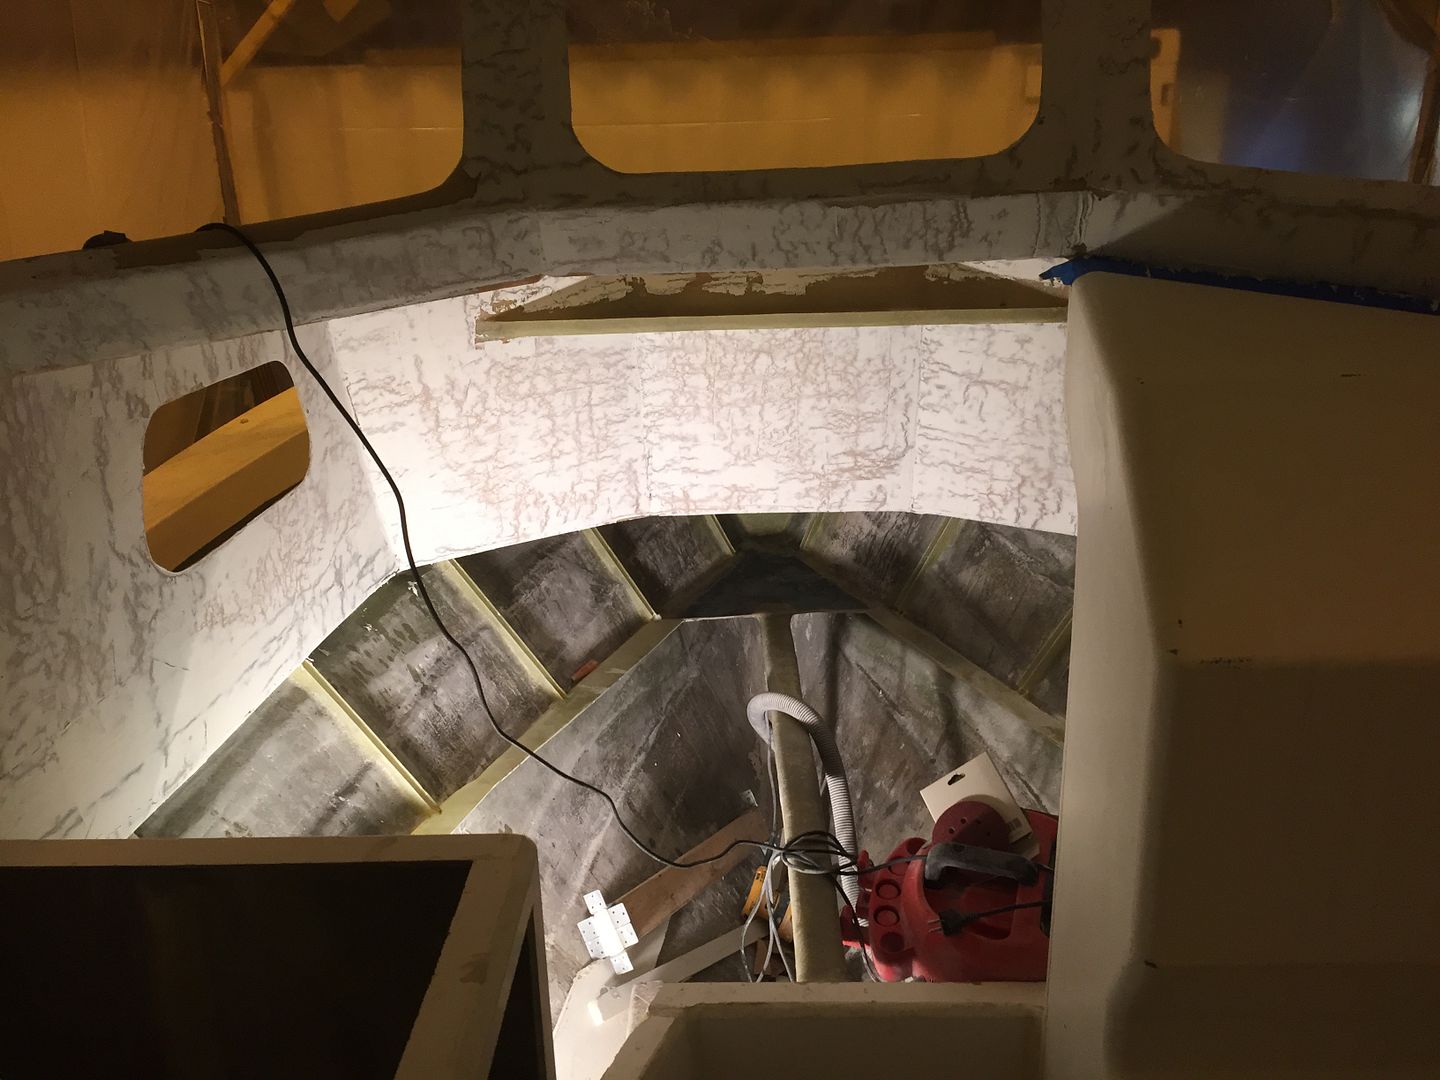
Been doing this in between all the varnishing. I guess I'll start sanding tomorrow. Any tips are more than welcome, I'm basically prepping it for paint even though I'm going to use gelcoat as the final layer. Should I go DA with 40 grit or sanding board? How many fill/sand passes would you anticipate?
 

kcassells

Fleet Admiral
Joined
Oct 16, 2012
Messages
8,634
Plain and simple....that there is a lot of work. I'd start with a da for sure and work it down. Their will be lots of spots to enjoy using the sanding board. '
My guess is we can make a lottery for this is....2 passes.
Looks Great

You may consider getting 1 of these to pass the time................
81JBN4hWfLL._SX450_.jpg
 

Red Herring

Chief Petty Officer
Joined
Oct 1, 2012
Messages
536
I'm thinking three, but let's see. Spent most of the day doing other stuff and fetching dry guide coat. Sanding tomorrow. That hardhat would come in handy...
 

gm280

Supreme Mariner
Joined
Jun 26, 2011
Messages
14,602
I'm thinking three, but let's see. Spent most of the day doing other stuff and fetching dry guide coat. Sanding tomorrow. That hardhat would come in handy...

I like using the dry guide coat myself. Easy to apply and easy to clean off if need be. And it shows those low areas instantly too.
 

mickyryan

Rear Admiral
Joined
Apr 18, 2016
Messages
4,214
awesome job and yes I too found the thin veneers of plywood to be pita so I over coated everything and then went back and sanded because its safer to sand with 7 coats then just 1 I also did my boat with acrylic on outside top sides so I know I got one more coat to try to fix all the oops in :) and I used cheap wood as this was just a test bed not a show boat :)
 

Red Herring

Chief Petty Officer
Joined
Oct 1, 2012
Messages
536
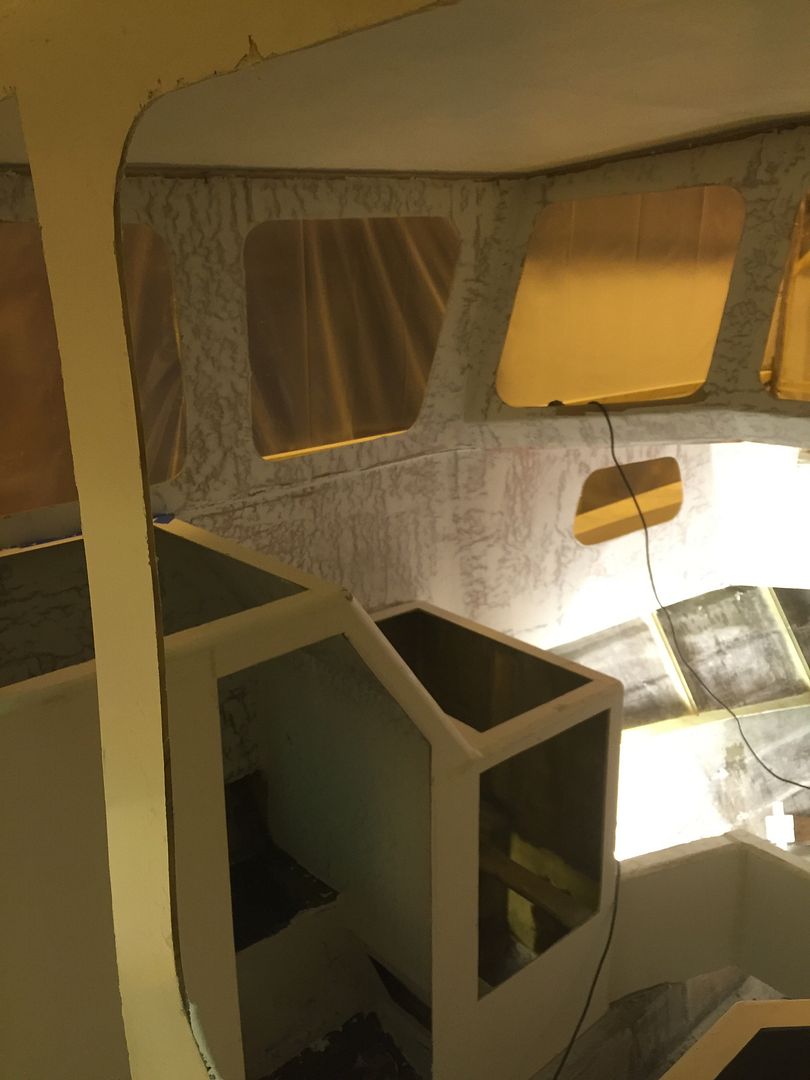
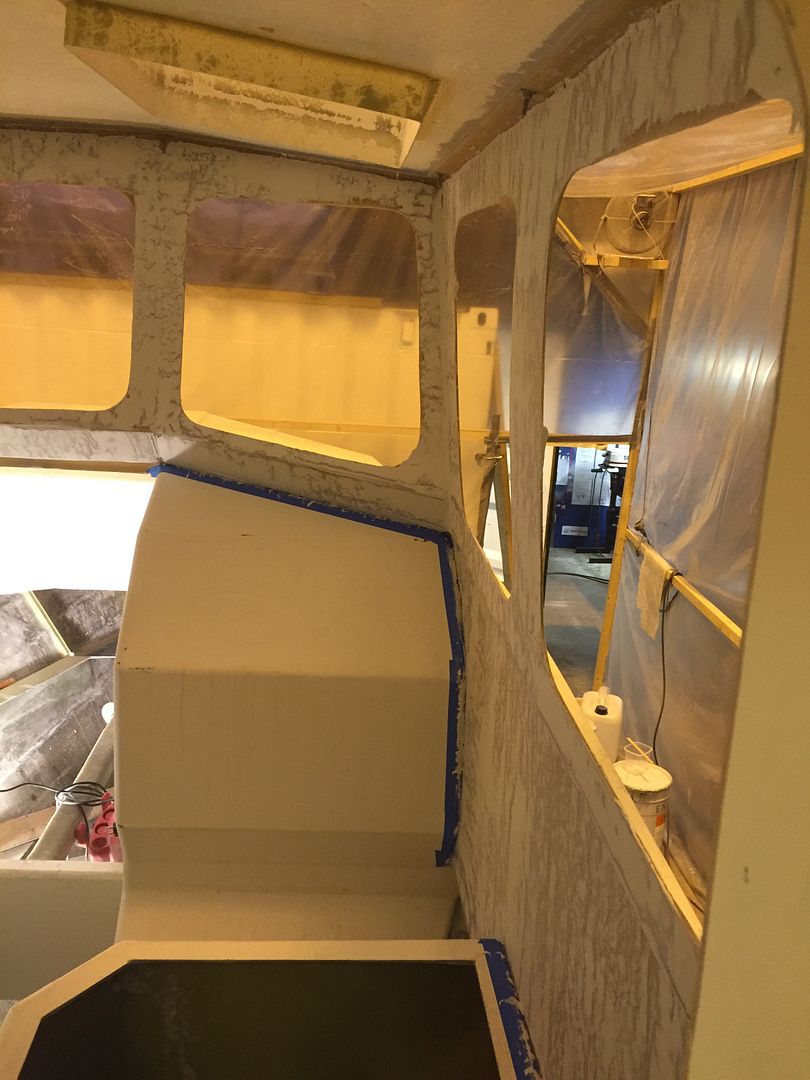
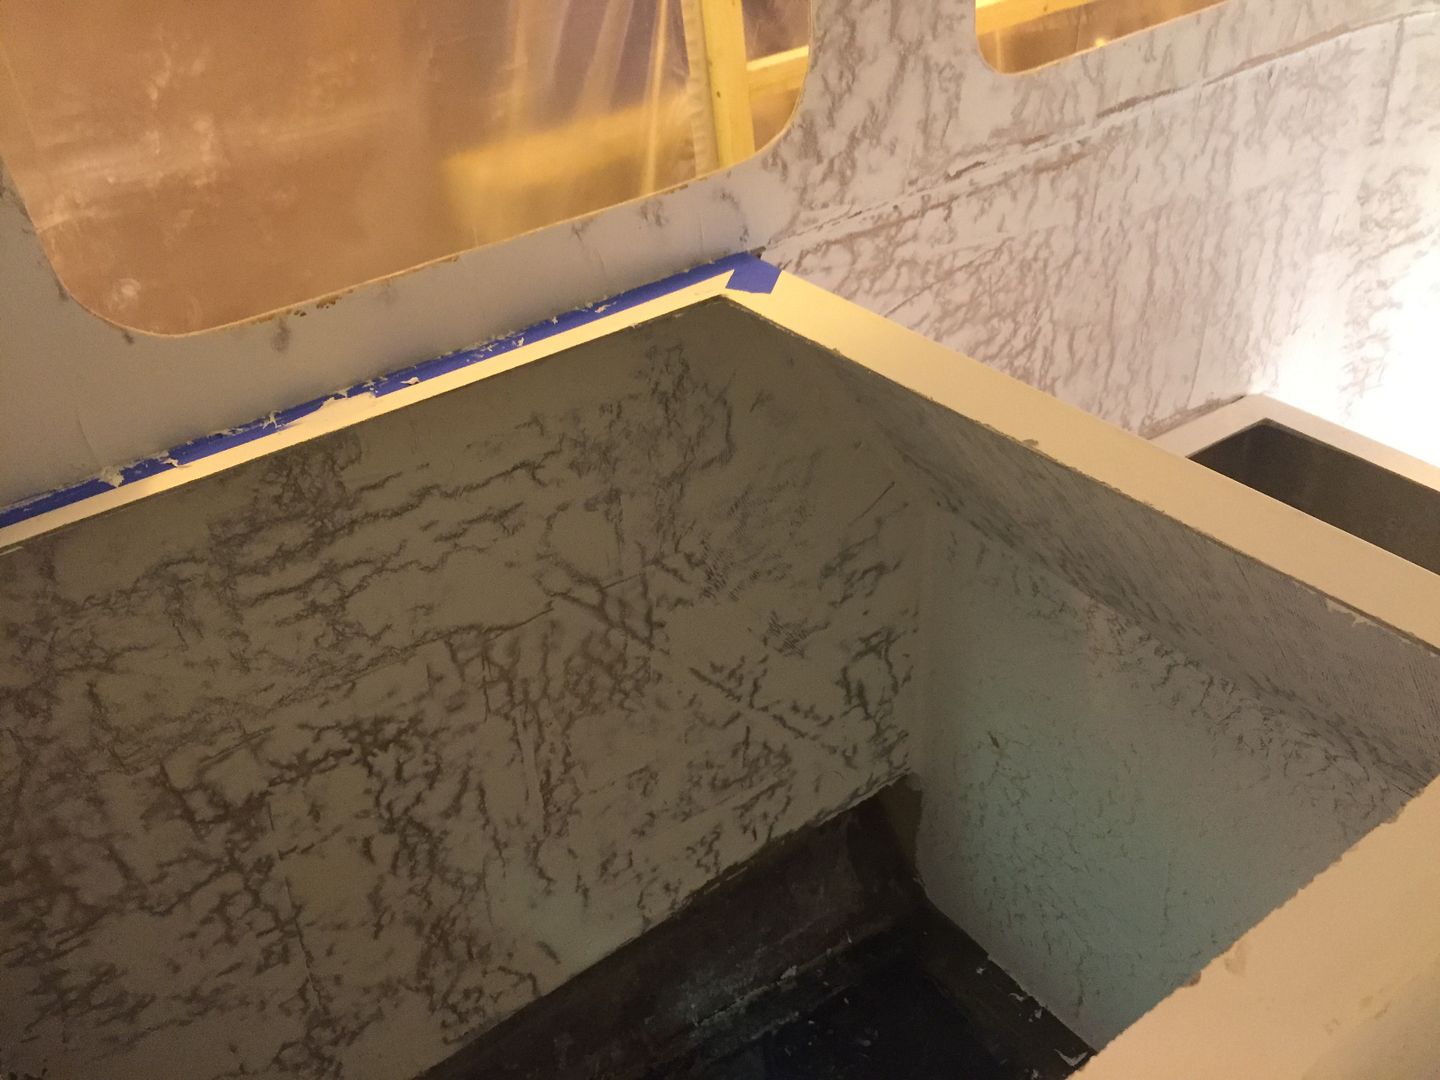
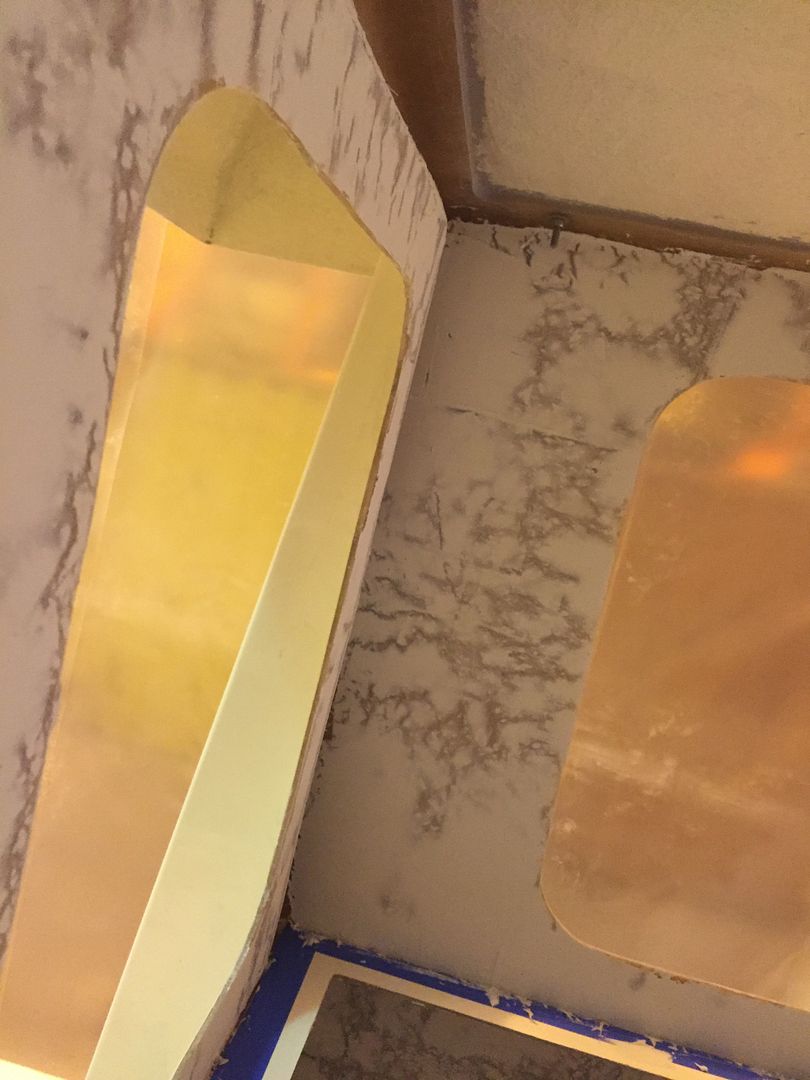
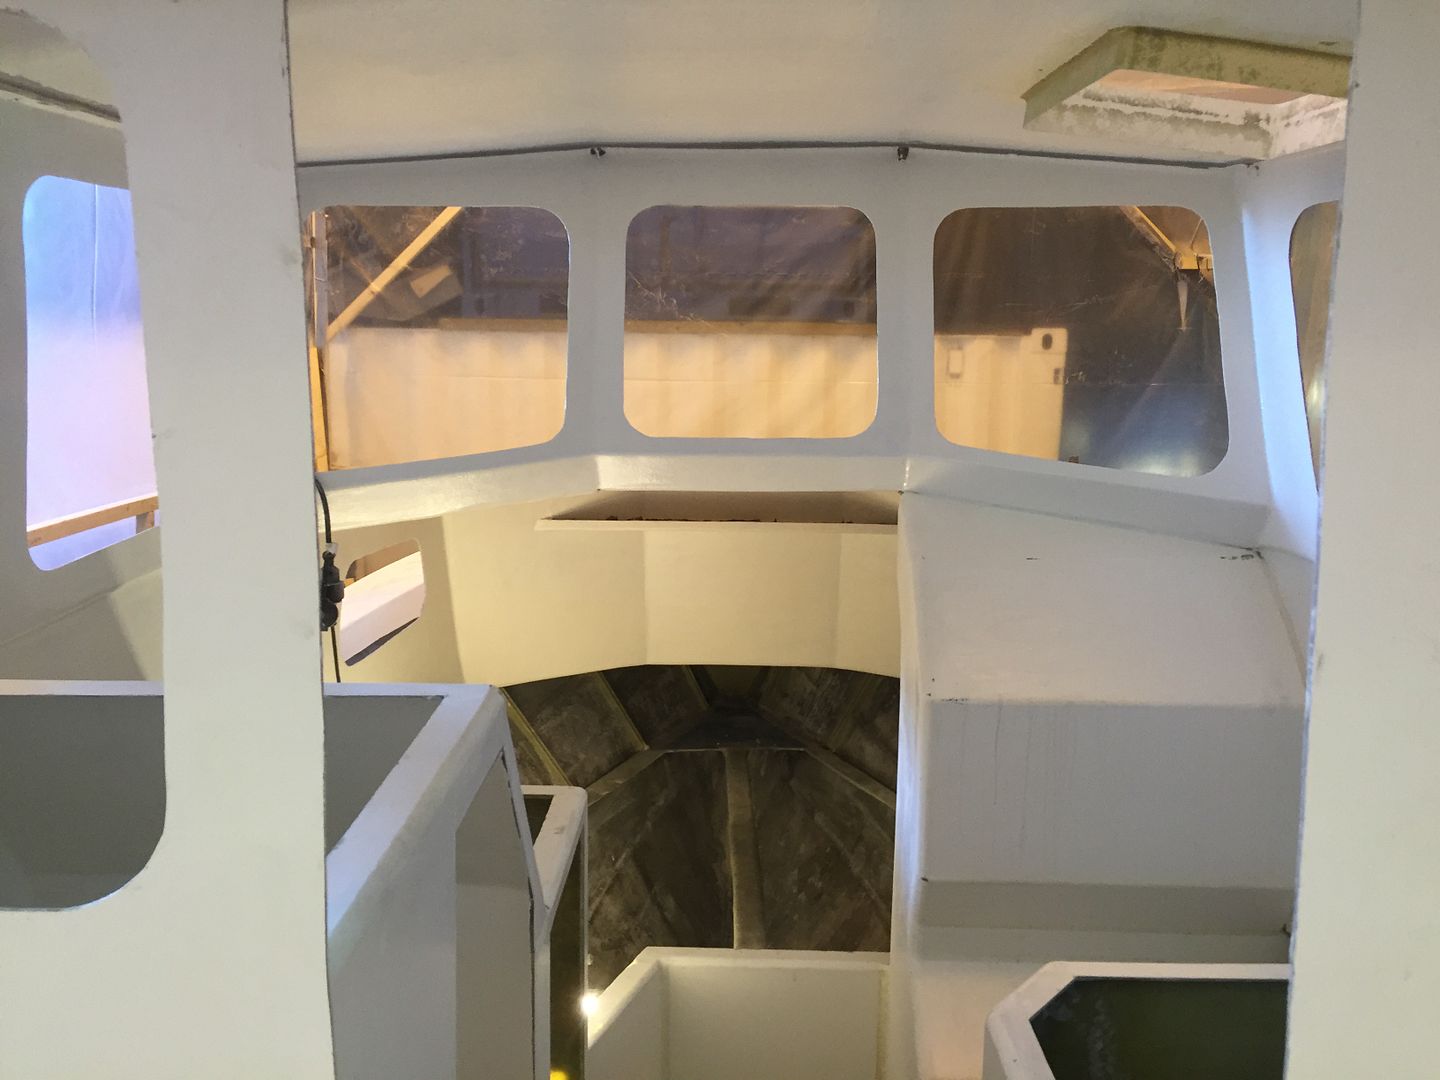
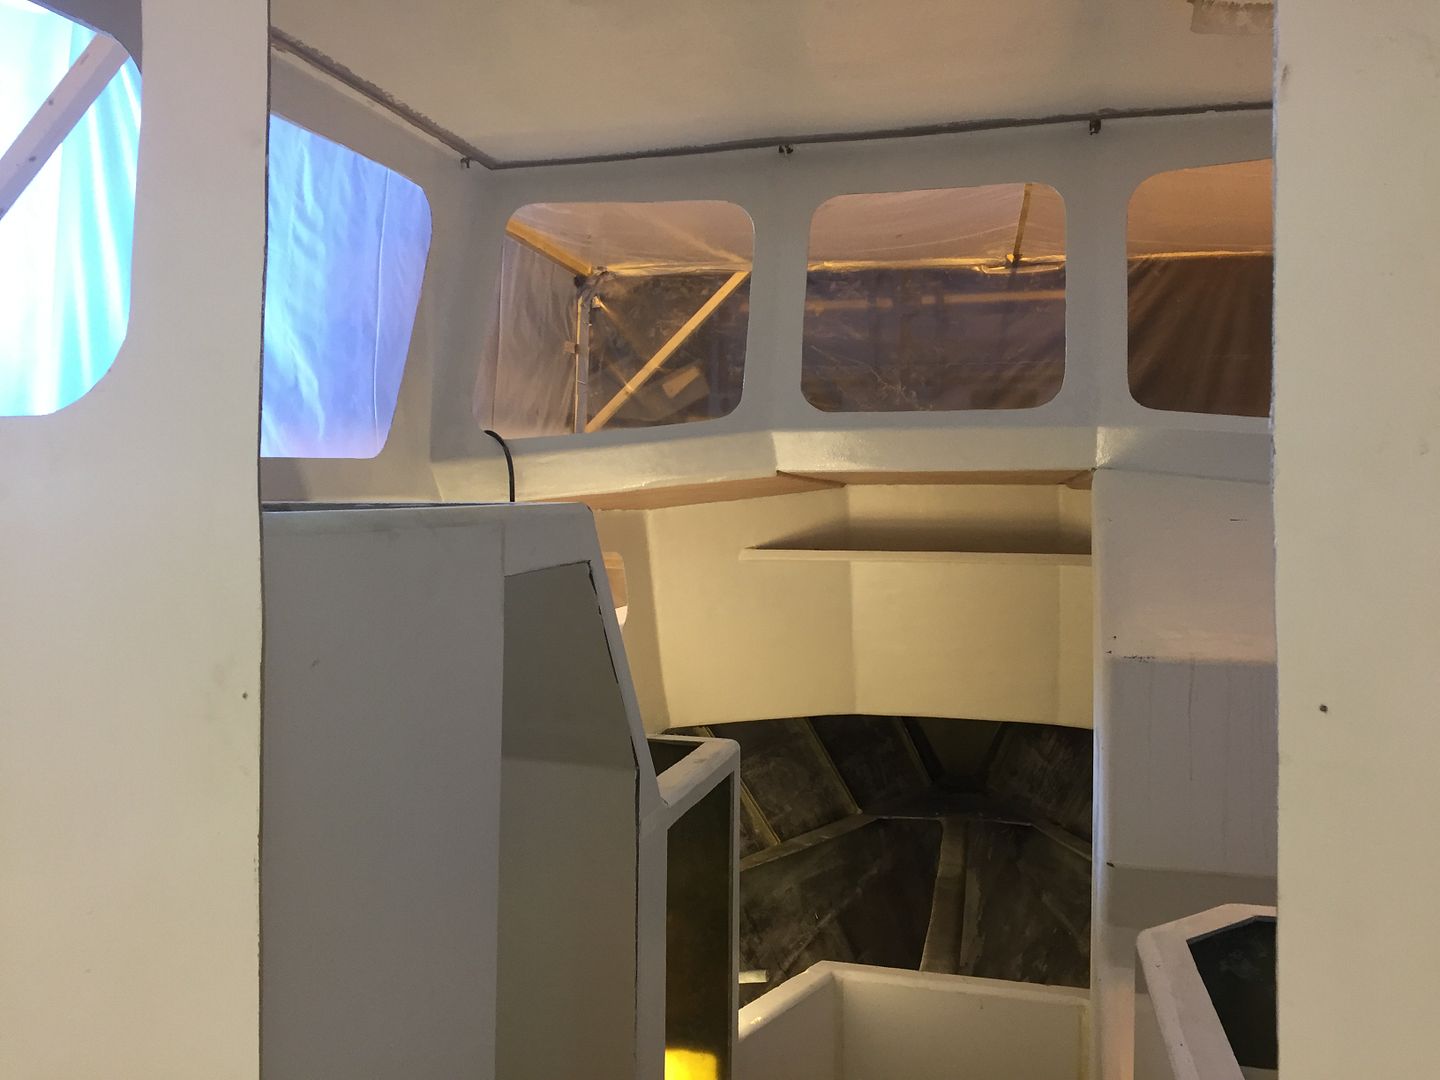
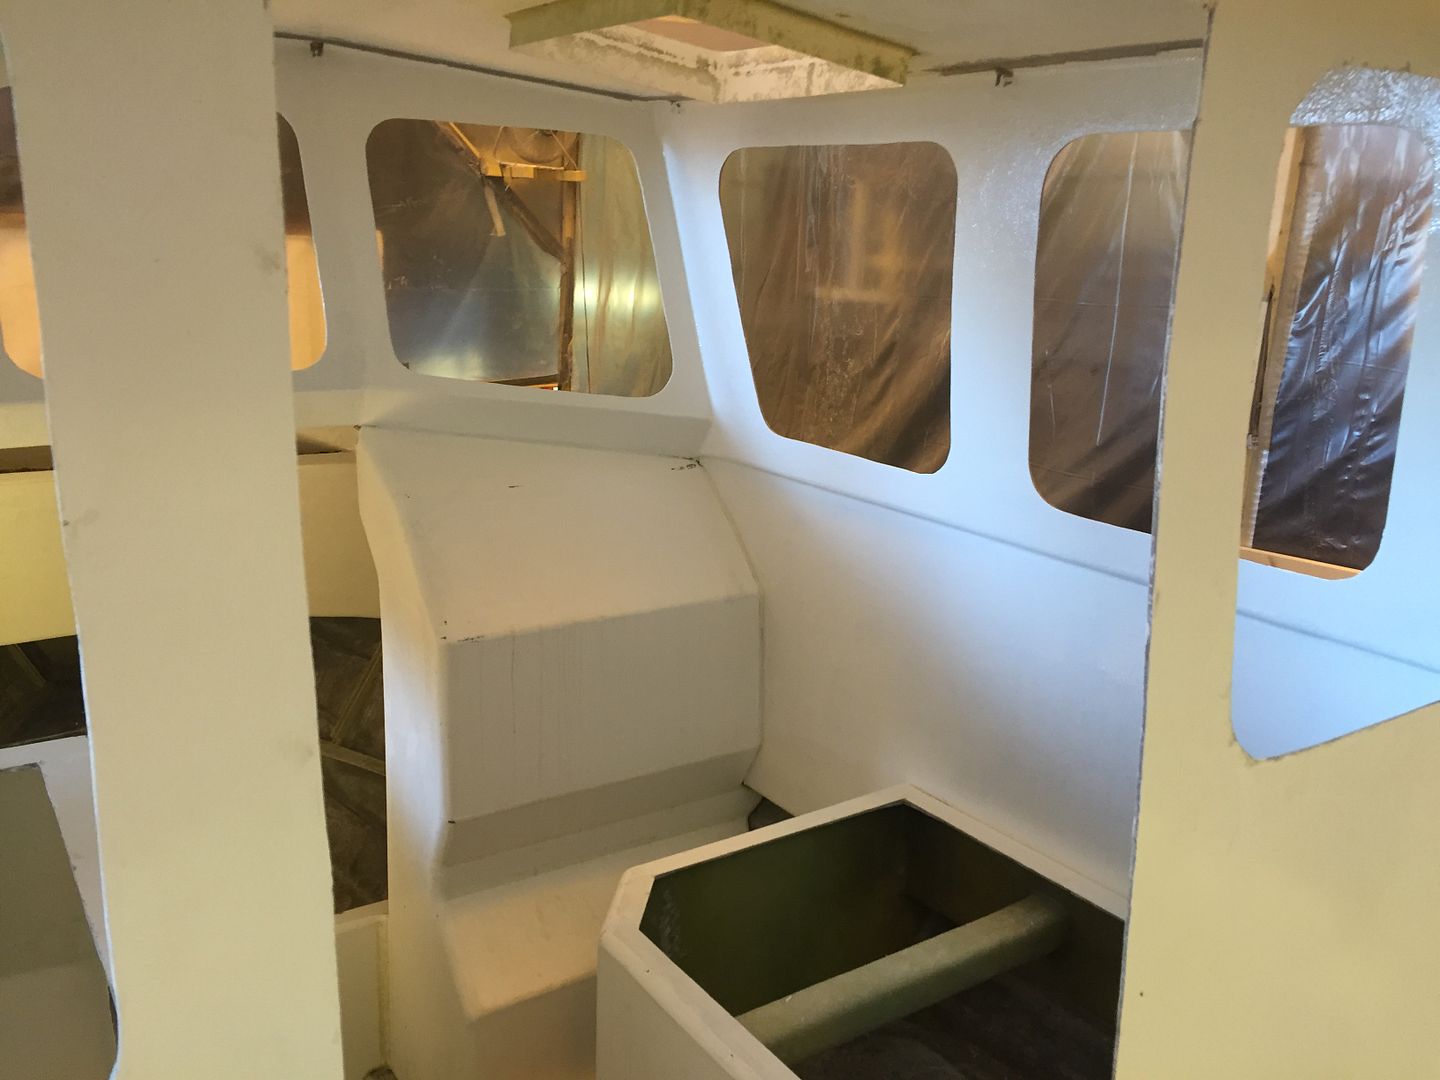
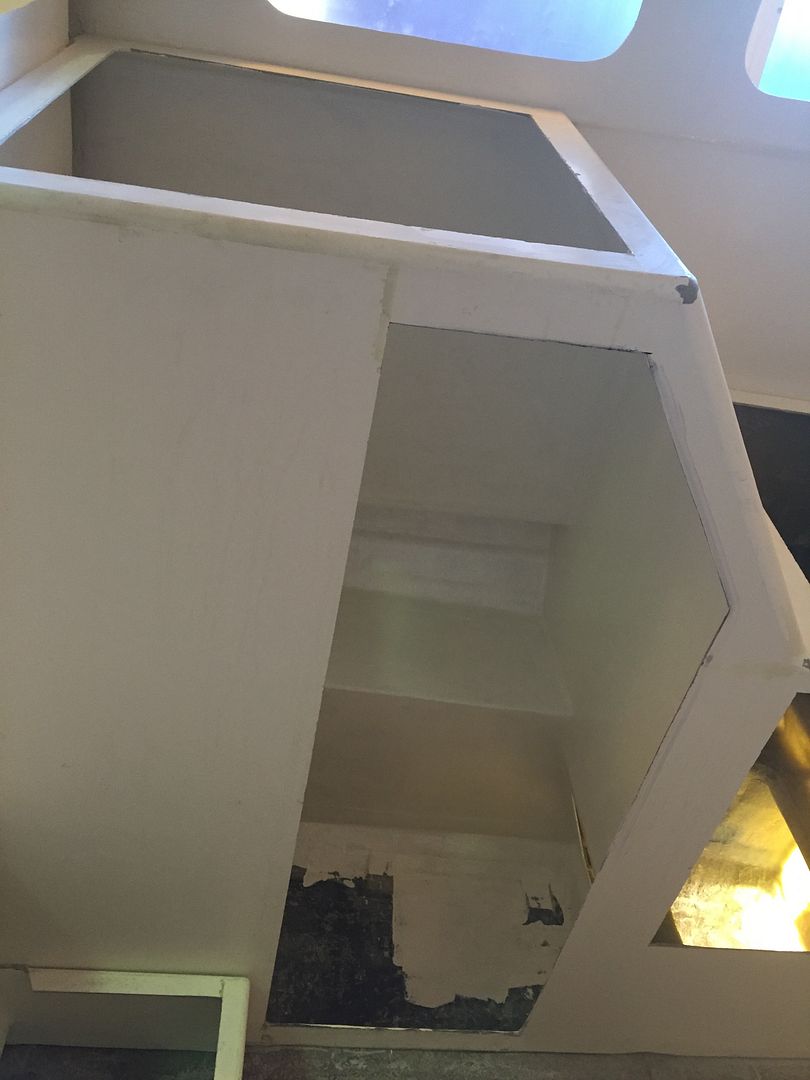
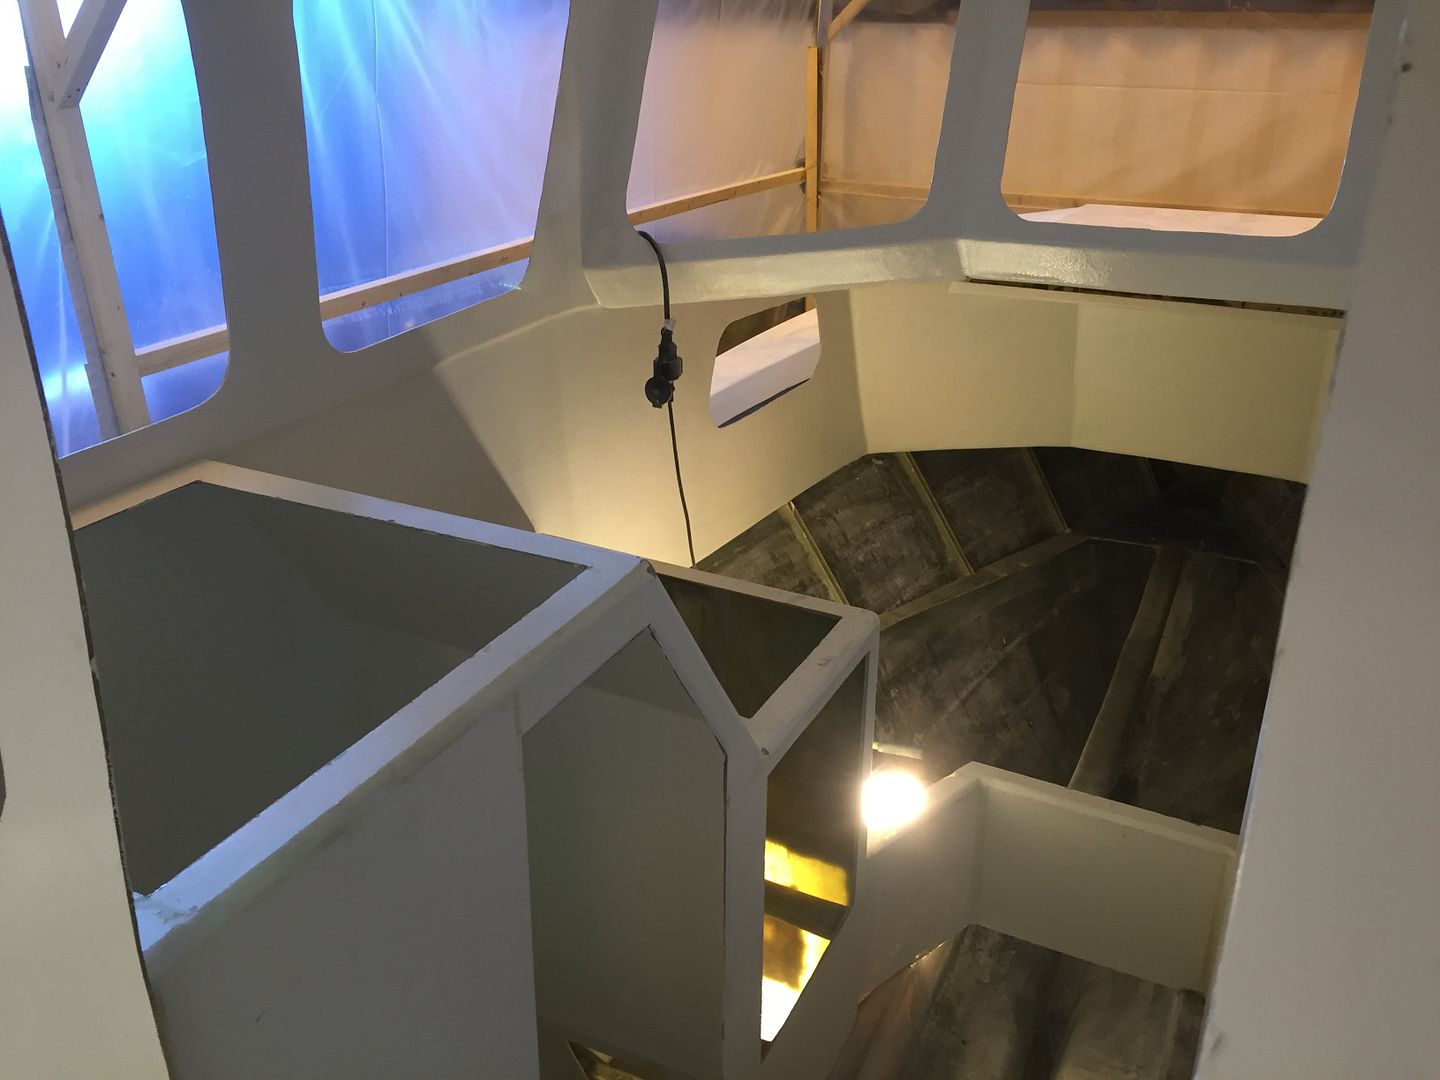
A lot of sanding has happened, and the local pro was quite adamant that I should roll a layer of topcoat and then continue from there. His arguments were convincing enough so I did just that. Sanded the first batch of filler down and now there's a layer of waxed gel on top of that. Still quite a lot left to sand of course, but his argument was that gelcoat is much closer to fiberglass in density and thus will sand more even, and the white layer reveals all imperfections. So now it all begins again :)


Red Herring

Chief Petty Officer
Joined
Oct 1, 2012
Messages
536
I hope it works out ok! It's probably a more labour intensive way of achieving the same results, but it might be easier to get a perfect finish. At least I hope so!
 

gm280

Supreme Mariner
Joined
Jun 26, 2011
Messages
14,602
RH I do feel you sanding pain. Seem you are using the gel coat as a type of guide coat. You can see areas that are low and need addition filling or gel coat. But if it works, go for it. I do have to say, you do some great work. Looks very nice indeed. :thumb:
 

Red Herring

Chief Petty Officer
Joined
Oct 1, 2012
Messages
536
Guess so, I'm getting more and more convinced that the glass-guy over here is just looking how far he can push me before the breaking point: coming up with right on ridiculous advice :)
 

Red Herring

Chief Petty Officer
Joined
Oct 1, 2012
Messages
536
I just had an epiphany while sanding, now I finally understand this method. I'm a dork for not getting it in the first place.

My friend here might not be pedagogic, but his experience sure gives dividends from time to time:

Using the gelcoat as a guide coat and sanding lightly slowly fills and evens out the surface. I doesn't happen in one pass, but slowly and surely you end up with a smooth surface where virtually all visible high and lows are gone. This kind of feathers all the big lows and highs and is a fairly easy way of achieving a good looking surface. It just takes a bunch of applications and sanding passes. But since the sanding is pretty fast it's no big deal.
 

Red Herring

Chief Petty Officer
Joined
Oct 1, 2012
Messages
536
The trick is to not to sand too much, all the lows will eventually fill up and at some point they'll just vanish and one light sanding will leave it smooth.
 

Red Herring

Chief Petty Officer
Joined
Oct 1, 2012
Messages
536
Round two begins tomorrow, no point in posting photos since it all looks almost exactly the same as before.

I hope I'll be good after this sanding-gel-sanding pass, if not then I'll do some localized fairing/sanding and call it done.

Next steps:
1) Window installation

Ought to be straightforward enough, can't wait to see them in place!

2) Sanding/fairing/filling/polishing the molded parts inside the cabin.

Fiddly work and it might end up being tiresome if there's s a lot of sand throughs, but the surfaces are comparatively small and I'm hoping for good progress.

3) Minor glassing jobs, some mounts for cables etc

4) Gelcoating bilges & lockers

5) Final fitting of wood panels & installation
6) Chartplotter & steering, vhf etc
7) Searchlight, antenna, vents etc on the roof
8) Interior roof panels

9) Interior done!!!!
 
Top