


Red Herring
Chief Petty Officer
- Joined
- Oct 1, 2012
- Messages
- 536
Oh, and the twist: even though it feels good to get the molds out, that's also the moment you see all the upcoming amounts of wetsanding.


") The bike is the local fiberglass repairmans vehicle, the 5000sqm warehouse kind of requires one.
The bike is the local fiberglass repairmans vehicle, the 5000sqm warehouse kind of requires one. 


Ah the place where you come up for air.....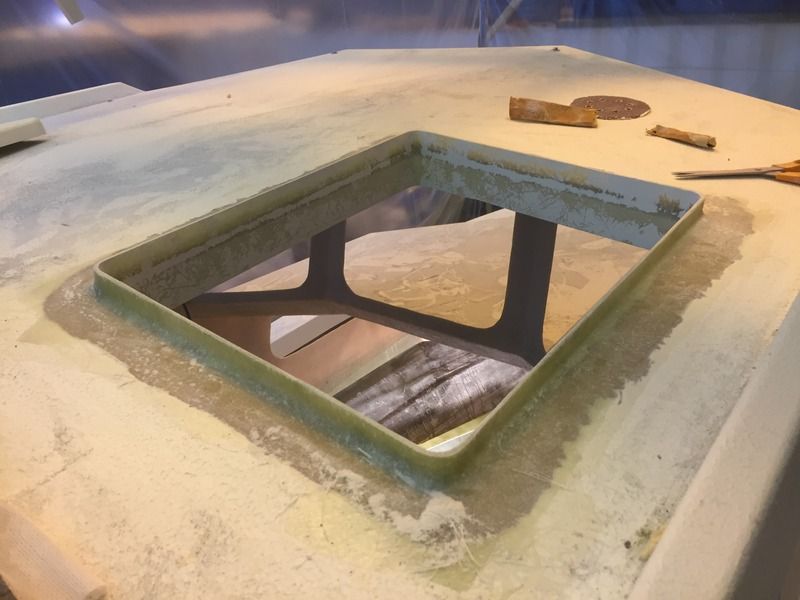
Roof hatch done, tomorrow anchor locker.
Yeah, after the boat has sunk that'll be my front door.
Yeah, after the boat has sunk that'll be my front door.