Ebbtide Tri-Hull Restoration

TriadSteeler

Petty Officer 1st Class
Joined
Oct 26, 2006
Messages
237
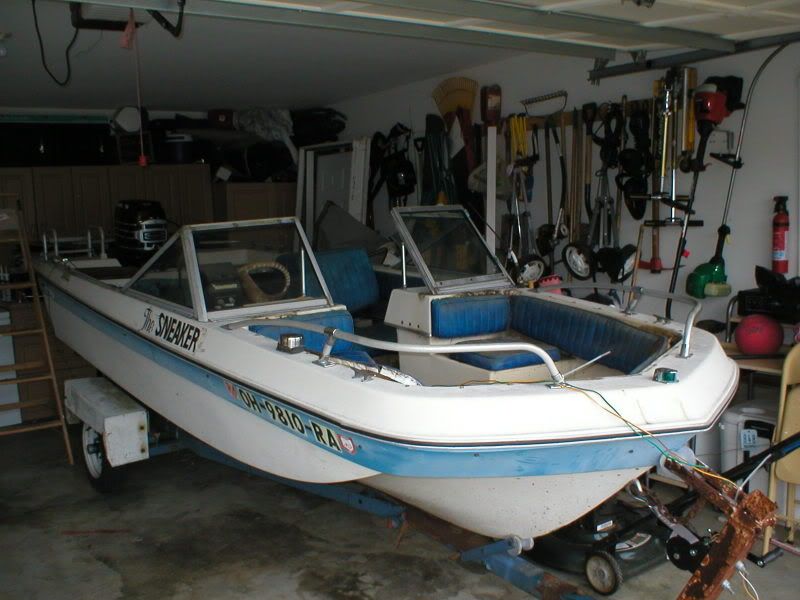
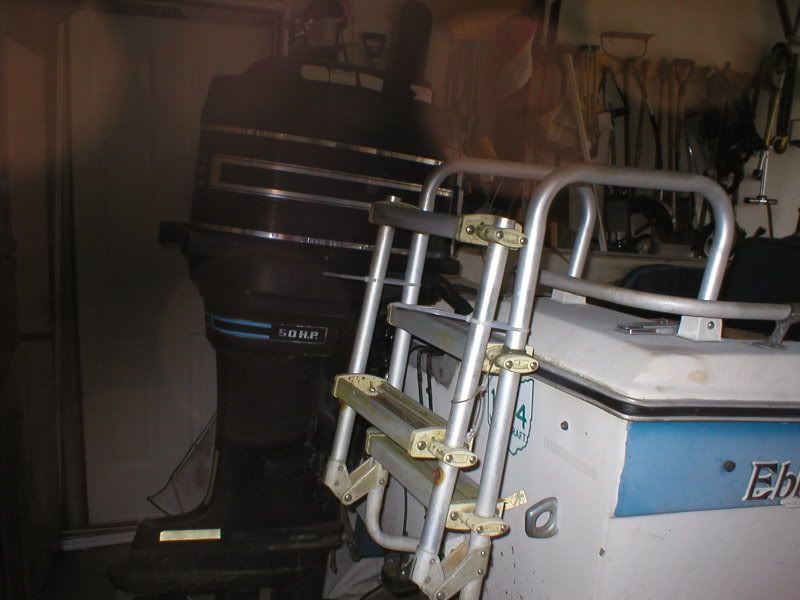
This is a freebie from my Father in Law. 1974 Ebbtide Lakemaster with a 74 Merc 500.

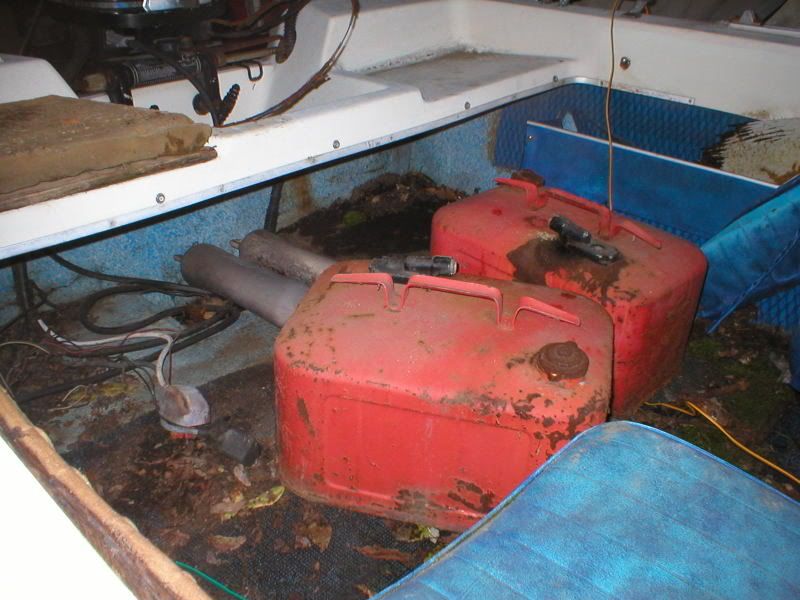
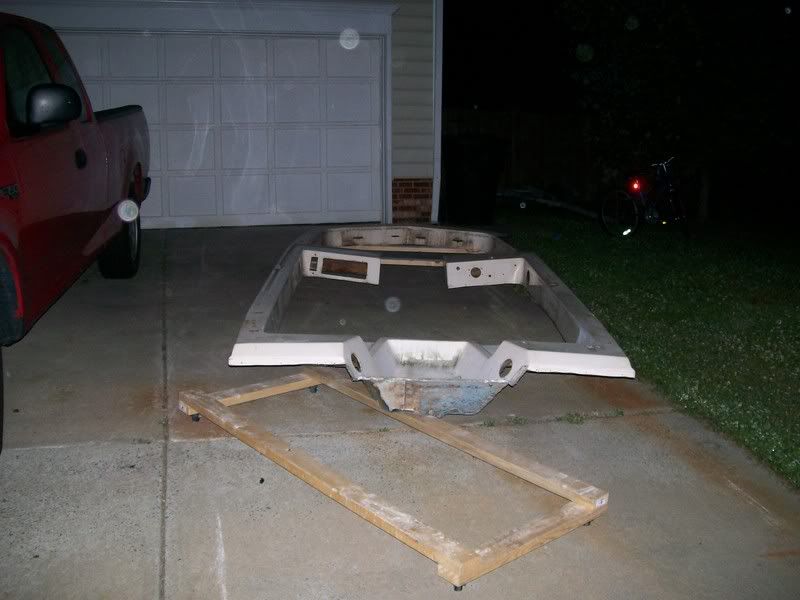
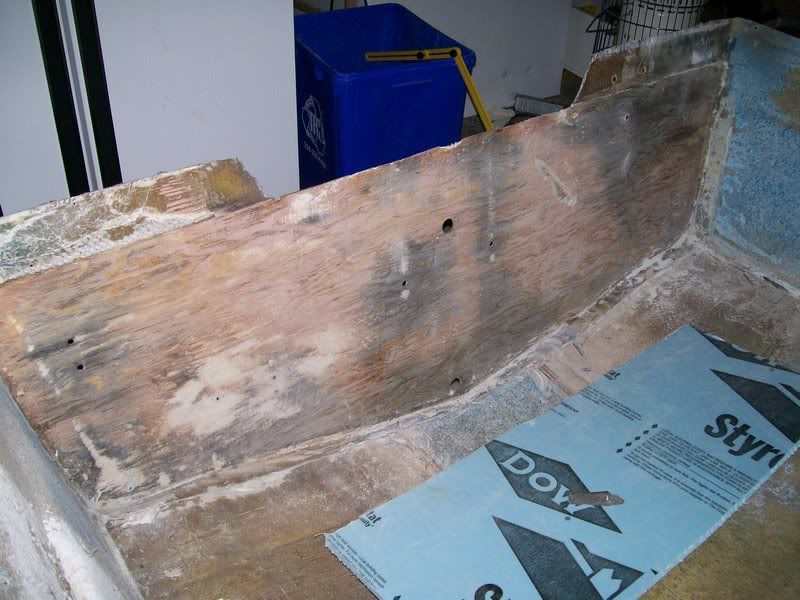
Transom is shot but the floor and stringers are in great shape. Took 2 samples of the foam and it is as dry as a bone down to the keel. I was actually surprised that the floor wasn't a total loss as well due to the fact that the boat was outside sitting for the past 10 years.

The plan is to make sure the motor is good 1st, then proceed with the restoration. I have torn out the transom and as soon as the motor checks out, the top is coming off.

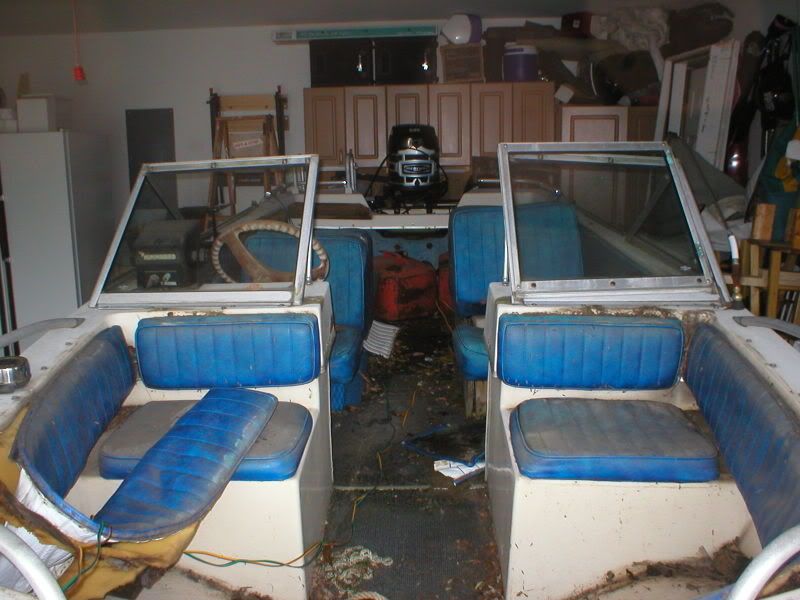
StbdBefore.jpg


OpenBowBefore.jpg


AftBilgeBefore.jpg


StbdBowBefore.jpg


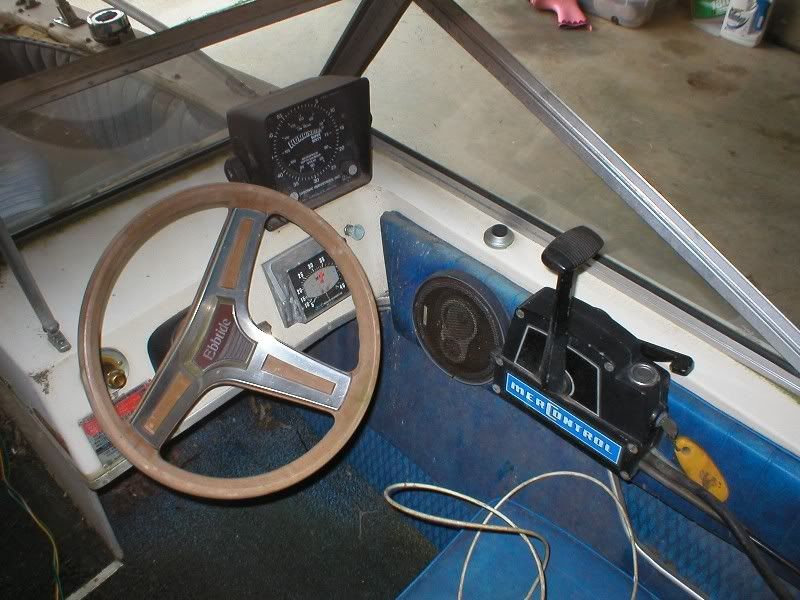
StbdConsoleBefore-1.jpg


StbdSternBefore.jpg


OpenBowBefore.jpg
 

TriadSteeler

Petty Officer 1st Class
Joined
Oct 26, 2006
Messages
237
Re: Ebbtide Tri-Hull Restoration

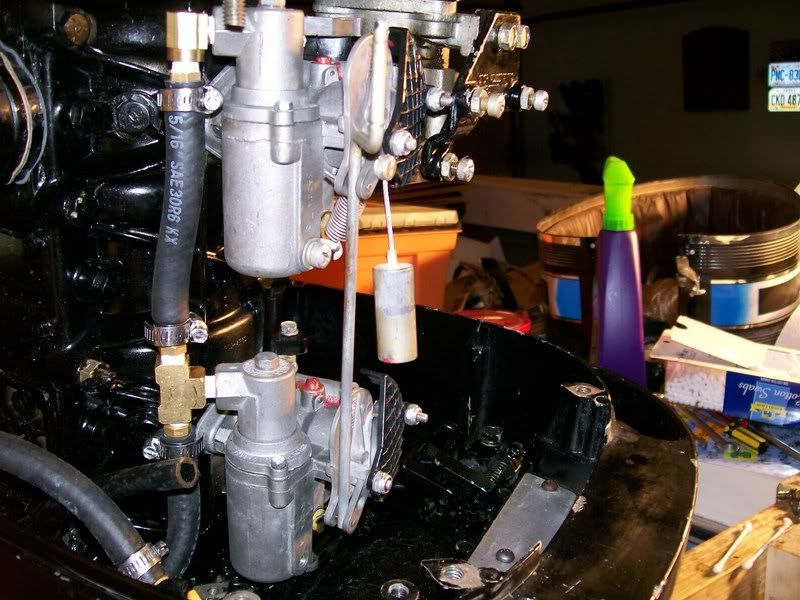
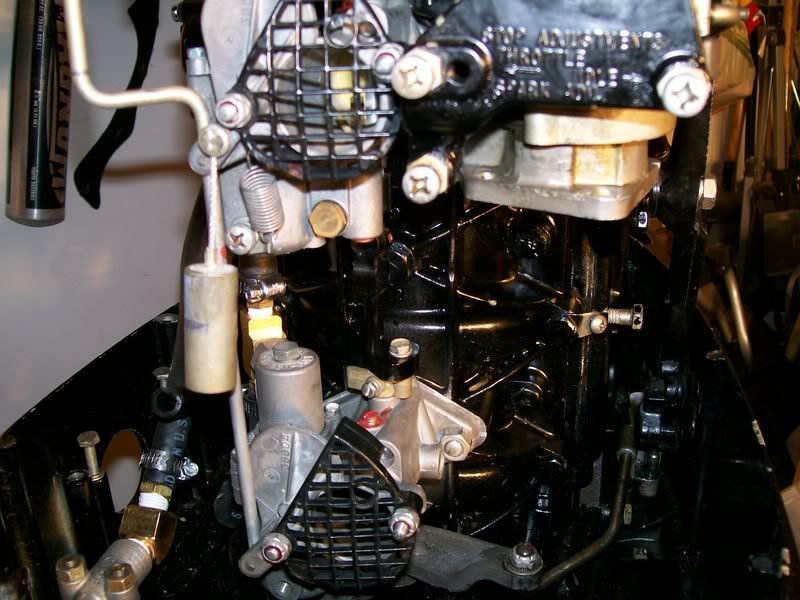
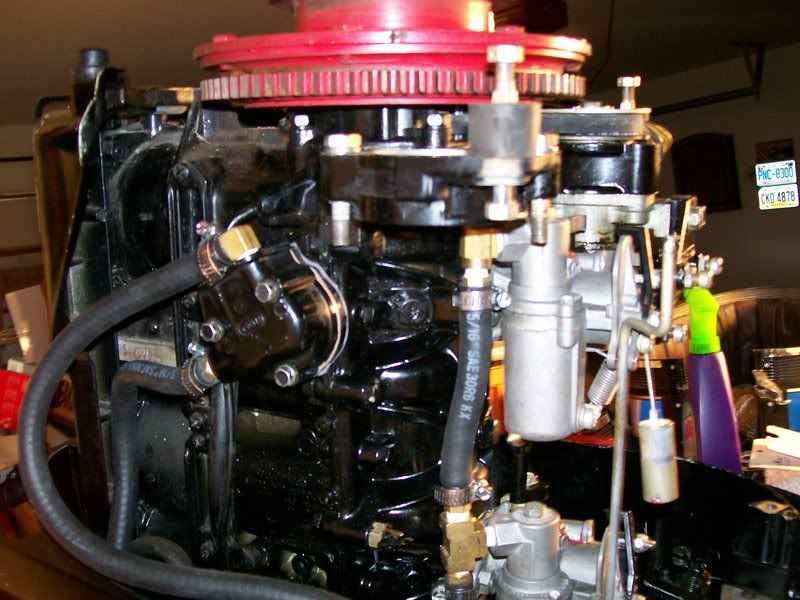
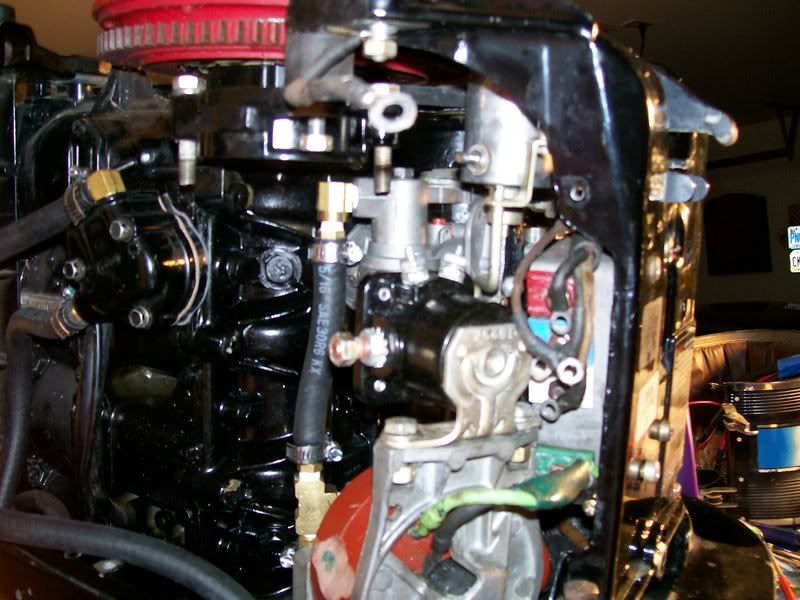
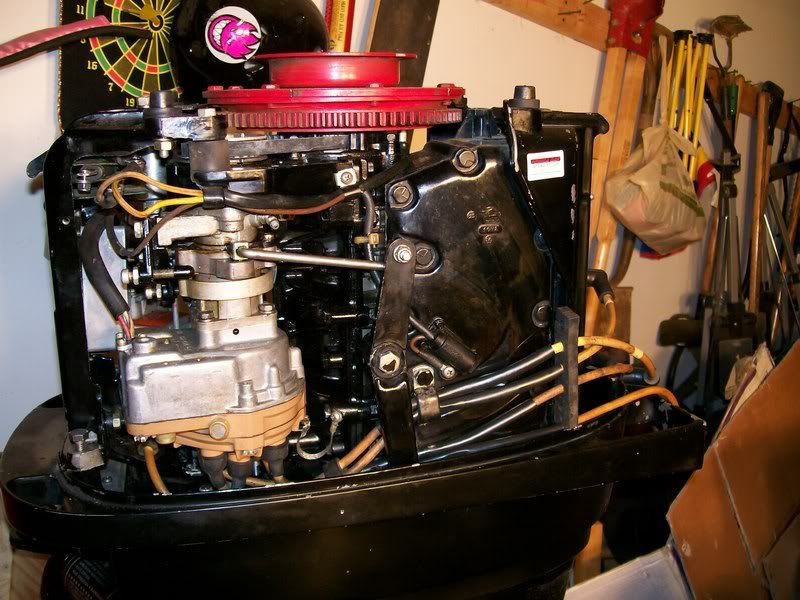
I have rebuilt the carbs, fuel pump, fuel lines, made a new internal wiring harness, and installed a new water pump assembly.

Here are some shots of the engine reassembly.

Boat002.jpg


Boat001.jpg


Boat003.jpg


Boat005.jpg


Boat004.jpg
 

tallcanadian

Captain
Joined
Sep 7, 2006
Messages
3,245
Re: Ebbtide Tri-Hull Restoration

what a great looking boat. she be worth the effort. you can get an engine anywhere. sweeeeet.
 

TriadSteeler

Petty Officer 1st Class
Joined
Oct 26, 2006
Messages
237
Re: Ebbtide Tri-Hull Restoration

Finally got an opportunity to get back to the motor. Hooked it up to a new battery, new fuel tank, and the muffs. After about 3-4 seconds with the choke closed, she fired right up after 10 years dormant and idled like a champ.

Here is my first issue. How long does it take for water to come out of the pee hole. I shut her down after about 15 seconds because I didn't want to burn up the powerplant. Is there any way to flush the cooling system and make sure water is getting into and thru the jacket without running the motor.

I had water coming out from the prop exhaust while it was running and some lazy smoke was coming out of the upper exhaust ports after I shut it down. Before I started it, I made sure that the pee hole was clean at least into the rubber hose that is inside the cowl. I also replaced the entire water pump including the impeller.
 

tmcalavy

Rear Admiral
Joined
Aug 29, 2001
Messages
4,005
Re: Ebbtide Tri-Hull Restoration

Wow that brings back memories...traded a 73 Lakemaster with 73 Merc 500 50 hp off a few years ago. Great family boat. Your Merc will not pee much at idle 750-800 rpm but should discharge well at around 1000 rpm after you up the idle a little. If you can touch the water jackets on either side of the cylinders when it's running, it's pumping water to the head. If you don't get anything out of the pee hole, run a longer wire up there to clean out dirt dauber nests, etc. and recheck the impeller...make sure it stayed keyed to the driveshaft when you put it back together. If you pulled the carbs to clean them, you may need to do a link-n-synch to get the timing in synch with the carb butterflies opening up. Our Lakemaster would do about 30 mph with the fam and dog on board and 32-34 mph with just me and the Lab co-pilot. A whale-tail helped it plane a little quicker...hated to sell the Lakemaster, but it bought a nice two-man, one-dog fishing rig that I now pilot. Good luck and keep posting as you go along.
 

JasonJ

Rear Admiral
Joined
Aug 20, 2001
Messages
4,163
Re: Ebbtide Tri-Hull Restoration

With a fresh pump, it should have a steady stream of water exiting the tell-tale. It might not be a strong stream, but there should be a stream. It can take awhile for the water to circulate through the system. You also get a stronger stream when the boat in in the water than on muffs, as a hose may not supply enough water to keep up with the water pump.

Like Tmcavaly said, you can tell if the engine is being cooled by feeling the cylinders while running. You should let it idle for a few minutes while feeling the cylinders. They will feel warm to the touch, but not scalding. If you have to pull your hands away in pain, the engine is not being cooled enough. Make sure you feel the highest point, that way you know the water is being pumped to the top ot the motor. Good luck...
 

TriadSteeler

Petty Officer 1st Class
Joined
Oct 26, 2006
Messages
237
Re: Ebbtide Tri-Hull Restoration

Thanks guys. TM (ps thanks for your help on the merc forum post as well), gotta agree the Lakemaster is a nice little boat. It's perfect for what we want to do with it. Since this was my FIL's boat my wife and I have had it out many times and always had a lot of fun on it. After the "houseboat debacle" of 1997, my FIL swore off boating for the remainder of his days, the houseboat was sold off at a huge loss and this boat sat outside, uncovered for 10 years.

When they considered calling the junk man to come haul it away, I jumped at the chance to bring this ol' girl back to life. I was astonished today that after 10 years dormant, all it took was a some new carb parts, a few new wires, a new water pump and vrrooooom. It's nice that at some time, things were built to last.

After I get the water circ issue resolved, I'm going to give the motor & prop a fresh coat of paint, new decals, and get started on the transom. I'll be posting lots of pics within the next month or so.
 

TriadSteeler

Petty Officer 1st Class
Joined
Oct 26, 2006
Messages
237
Re: Ebbtide Tri-Hull Restoration

I finally got some more time to get back to this old tub.

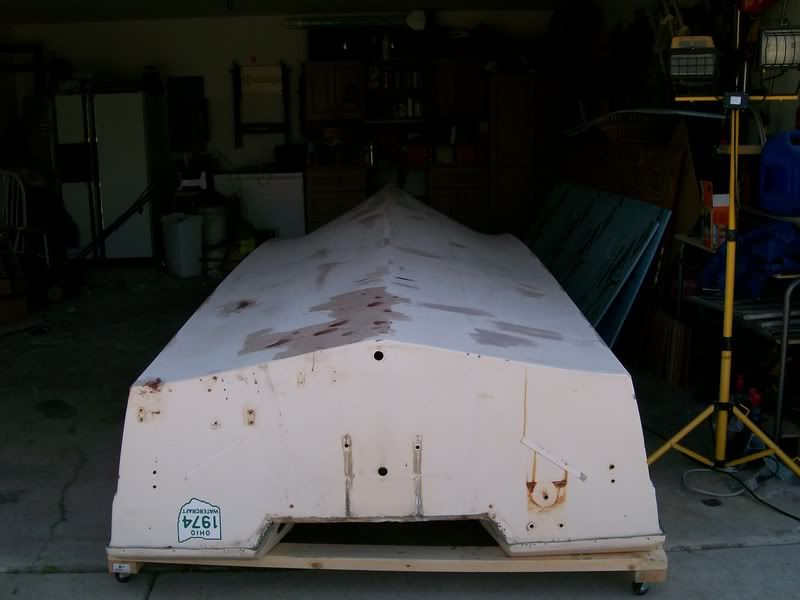
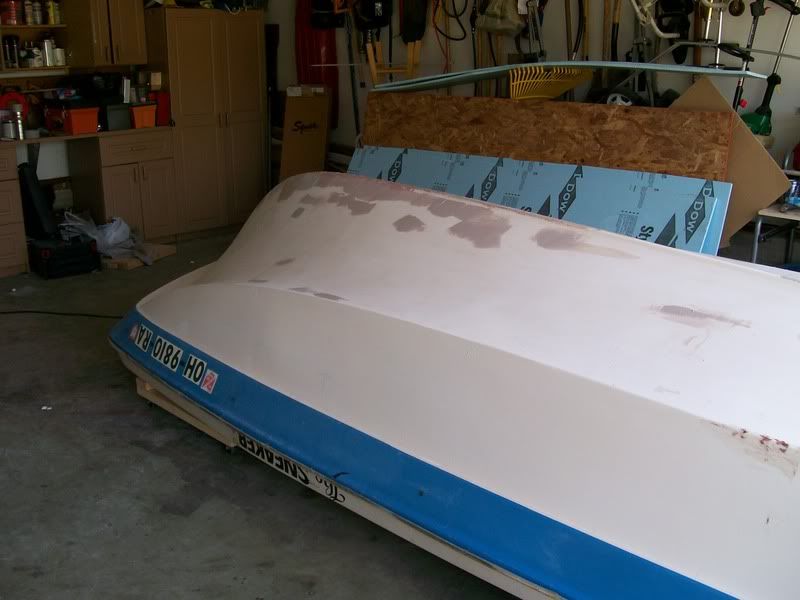
I grabbed a few neighbors and had a boat "flipping" party to get her on her top. All told it only cost me 10 adult beverages, which I think is a pretty good deal.


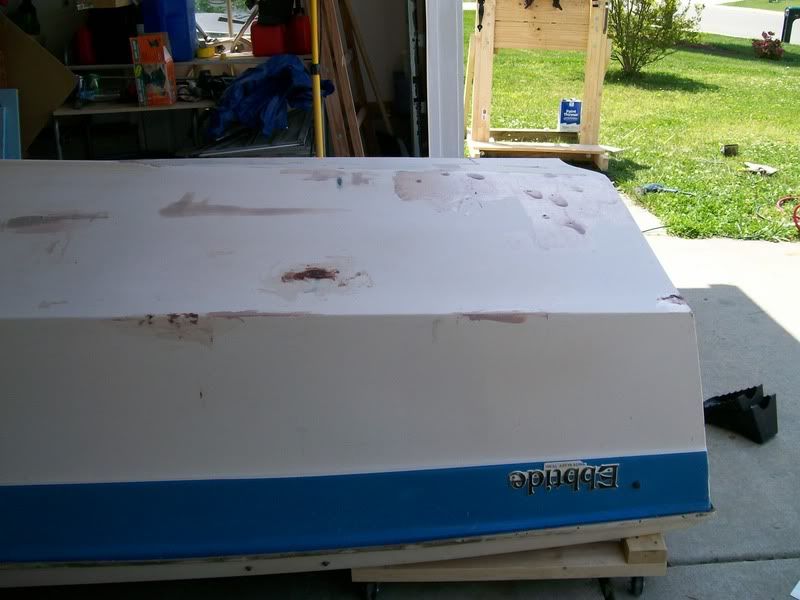
Here are some shots of the prep work of the bottom.

KeelFiller3.jpg


KeelFiller2.jpg


KeelFiller1.jpg
 

TriadSteeler

Petty Officer 1st Class
Joined
Oct 26, 2006
Messages
237
Re: Ebbtide Tri-Hull Restoration

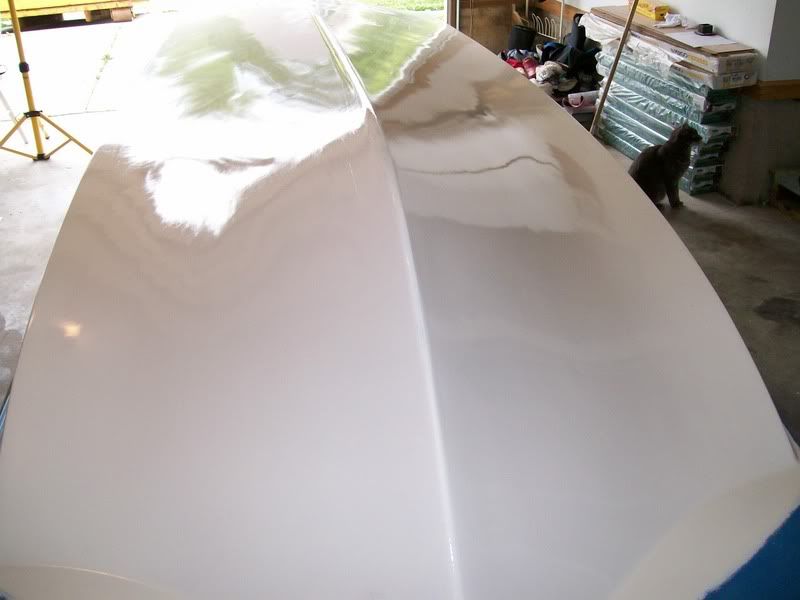
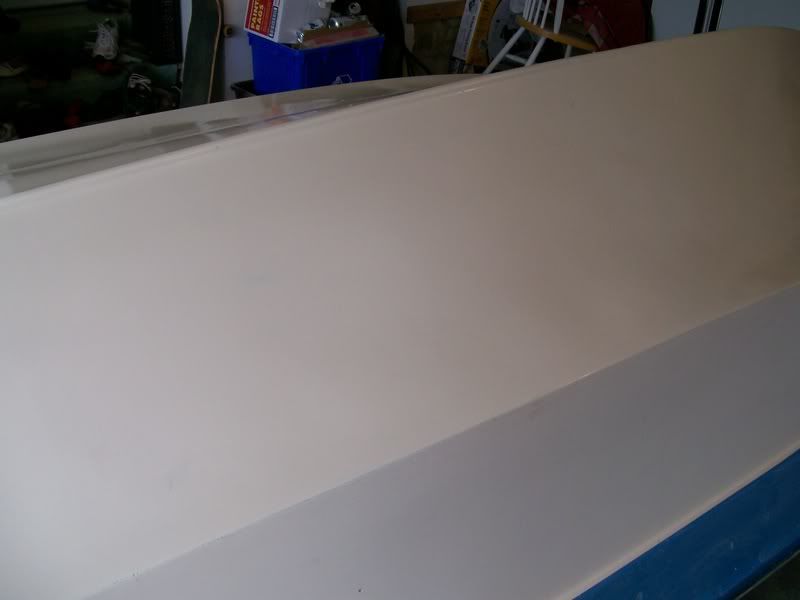
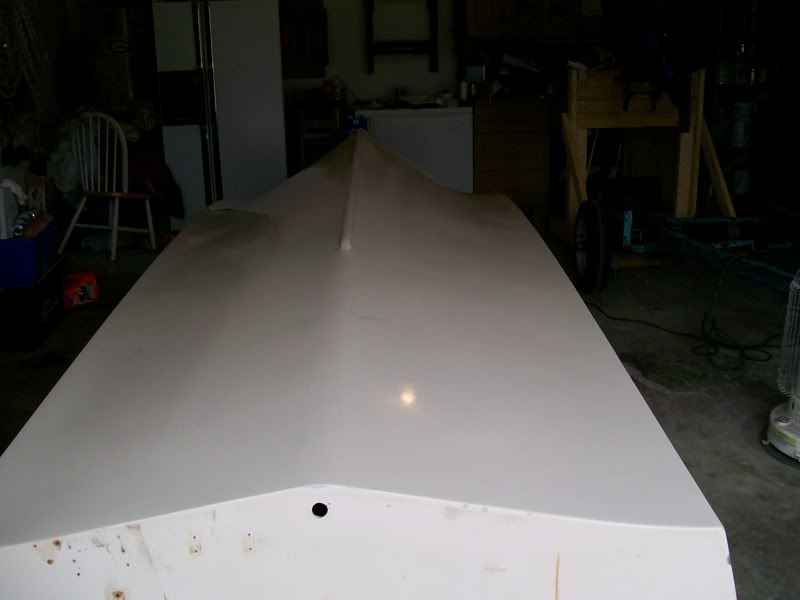
And here are some shots of the first coat of Off-White Easypoxy

Keel2ndCoat3.jpg


Keel2ndCoat2.jpg


Keel2ndCoat1.jpg


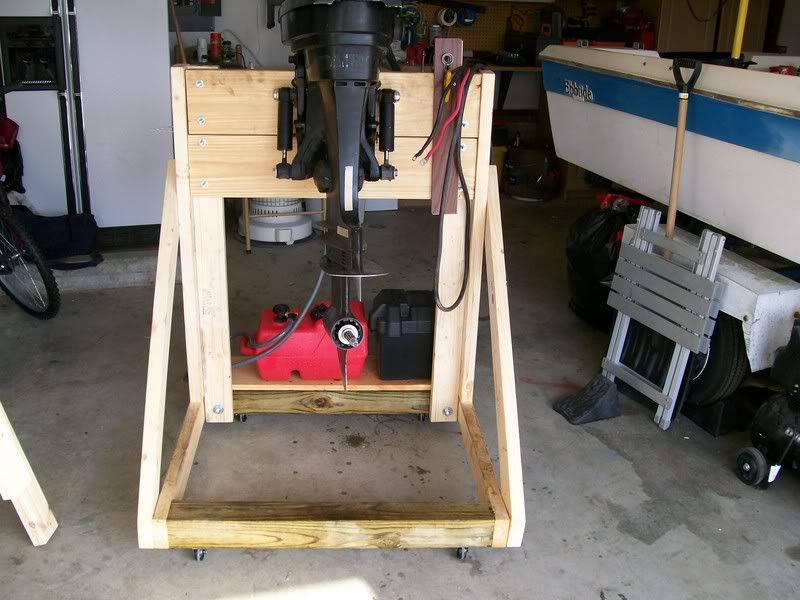
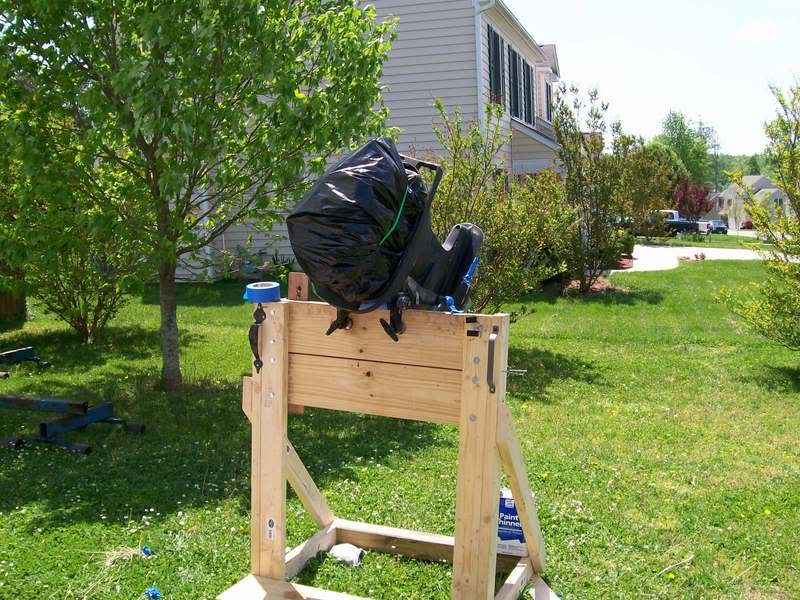
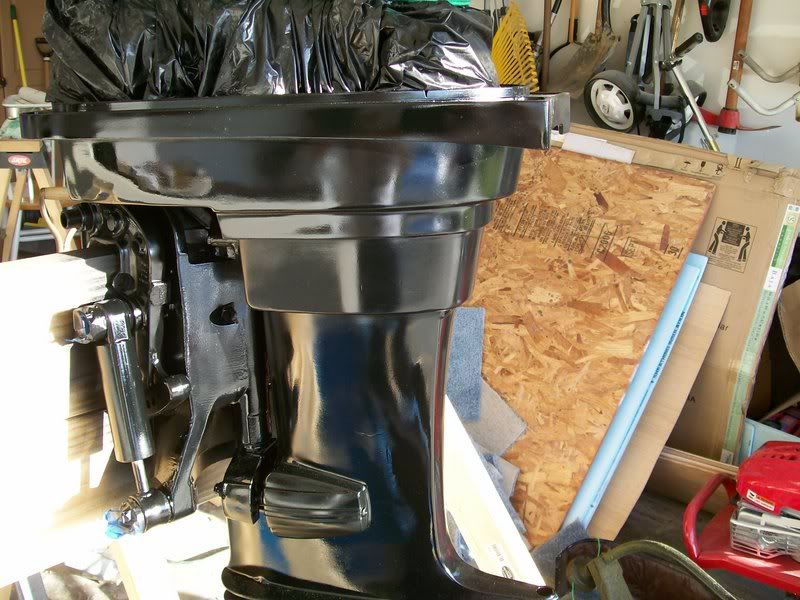
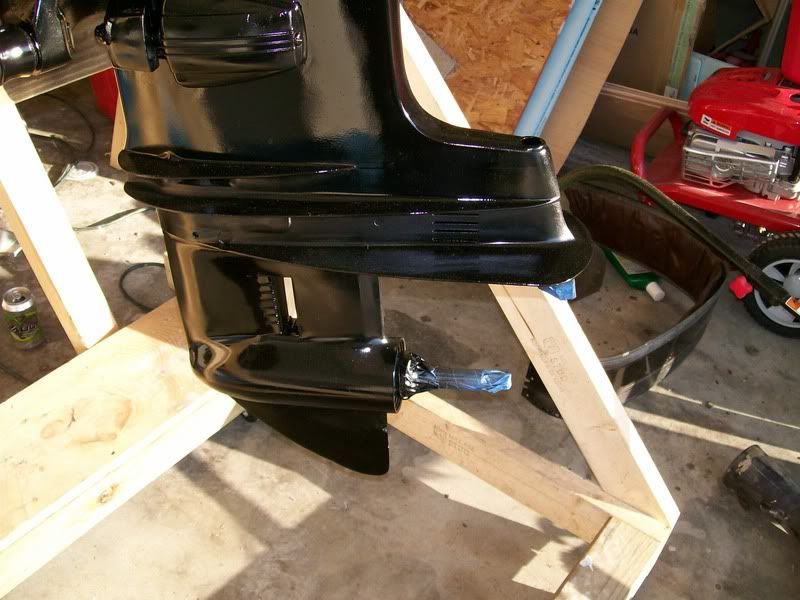
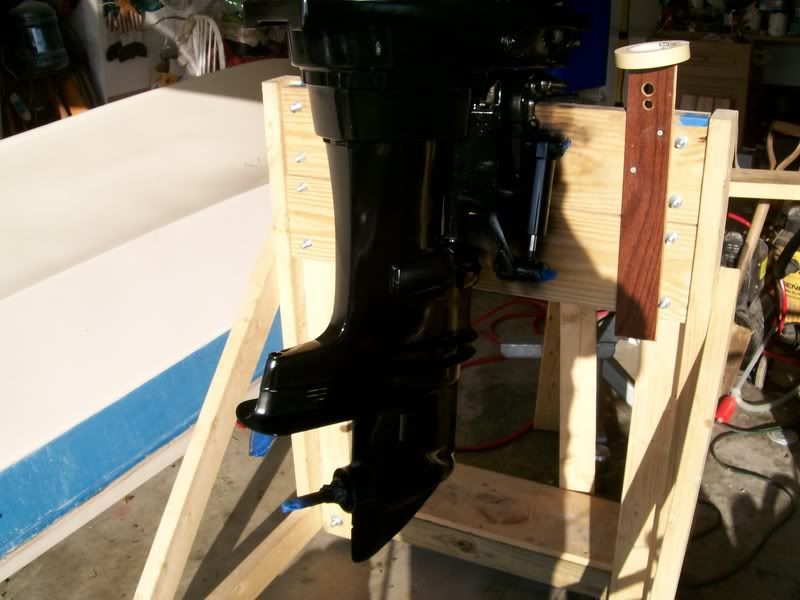
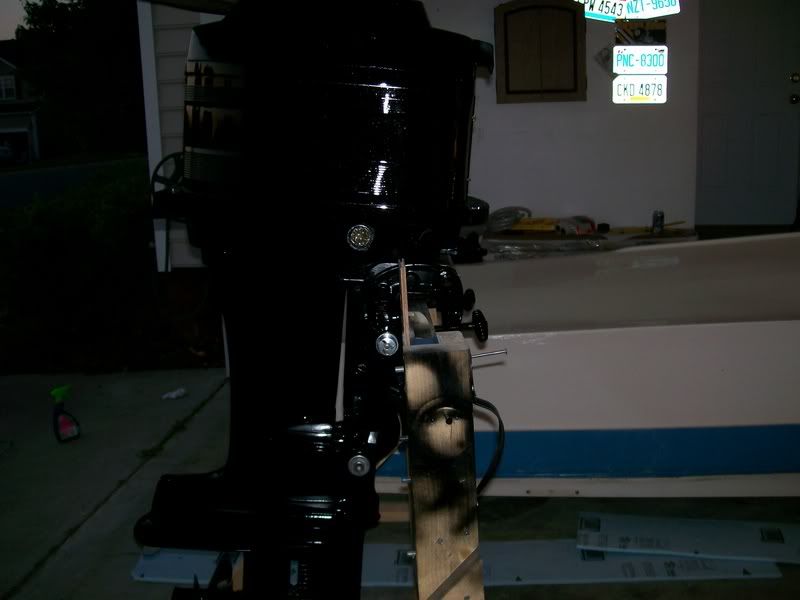
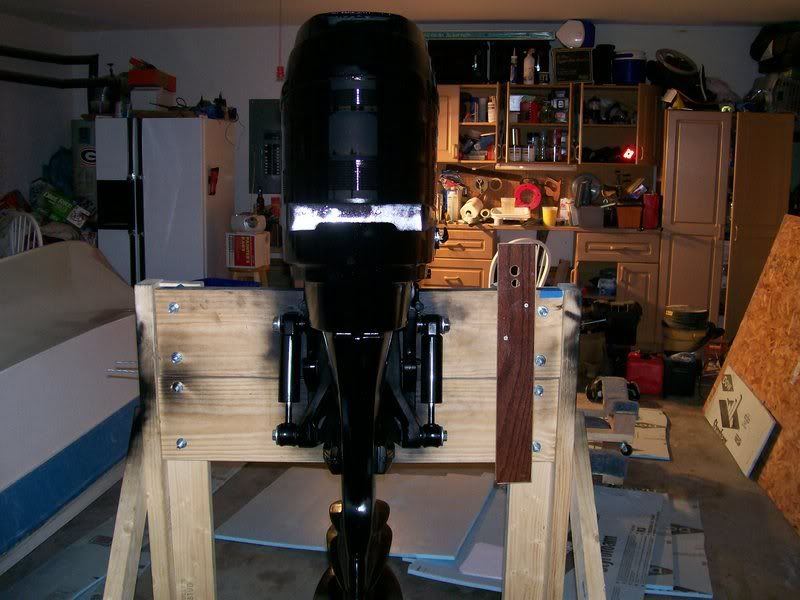
And here are some shots of the Engine prep work. Getting ready to hit it with a few coats of Phantom Black.

Engine4.jpg


EStand1.jpg


Engine3.jpg
 

tmcalavy

Rear Admiral
Joined
Aug 29, 2001
Messages
4,005
Re: Ebbtide Tri-Hull Restoration

Way cool!! Gotta love those old Ebbtides. Makes me misty eyed for the old Lakemaster. Keep posting, you're making good progress. If you want a factory service manual for a 73 Merc 500, let me know...it's yours for the price of postage.
 

TriadSteeler

Petty Officer 1st Class
Joined
Oct 26, 2006
Messages
237
Re: Ebbtide Tri-Hull Restoration

Definately interested in the manual tmcalavy. I'll be sending you a PM.

For anyone who is a first time boat painter, I can't emphasize enough the importance of being extremely thorough in the prep work. When I did this 10 years ago to another boat I owned, I kind of half-@$$ the filler and sanding because I was in a hurry to see some "progress". This time I pressure washed, then scrubbed, then solvent cleaned, then filled and sanded, then filled and sanded again (because you always miss little nicks and scratches). That second round of filling and sanding thoroughly made all the difference in the world. Even rolling the paint on, the first coat finish looks like a mirror. I couldn't be more pleased with the results.
 

davegran

Recruit
Joined
May 10, 2007
Messages
1
Re: Ebbtide Tri-Hull Restoration

I have rebuilt the carbs, fuel pump, fuel lines, made a new internal wiring harness, and installed a new water pump assembly.

Sorry I'm getting in on your rebuild a little late, but I just found the forum. You're doing a terrific job on that boat! I'm wondering how you got the carb castings to come back to such brand new showroom condition?

The roller-applied finish is also fantastic! I'd like to know more about that, too, since I need to clear coat my sun-worn metalflake finish!

Thanks,
 

TriadSteeler

Petty Officer 1st Class
Joined
Oct 26, 2006
Messages
237
Re: Ebbtide Tri-Hull Restoration

Sorry I'm getting in on your rebuild a little late, but I just found the forum. You're doing a terrific job on that boat! I'm wondering how you got the carb castings to come back to such brand new showroom condition?

The roller-applied finish is also fantastic! I'd like to know more about that, too, since I need to clear coat my sun-worn metalflake finish!

Thanks,

Those carbs were varnished and greasy when I started out. To clean the carbs, I soaked them in carb cleaner and then scrubbed them with paint thinner, a toothbrush, and some Q-Tips. Then gave them a rinse in gasoline to get rid of any residual solvent. Make sure you have them completely tore down so that you don't ruin any plastic or rubber with the solvent.

To get the finish, I used Petit Easypoxy one-part polyurethane paint mixed 80-20 with Interlux Brushing Thinner. The key is making sure to put on thin coats with the roller and smoothing it with quick light strokes with a soft bristled brush. You want to keep the brush free of paint to keep it from creating ridges in the finish. This is accomplished by brushing it vigorously against a surface that you haven't painted yet before smoothing out the roller bubbles.

Some other various tips (learned the hard way)
I also wet sand with 320 grit WetOrDry between coats.

Make sure to get GOOD brushes. You don't want to have them shedding bristles in your finish. If that does happen, I just pick it out, re-roll and stipple with the brush.

Put very little paint on the roller and work in small areas at a time. When the roller is full, the paint goes on thick and this paint does a great job at autoleveling, and due to the movement to fill brush strokes, thick paint will cause runs.

Sand, Sand, Sand. When you're done sanding. Sand some more.
 

TriadSteeler

Petty Officer 1st Class
Joined
Oct 26, 2006
Messages
237
Re: Ebbtide Tri-Hull Restoration

The engine has been painted and all I have left is to paint on the blue band, install the metallic decals and wait for my lettering to arrive, and the OB will be done. I've got the boat flipped over and my intention is to install the transom this weekend.

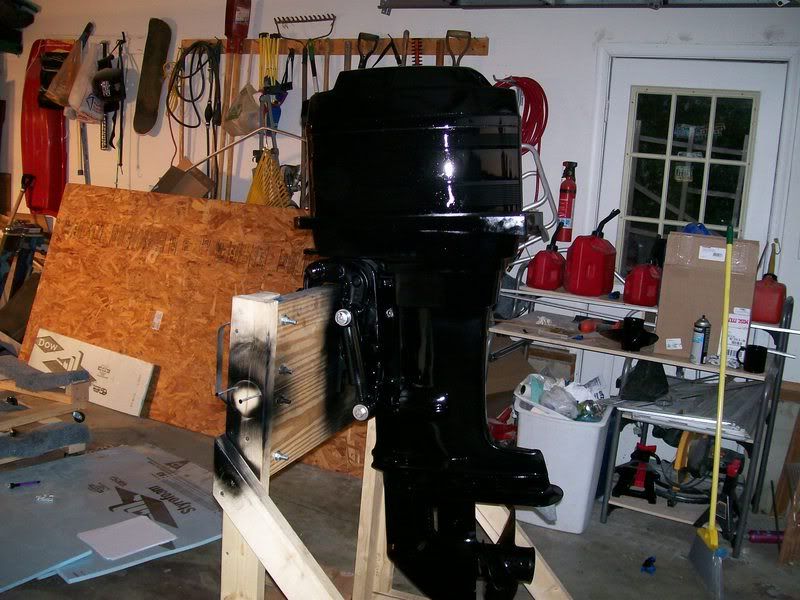
Here are some shots of the 1st coat of Phantom Black
Engine1stCoat1.jpg


Engine1stCoat2.jpg


Engine1stCoat3.jpg


Here are some shots of the final paint job before the decals go on sans the front cowl.
EngineNoDecal3.jpg


EngineNoDecal2.jpg


EngineNoDecal1.jpg
 

TriadSteeler

Petty Officer 1st Class
Joined
Oct 26, 2006
Messages
237
Re: Ebbtide Tri-Hull Restoration

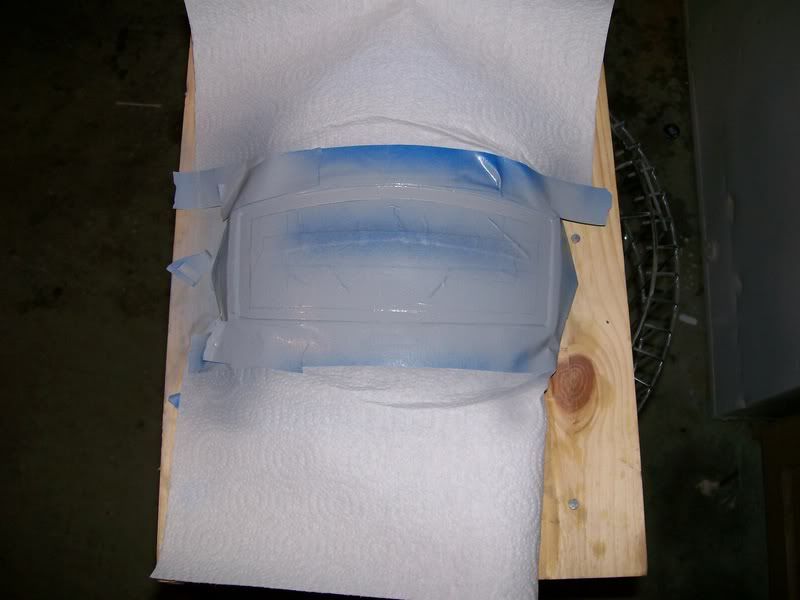
Here is a pic of the priming of the blue band that surrounds the front cowl decal
FrontCowlPrimer.jpg
 

tmcalavy

Rear Admiral
Joined
Aug 29, 2001
Messages
4,005
Re: Ebbtide Tri-Hull Restoration

Sweet!!! Keep posting the pix...you're making excellent progress.
 

TriadSteeler

Petty Officer 1st Class
Joined
Oct 26, 2006
Messages
237
Re: Ebbtide Tri-Hull Restoration

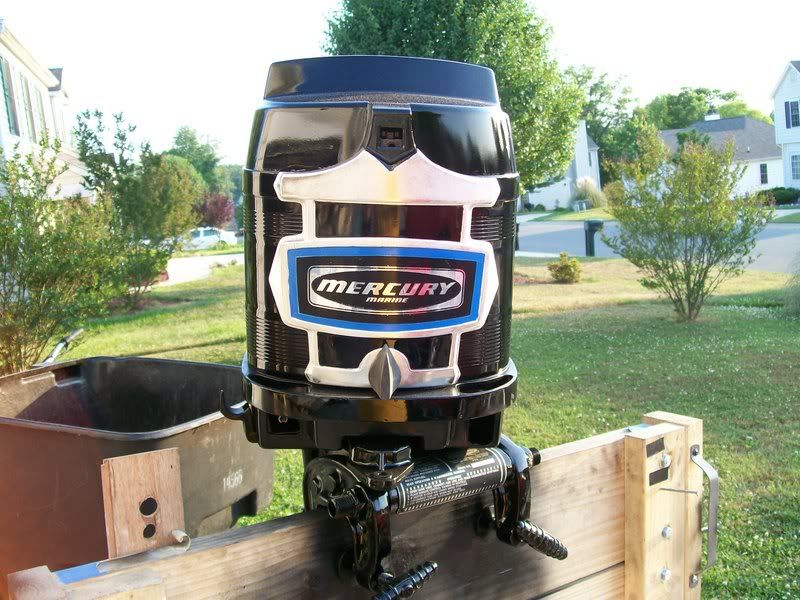
Front Cowl is done and came out pretty good.
FrontCowlFinished.jpg


Let the Transom Begin.....

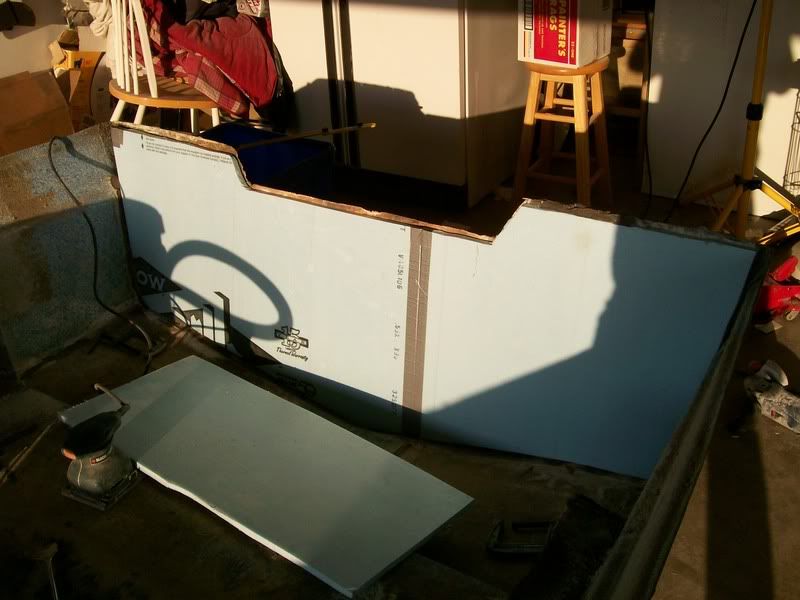
I used some of that exterior housing styrofoam to provide a cushion for flipping the boat over on its top and back upright. I found another really good use for that stuff.

I used it for a transom template. Its easy to cut. Its flexible, but rigid enough not to be flopping around while you're trying to fit it in. I'm sure some of you old salts have probably used this before, but for everyone else, this stuff is easier to work with than either cardboard or brown paper.

Here is a shot of the template.
TransomTempl.jpg
 

TriadSteeler

Petty Officer 1st Class
Joined
Oct 26, 2006
Messages
237
Re: Ebbtide Tri-Hull Restoration

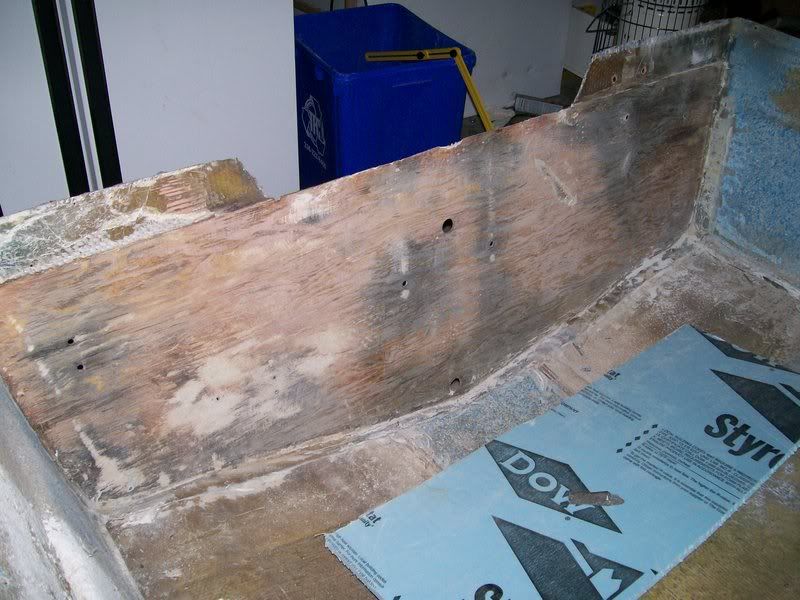
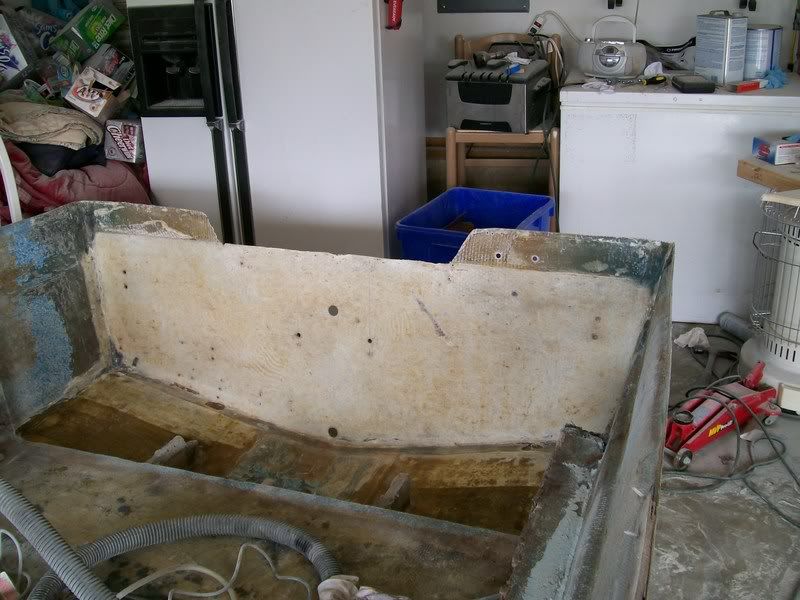
Today was a pretty productive day. Got the deck off this morning and cleared out the last few remnants of the old transom. This was totally a case of if I knew then.....

I spent the entire month of October tearing the transom out by laying under the splashwell because I thought it would be a major pain to take the deck off. Live and learn.
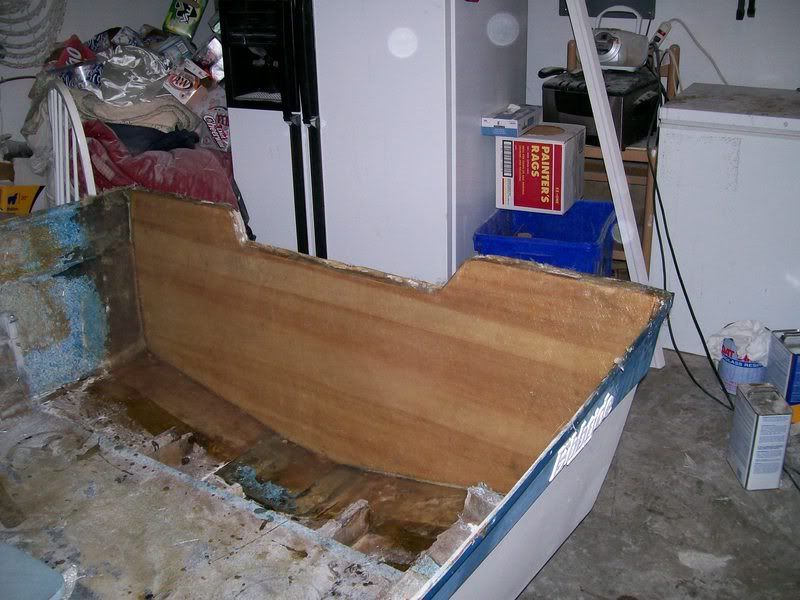
It is really a shame that the transom in this boat was shot. Ebbtide really did a good job putting these boats together. The construction was so much better than the old Starcraft American that I used to own. The only thing that did the transom in was someone got thru-hull happy and silicone just didn't get it done. In the pic below you can see where the remnants of the wood are black around each and every one of the thru-hulls. Obviously, this was where the wood was just soaking wet when I was tearing it out.

TransomBare.jpg


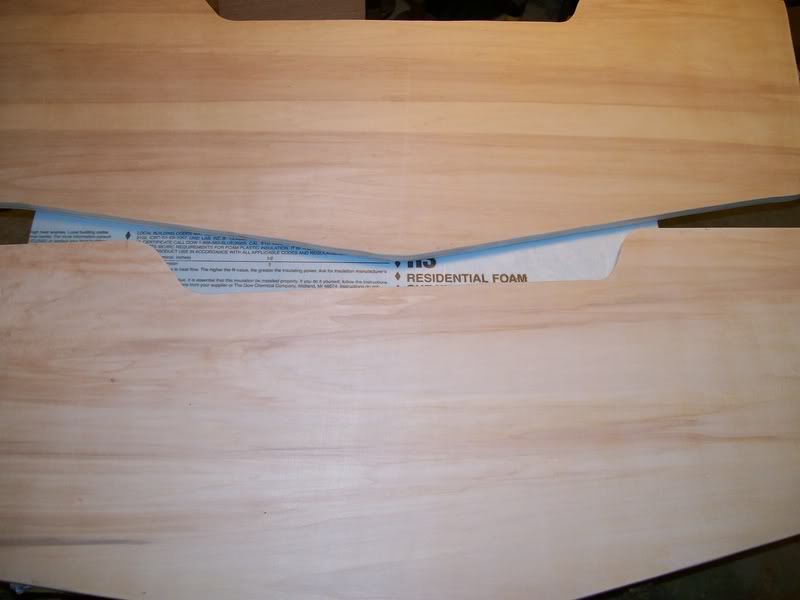
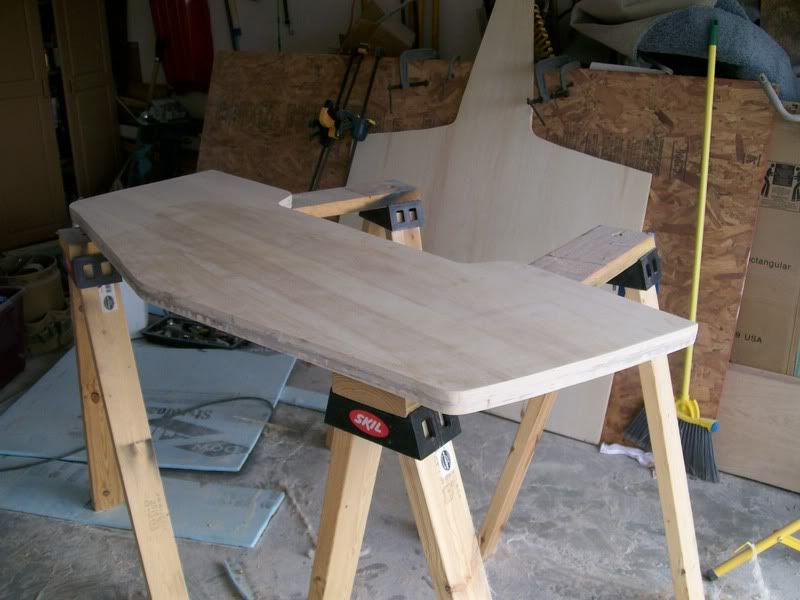
Well, after making the template for the transom I cut the two 3/4" transom pieces from a sheet of 4 x 8 ACX plywood. I thought about using Marine Ply, but after I saw the quality of this stuff (39.00/sheet) I figured it would get the job done. This stuff was nearly perfect and it is HEAVY. I picked it up at a local lumberyard where I always go when I need good wood. It is amazing how we have gotten used to the quality of lumber at Lowe's. It is awful. I have never seen anything like what I bought today at any of the BIG home improvement stores.

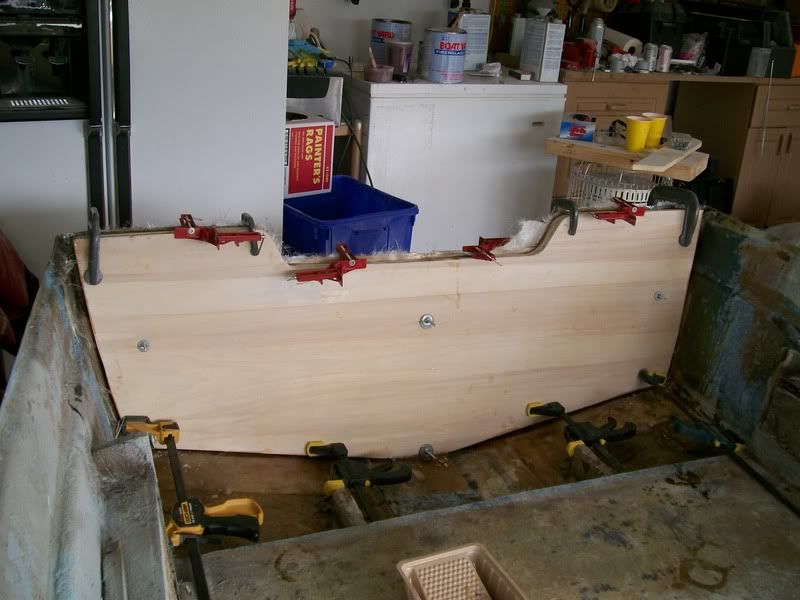
Here is a shot of the two pieces right before I broke out the resin.

TransomWood2.jpg


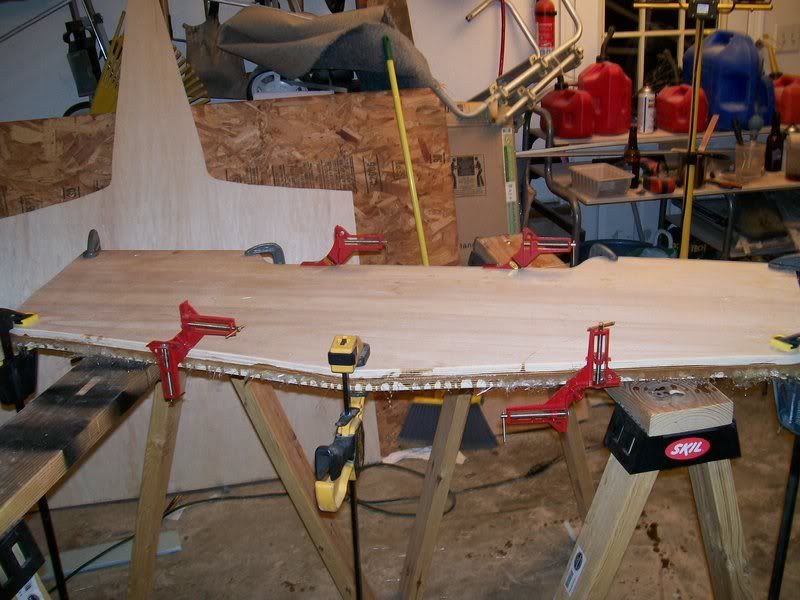
And here is a shot of my clamp farm after the "glassin"

TransomClamp.jpg


I'm so glad my wife and kids went to see the grandparents for the weekend (I have to work Sat & Sun) because my wife would be thrilled to have that gorgeous boat deck sitting in the driveway in front of the house.

DeckOff.jpg


Now I have to get this part done by Tuesday!!!!!
 

TriadSteeler

Petty Officer 1st Class
Joined
Oct 26, 2006
Messages
237
Re: Ebbtide Tri-Hull Restoration

Here's a funny thing that happened this morning when I went to check on the curing of the transom.

I used a standard plastic turkey baster to transfer the resin from the can to my mixing container. When I finished last night, I absent mindedly left the baster in the rinse acetone after I flushed it out.

This morning I awoke to the bulb floating in the acetone. DOH!

I should know better. I used to be a chemist and worked with Acetone and other various solvents for years.
 

TriadSteeler

Petty Officer 1st Class
Joined
Oct 26, 2006
Messages
237
Re: Ebbtide Tri-Hull Restoration

The transom is in. I just have some more work to do on the top surface and then put back the piece of floor I removed to install. I also need to build the bilge box and install the drain tubes. I am going to put in a pieces of PVC for the water to drain back there as before there were just holes drilled leaving the wood exposed.

Here is the transom right before the final grind
TransomOuterSkin.jpg


And this is after the final grind and cleanup.
TransomClean.jpg


This is the transom after being put together and cleaning up the edges.
TransomWoodTogether.jpg


Here is a shot of the initial layup to the outer skin with the clamps in place.
TransomToOuterSkin.jpg


This is the transom with the inner skin applied.
TransomFinished.jpg
 
Top