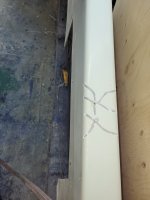
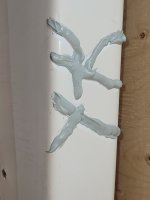
Plastic putty knifeAny idea what works to remove old caulk from the gelcoat? I tried vinegar and mineral spirits. No luck. There is a thin layer of caulk left from the vinegar.
I’ve seen a couple of these pfaff machines and some others like a Mitsubishi that can be had for cheap. I just worry about parts, and the fact that most are clutch motors. A servo motor is about $150 to $200.Well I am like a squirrel , all over the place. LOL. While patching holes in the fiberglass cap I tried some mineral spirits on the Roberts 6700 carpet glue . After 20 minutes of soaking the glue just scrapes off.
I also found an industrial walking foot Pfaff sewing machine to reupholster my interior for a great price. Had the sewing machine tuned and timed today,ready for attempting the new interior.
Yes, the industrial sewing machines have long life spans. You will probably want to learn to do the maintenance on the machine yourself. Timing of the needle vs. bobbin hook is one of the more critical things to be able to check & adjust.My Pfaff came with some spare parts. I bought a servo motor for $135 off ebay. I put a smaller pulley on the servo motor to slow the machine even slower. The guy I took it to for a tune up and timing has parts for it also. The machine itself is all gear driven. If oiled properly with synthetic oil will last a long time. My machine is from 1965. Built like a tank.
Yes. I figured that I will try doing my own upholstery . Can't be that difficult. There are lots of instructions on you tube .Yes, the industrial sewing machines have long life spans. You will probably want to learn to do the maintenance on the machine yourself. Timing of the needle vs. bobbin hook is one of the more critical things to be able to check & adjust.
Will this be your first go at upholstery sewing? (not sure if you covered that earlier in your posts)
I just cut and buffed afterwards, except for a few spots where there were runs, I wet sanded them, then cut/buff.Nice zool. Did you polish or sand the final coat?
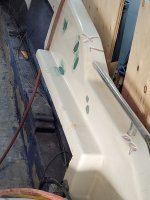
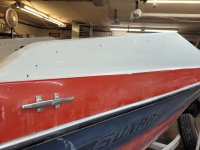
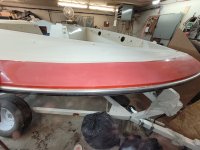
I kind of like the polar white . Looks nice and clean . I only have part of the cap and the hull bottom to gelcoat white.
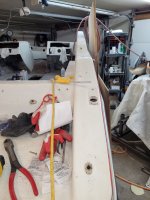
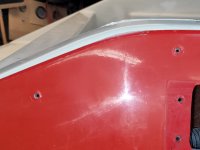
Only if you want to sand the orange peal out of the first coat.I removed the grab rails from the bow and stern. Looks like I will be spraying the cap with gelcoat and Duratec 904. My white gelcoat is a bright white. Not an off white like the original.
Would it be possible to spray 1 coat of gelcoat with no additives first , just mekp. Then the final 2 coats with the Duratec 904 in at 1:1 ratio ?
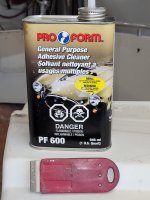
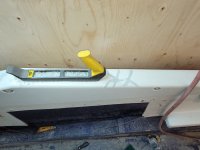
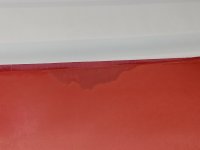
Still not sure what the gloss coating is but it comes off easy with 80 grit.I started the sanding of the cap. After 2 hours of heating and scraping the sun bleach pin striping . Followed by a wipe down with adhesive remover.
I am not sure if there was a clear coat put over the old gel from someone before. The red pigment is sanding off , but not sure what the coating is. I can dissolve some of the red pigment with lacquer thinner as well as acetone.
The boat was all red before , and over time the cap was gel coated white. I havent decided if the cap will go white and blue , where the red is now. I still have to remove the cleats.