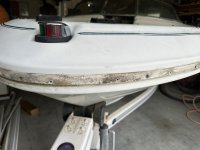
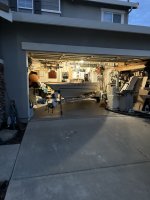
Pop the cap they say, its easier than it sounds they say....
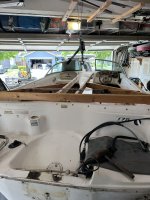
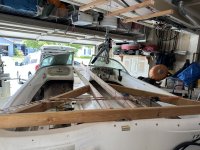
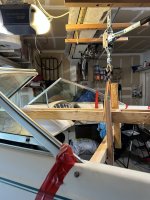
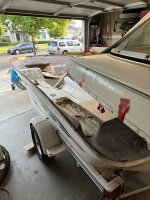
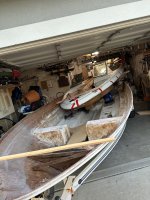
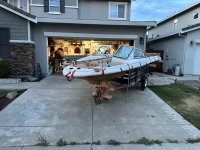
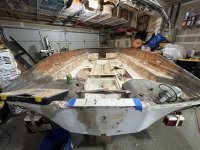
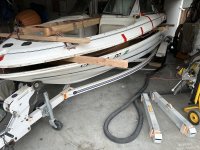
Well after about 10 hours last weekend I have this to show.
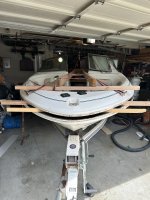
It took a lot of work for this one man team. With the supporting boards on top I used a come along attached to the beam in the garage to get the back to separate. I posted about that earlier. Turns out the stern was the easy part.
In the bowrider section the factory used PB to glue the cap to the deck in multiple places. For the sections I could see under the dash I managed to cut those part way with the die grinder and got them to release the rest of the way using a negotiating hammer and a lot of negotiating sticks. (2x4 cut with taper). Once I got that part done I thought I had it BUT of course I was not. I found that the one stringer that was glassed in at the bow was secured with PB.
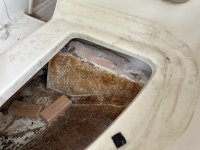
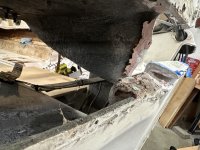
That one popped "easier" with a few minutes of intense negotiating. The real hard part turned out to be the bottom the bow area. On my cap the entire bow is part of the cap. By the feet area it has a 1" step up into the bow from the decking connected to the hull. That area had been laid down on a few giant plops of resin.
It took me a long time to figure out what was holding it. Lots of flashlight and phone cameras into the areas that were still hard to get to finally revealed it. Once found I had to use a 6" wide sheet of ply cut with a taper and some intense negotiations with a large hammer. Eventually the resin gave and the glass all remained intact. Pop, it was free.
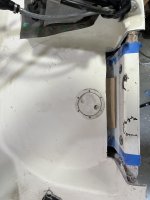
If there was one highlight to the weekend its that there is now officially NO MORE of this hideous carpet in the boat.
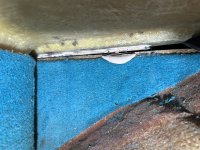
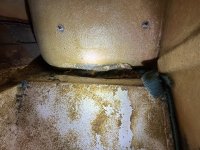
After I removed the carpet I noticed that some of the tabbing in the bow area looks pretty questionable. While the top is off I am going to reinforce those I think.
So its in two pieces, the wires all secured with tape to dangle while still connected to the cap. This week I need to go get some beer to lure over the muscle to get this thing picked up and moved.


