96 regal cuddy transom replacement

Matstang

Cadet
Joined
Oct 2, 2012
Messages
16
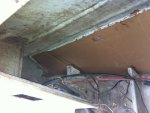
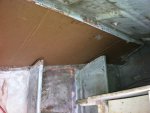
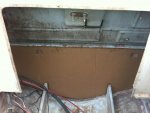
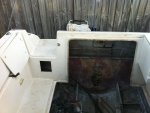
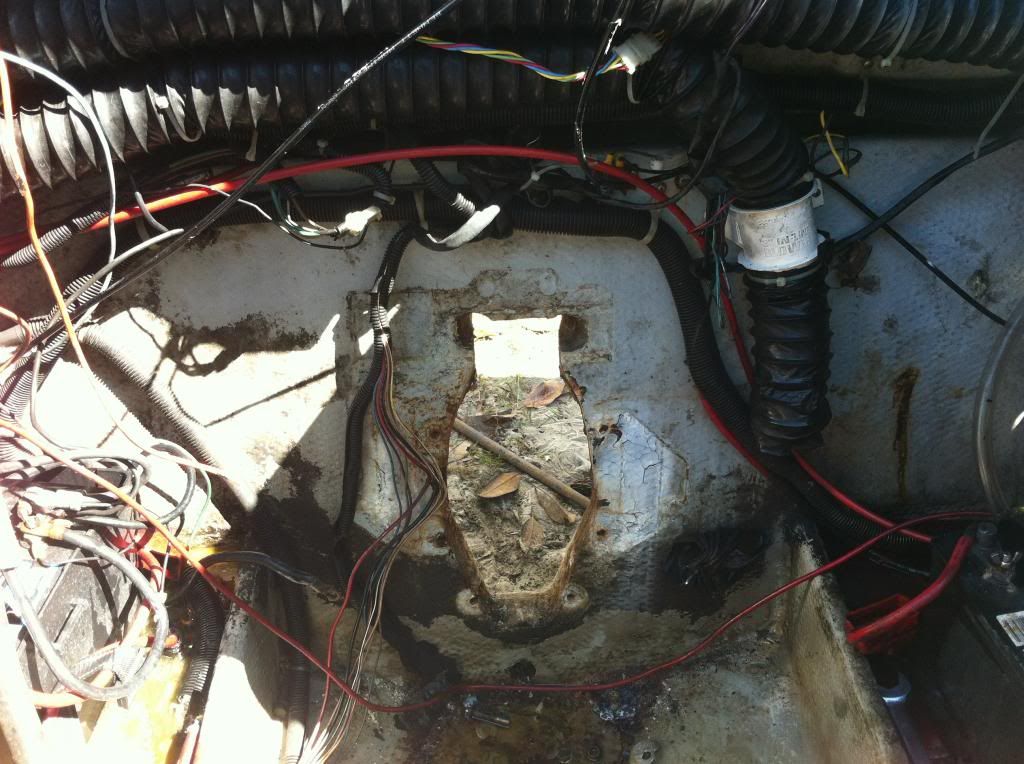
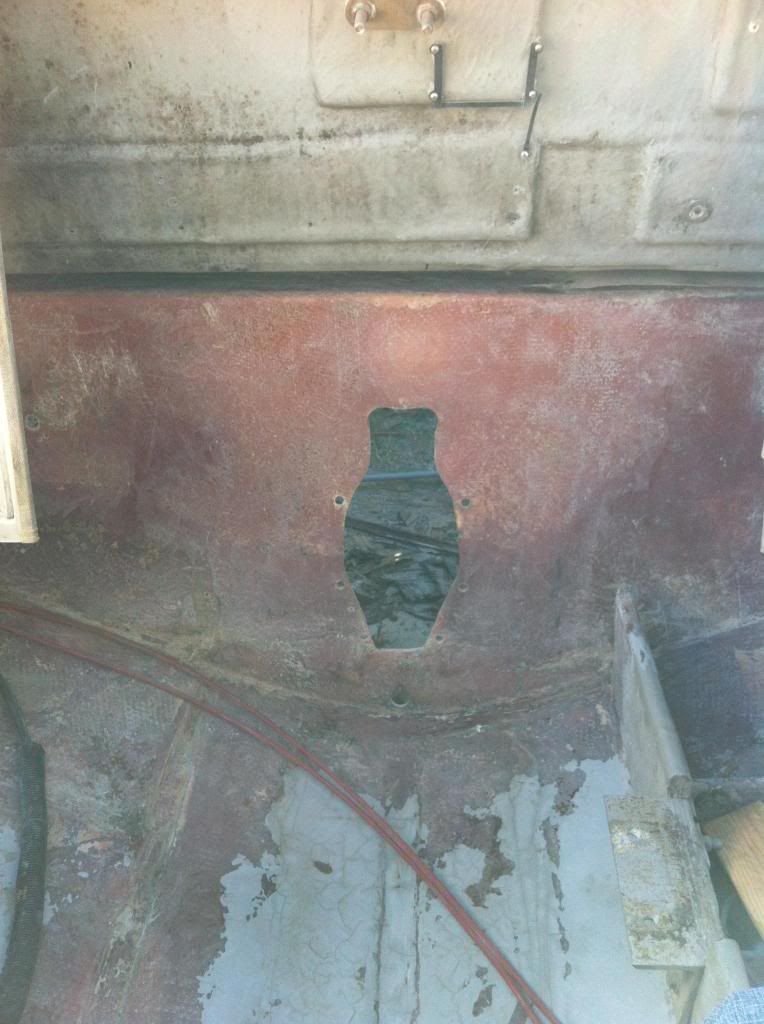
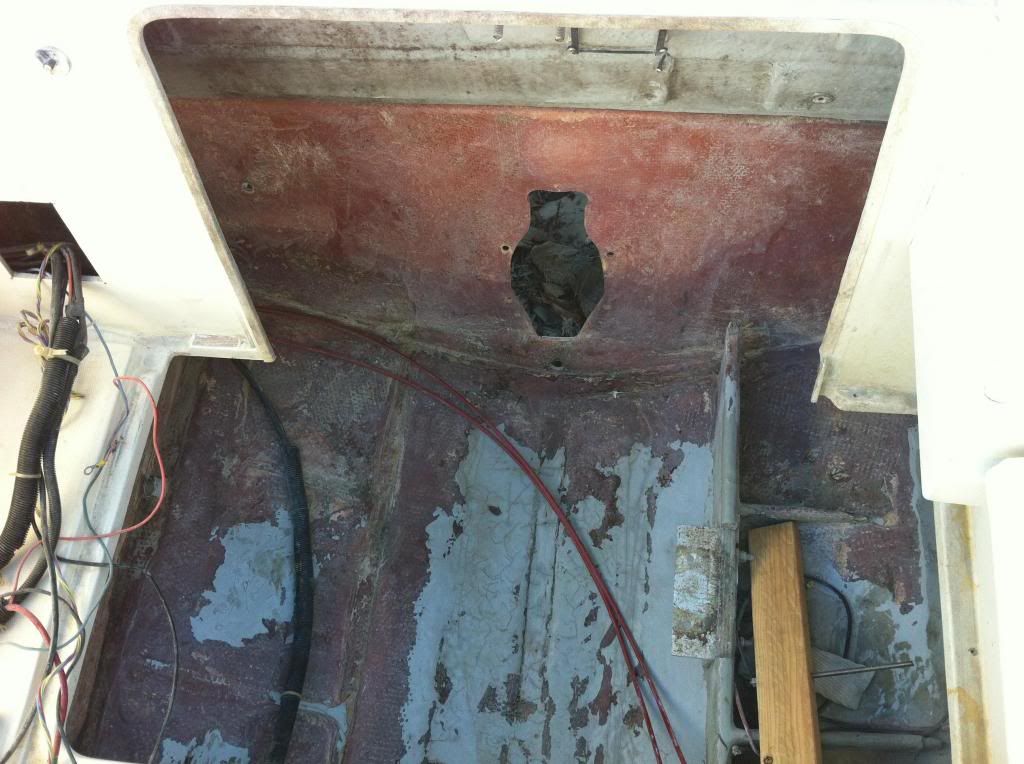
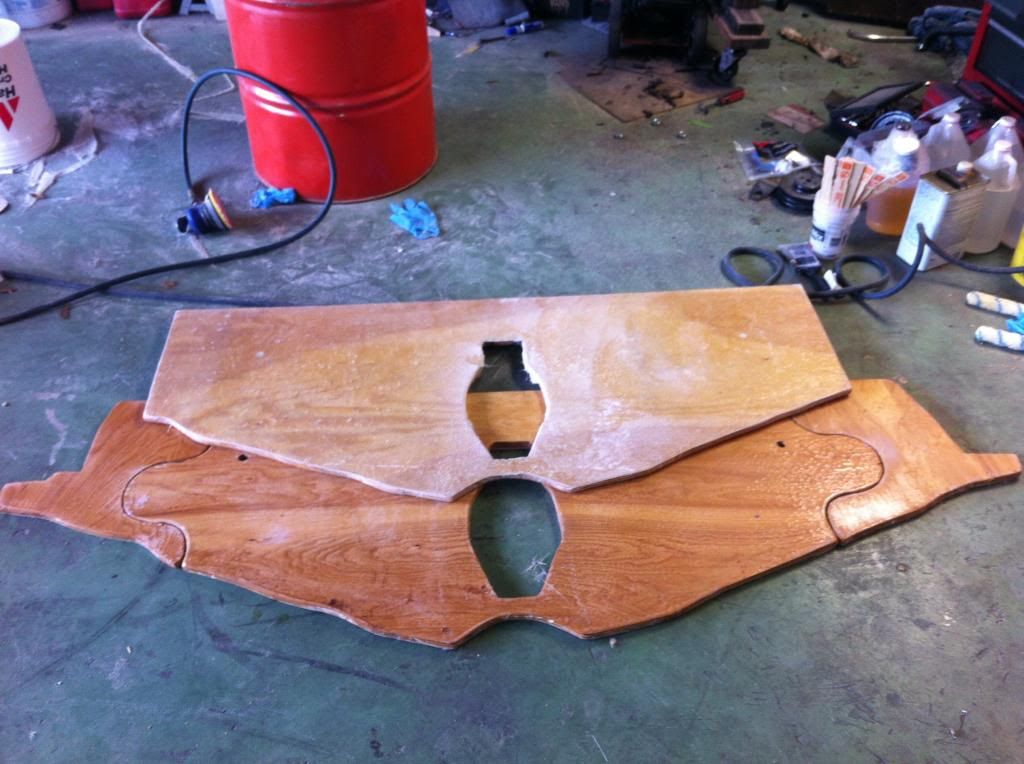
First off, I want to thank everyone on this forum for posting so much information! Without reading through countless threads I wouldn't even think about tackling this on my own. I have a 96 regal cuddy, about 24 feet. I noticed that my transom was toast. I honestly couldn't even tell how it was put together, after cuting the skin the plywood pretty much fell apart. I knew it was bad when I cut the skin and saw water dripping from my dremel bit. I still have more grinding to do, but I started to cut my template (I need a break from all the sanding!). There are 2 3/4 pieces that goes on. One goes the entire width, and the other goes between the 2 outer most stringers. On my template it's between the 2 black lines. I realized that there is no way to fit a piece of plywood that goes the entire width of the boat. The opening is too small. So my question is will it be structurally ok to cut that piece? I'd only need to take off one side from the outer stringer on. Or should I cut it where the 2 piece overlaps? Or is any cutting going to put me at risk of breaking the transom?

IMG_0283.jpgIMG_0281.jpgIMG_0280.jpgIMG_0279.jpgIMG_0278.jpg

I'm at a lost on what to do here, and what will keep my boat and myself safe..
 

Matstang

Cadet
Joined
Oct 2, 2012
Messages
16
Re: 96 regal cuddy transom replacement

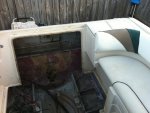
Here are a few other pics of whats beyond the engine bay.

IMG_0285.jpgIMG_0284.jpg
 

tpenfield

Moderator
Staff member
Joined
Jul 18, 2011
Messages
18,038
Re: 96 regal cuddy transom replacement

Welcome to IBoats. . .

just curious if the stringers are OK?

Yes, based on your situation, it looks like you will be putting the plywood in several pieces. I would figure out the biggest piece of the template that you can jockey in there and then take 1/2 of the difference off of each end. That will make the center piece be as large as possible and the cut pieces to the outer most part of the transom.

You can go a bit extra thickness on the inner skin of the transon in those cut areas to make up for any weakness. The center where the outdrive goes through needs to be within spec for the transom assembly. Very critical.
 

Matstang

Cadet
Joined
Oct 2, 2012
Messages
16
Re: 96 regal cuddy transom replacement

Thanks!

From what I see the stringers are fine, which does baffle me. I've drilled a few test holes and they were solid. Where I took the transom out, I can see the stringer wood, and again - solid. I find it too good to be true. I would assume the fungus has gotten to it, and maybe I have limited time but for now it's fine. I'm glad, I'd really be clueless on getting to the stringers for the full length of the boat. I'd guess you'd have to decap it, and I will not even think about doing that.

When I tore it apart I documented the thickness where the transom is, so I'm good there. Thanks for the advice! Still looks like I have a long road ahead of me to get this thing back on the water.
 

tpenfield

Moderator
Staff member
Joined
Jul 18, 2011
Messages
18,038
Re: 96 regal cuddy transom replacement

For any exposed wood that may be questionable, you can use regular automotive antifreeze as a rot inhibitor (but don't tell anybody :happy: ).

Often the transom is fully isolated from the stringers so that the rot does not spread to/from the two. I wish that the main bulkhead were more commonly isolated from the stringers.

Yes, if your boat had extensive stringer issues, then you would have to take the 'cap'/cockpit liner out/off to gain sufficient access. I had a Formula 24 footer that had the bulkhead rot and it spread forward into the stringers. Fortunately, I was able to replace just a small section of the stringers and marry them to the original stringers.

http://forums.iboats.com/boat-resto...nger-bulkhead-repairs-w-many-pics-534913.html

Post lots of pics as you go and feel free to use the 'photbucket' or similar web method for posting photos.
 

Matstang

Cadet
Joined
Oct 2, 2012
Messages
16
Re: 96 regal cuddy transom replacement

Good read, looks like you have a lot of the same access issues I have. I might have mis read, but did you fill the stringers with resin and CSM on the ones you couldn't access? How did you clean the old wood from them? This might be something I'll have to tackle in the future...

So I'll give the photobucket method a shot.

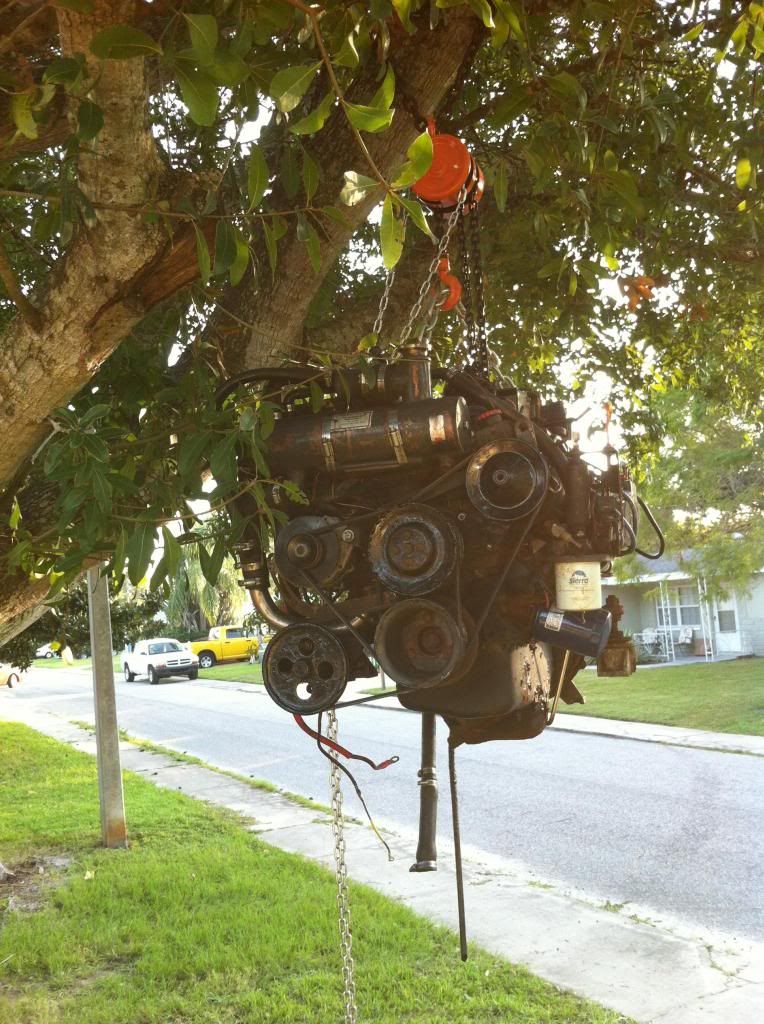
So here is me applying for the monthly redneck of the neighborhood award -
IMG_0230_zpsd1985b10.jpg


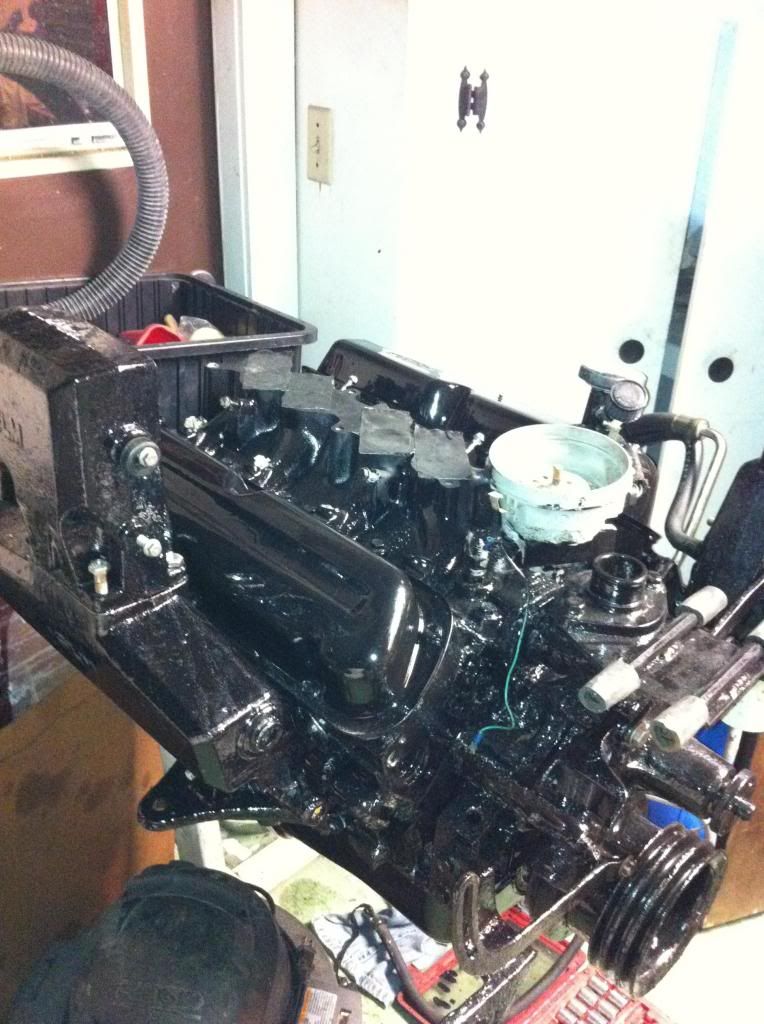
This was around X-mas time. I was thinking of letting the engine sit here and put X-mas lights on it :) I'm currently coating my engine with POR-15. It runs great, but very rusted.
IMG_0233_zpsb2c7c6d8.jpg


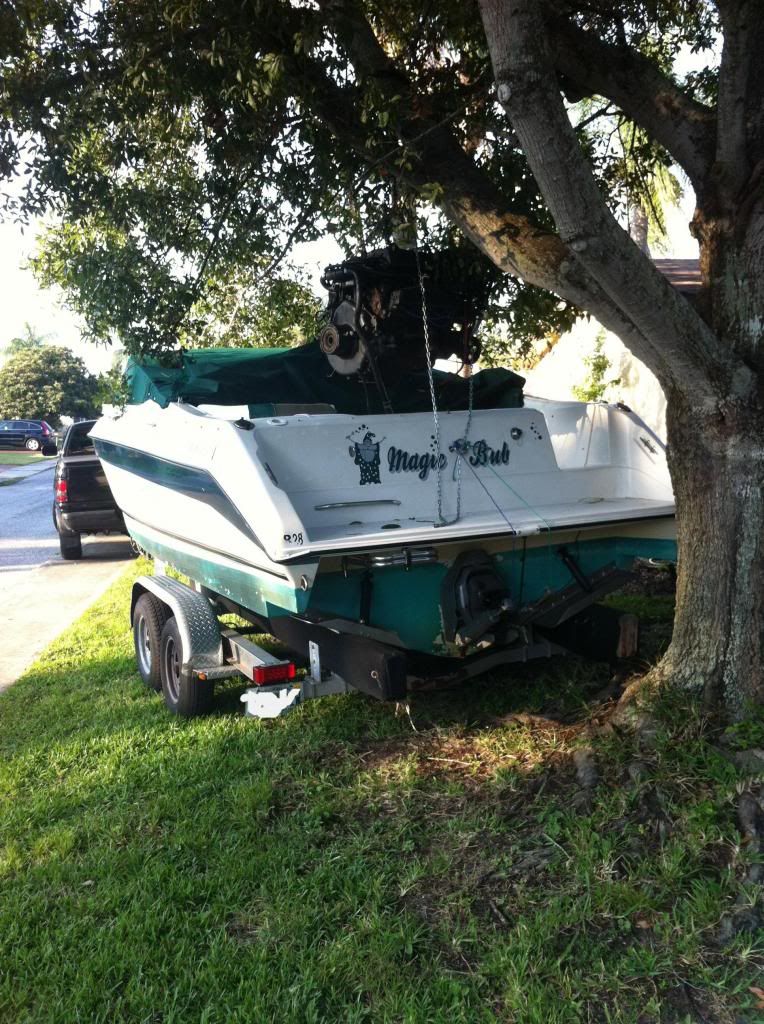
I lost the award. I quickly moved it to my garage on an engine stand. I'm sure my neighbors appreciated that! Here is the transom before I tore it apart. I didn't realize how bad it was until I pulled the engine and took a long hard look at it.
IMG_0237_zps6514700b.jpg
 

carholme

Rear Admiral
Joined
Sep 4, 2010
Messages
4,845
Re: 96 regal cuddy transom replacement

"So here is me applying for the monthly redneck of the neighborhood award"

Classic, absolutely classic!

Good for you, whatever it takes. Would have looked good with the Christmas decorations.

Gerry
 

tpenfield

Moderator
Staff member
Joined
Jul 18, 2011
Messages
18,038
Re: 96 regal cuddy transom replacement

Good read, looks like you have a lot of the same access issues I have. I might have mis read, but did you fill the stringers with resin and CSM on the ones you couldn't access? How did you clean the old wood from them? This might be something I'll have to tackle in the future...

I was able to access everything that needed to be replaced, but it was a bit tricky cutting things out. I used some long reach drill bits and modified some to be more like milling bits.

The engine mount stringers - I filled filled them with csm and resin, since they were fairly narrow. After digging out the 'wood flakes', I used some long drill bits with 50 grit sand paper taped to the end and a high speed drill to clean them out and get into the fiberglass a bit.

In the engine bay, the outside stringer on the port side was wet, but solid. So I let it dry out and then doped it up with anti-freeze and then let that dry out. On the starboard side, the companion stringer (just outside the engine mount stringer) was more rotted. I opened up the side of it to gain some access and did a partial replacement of the wood, then doubled up on the fiberglass to give it some added strength.

The thing about repairs is that you end up doing a few things that are not 'textbook'. All said and done, the boat was probably more solid than when it left the factory, as I fixed things that weren't quite right along the way.
 

Matstang

Cadet
Joined
Oct 2, 2012
Messages
16
Re: 96 regal cuddy transom replacement

Yea, I would have to agree. Good old ingenuity goes a long way. But sometimes that gotten me in some trouble :facepalm: Another question, on my transom you can see where the factory must have had air pockets in the mating. Some spots have the top layer of resin missing exposing the fiberglass matting, and some spots have the resin still on top over the matting. I'm thinking I should grind all the top layer resin away, and fiberglass mating till I get to the other layer of resin making that uniform thru out my transom. Sound good or am I making too much work for myself? Hey wait - doing this entire job is me making too much work for myself!!!!

Here's my engine coated with a layer of POR-15. I'm really courious on how well the oil pan holds up after a few years. They didn't have volvo grey, but I'm not to concerned with the color of the engine. Hopefully I won't have to see it much!

IMG_0286_zpsf5cd3908.jpg
 

Matstang

Cadet
Joined
Oct 2, 2012
Messages
16
Re: 96 regal cuddy transom replacement

I've been spending my weekends sanding and grinding away. It seems like it lasts forever. As a newly wed I'm finding it's a hard and delicate balance to keep my labor intensive boat project going and keep the wife happy too! I'm on to sealing my new transom with resin. I couldn't be happier, I see the light at the end of the tunnel. I really want to start putting the new transom in this weekend. So yesterday, valentines day, I snuck in the garage to give my wood a quick coat of resin. My issue is I didn't think about the front comming thu florida. I live near Tampa. So I did this while it was raining out. After the fact, it dawned on me this is a major no-no. Rookie mistake.. This morning the wood is tacky. Do I wait it out? Rub it down with acatone? I'd sand it, but since it's still soft I don't know if that will help any. I'm using US Composites 3:1 epoxy resin. It rained the day before (hight 70's for the temp), yesterday (low 70's) and the last of the rain - if any - will finish off today. This weekend should be sunny skies again, in the high 60's.
 

wolfsmurf

Petty Officer 2nd Class
Joined
May 6, 2010
Messages
131
Re: 96 regal cuddy transom replacement

Good read, looks like you have a lot of the same access issues I have. I might have mis read, but did you fill the stringers with resin and CSM on the ones you couldn't access? How did you clean the old wood from them? This might be something I'll have to tackle in the future...

So I'll give the photobucket method a shot.

So here is me applying for the monthly redneck of the neighborhood award -
IMG_0230_zpsd1985b10.jpg


This was around X-mas time. I was thinking of letting the engine sit here and put X-mas lights on it :) I'm currently coating my engine with POR-15. It runs great, but very rusted.
IMG_0233_zpsb2c7c6d8.jpg


/IMG]

Dude!
I thought I was at least in the top 10 with my piddly beside the house pine tree/come-a-long method, your like 10 feet from the street! I am unworthy!

Insert worshiping gestures here :D
 

tpenfield

Moderator
Staff member
Joined
Jul 18, 2011
Messages
18,038
Re: 96 regal cuddy transom replacement

I've been spending my weekends sanding and grinding away. It seems like it lasts forever. As a newly wed I'm finding it's a hard and delicate balance to keep my labor intensive boat project going and keep the wife happy too! I'm on to sealing my new transom with resin. I couldn't be happier, I see the light at the end of the tunnel. I really want to start putting the new transom in this weekend. So yesterday, valentines day, I snuck in the garage to give my wood a quick coat of resin. My issue is I didn't think about the front comming thu florida. I live near Tampa. So I did this while it was raining out. After the fact, it dawned on me this is a major no-no. Rookie mistake.. This morning the wood is tacky. Do I wait it out? Rub it down with acatone? I'd sand it, but since it's still soft I don't know if that will help any. I'm using US Composites 3:1 epoxy resin. It rained the day before (hight 70's for the temp), yesterday (low 70's) and the last of the rain - if any - will finish off today. This weekend should be sunny skies again, in the high 60's.

Hopefully, the Admiral will afford you enough time to post some pictures of your work.

Is that a Ford engine? Sorta looks like one. . .
 

Matstang

Cadet
Joined
Oct 2, 2012
Messages
16
Re: 96 regal cuddy transom replacement

LOL, I don't know. A pine tree and with a come along? That would be a pretty good sight too!! Pine tree branches are high! You can barely see it, but next to the cement street light I had a pretty big pine tree. Only a stump remains now. When all the hurricanes passed thru it leaned over to my neighbors house the city cut it down. I was pretty upset, I pay a huge insurance bill. And have my neighbor get a new roof and remodeled house from my insurance! Thats just not right!!! Thankfully no ones house was damaged and it was caught in time.
 

Matstang

Cadet
Joined
Oct 2, 2012
Messages
16
Re: 96 regal cuddy transom replacement

Yes, it is a 302 ford. Fuel injected too. I love fords, but I do wish I had a chevy. It's so hard to get parts for it. My lower intake broke at the water neck. OMC doesn't make them, it couldn't be welded, and I couldn't find a used one. I know I'll get flamed for this but I had no choice. I got one from a junk yard and put a fresh water cooling kit on it. I have more pictures, I'll try to post them up tonight.
 

79Formula

Seaman Apprentice
Joined
Aug 2, 2012
Messages
39
Re: 96 regal cuddy transom replacement

Thats just a ford FI manifold off any mustang, town car, cop car, or explorer. Call some junk yards.
 

Matstang

Cadet
Joined
Oct 2, 2012
Messages
16
Re: 96 regal cuddy transom replacement

Yea, I got one from a you pull it for 30$. But, it is not a marine manifold - and neither are the car ones. The difference is the water jacket has a bronze (I think, maybe brass) core to protect it from the salt water. Hence the upgrade to the fresh water cooling kit. Salt would just eat the aluminum away.
 

79Formula

Seaman Apprentice
Joined
Aug 2, 2012
Messages
39
Re: 96 regal cuddy transom replacement

For $30 if it lasts 5 yrs that would be fine.
 

Matstang

Cadet
Joined
Oct 2, 2012
Messages
16
Re: 96 regal cuddy transom replacement

Yep, and fresh water cooled, as long as no salt water sneaks in it should last the lifetime of the engine.

Back on topic, here is what I have been doing EVERY weekend. Man, this is hard work. It's so much easier cruising thru the forums and saying to yourself "yea, I think I can do that" as you page your way to the last post when the project is completed.

Here is the sanded transom. You guys weren't lying, this was very hard work. I'm so glad this is behind me..

IMG_0291_zps4f5e672d.jpg


IMG_0292_zps3e8ff796.jpg


So you may have noticed, I had a little change in plans. The bracket that holds the motor up blocks a drain hole. The way the deck drains all the water goes to the starboard side, so this stringer sees the most water. The drain hole was clogged up, and always wet. I put my finger in there and noticed rotted wood. Another issue was when I put the transom in I had to slide it between the stringer and back. This was difficult to do, and when I did get it in I would have scrapped off any penut butter that was there to seal it. Between those to reasons, I decided to measure and remove it. It just would make life so much easier. Not to mention I want to be sure I get a good bond from my new transom to the outter skin.

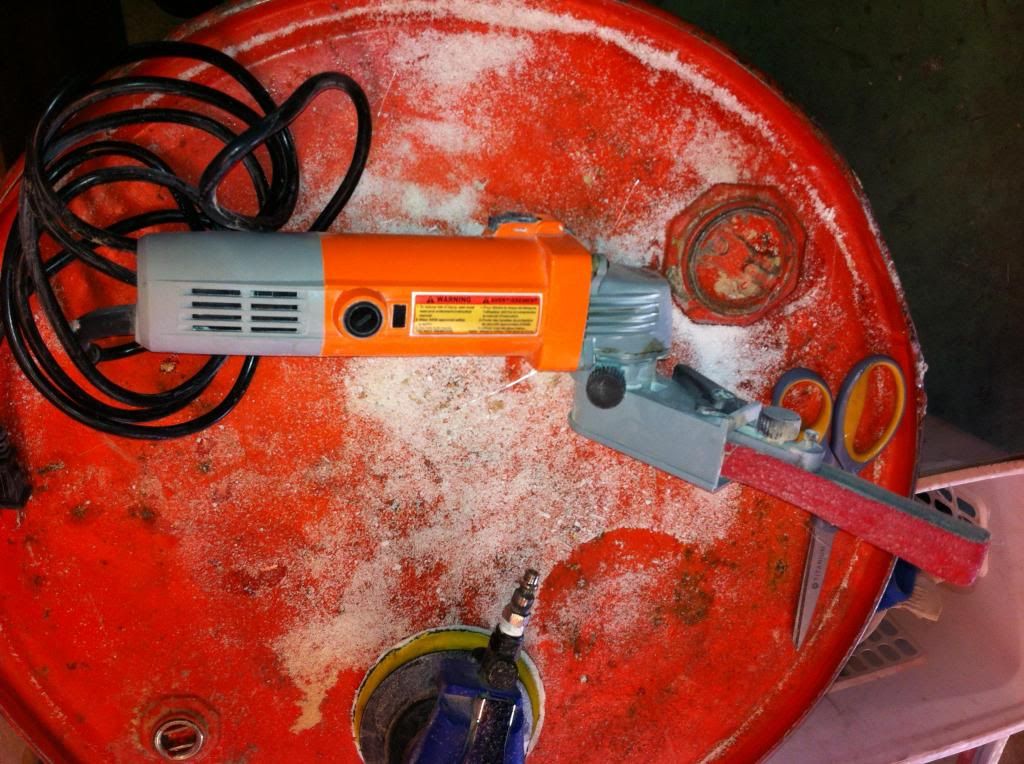
Also, the little space where my swim platform is, only an inch tall. How to sand in that little space? Hehe, Harbor Freight to the rescue! I picked this up and worked perfectly. The funny part is the belts they give you, and the ones I bought from grainger boke constantly. So I went to home depot and bought a huge on, and cut it to width myself. Worked so much better! But in true Harbor Freight fashion, my tool started to smoke and act up at the end of the job. At least I finished before it completely went out, but still for a 30$ tool what do you expect? It served it's purpose well.
IMG_0294_zpsef3ebf58.jpg


So here is how I did my transom. Since the wood wouldn't fit in I had to cut it. I did an "S" pattern where the very middle of if would hit the outter stringer. I plan on using peanut butter, then just the first piece of plywood on the transom. Let it dry overnight. Then lay 1.5 oz chop strand mat to mend the cut wood together, while putting the last layer of wood on. The last layer will also help tie it all together. Would be a perfect weekend job as it would probably take 2 days...

IMG_0289_zps9c35bc97.jpg


So I'm doing some searching on making peanut butter and getting ready to attach the first layer. I'm kinda nervous about this, I know this is an important bond and I've never done this before. I got all my 2X4 clamps setup and positioned, acetoned the wood and boat, then couldn't find my trowle. No big deal, home depot is right up the street. On the way home I noticed this -

IMG_0288_zps89c4aba2.jpg


I'm not making that mistake again!!!!!!!! As much as I hated to do it, packed it all up and called it a day. Funny part is it didn't even rain. Oh well, better safe then sorry. So it's sunday morning, and looks like clear skys. Time to research on making peanut butter (I have cabosil, 1/4 chop strand). I'm just unsure how much of each to use. Then off to put in a transom...
 

happyhitter

Cadet
Joined
Mar 17, 2012
Messages
13
Re: 96 regal cuddy transom replacement

Hey Mustang, looks to me that you're doing a fantastic job. Thats right...take your time and do it with a good thought process in mind, along with some help from such a great site like this....very valuable resource. I was compelled to reply to you due to the fact that i also have some serious rot issues with my transome and motor mounts and flotation boxes full of soaked foam. I have a 1988 Four Winns 245 Vista that i purchased 4 yrs ago. Bought someone elses neglect combinded with maybe some sloppy workmanship at factory. Its 24.6 ft and has a fully enclosed cabin. I as well wouldn't even think of pulling the cap off. What a job that would be! Fortunately im all dry from motor mounts forward. PLEASE CONSIDER THIS. My boat is (was) also powerd by OMC and have reilized (3 yrs ago) that many of these parts are unavailable with more soon to be the same im guessing. My outdrive was completely destroyed (gears). At the age of 56, I've decided to convert it to Mercruiser which is going to further add costs. I ALSO BELIEVE that my lower unit failed due to week core wood and soaked wood inside both engine stands (water leaked thru all eng. stand lag screws and rotted away!) I think the eng. was a little loose on its stands and transome was badly flexing on torque CAUSING the gears etc to fail. Please consider converting to Mercruiser for less future headaches. You may have to go with a Chevy 350 if can't find a trans plate housing for a Ford block. Sorry, but shoud not be too expensive. ALSO, consider adding a "knee" to your stringer at rear and make it meet your new transome. I found this neat trick here at IBoats and it adds more strength for torque transfer when get up on plain. Please reply with your exp. w/ PB and how to mix it. Don't forget to clamp your new wood when u epoxy it to outer skin. How thick is new transome for inner and outer transome brackets at the key hole. Good luck and take your time, do it rite and it WILL be stronger than it was when it came from factory.
 
Top