Re: 96 regal cuddy transom replacement
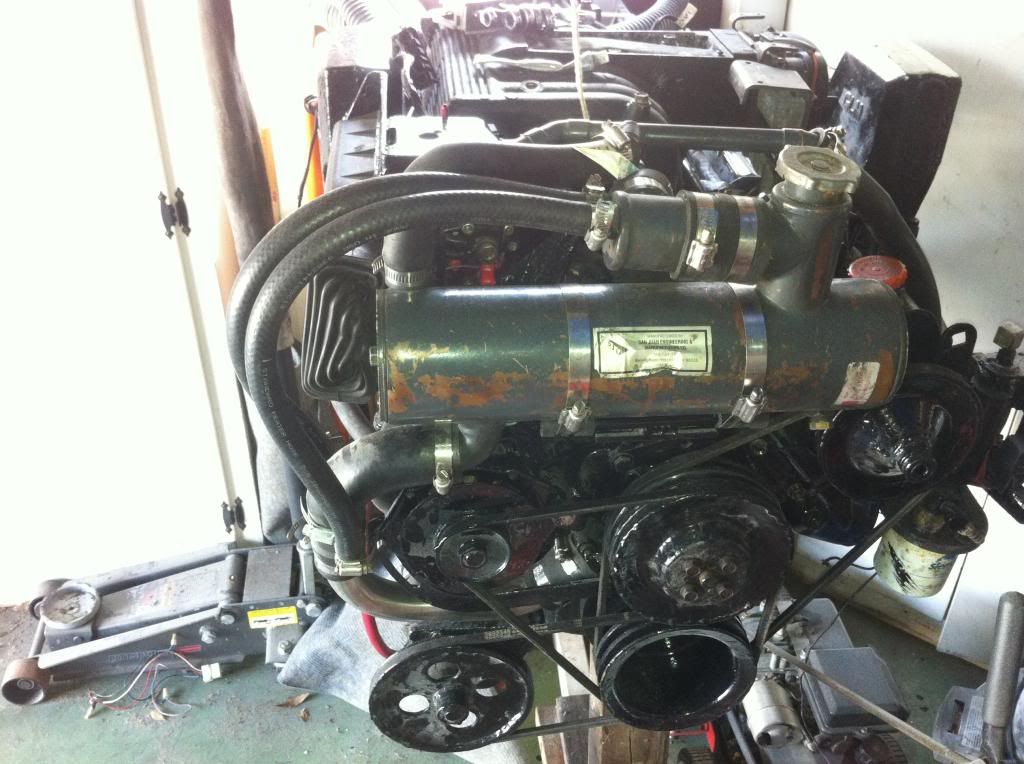
Thanks! I by no means know what I'm doing, but I can read and copy what everyone else is doing! I've learned a lot from this boat and this forum. I originally had a volvo engine, still a ford 302 only carbureted. I really didn't know what raisers and manafolds were, and the importance of maintaining them. The guy who sold me the boat even told me they will need to be replaced in a year or so. Well, I didn't. And the heads were trashed as a result of it. So I found the OMC EFI engine I have now for 3K. Thinking back, I should have never went with a ford and switched over to a chevy 350. At the time I did explore putting a 350 in, but was afraid of the motor mounts and got scared of all the modifications I had to do. If this engine goes, I'll be going the 350 route. I'm pretty confident I can make it work now. The outdrive is a single prop volvo SX. I have had no issues with it. I'm pretty happy with it.
I'm still learning simple stuff. I thought it was normal to have water in the bilge. And the pump kicking on every hour was normal. Found out it wasn't...The saw the transom was rotted. Looking on craigslist I also noticed that everyone's engine's looked so much better then mine. I'm guessing this was because they didn't always have salt water hanging on in their bilge evaporating up into all the engine parts! On teardown I noticed a small hole in the exhaust. It's very hard to see in the pic, but the screw driver is in it. That was leaking for sure..
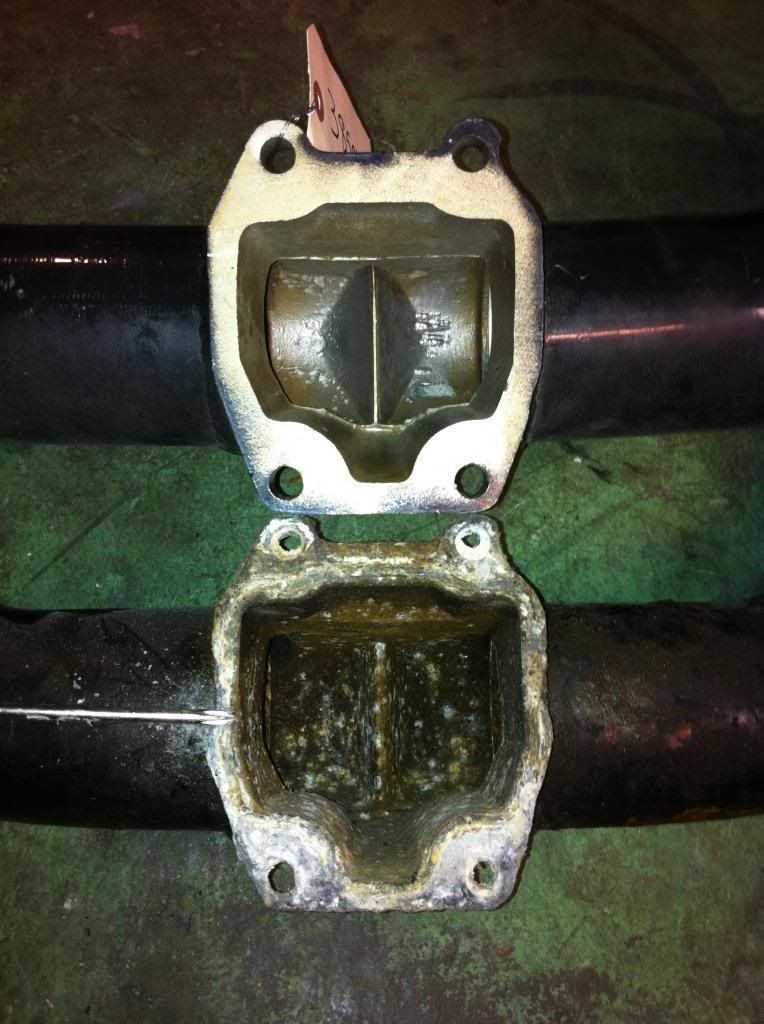
That new exhaust in the pic just came in Friday. I saw the bellows also had water in them. Then I saw water stains where it looked like it was entering in the transom. Needless to say I got to this in the nick of time. Things needed attention badly! So I'm making them all right It's a hard process, but I'm learning, and will do that much better next time.
I looked in the "kneeing". Not a bad idea.. My only concern is I'm very tight on space. I didn't notice the transom flexing, it's the above that made me do this. I do have that swim platform, and I think it helps with strength. I have thought about closing that 1 inch gap between the platform to help give it strength, but it will cut off access to the ladder screws.
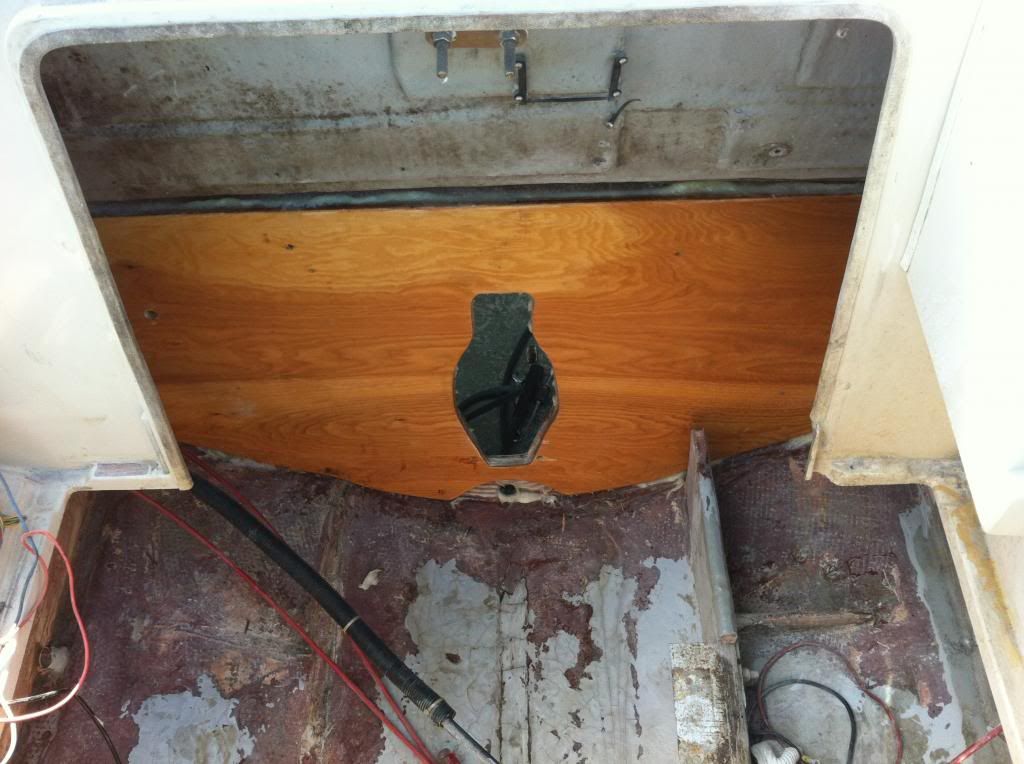
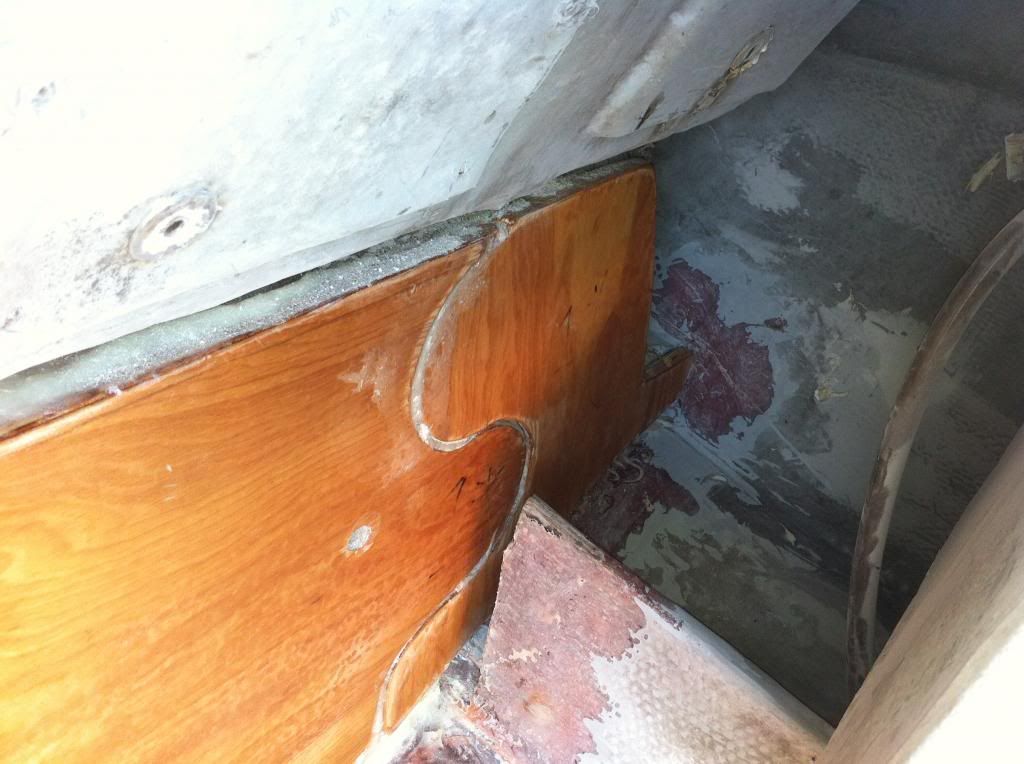
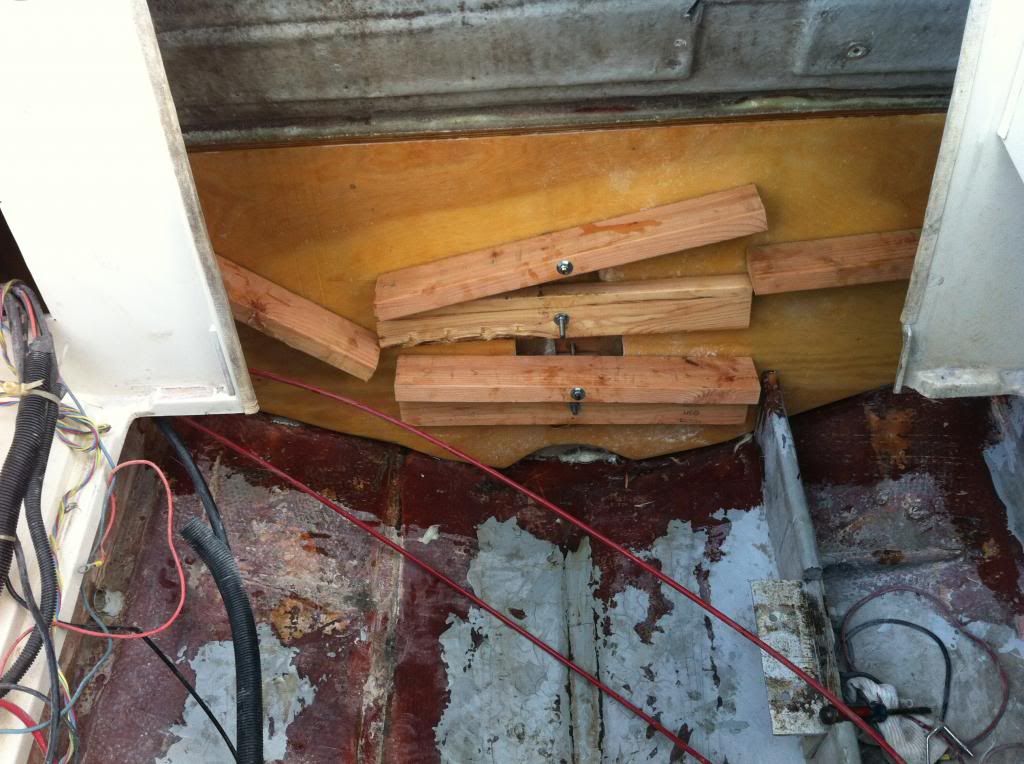
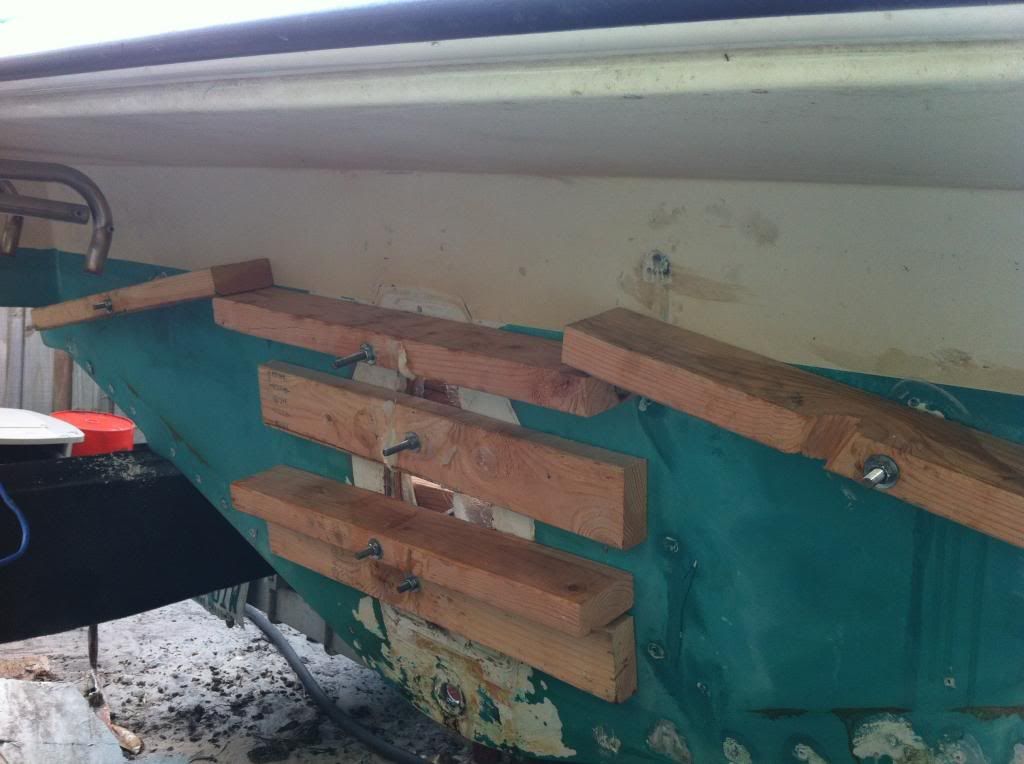
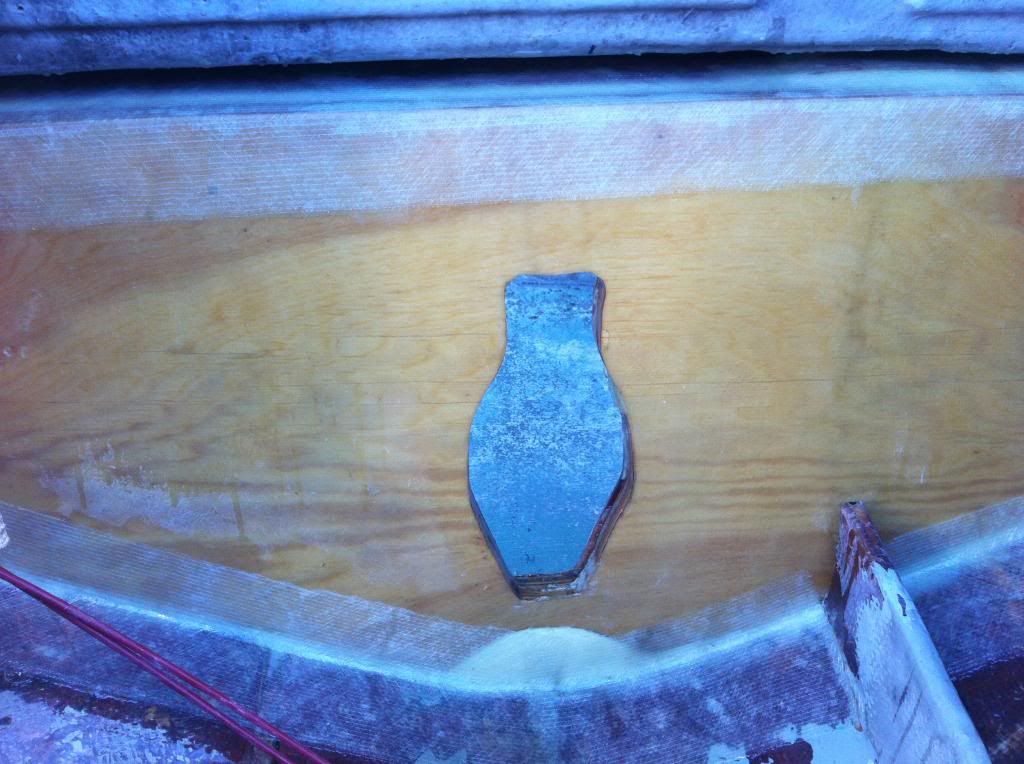
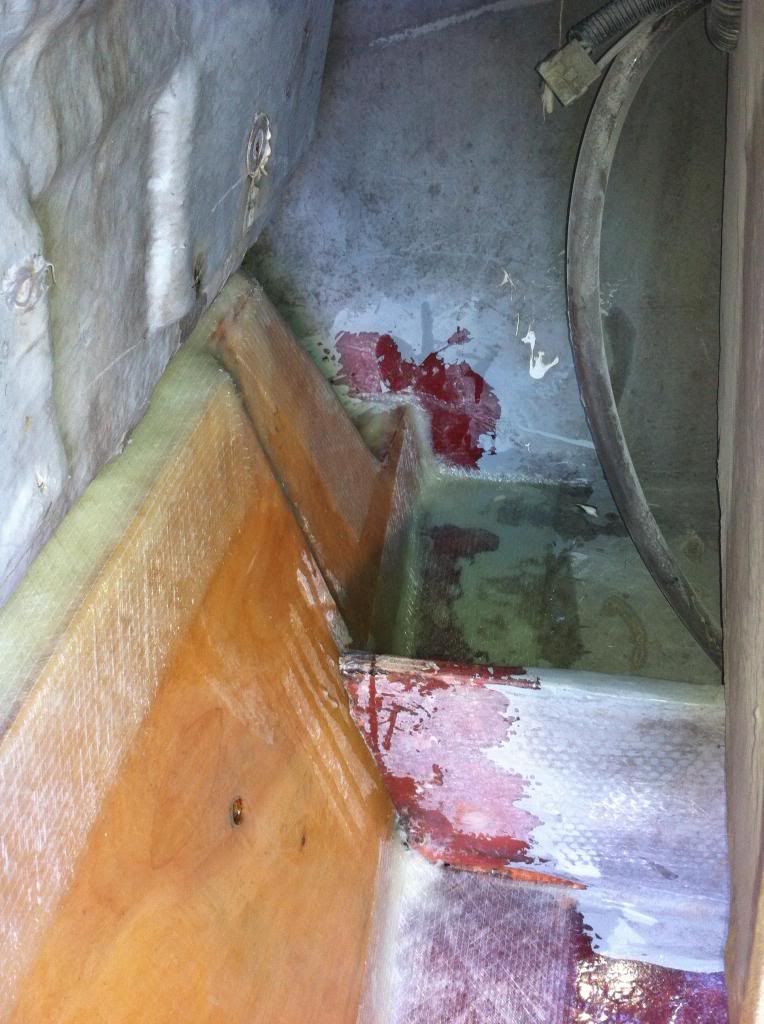
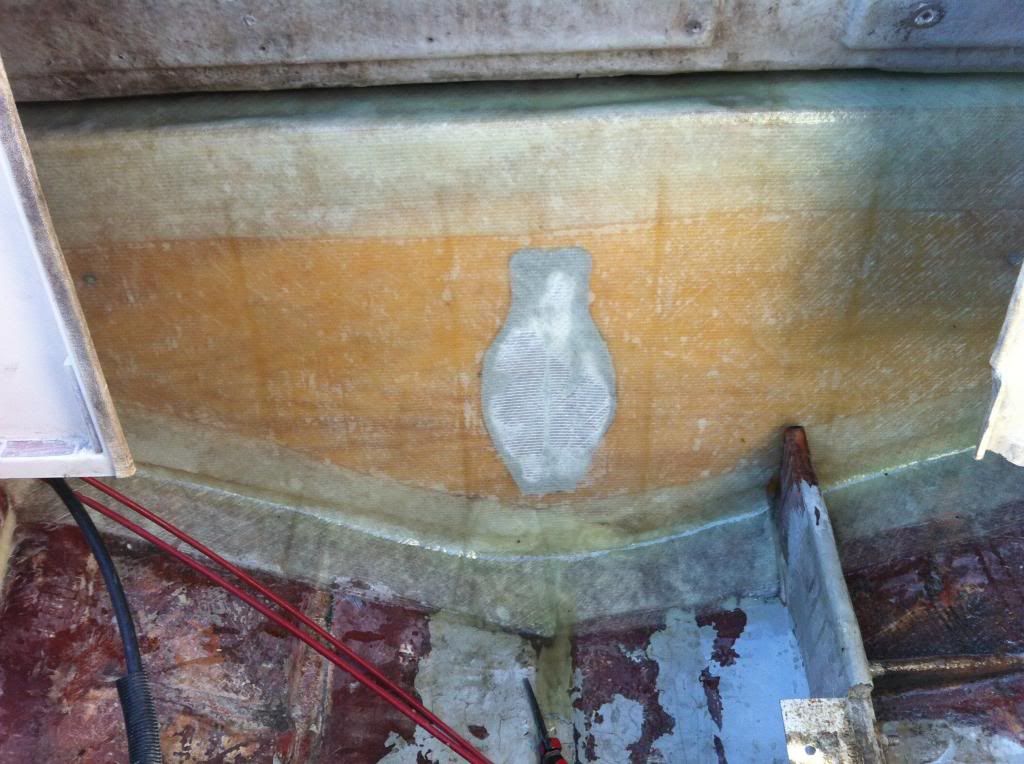
The PB went ok. I didn't find a recipe, it seems like people are just making it until it gets to the right consistency. The first batch wasn't thick enought. I was using a drill bit mixer. I don't think it would have been good without it. the cabosil is hard to mix in, and it blows away easily. It's just so light and airy. The second batch was better but I put in too much chop strand, so it was hairy. Both batches should work ok, but they did need imporvement. I do agree, even with my rookie mistakes, I still feel this will be better than what it came with. I'll post pics next time I get the cover off the boat. The new transom is clamped in. I still need to put the last piece on, then on to tabing and laying the 1708 bi-ax.
Thanks! I by no means know what I'm doing, but I can read and copy what everyone else is doing! I've learned a lot from this boat and this forum. I originally had a volvo engine, still a ford 302 only carbureted. I really didn't know what raisers and manafolds were, and the importance of maintaining them. The guy who sold me the boat even told me they will need to be replaced in a year or so. Well, I didn't. And the heads were trashed as a result of it. So I found the OMC EFI engine I have now for 3K. Thinking back, I should have never went with a ford and switched over to a chevy 350. At the time I did explore putting a 350 in, but was afraid of the motor mounts and got scared of all the modifications I had to do. If this engine goes, I'll be going the 350 route. I'm pretty confident I can make it work now. The outdrive is a single prop volvo SX. I have had no issues with it. I'm pretty happy with it.
I'm still learning simple stuff. I thought it was normal to have water in the bilge. And the pump kicking on every hour was normal. Found out it wasn't...The saw the transom was rotted. Looking on craigslist I also noticed that everyone's engine's looked so much better then mine. I'm guessing this was because they didn't always have salt water hanging on in their bilge evaporating up into all the engine parts! On teardown I noticed a small hole in the exhaust. It's very hard to see in the pic, but the screw driver is in it. That was leaking for sure..

That new exhaust in the pic just came in Friday. I saw the bellows also had water in them. Then I saw water stains where it looked like it was entering in the transom. Needless to say I got to this in the nick of time. Things needed attention badly! So I'm making them all right
I looked in the "kneeing". Not a bad idea.. My only concern is I'm very tight on space. I didn't notice the transom flexing, it's the above that made me do this. I do have that swim platform, and I think it helps with strength. I have thought about closing that 1 inch gap between the platform to help give it strength, but it will cut off access to the ladder screws.
The PB went ok. I didn't find a recipe, it seems like people are just making it until it gets to the right consistency. The first batch wasn't thick enought. I was using a drill bit mixer. I don't think it would have been good without it. the cabosil is hard to mix in, and it blows away easily. It's just so light and airy. The second batch was better but I put in too much chop strand, so it was hairy. Both batches should work ok, but they did need imporvement. I do agree, even with my rookie mistakes, I still feel this will be better than what it came with. I'll post pics next time I get the cover off the boat. The new transom is clamped in. I still need to put the last piece on, then on to tabing and laying the 1708 bi-ax.


