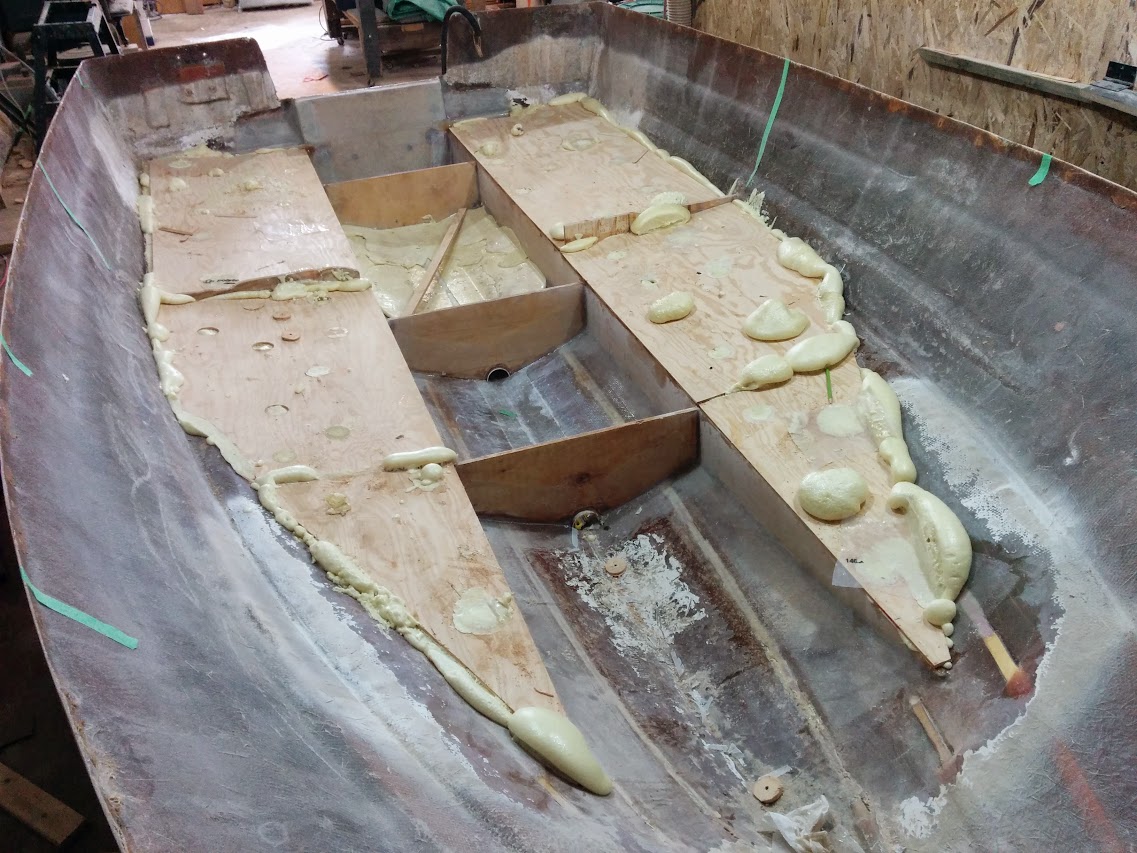
88 Bayliner Trophy 1710 - wet foam and ...?

Status
Not open for further replies.

tpenfield

Moderator
Staff member
Joined
Jul 18, 2011
Messages
18,063
Arawak,

Aluminum fuel tank, right?

It does not appear that your method of fuel tank installation is proper and in compliance with USGC regs. (correct me if I am wrong about what I see. . .) If foam is used around the tank, it must be adhered to the tank with a strong bond, so that moisture could never come between the foam and the tank.

If foam is not used, then the tank must be supported in a way that open air space is all the way around the tank.

It seems like you are going for a combination of the 2 primary methods, which will not give proper resistance to corrosion of the aluminum.

you could still foam in the tank from where you are with the foam, but the technique will have to be a bit creative though.
 

Arawak

Chief Petty Officer
Joined
Aug 27, 2010
Messages
486
Yes, it is an aluminium tank.

Having read both the Transport Canada regulations and the USCG, I think I am in compliance. If nothing else, it is far closer to compliance than it was out of the factory.

It has been pressure tested at 3 psi.

The tank is not encased by foam, but rather it is partially supported by 5lb foam (and partially by the half-pipe).

The tank IS encased by fibre-reinforced plastic -- epoxy resin and 6oz cloth. That's a far more waterproof bond than polyurethane foam will give.

Specifically this is in compliance with the relevant section:

7.3.2.9 No cellular or fibre-reinforced plastic fuel tank encasement shall permit water to:

  • collect between the plastic and the tank; or
  • be held against the tank by capillary action.

Further, the top of the tank will be glassed in such that the tank "coffin" is a watertight and fuel tight compartment. Water on top of the tank will drain into the bilge, which is isolated from the tank coffin.

I think this complies not only with the letter of the regulations, but more importantly with the purpose behind them.
 

Arawak

Chief Petty Officer
Joined
Aug 27, 2010
Messages
486
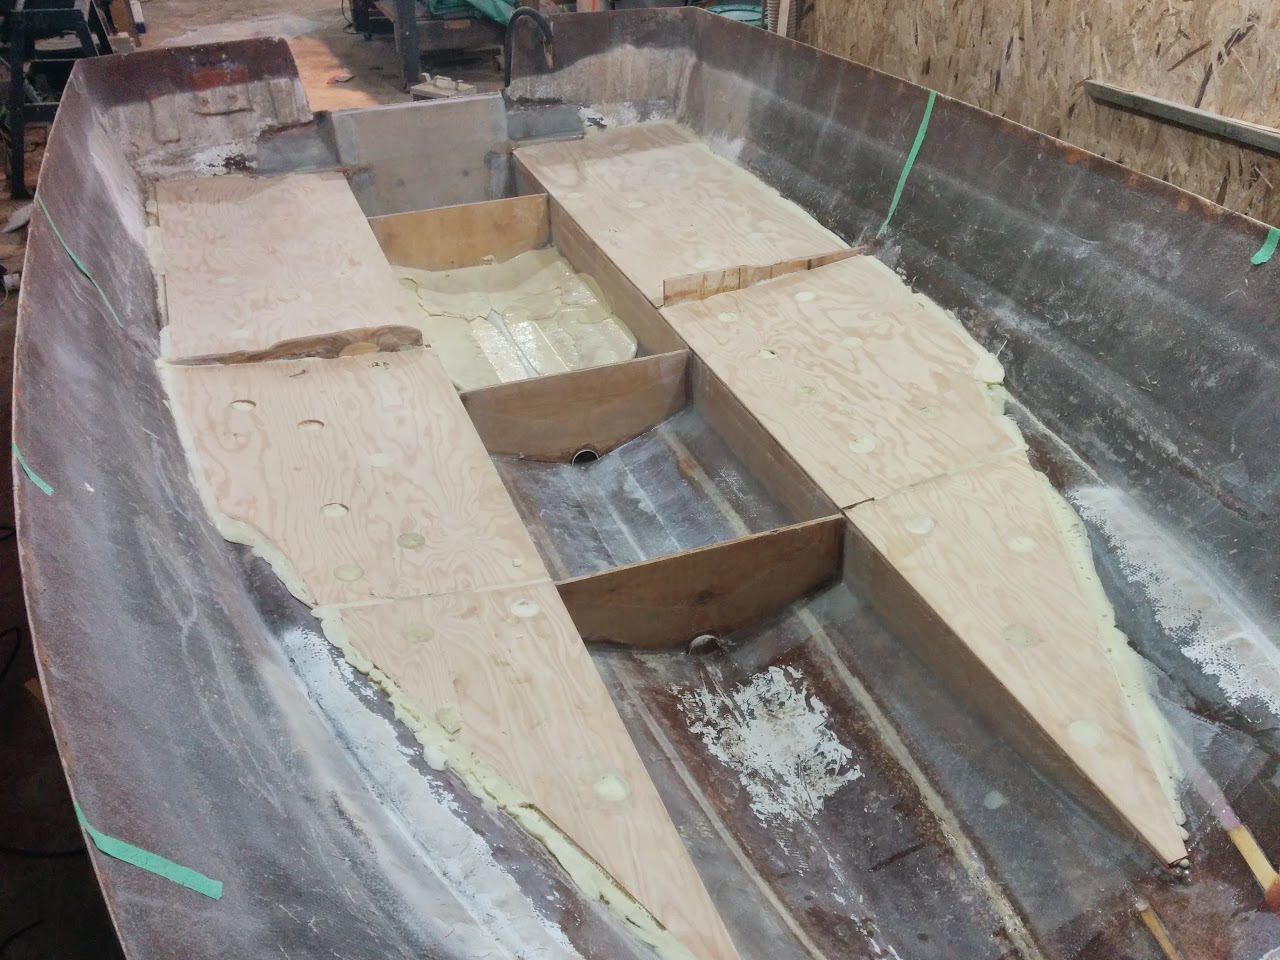
Ok, tops are on, and the foam is in!

IMG_20150426_134608.jpg
 

tpenfield

Moderator
Staff member
Joined
Jul 18, 2011
Messages
18,063
Yes, it is an aluminium tank.

Having read both the Transport Canada regulations and the USCG, I think I am in compliance. If nothing else, it is far closer to compliance than it was out of the factory.

It has been pressure tested at 3 psi.

The tank is not encased by foam, but rather it is partially supported by 5lb foam (and partially by the half-pipe).

The tank IS encased by fibre-reinforced plastic -- epoxy resin and 6oz cloth. That's a far more waterproof bond than polyurethane foam will give.

Specifically this is in compliance with the relevant section:


Further, the top of the tank will be glassed in such that the tank "coffin" is a watertight and fuel tight compartment. Water on top of the tank will drain into the bilge, which is isolated from the tank coffin.

I think this complies not only with the letter of the regulations, but more importantly with the purpose behind them.

Yes, I now recall that you had laminated fiberglass onto the tank. As long as that holds up, you should be good.
 

Arawak

Chief Petty Officer
Joined
Aug 27, 2010
Messages
486
Yes, I now recall that you had laminated fiberglass onto the tank. As long as that holds up, you should be good.

I'm pretty confident it will. I looked up the linear coefficient of thermal expansion for aluminium and calculated how much it would change between -30C and 35C. Of course, that won't be entirely accurate but it gave me a ballpark that was nearly 2 orders of magnitude below epoxy's stretch to failure (~6%). The 6oz woven cloth is just there to build up some thickness.

The tank was wire brushed, sanded, and then wire brushed again just before application, so I should have a pretty good bond.

Originally the tank just sat in the bilge right against the hull, and had strips of plastic tape attached to it. There was some minor pitting under each section when I peeled the tape off. So if that lasted 25+ years, I think mine will go at least that.

We'll see :)
 

Arawak

Chief Petty Officer
Joined
Aug 27, 2010
Messages
486
This week's tasks will be to cut away the excess foam and prep the tops for glassing. I'll tab them to the sides and the stringers and cover with 6oz cloth.

Also need to glass the tank in place.

I'm doing some sanding in the bilge at the rear, after which I'll do a coat of slightly thickened epoxy resin just slightly hardener-lean. That will get washed down in warm water, sanded, and then I with gelcoat it for a nice tidy finish. I hope :)

Still have at least 1.5 gallons of epoxy left from my original 6 gallons, so should have plenty. Looks like I'll finish this whole project with just about 6 gallons, maybe a little bit left over.

I'm tempted to build up a bit of support for a trolling motor mount too.

After that, it will be cutting the holes for the bilge drain and the scuppers, installing the waterbox for the transducer, running wires, and getting ready to re-cap her!
 

Arawak

Chief Petty Officer
Joined
Aug 27, 2010
Messages
486
Got the excess foam cut out and the tops sanded and ready for glass.

IMG_20150427_210216.jpg
 

Arawak

Chief Petty Officer
Joined
Aug 27, 2010
Messages
486
Tops are glassed! Doesn't look much different, but here's the proof:

IMG_20150501_195409.jpg
 

Arawak

Chief Petty Officer
Joined
Aug 27, 2010
Messages
486
Today I sanded down the transom and cut the holes for the scuppers and the bilge. Here they are just sitting in place. Starting to look a lot cleaner than before.

Need to do some prep work and then I think I'll roll on gel coat.

2015%2B-%2B1
 

Arawak

Chief Petty Officer
Joined
Aug 27, 2010
Messages
486
Well... it's been a while since I've posted. Been a very busy spring, but I have done some boat work.

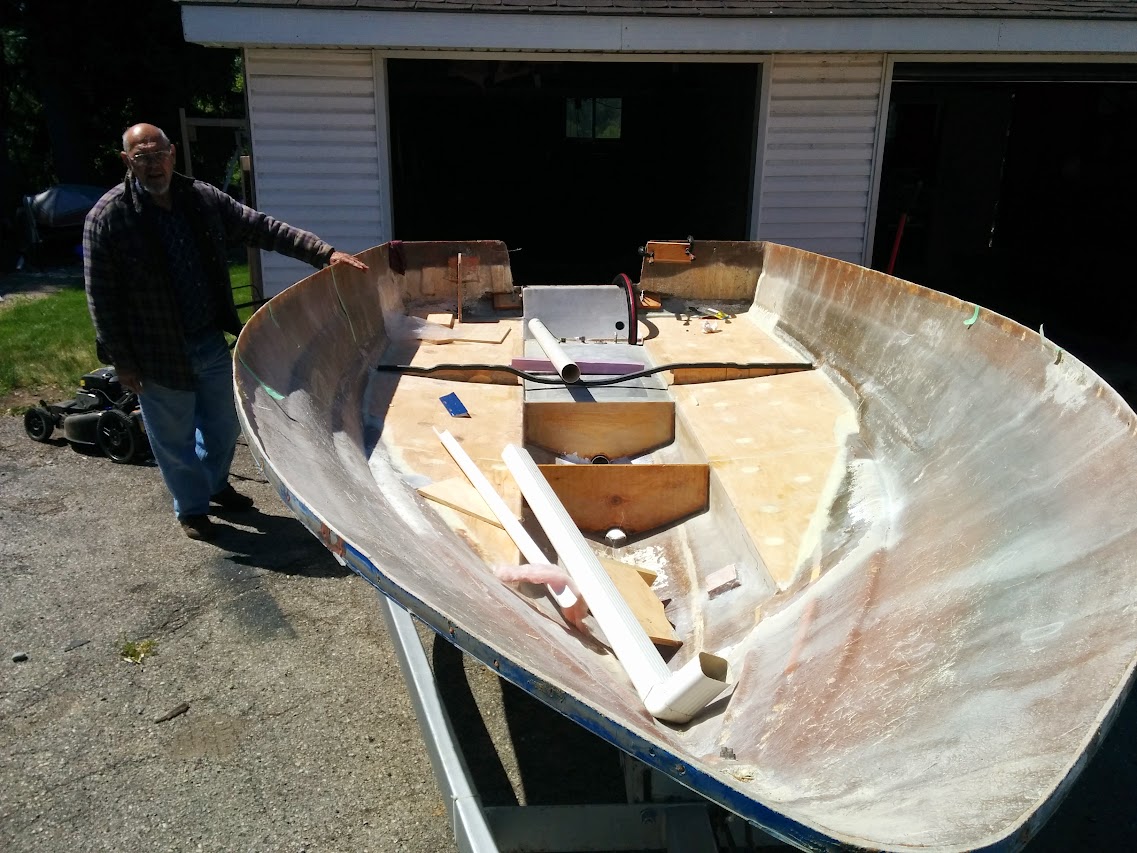
So, first and foremost... she's back on the trailer!
IMG_20150523_112811.jpg


I did a little stiffening of the stern where the trolling motor is mounted. In fact, I think it was intended as a ladder mount, but I'd like to continue to have the option to put my little 6hp kicker if I want it. This is not my neatest work, but it should do the trick. Makes a huge difference in stiffness.

IMG_20150523_112843.jpg


And you can see I gel coated the bilge white.

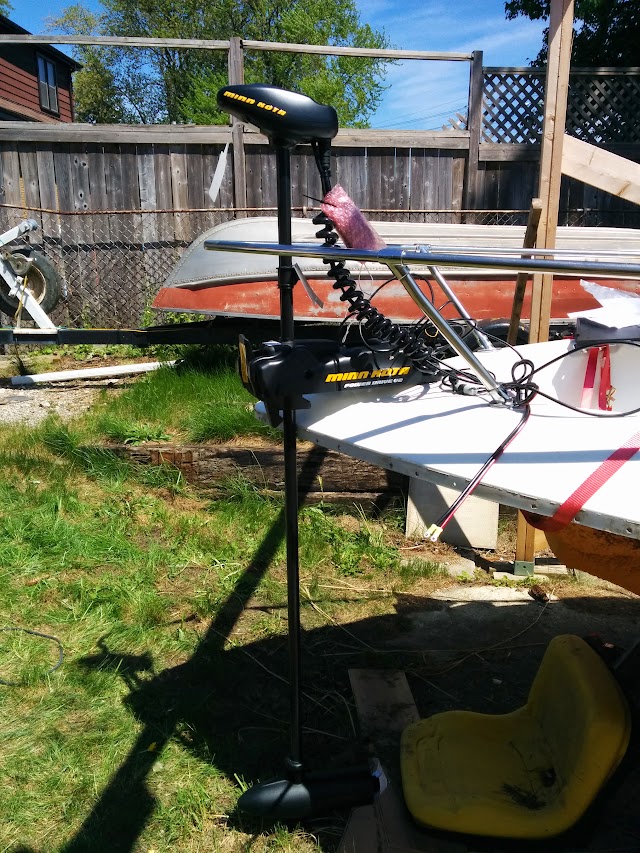
I've been a pretty good boy, so I thought I deserved a present. Bought myself a 70ft-lb Minn Kota with i-pilot. Going to have to cut my bow rail though.

IMG_20150523_144959.jpg


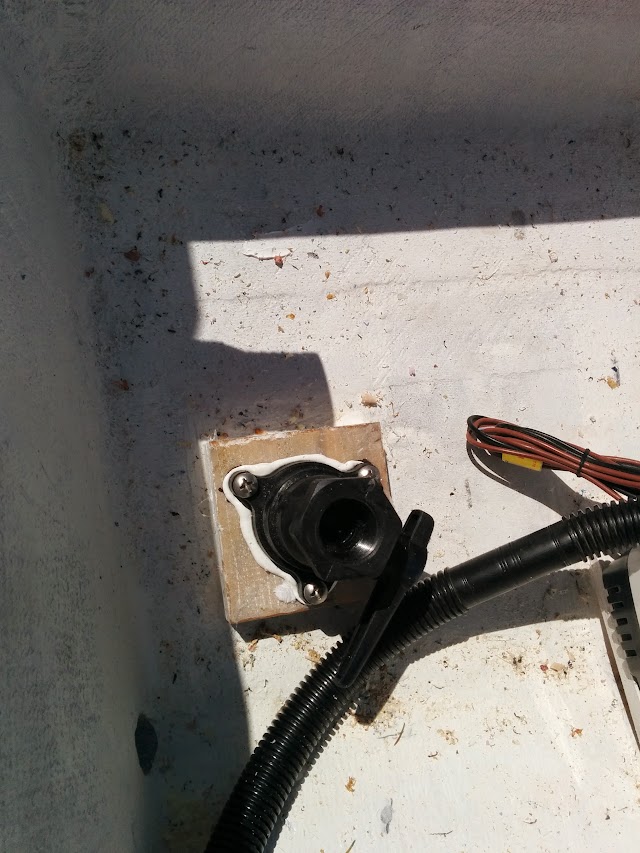
Installed the seacock for the aerator pump in the bilge

IMG_20150523_145041.jpg
 

Arawak

Chief Petty Officer
Joined
Aug 27, 2010
Messages
486
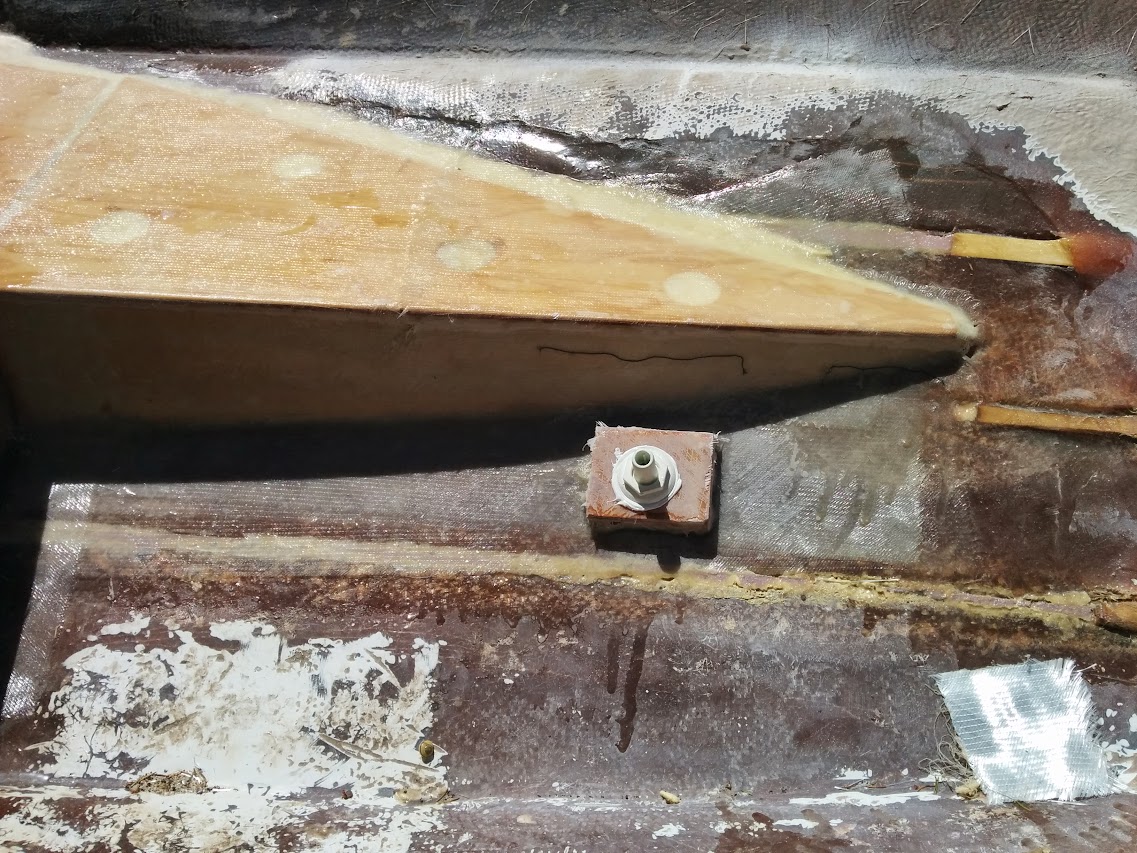
And replaced the through hull in the bow. Used forespar marelon for both the baitwell intake and the bow drain thingy.

IMG_20150523_145052.jpg


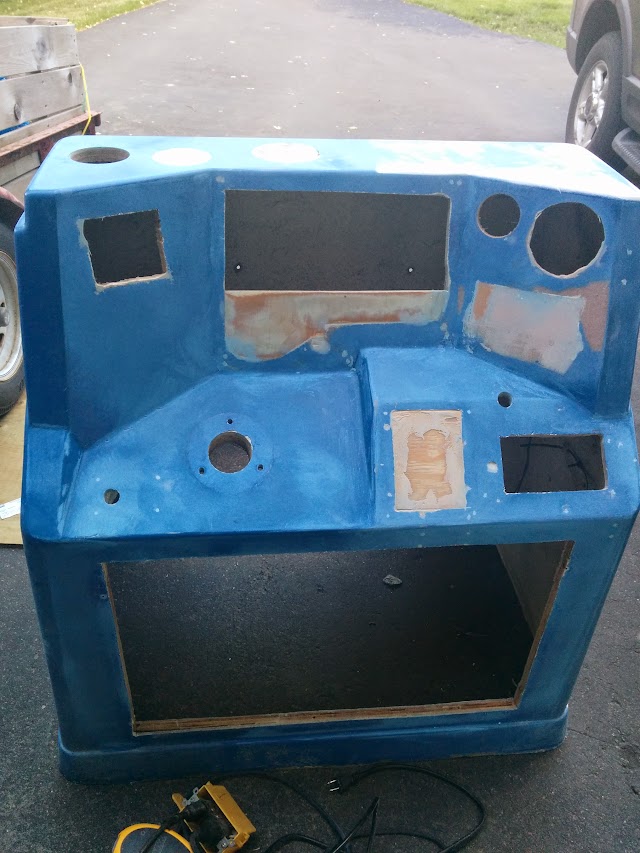
And been doing some work on the console in preparation for the new layout, and the white paint.

IMG_20150525_194217.jpg
 

Arawak

Chief Petty Officer
Joined
Aug 27, 2010
Messages
486
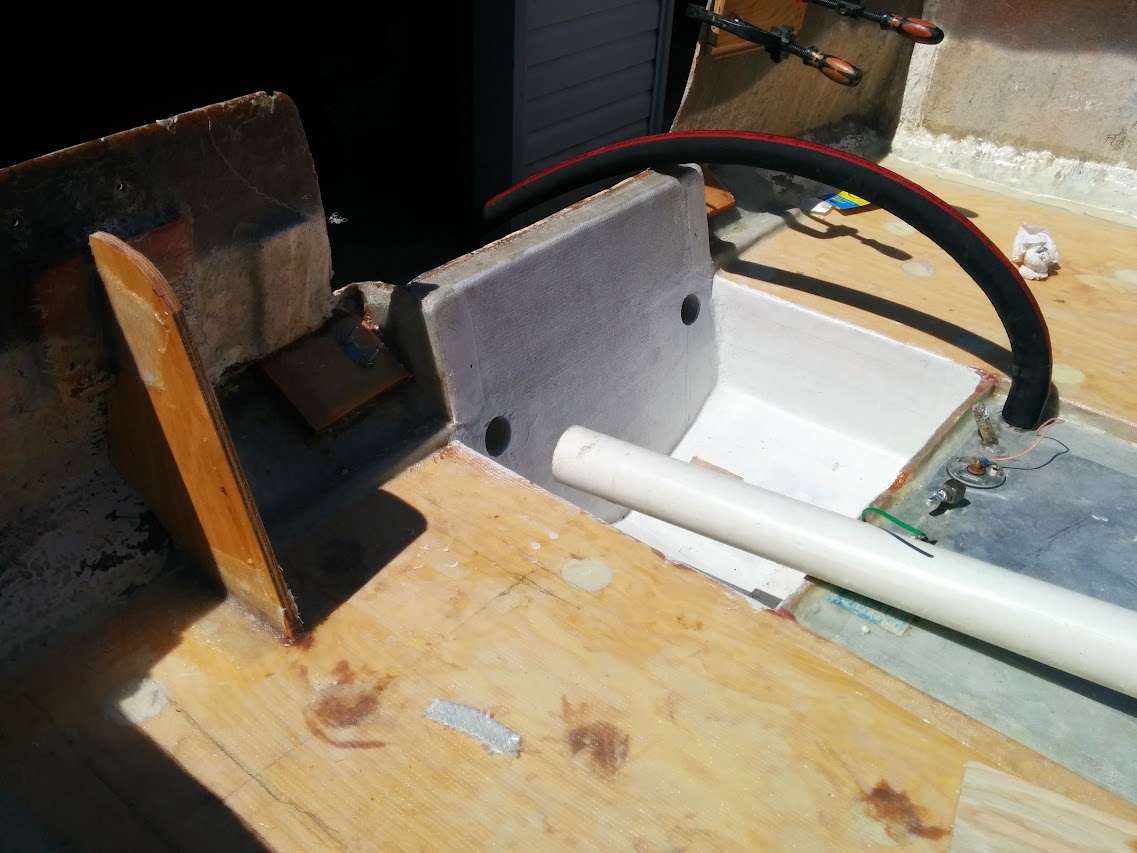
I was pleased to see that my measurements were correct, and the tank's new position still gives me access to the fittings, and the hoses all clear

7zc25YJP2giEdFIiO_OavPs2fWe3yx4X5TnJUGziRXc=w1258-h943-no
 

Arawak

Chief Petty Officer
Joined
Aug 27, 2010
Messages
486
And, work on the console continues... I don't have Woodonglass' upholstery skills, but I did find a guy to replace the foam and re-cover the front seats

pYfDfQz5-ht7s3PfOx-QzFuJ6P4l3HjufvA9FxFOU7w=w708-h943-no
 
Status
Not open for further replies.
Top