86 Sea Ray Restoration [Splashed Oct 2017]

Goldie627

Lieutenant Junior Grade
Joined
Oct 28, 2013
Messages
1,010
Hey Rick, please disregard this video. You've already answerd all the questions! :D Now that we all feel good about the pressure test, I'll split the upper and lower to start in on that water pump and base. I'm gonna try to order the parts today. Thanks again!


Goldie627

Lieutenant Junior Grade
Joined
Oct 28, 2013
Messages
1,010
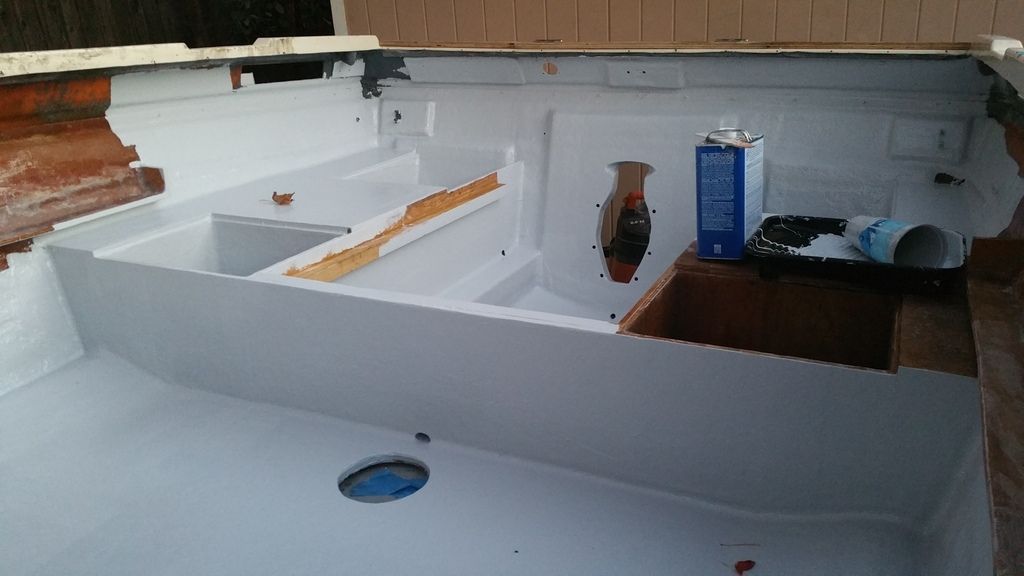
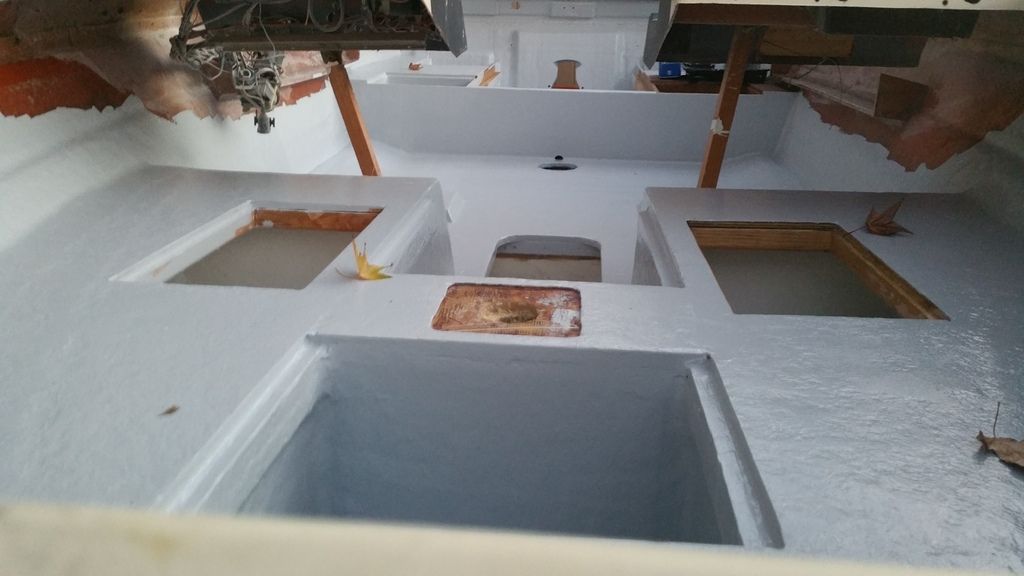
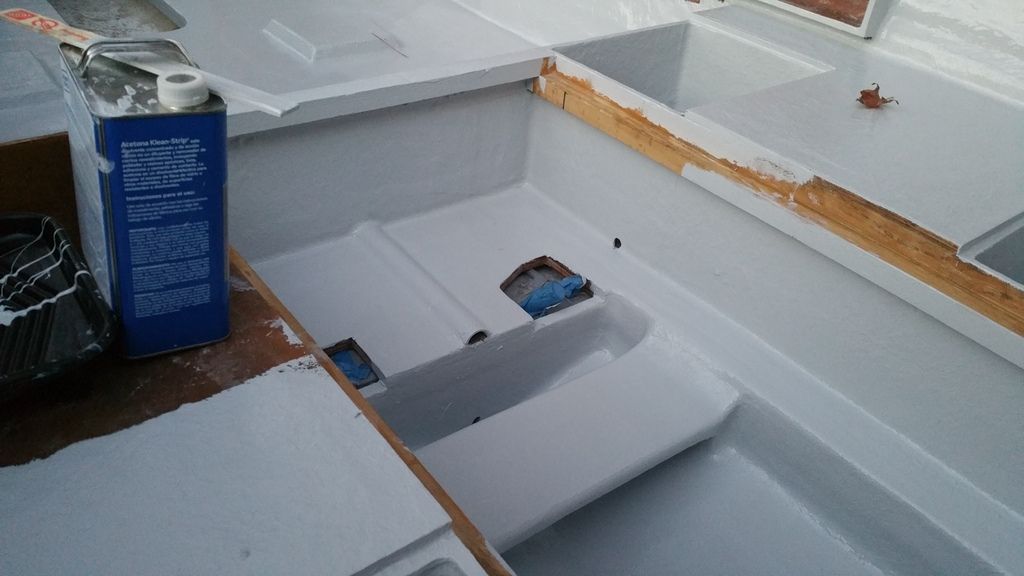
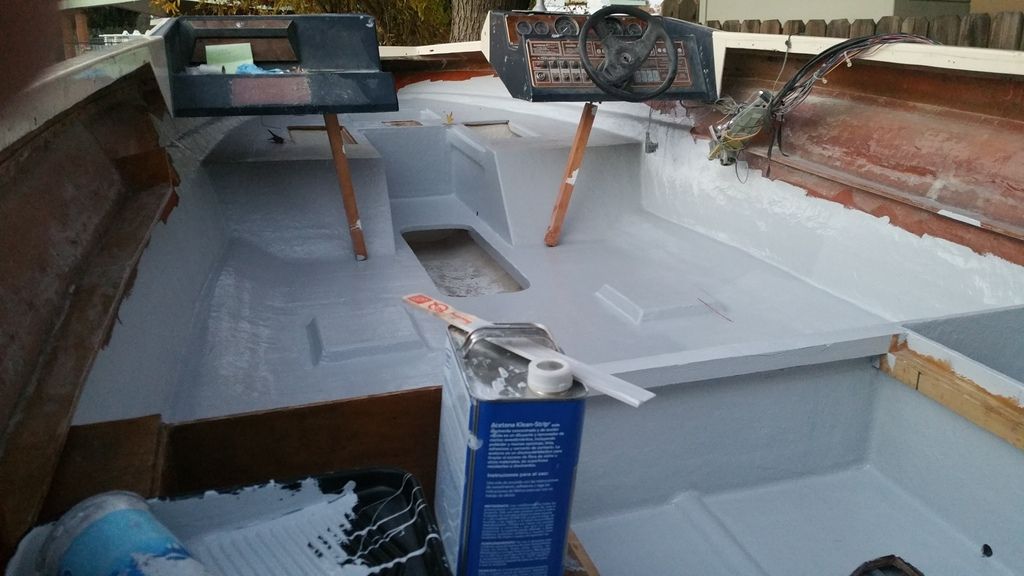
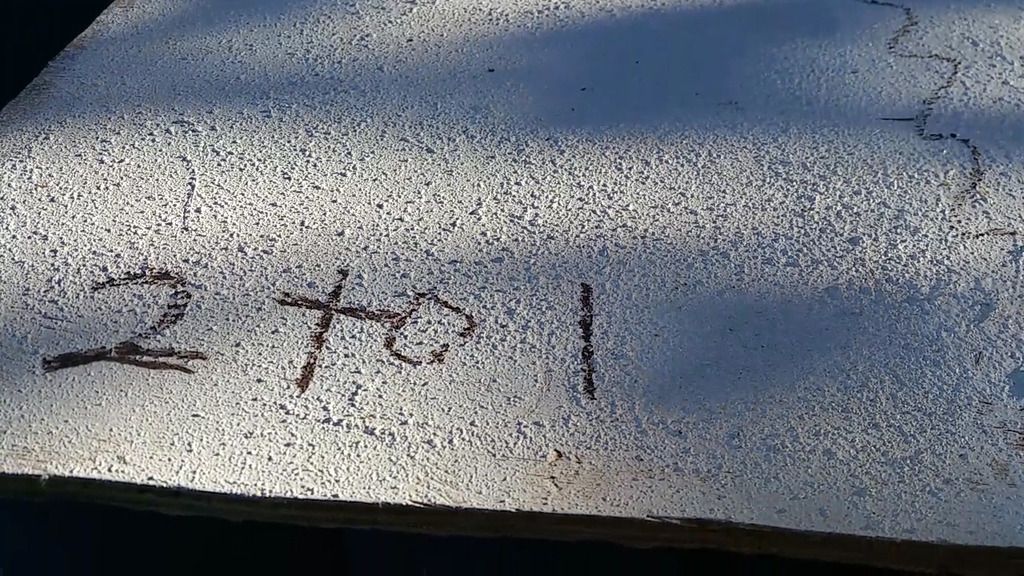
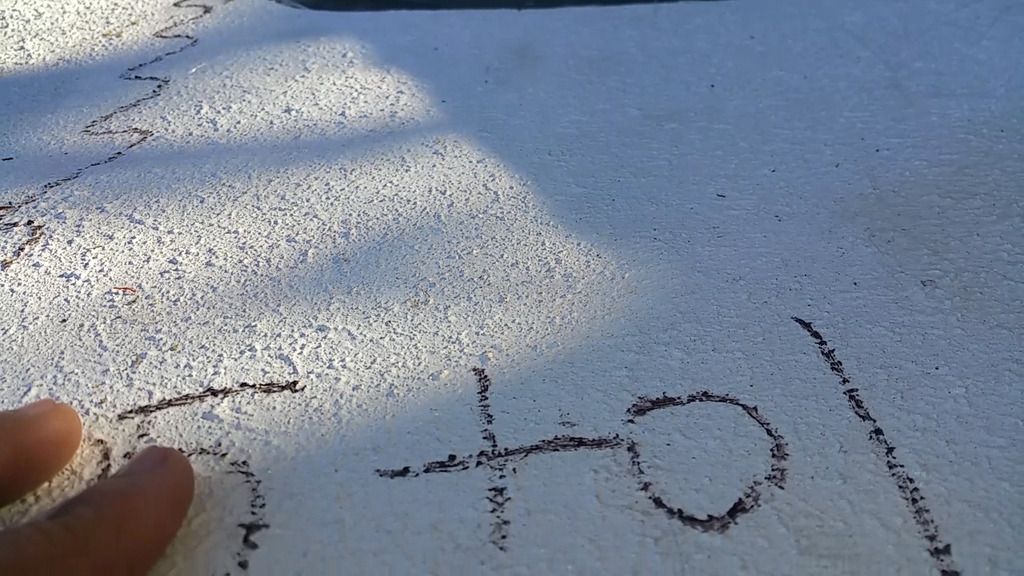
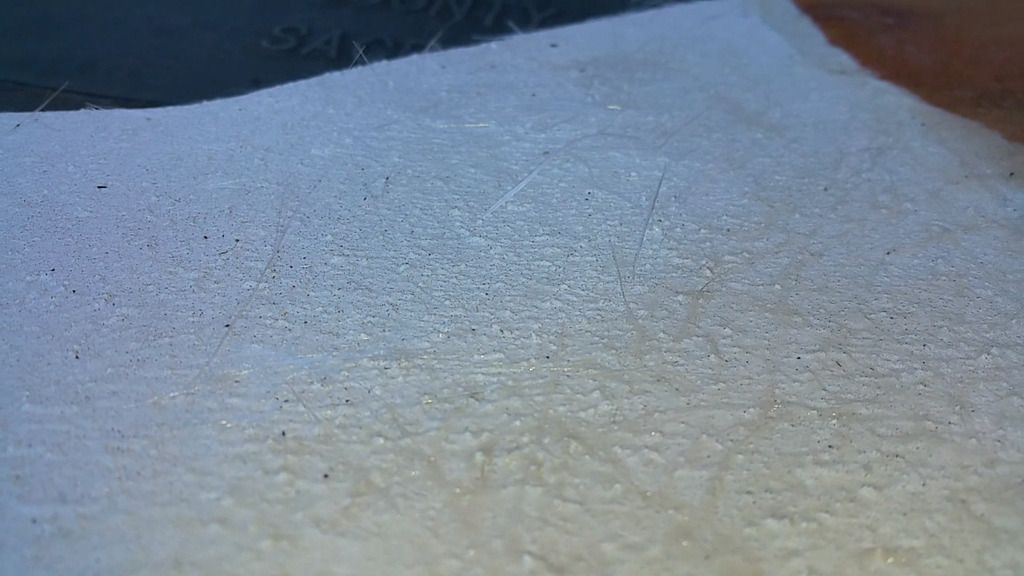
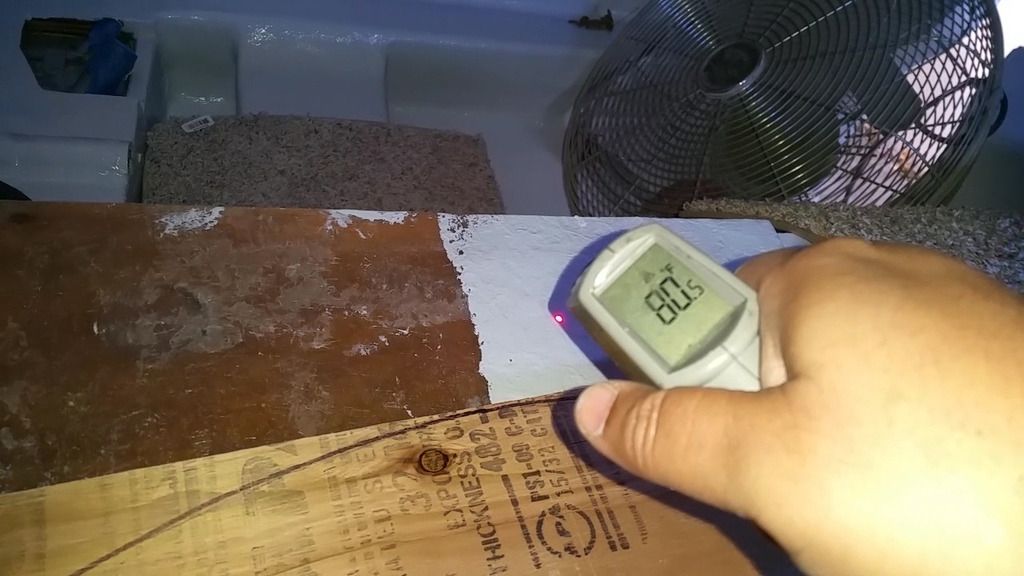
More gelcoats...

20151123_165949_zpstfvoq5hv.jpg


20151123_165933_zpslt3r0wc0.jpg
 

Goldie627

Lieutenant Junior Grade
Joined
Oct 28, 2013
Messages
1,010
Next up, make outdrive parts list, make outdrive specialty tools list, finish out the first layer of gelcoat, split the upper from lower....

To my extended family here on iboats, everyone have a safe and wonderful holiday, Happy Thanksgiving!!!
 

Goldie627

Lieutenant Junior Grade
Joined
Oct 28, 2013
Messages
1,010
Hey Goldie, not sure if I missed this but what are you doing to make it non-skid


Hey Deep, at this point it looks like it will be sand mixed with gelcoat. A few months back I made a test board with a few different sand to gelcoat ratios to see how course/rough I wanted it. I'm not sure if I made a video about it but next time I'm at the boat If i can find the board in the mess I've made in the garage :) i'll post it.
 

bigblock454

Petty Officer 1st Class
Joined
Apr 28, 2008
Messages
206
Hey Goldie... Bang up job you`re doing. man! Keep up the good work!! Subscribed... Happy Thanksgiving to you and yours!

Norm
 
Last edited:

Rick Stephens

Admiral
Joined
Aug 13, 2013
Messages
6,118
Goldie, awesome. And you got it. The seal is just around the prop shaft itself right where you were pointing. Everything else is pretty much bulletproof inside the bearing housing. If you get fishing line on the prop it tends to wrap it around the prop shaft right at that seal, behind the thrust washer that got pulled off.

A thought for you if you are painting any more on the deck, stick a 2x4 across under both dash sections and run a 2x4 up from the ski locker and hold up both at the same time. Easier to carpet too.

Happy Thanksgiving. Those of us working on our boats have a lot to be thankful of - not having to carry around as much weight in our wallets and a wondrous pastime to keep us out of trouble.
 

Goldie627

Lieutenant Junior Grade
Joined
Oct 28, 2013
Messages
1,010
Goldie, awesome. And you got it. The seal is just around the prop shaft itself right where you were pointing. Everything else is pretty much bulletproof inside the bearing housing. If you get fishing line on the prop it tends to wrap it around the prop shaft right at that seal, behind the thrust washer that got pulled off.

A thought for you if you are painting any more on the deck, stick a 2x4 across under both dash sections and run a 2x4 up from the ski locker and hold up both at the same time. Easier to carpet too.

Happy Thanksgiving. Those of us working on our boats have a lot to be thankful of - not having to carry around as much weight in our wallets and a wondrous pastime to keep us out of trouble.

Will definitely use the 2x4 trick :)
 

Goldie627

Lieutenant Junior Grade
Joined
Oct 28, 2013
Messages
1,010
I'm ordering tools and parts but this engine alignment tool has me stymied. There are several different tool descriptions and different part numbers salers are using. Here's the deal... I want an engine alignment tool with splines on the end. 95% of the bars I've found have a smooth end, suggesting to be used with a gimbal bearing. But they advertize it as a "engine alignment tool" I need a bar that can go through to my coupler so when I pull out I can check how the grease looks on the splines for engine alignment.

Sierra 18-4442

http://www.ebay.com/itm/Sierra-18-4...ash=item419dba75e6:g:omkAAOxyaURTfQGv&vxp=mtr

This one looks like it has splines on the end but I'm not sure from the angle shown.

Now check out this one which is clearly smooth on the tip, yet it shares the part number from the splined version above....

http://www.ebay.com/itm/Engine-Alig...840031?hash=item20ffc1bb9f:g:jZQAAOSw~gRVt0rZ
  • Description - This tool verifies the proper alignment on mercruiser sterndrives including Pre-Alpha "R", Alpha One "MR", Generation II, all Bravo's as well as Volvo SX and OMC Cobra. Related Part Numbers include: 91-57797A3, 91-805475A1, 3851083, 18-4442
I'm ashamed to admit how long I've spent trying to figure this out :faint2:
 

Goldie627

Lieutenant Junior Grade
Joined
Oct 28, 2013
Messages
1,010
Shame followed by embarrassment :D :crazy: Doesn't seem to be necessary for the tool to have splines....
 

Woodonglass

Supreme Mariner
Joined
Dec 29, 2009
Messages
25,927
Heya Woody, on all my resin layups I almost always go 1%, varying from that is situational. However, with gelcoat the manufactures mixing chart includes this line:

(Colored GELCOATS can require upto DOUBLE the amount of hardener shown. When temperatures are above 85, regular ratios should be used.)

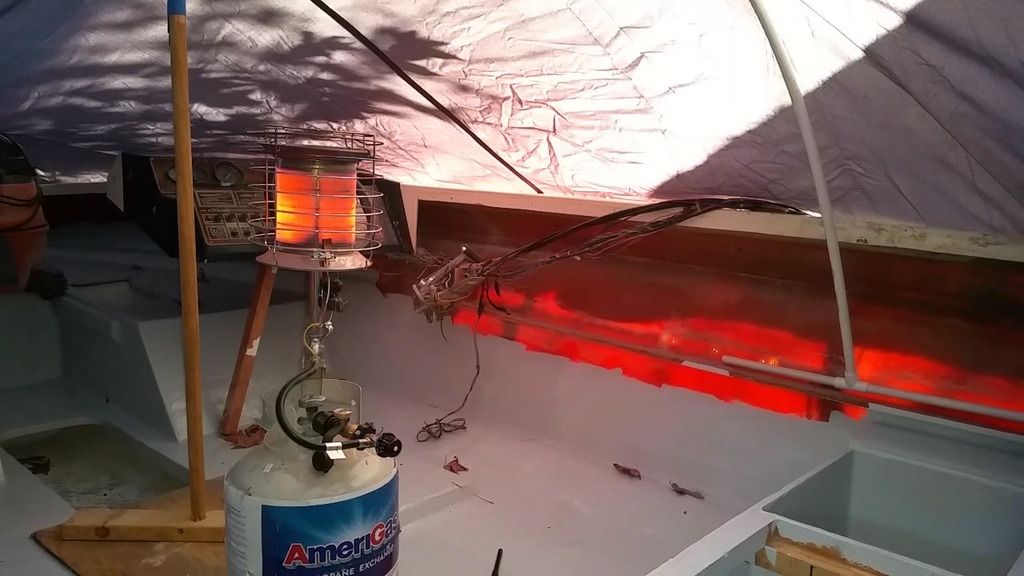
So because of the cold ambeint temperature and the added pigment I doubled the mekp (2%). The following batches I lightened up and ended up settling in at 1.5%. Im more worried about the cold than anything else. The day I rolled the gelcoat the temps where between 45 and 65. Im thinking about some kind of floor blower heater as my propane heater is just too tall.


Yeah, if you're using Black, or Blue, or Red Gelcoat then it's my understanding that additional MEKP is warranted. Also colder temps might require a bit more MEKP as well. You just don't want it to Kick to quick. From what I've been told and learned it seems you want the exothermic process to take it's due course to allow the GC to "Cook and Cure" as it's meant to in a timely fashion which will create the best bond possible. But...as previously stated, you are listening to an Old Dumb Okie so....BEWARE!!!!:eek::D;)

The Macho Man says (with gritted teeth and a raspy voice)....


"Brother Go Eat some Turkey, Oh Yeah!!!!"
wwe_3_090508.jpg
 
Last edited:

Goldie627

Lieutenant Junior Grade
Joined
Oct 28, 2013
Messages
1,010
Yeah, if you're using Black, or Blue, or Red Gelcoat then it's my understanding that additional MEKP is warranted. Also colder temps might require a bit more MEKP as well. You just don't want it to Kick to quick. From what I've been told and learned it seems you want the exothermic process to take it's due course to allow the GC to "Cook and Cure" as it's meant to in a timely fashion which will create the best bond possible. But...as previously stated, you are listening to an Old Dumb Okie so....BEWARE!!!!:eek::D;)

The Macho Man says (with gritted teeth and a raspy voice)....


"Brother Go Eat some Turkey, Oh Yeah!!!!"
wwe_3_090508.jpg

After I gave up on my trim tab bolt I went and got cleaned up, headed over to my brother's house. He smoked a turkey and fried one!! Both were amazing! :)
 

Goldie627

Lieutenant Junior Grade
Joined
Oct 28, 2013
Messages
1,010
Heya Deep, I found that test gelcoat to sand ratio board, its about 5:00 in on this video.


Rick Stephens

Admiral
Joined
Aug 13, 2013
Messages
6,118
Stick the round end of a combination wrench, like a 9/16 or a 5/8 over the 'T' on your allen wrench and give it a twist counter clockwise. It'll turn. The zinc or aluminum anode at the other end is pretty soft and even if corroded will not resist like you'd see with a steel bolt to steel threads.

The bottom transom bolt looks like it is in good shape. Those rubber washers I personally would not reuse. They don't cost much. When I install mine after my transom is totally finished I will use new washer and a little bit of 4200 to seal off that hole. Stupid aluminum bolt. They get wet they pit and eat away from electrolysis. Stupid.....

Rick
 
Top