'83 Lund "Sirius" total gut and rebuild

nurseman

Lieutenant Junior Grade
Joined
Jun 2, 2013
Messages
1,045
careful, nm...them fishies are gonna be "blind-ed by the light" and unable to see your worm!! looks great!!!

My plan is to stun them with the flash of brightness, thus allowing me to scoop them up with a net...
 

nurseman

Lieutenant Junior Grade
Joined
Jun 2, 2013
Messages
1,045
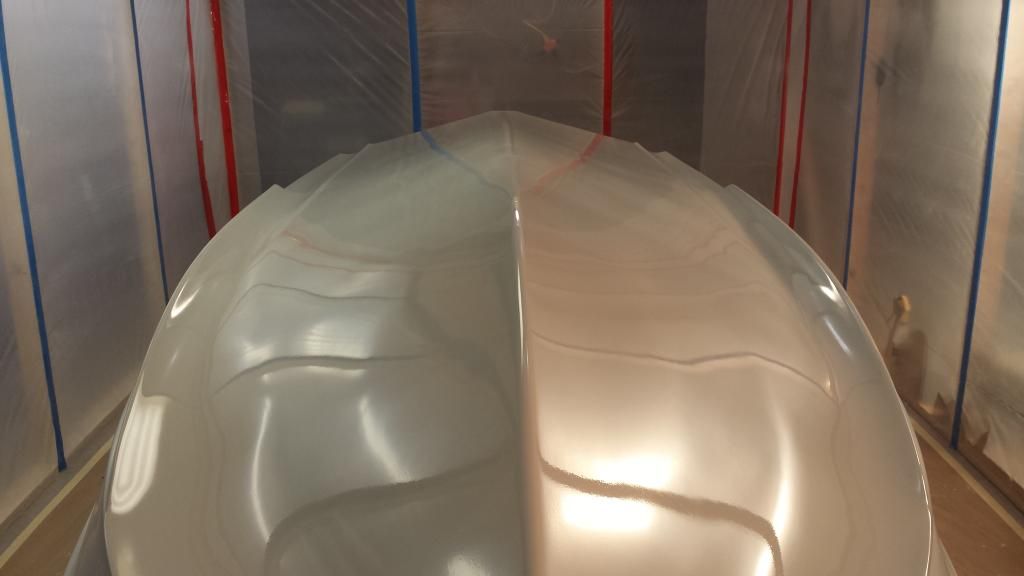
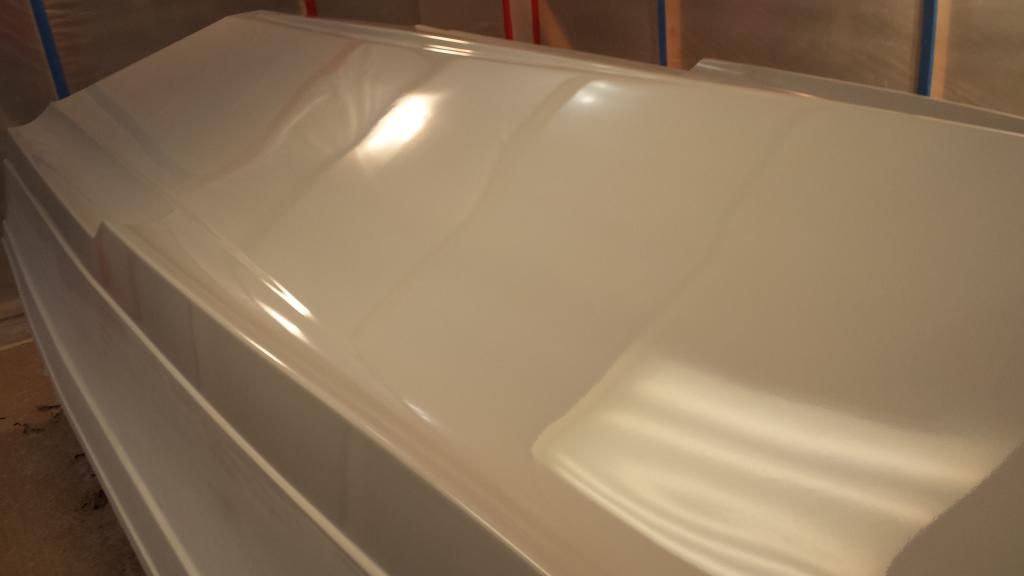
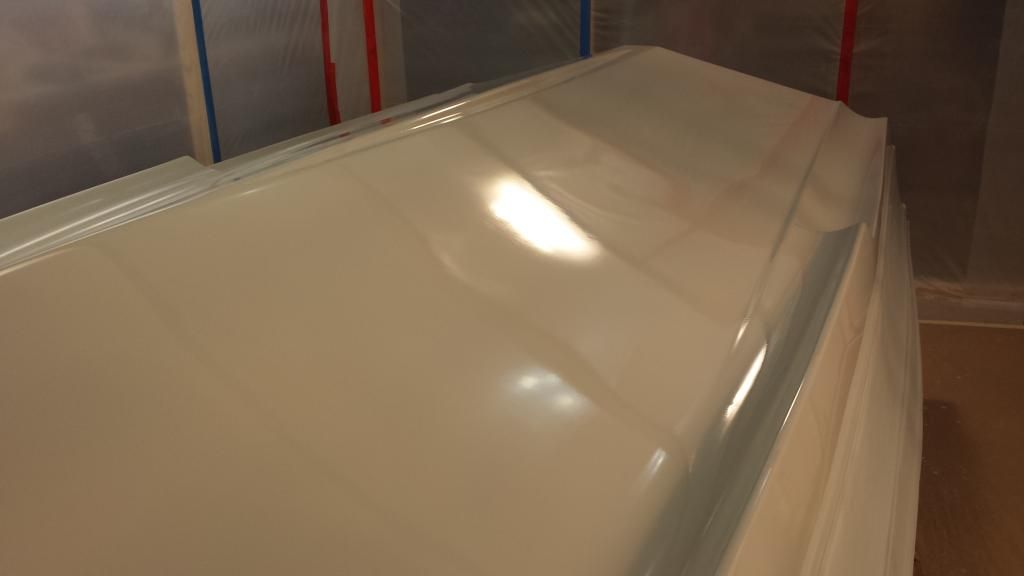
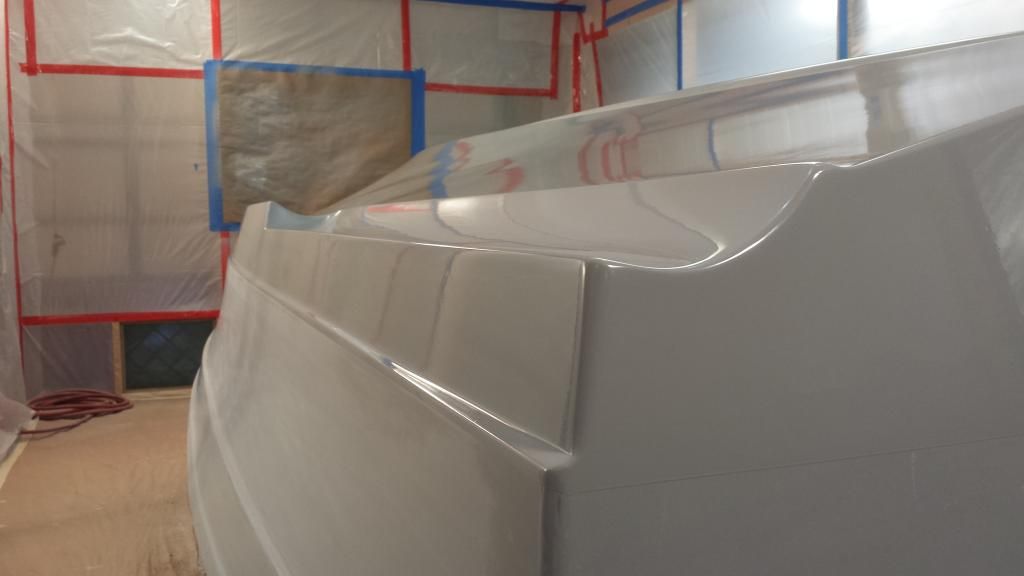
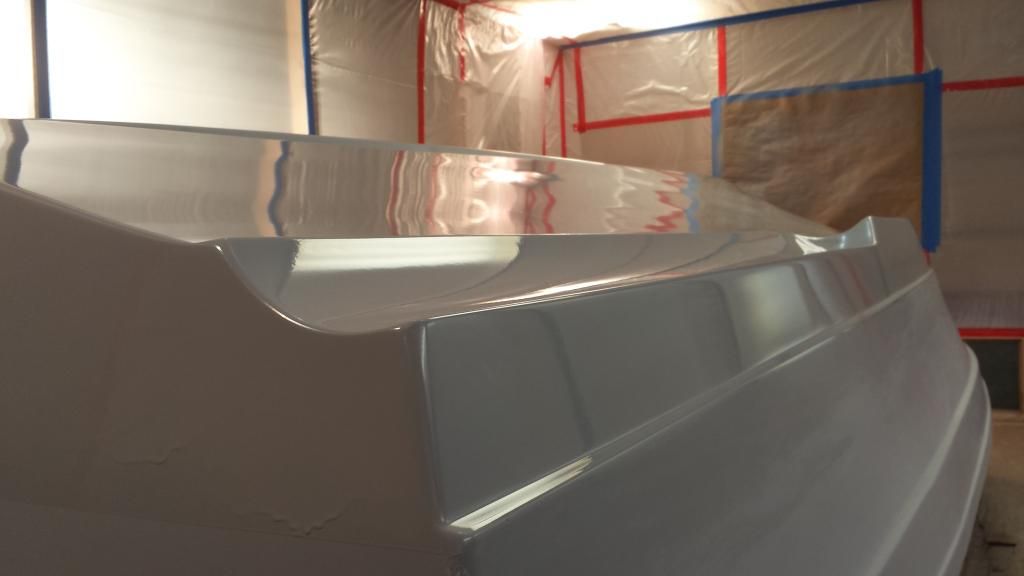
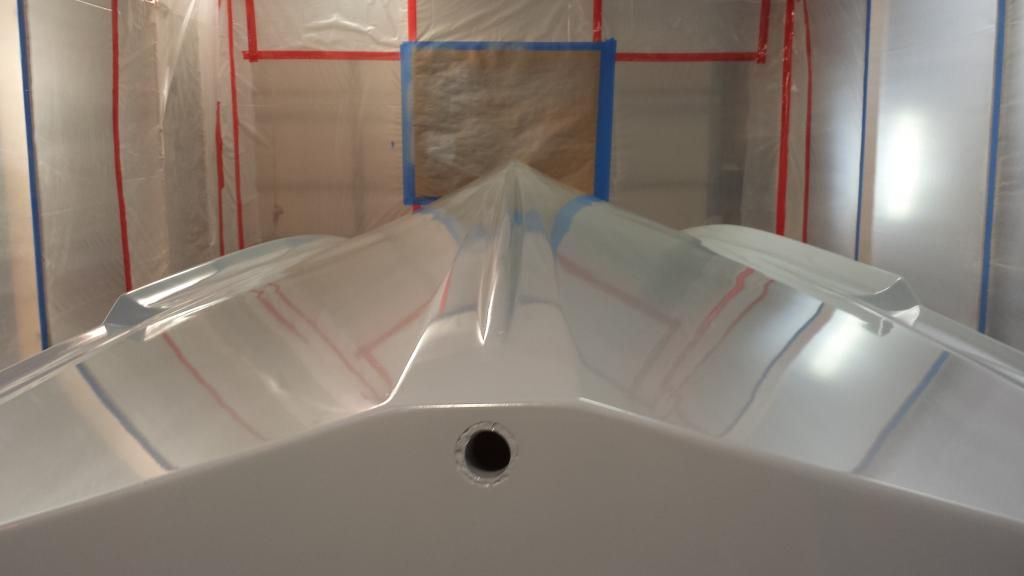
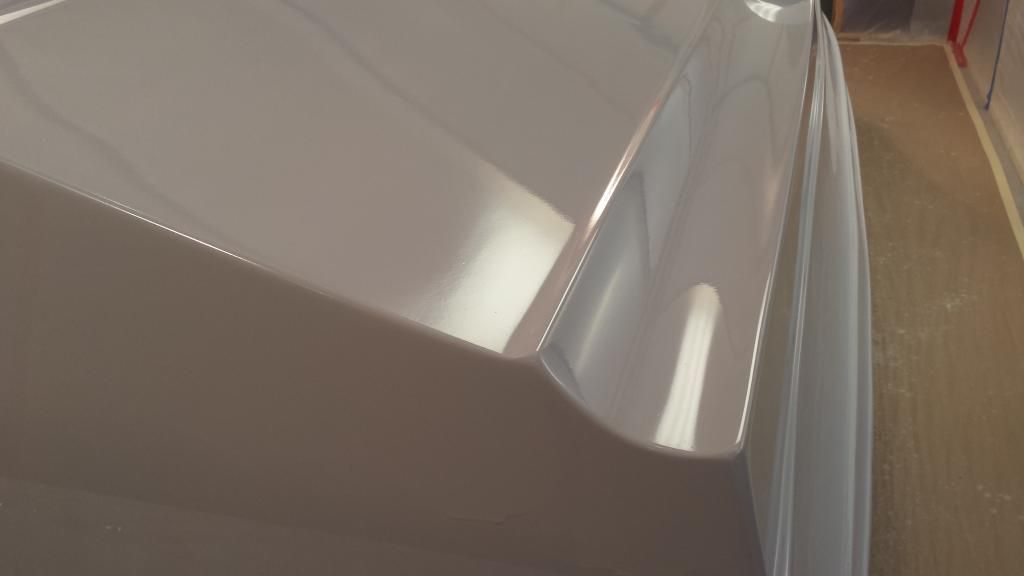
Got the second coat of grey on the bottom of the hull today, after some wet sanding with 320 grit to get rid of the OP. I realized while I was sanding today that I put the paint on too thin because I broke through in several places...:mad:. However, I managed to get the thing reasonably smooth and shot the second coat. This time I thinned the paint out a little more and made sure that the volume control was set almost wide open. I had thinned the entire quart with this amount. 1/4 cup of Acetone & 3/4 cup of Majic's Reducer. So for this coat I added another 1/2 cup of reducer. I think that it was just about right this time.
Here is the proof of the days activities.


Tnstratofam

Commander
Joined
Aug 18, 2013
Messages
2,679
Smooth like glass if you ask me. Looking real good. You sure you don't want to change careers? I could see a nice boat restoration business in your future. You are doing some fine work.
 

nurseman

Lieutenant Junior Grade
Joined
Jun 2, 2013
Messages
1,045
I even managed to get a couple of runs/sags, but I think I can wet sand them out. Also, I am thinking that I am going to put a coat of clear over the whole thing after I get the other color on it, just to give it a little bit more protection.


I wish that I had more experience doing this type of painting, that dang learning curve is awfully steep sometimes. I keep telling myself that next time I will be able to do things so much better :rolleyes:.
 

sphelps

Supreme Mariner
Joined
Nov 16, 2011
Messages
11,468
Wow !! Looks like you really have it dialed in !!! If ya got any o/p at all this time I sure don't see it !
The 2 runs on the transom will sand right out ...
NM , your painting skills are outstanding .. Much better than mine for sure .. ;)
Btw , I really love this shade of grey !
 
Last edited:

nurseman

Lieutenant Junior Grade
Joined
Jun 2, 2013
Messages
1,045
Smooth like glass if you ask me. Looking real good. You sure you don't want to change careers? I could see a nice boat restoration business in your future. You are doing some fine work.

Thanks, tnstratofam! I am reasonably pleased with how it turned out, and like everyone keeps saying, it's the bottom of a boat. Fish don't care.

Wow !! Looks like you really have it dialed in !!! If ya got any o/p at all this time I sure don't see it !
The 2 runs on the transom will sand right out ...
NM , your painting skills are outstanding .. Much better than mine for sure .. ;)
Btw , I really love this shade of grey !

Thanks sphelps! It did go on much better this time, so I am not going to mess with the gun anymore... The OP this time around is pretty minimal, I think I can live with it.
I mixed that grey up on my own. Just wait till you see the second color!
 

sphelps

Supreme Mariner
Joined
Nov 16, 2011
Messages
11,468
I was wondering if that was a factory color ... I never saw it on the shelf ! Very nice mix !
 

Woodonglass

Supreme Mariner
Joined
Dec 29, 2009
Messages
25,928
WOW!!! It looks really good.

Soo 1 1/2 cups total reducer for a Quart of Paint!!!:eek: Yeah that would account for the sag and run possibly!!!.. If Your'e gunna do another coat then 1 1/4 might be just the ticket and cut back on the volume just a tad and a little more air at the tip. Some times a 1/4 turn and make all the difference.!!!
 

zool

Captain
Joined
Aug 19, 2012
Messages
3,432
Also, I am thinking that I am going to put a coat of clear over the whole thing after I get the other color on it, just to give it a little bit more protection.

don't do it man, you don't need it. Rusto cures to a gloss finish already, and a lot of times clearing wrinkles it, it takes a while to completely flash....but that aside, imo, clear has little place on a boat. Most boat rash, dings, ect are deeper than the clear, so repairs have to be made to both layers, and the clear needs to be blended.

and if the clear starts delaminating, u end up in a world of pain...putting it right.

great job!
 

nurseman

Lieutenant Junior Grade
Joined
Jun 2, 2013
Messages
1,045
don't do it man, you don't need it. Rusto cures to a gloss finish already, and a lot of times clearing wrinkles it, it takes a while to completely flash....but that aside, imo, clear has little place on a boat. Most boat rash, dings, ect are deeper than the clear, so repairs have to be made to both layers, and the clear needs to be blended.

and if the clear starts delaminating, u end up in a world of pain...putting it right.

great job!

Thanks zool, always appreciate your input. I was thinking the extra layer would be a benefit, but I hadn't considered the potential repairing problems it might cause.
 

nurseman

Lieutenant Junior Grade
Joined
Jun 2, 2013
Messages
1,045
WOW!!! It looks really good.

Soo 1 1/2 cups total reducer for a Quart of Paint!!!:eek: Yeah that would account for the sag and run possibly!!!.. If Your'e gunna do another coat then 1 1/4 might be just the ticket and cut back on the volume just a tad and a little more air at the tip. Some times a 1/4 turn and make all the difference.!!!

Thanks Wood! I tried to just use 1 1/4cup reducer, but it just seemed too thick, so I went with the extra 1/4 cup. I think that dialing back the volume just a tad would have been the ticket. Hind sight.
 

zool

Captain
Joined
Aug 19, 2012
Messages
3,432
Thanks zool, always appreciate your input. I was thinking the extra layer would be a benefit, but I hadn't considered the potential repairing problems it might cause.

Honestly, it looks glossy enough as is, and u don't get more protection from the paint layers...the paint is essentially eye candy for us, especially since is guna be a trailer boat. It looks like u feathered the bottom paint up the sides. for the other color...that's the correct way to keep the color separation line thin.

Someone else painting is always fun to watch, its more work than it looks.. ;)
 

kcassells

Fleet Admiral
Joined
Oct 16, 2012
Messages
8,737
Nurseman,Well thanks for all your instructions and techniques. I'll be keeping those in my library collection.
Nice job!
 

Mikeopsycho

Senior Chief Petty Officer
Joined
Feb 6, 2014
Messages
738
Wow, very nice! Gonna be a shame to turn that tub over and hide all that nice paint!
 

Woodonglass

Supreme Mariner
Joined
Dec 29, 2009
Messages
25,928
I agree 10000000000% NO CLEARCOAT!!! You WILL regret it when it comes time for nick and scratch repair. I've had to do that on the BF already and I'm Soooo glad there was NO CC to have to deal with. When I uncover her this spring I'll take some Pics and let you see how shiny she still is after 3 years. You don't need the CC. The paint retains the Gloss really well. ;)
 
Last edited:

sphelps

Supreme Mariner
Joined
Nov 16, 2011
Messages
11,468
Yep , touched mine up many times with no problem .. Sand the spot a bit wipe down with a little acetone and brush the paint and feather in . Like it never happened !
one of those Prevail sprayers would work fine also I would think ..
 

nurseman

Lieutenant Junior Grade
Joined
Jun 2, 2013
Messages
1,045
Well ok, you guys talked me out of it. It was just a thought, nothing sprayed on yet.;). Oh and those runs sanded out perfectly! I used 600 (very light, and right , the run) then went to 800, 1000,1500, 2000, and finished it with 3000. (all wet of course) It took about 10 minutes and was so smooth that I had to restrain my self from doing the entire hull.:facepalm:
 
Last edited:

Woodonglass

Supreme Mariner
Joined
Dec 29, 2009
Messages
25,928
Yep , touched mine up many times with no problem .. Sand the spot a bit wipe down with a little acetone and brush the paint and feather in . Like it never happened !
one of those Prevail sprayers would work fine also I would think ..

Preval works GREAT!!!! For chips an Artist bush and full strength paint and let it flow into the chip and stand proud then dry for a couple of days and sand and feather.
 
Top