'83 Lund "Sirius" total gut and rebuild

Woodonglass

Supreme Mariner
Joined
Dec 29, 2009
Messages
25,927
Well there ya go!! Now those that come later will know what to do when it comes time to do the deed!!! Thanks for taking the time to fill in the details!!! Did you sand between coats? How long did you wait between coats?
 
Last edited:

nurseman

Lieutenant Junior Grade
Joined
Jun 2, 2013
Messages
1,045
Well there ya go!! Now those that come later will know what to do when it comes time to do the deed!!! Thanks for taking the time to fill in the details!!! Did you sand between coats? How long did you wait between coats?

Wood, I did not sand between coats, I wanted to get some thickness built up before starting to sand. The instructions said that it could be recoated as soon as it was dry to the touch, so that is what I did.

It's looking great Nurseman!

Thanks jc!
 

Woodonglass

Supreme Mariner
Joined
Dec 29, 2009
Messages
25,927
Oh MY...You actually READ THE INSTRUCTIONS!!!! Is that a MAN CARD VIOLATION???
 

Weep'n Willy

Master Chief Petty Officer
Joined
Jun 12, 2012
Messages
831
Love the paint booth. The door exhaust is quite unique. And from the looks of the spraying it has served a purpose well.
 

bear_69cuda

Commander
Joined
Oct 10, 2008
Messages
2,109
Well brutha,

I'd say all the hard work is payin off...

The primer coats look like they could almost be finish coats. The hull looks flawless... Great work!

Someday I'll have a paint booth in a proper shop! It's good to dream right!
 

RStewart

Seaman
Joined
Dec 21, 2014
Messages
62
Nurseman, this is one heck of job. I've really enjoyed going through your thread & watching the progress. I'm going to join in & hang around as I can't wait to see this thing finished. Do you have any pic of the cradle being built? I like how it supported the sides of the hull. I'm just another Dumb Ole Okie, but don't worry, I don't have the experience to steer you down the path as Wood has.
 

nurseman

Lieutenant Junior Grade
Joined
Jun 2, 2013
Messages
1,045
Welcome aboard RStewart! Glad to have you along! I do have a few of the cradle building process that I will post up. Just a note, I totally overbuilt the cradle, but the side supports were effective in holding the overall shape of the hull, with the evidence being that the cap slid back on with no problems at all. Here is what I have from the cradle build.

I started by scooting the stern off of the trailer about a foot, then built this support for the transom.


Then supported the bow, and pulled the trailer out from under it. (several tense moments!)


Then supported the bow


I was going to leave it like this, but I read on the forum about the sides flexing when the cap comes off, so I built the rest of the supports. Sorry about the bad light.


She sat like this through the decapitation and demo process, I added casters when I wanted to move it into the shop for winter. Hope that helps you out. like I said, it was very overbuilt, but because I didn't know anything about boats, overbuilt was safer than underbuilt. Good luck on your project!
 
Last edited:

jc55

Senior Chief Petty Officer
Joined
Nov 3, 2006
Messages
665
She resembles a Silverline, IMO. Kind of a neat looking boat. Can't wait to see the new colors!
 

nurseman

Lieutenant Junior Grade
Joined
Jun 2, 2013
Messages
1,045
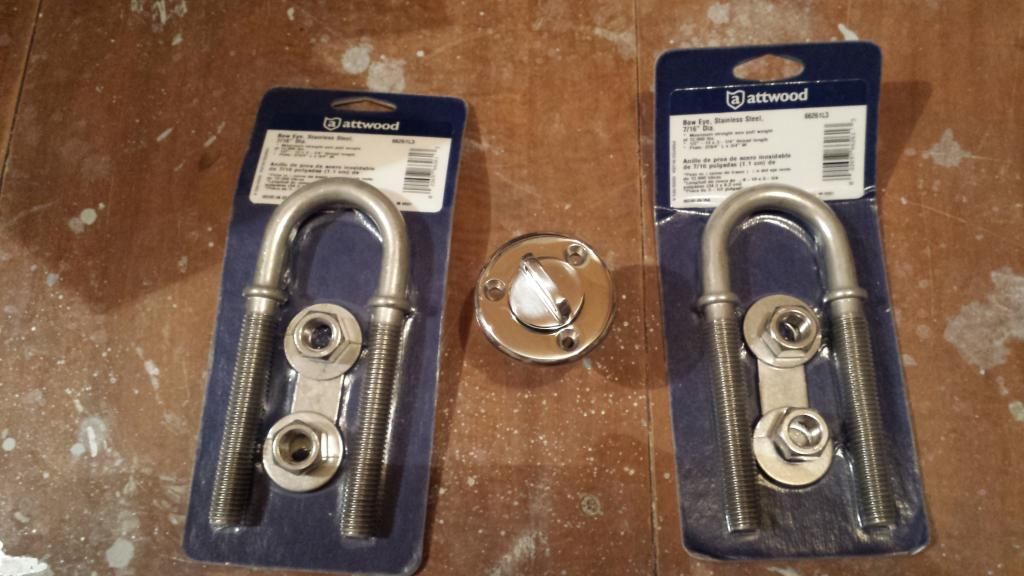
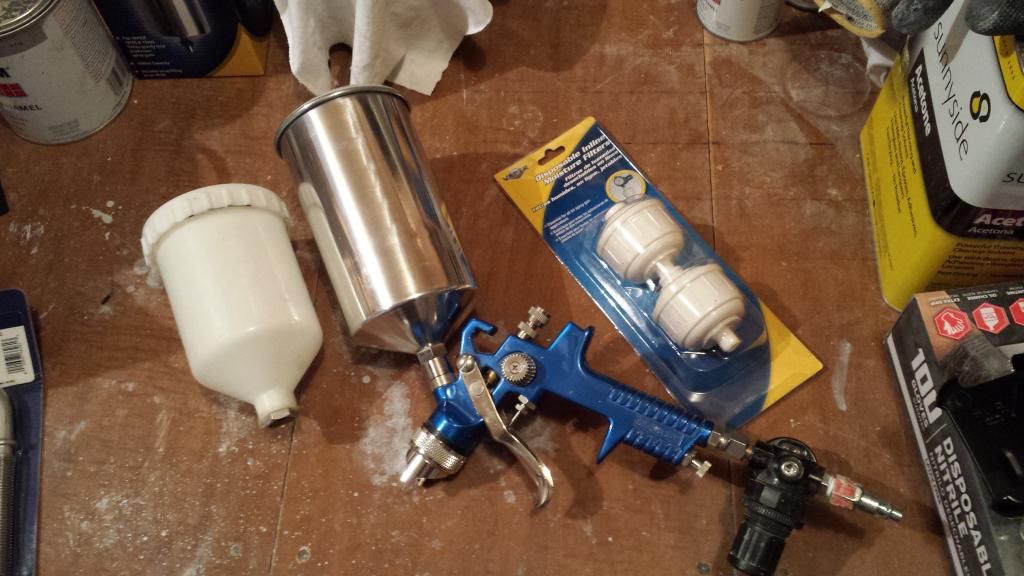
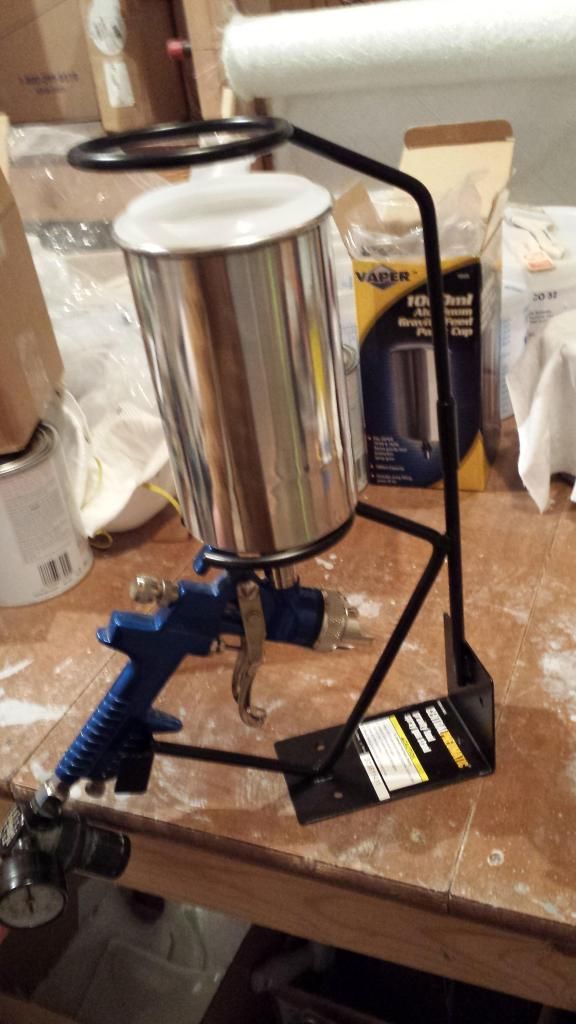
Not much going on boat wise. Started a new job on Monday, so I have been super busy with orientation and all that good stuff. Might take me awhile to get my new schedule figured out. Managed to get some goodies for the boat, and some upgrades for the spray gun. Been a bit of a cold snap here, so I haven't been heating the shop up. Here are some pics of what I got.

Got some tow eyes for the transom and a garboard drain for the bilge.


After the first round of primer, I realized that the small cup was just not gonna cut it. So I scored the 1 L stainless cup from Northern Tool, along with the inline moisture filters.


I also realized that a stand would be helpful for spraying, so a stop at Harbor Freight yielded this little gem.


Hope everyone has a productive weekend!
 
Last edited:

Barramundi NQ

Petty Officer 1st Class
Joined
Jul 3, 2014
Messages
342
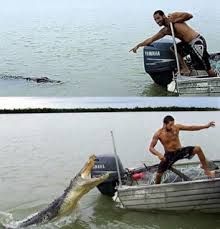
Hey NM, love the big gun! Can't wait to see the final colours. I'm heading towards a plain white for mine. I don't have a booth so mine will be painted outdoors. Sunny days happen a lot around here, of cause here sunny means hot too! Try not to cry when you first load your boat back on the trailer and after the first splash....trailer rash we call it......Where I live, you cannot stand in the water to load your boat on the trailer because of the crocodiles. So either you drive the boat on the trailer or you risk losing a leg.... or worse!

Signs like these are everywhere!


Come to Australia........We wont bite!
 

nurseman

Lieutenant Junior Grade
Joined
Jun 2, 2013
Messages
1,045
Barrimundi, I would love to have some hot weather! My thermometer read -22 deg F this morning! That's just @#$% cold! Not gonna even try to get the shop up to painting temps till it warms up a bit. Supposed to be in the 30's this weekend, so hopefully I will get the pinholes filled and another coat of primer on her. My colors are going to be a light grey for the below water portion of the hull, with a darker, grey in the above water portions. Probably gonna use a black or perhaps red pinstripe to highlight things.

As for the things that grab you in the water, here we have leeches...


I will admit, it is not quite as dramatic!
 

sphelps

Supreme Mariner
Joined
Nov 16, 2011
Messages
11,462
I think I'd rather deal with our gators than either one of those ! :eek:
 

nurseman

Lieutenant Junior Grade
Joined
Jun 2, 2013
Messages
1,045
Had an interesting problem today. I have been block sanding the primer, and finally got around to adding some more filler in a few of the low spots.Yesterday I mixed up a batch of resin filler in the usual manner (about 200 mL of resin, about 1.5% MEKP, some cabosil, and then glass bubbles to thickness. I spread it on over the primer (rust-oleum primer surfacer) and left it to kick overnight. I came back this morning and the stuff was still sticky. (shop was at 60 all night) At first I thought my MEKP was bad, so I mixed up a test batch, but it kicked off just fine. What I found was that everywhere the filler was over the top of the primer, it did not cure, but stayed sticky and made the primer soft as well. :mad: Sooooo, I got a scraper and scraped everything off, got down to the gelcoat again, and refilled the low spots. (kicked off and got hard like it should) I didn't read anything in the tech sheet for the primer about not going over it with fillers. Not a good feeling to scrape off several hours of work and do over.

Any thoughts on what the heck I did wrong? Should I just use bondo for a filler? (above the waterline) This is getting outside my knowledge base so any advice is appreciated.:help::noidea:
 

jc55

Senior Chief Petty Officer
Joined
Nov 3, 2006
Messages
665
Hi Nurseman. The general rule is that each paint manufacturer has their own line of products which are not to be mixed and matched. I have personally used epoxy primer with other brand topcoats with good results, but you always take a risk because individual companies spend a lot of money refining the chemistry of their own products with their own

I don't know who would have lead you to believe that you could put resin over a primer. Could be the MEKP eating into the primer? But hey, things happen ;) Once you primer, you're done. You're in the automotive world.

Ideally, you would do all of your rough blocking and bodywork first on the hull. Fill and fair with SM fairing compound and epoxy resin which I feel adheres a heck of a lot better to the old gelcoat after the fact, than poly resin. The fairing compound completely solidifies the hull where as high build primers and body fillers may chip crack or peel on a pounding hull. It's like a huge paint layer, that does not become part of the hull like epoxy. Doing this step first, saves a lot of the more expensive primer from being sanded off and onto the floor.

Currently existing gelcoat is the best high build primer while doing the initial block sanding I've found.

After the boat is pretty close to perfect you have a couple of choices...
- Shoot a high build primer then block using a guide coat, shoot again, block sand, etc., shoot as a sealer(reduced) then paint(kind of where you are now).
Or
- epoxy prime, use spot glaze on any minor imperfections during the recoat window(pinholes in bodywork,etc.), then shoot epoxy primer as a sealer, then shoot the color.

Bondo absorbs moisture. This is why we bondo over epoxy primer instead of bare metal because the heat of the body filler cure can trap moisture between the bondo and the metal.

At this point my suggestion would be, to use a marine brand filler (because your paint will crack or chip eventually in the future, even above the water line) and make sure it is compatible with your current primer. Compatibility is key. I get eye rolls for using expensive paint but the steps are clear and I use a heck of a lot less paint and it's a whole lot less work.

Hopefully that all came out good spirited. Love your work Nurseman and I'm a big fan!
 
Last edited:

GT1000000

Rear Admiral
Joined
Jul 13, 2011
Messages
4,916
Mornin Nurseman,
Like JC55 says, once you apply primer, you are pretty much locked into proceeding with painting...
The only thing that is recommended over primer, before paint is to use a very thin filler for things like pin holes, otherwise you need to apply new layers of filler for leveling to the substrate, in this case the gel coat surface that should be NO smoother than about 120 or 150 grit finished, I prefer 80-100 grit to allow the leveling fill to get a good mechanical bond.
I strongly advise against using any automotive type "bondo" on water craft, since most of it contains copious amounts of talc added as a filler/thickener and thus makes bondo like a sponge for water...
Sorry to hear of the disastrous waste of time and material, but as we all know this is a learning experience for us and mistakes are totally part of the learning curve...
All the best!;)
 
Top