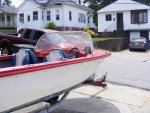
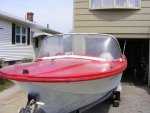
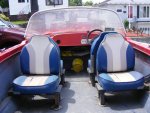
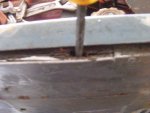
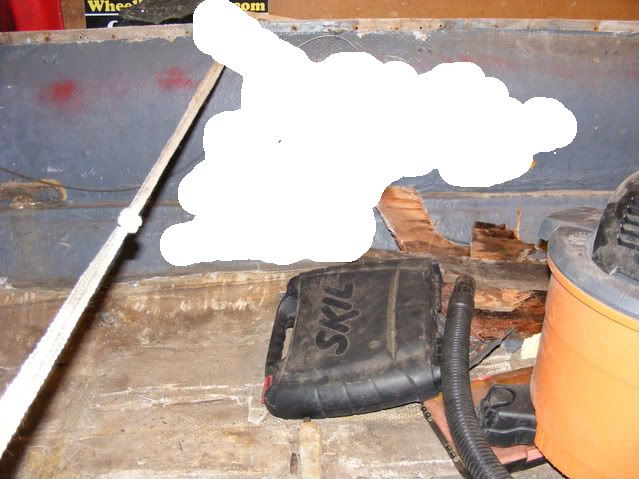
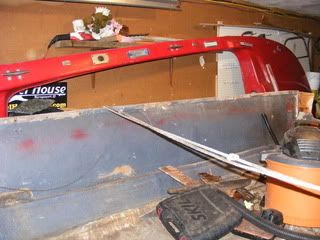
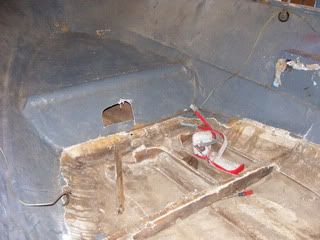
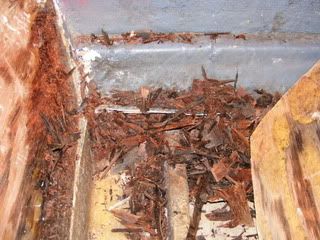
65 starcraft

jplscrapie

Seaman
Joined
Jul 25, 2010
Messages
73
hello im a newbie im going to restore my 1965 starcraft runabout, but first how should i winterize my 1975 evinrude 50 before i take it off the transom? i have about 40 hrs on it since i owend it i plan on keeping it in my basement through the winter here in rhode island thanks ill post pics as i start the resto
 
Last edited:

Woodonglass

Supreme Mariner
Joined
Dec 29, 2009
Messages
25,924
Re: 65 starcraft

Welcome to iBoats!
This is the recommended method
[FONT=Arial, Helvetica, sans-serif]1.)Freshwater flush
Use a flushing attachment (muffs), or run the outboard in a tank filled with clean water.[/FONT]


[FONT=Arial, Helvetica, sans-serif]2.)Empty fuel lines and carburetors
While the engine is still running, disconnect the fuel line from the engine. When the engine dies, the fuel delivery components will be empty, preventing gums from forming in the stagnant gasoline and clogging lines and jets or injectors.[/FONT]

[FONT=Arial, Helvetica, sans-serif]3.)Fog the carburetor intake(s)
Before the engine runs out of fuel, spray fogging oil into the carburetor(s). Fogging oil is an anticorrosive that will protect the internal surfaces of the carburetor and the cylinders. Typically the engine will run rough just before it runs out of fuel. As that happens, give the carburetor(s) a heavier shot of fogging oil to make sure internal surfaces are fully coated.[/FONT]
[FONT=Arial, Helvetica, sans-serif][/FONT]
[FONT=Arial, Helvetica, sans-serif]4.)Drain cooling passages[/FONT] [FONT=Arial, Helvetica, sans-serif]Disconnect the flush attachment or remove the motor from the flush tank. With the motor upright, let all water drain out of the pick-up. Open drain plugs (if any--see your owner's manual) to empty the powerhead and intermediate housing. Crank the motor a couple of times by hand or "bump" it with the starter(Disconnect the plug wires) to empty the water pump. If the motor will be exposed to freezing conditions, it is essential that no water remains inside.[/FONT]
[FONT=Arial, Helvetica, sans-serif][/FONT]
[FONT=Arial, Helvetica, sans-serif]5.)Fog the cylinders
Remove the spark plugs and spray fogging oil into the holes to coat the interior surfaces of the cylinders. Rotate the flywheel a few turns to spread the oil on the cylinder walls. While the plugs are out is the time to check them and regap or replace as required. Reinstall the spark plugs.[/FONT]
[FONT=Arial, Helvetica, sans-serif][/FONT]
[FONT=Arial, Helvetica, sans-serif]6.)Lubricate linkages and the electric starter drive mechanism
Clean all pivots and visible gears and protect them for the winter with oil or grease, as specified in your owner's manual.[/FONT]
[FONT=Arial, Helvetica, sans-serif][/FONT]
[FONT=Arial, Helvetica, sans-serif]7.)Drain and refill gearcase
Use lubricant specified in your owner's manual. Fill oil tank
This will prevent condensation from forming inside the tank.[/FONT]
[FONT=Arial, Helvetica, sans-serif][/FONT]
[FONT=Arial, Helvetica, sans-serif]8.)Touch up damaged paint
Mist-coat powerhead with an anticorrosion spray

[/FONT]
[FONT=Arial, Helvetica, sans-serif]9.)Drain fuel tank and supply lines
Starting your engine in the spring with old gasoline is an invitation to problems. Manage the last few weeks of your boating season to leave your fuel tank(s) close to empty, then drain the fuel that remains. Use it in your snow blower or burn it in your car, but leave gasoline tanks and lines empty.[/FONT] [FONT=Arial, Helvetica, sans-serif][/FONT]
[FONT=Arial, Helvetica, sans-serif]10)Stabilize the fuel
Some boaters prefer to store the tanks full to minimize the potential for condensation. I find a cupful of water in the tank in the spring a lot smaller problem than 50 gallons of bad gasoline, but if you want to leave the tank full, pour in an appropriate amount of gasoline stabilizer to combat the formation of passage-clogging gums.[/FONT]


[FONT=Arial, Helvetica, sans-serif]11.)Clean and liberally lubricate propeller shaft
The off season is the perfect time to have your prop(s) serviced. If the engine will be stored on the boat, take the prop(s) home to discourage theft.[/FONT]
[FONT=Arial, Helvetica, sans-serif]12.)Store upright
[/FONT]
 

ezmobee

Supreme Mariner
Joined
Mar 26, 2007
Messages
23,767
Re: 65 starcraft

Or....skip all that and just change the lower unit oil (in case it got any water in it) and run Stabil through the last tank of gas. Fogging optional.

No disrespect Wood but a lot of that is really unecessary and #2 has actually been disputed on multi-cylinder engines due to one or more cylinder being run dry before the motor shuts off.
 

Woodonglass

Supreme Mariner
Joined
Dec 29, 2009
Messages
25,924
Re: 65 starcraft

Just quoting what I found on multiple sites on the NET. As for Me I, I Drain Everything, Pull the plugs, Three or Four squirts of mystery Oil in each cylinder, Bump the starter a couple of times, put the plugs back in and call her good. But that's just me.

I'm just sayin...:D

Man, I get in trouble no matter which way I go.
 

jplscrapie

Seaman
Joined
Jul 25, 2010
Messages
73
Re: 65 starcraft

Thanks everyone about winterizing im going with micks 1962 arkansas traveler as my model for resto,even the same colors ill try to post a you tube vid of what ive been doing and going with this starcraft runabout,
 

jplscrapie

Seaman
Joined
Jul 25, 2010
Messages
73
Re: 65 starcraft

O.K here are some pics.
 

Attachments

  • DSCF4434.jpg
    DSCF4434.jpg
    146.8 KB · Views: 0
  • DSCF4432.jpg
    DSCF4432.jpg
    141.3 KB · Views: 0
  • boat 009.jpg
    boat 009.jpg
    143.6 KB · Views: 0

jplscrapie

Seaman
Joined
Jul 25, 2010
Messages
73
Re: 65 starcraft

Here are some pics of the with the floor out.
 

Attachments

  • Boat Floor Dismantle 001.jpg
    Boat Floor Dismantle 001.jpg
    148.3 KB · Views: 0
  • Boat Floor Dismantle 003.jpg
    Boat Floor Dismantle 003.jpg
    146.4 KB · Views: 0
  • Boat Floor Dismantle 007.jpg
    Boat Floor Dismantle 007.jpg
    147.2 KB · Views: 0
  • Boat Floor Dismantle 013.jpg
    Boat Floor Dismantle 013.jpg
    148 KB · Views: 0
  • Boat Floor Dismantle 012.jpg
    Boat Floor Dismantle 012.jpg
    145.5 KB · Views: 0
Last edited:

jplscrapie

Seaman
Joined
Jul 25, 2010
Messages
73
Re: 65 starcraft

today i pulled up the rest of the floor,no more standing water,some of the stringers,took off the rub-rail and started removing the cap. thre was no foam just half-moon air pocket things. I did all this with a sawsall so far,the reason im doing this is because there is a small hole in the keel and water was getting in.I tried to patch from outside with a waterweld plug and to layers of mat just to get me through the summer. it worked fine,but my last trip out i took on water,thus the full resto. so here we go.
 

jplscrapie

Seaman
Joined
Jul 25, 2010
Messages
73
Re: 65 starcraft

I cant do anything untill I reorganizise the gaararagre, the cap is 3/4 removed ,i have to figure out how to stop the hull from spreading before ilift it off and where am i gonna store the cap for the winter(inside the house or in the backyard on saw-horses any thoughts?
 

jplscrapie

Seaman
Joined
Jul 25, 2010
Messages
73
Re: 65 starcraft

this morning i took off the winsheild,and drove out the splashwell drain-hole brass bushings with a 3/4 half inch socket. it worked well. i wanted to finish removing the cap,but i had to go sit through two back to back softball games for my daughter. a quick question im thinking about buying a dremel cut of tool to remove the fiberglass over the remaining ribs and stringers is this tool to small or should i go with a air cut-off wheel,and will a porter-cable pancake compresser run the tool? thanks
 

Woodonglass

Supreme Mariner
Joined
Dec 29, 2009
Messages
25,924
Re: 65 starcraft

Get a 4 1/2 inch angle grinder from Lowe's. It's the most widely used tool in boat reconstruction.

I'm just sayin...:D
 

jplscrapie

Seaman
Joined
Jul 25, 2010
Messages
73
Re: 65 starcraft

tonight i finaly seperated the cap from my hull. i wont lift untill i find room for the cap and stop the hull from spreading. quick question when i redo the stringers am i supposed to glass them first and then install,or install stringers then glass? im a newbie dont forget, my first boat resto
 

Yacht Dr.

Vice Admiral
Joined
Feb 26, 2005
Messages
5,581
Re: 65 starcraft

Hello jpl..

Im allways looking for a reason to break out the sawzall :) woulda made short work for your stringers :)

Your question answered.. Fit the new stringers WELL.. then prep them with resin before install.. Install the stringers where you need them then GLASS them in.

YD.
 

jplscrapie

Seaman
Joined
Jul 25, 2010
Messages
73
Re: 65 starcraft

yacht dr. i did use a sawsall to remove the floor and most of the stingers. it is still on standby. just a thought im thinking of flipping the hull to repair the keel issue. i saw mick 110 make a cradle for his hull,im thinking flip my hull over on the trailer like a big mobile work-bench so i can take it in and out of the garage if so be. anyone have thoughts on this? also what the heck is peanut butter?
 

Woodonglass

Supreme Mariner
Joined
Dec 29, 2009
Messages
25,924
Re: 65 starcraft

Peanut Butter is Thickened Epoxy using Cabosil. Take a look at my Thread in my Signature. I just built a cradle for my "Flip" I used 8" pneumatic casters from Harbor Freight and 2x6's Total Cost was $60.00 Going to try and get her off the trailer and flipped this weekend. I will post pics when i do.

I'm Just sayin...:D
 

jplscrapie

Seaman
Joined
Jul 25, 2010
Messages
73
Re: 65 starcraft

great looking boat! i had the same idea with casters. but my trailer rollors are shot and some are poking up the floor. i was thinking of converting to bunks,so with the rollers off then i can put some plywood down thus the mobile boat flip stand. my keel needs attention. thanks for the input looking forward to see your boat flipped good luck
 

jplscrapie

Seaman
Joined
Jul 25, 2010
Messages
73
Re: 65 starcraft

some new pics

DSCF4451.jpg


DSCF4454.jpg


DSCF4452.jpg


DSCF4450.jpg


DSCF4448.jpg


DSCF4447.jpg
 
Top