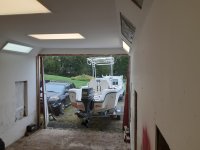
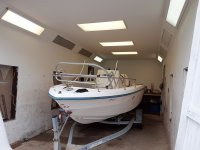
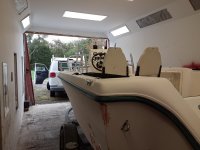
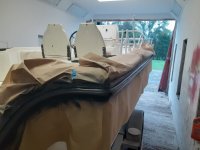
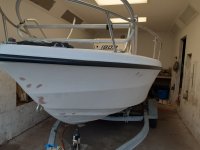
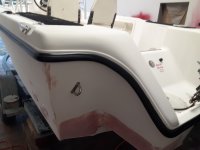
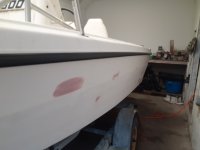
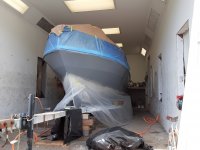
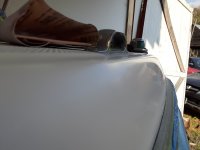
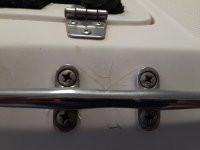
1996 Century Boats 1800 Center Console Refit and Modernization

zool

Captain
Joined
Aug 19, 2012
Messages
3,432
Yeah Kev, but just the bottom and hull sides for now. I have all the paint already. Pettit Barrier and Pettit Vivid white below the water line. Awlcraft 2000 in Super Jet Black from the water line to the rubrail. Im also dying the rubrail black. For the topside im just gonna make some gelcoat repairs when i figure out a matching blend. Im shooting for priming the sides next week if the weather is good.
 

kcassells

Fleet Admiral
Joined
Oct 16, 2012
Messages
8,715
Where are you getting all this energy from Larry? Send me a bottle please.
Looking good as usual.
 

zool

Captain
Joined
Aug 19, 2012
Messages
3,432
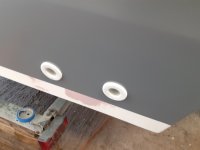
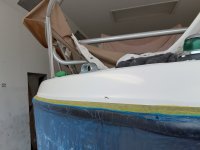
Yesterday I taped off the green rubrail and sprayed upholstery dye to both the green center and black channel.

1632357153777.jpeg

1632357191354.jpeg

1632357226389.jpeg

1632357275258.jpeg

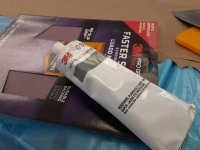
I have some more sanding to do, then fill any shrinkage of the Awlfair with 3m marine premium filler.
 

zool

Captain
Joined
Aug 19, 2012
Messages
3,432
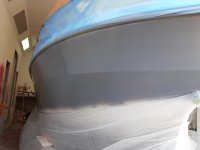
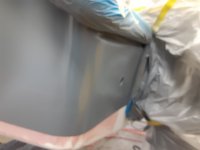
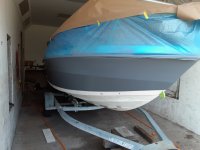
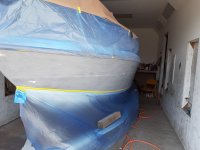
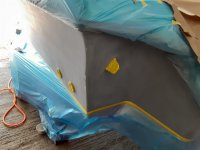
Took advantage of the nice weather today, 75 degrees, light breeze, few bugs, so I went ahead and masked off the boat, sanded with 220, and shot 3 coats of 545. Came out good, little to no peel. Theres still some imperfection tho, so ill have to fair a little more with 3m premium after I sand this to see what sands out. I removed most of the tape cuz I dont know when ill get back to it. I plan on one more coat of 545 as a sealer thinned 10%.

1633213494802.jpeg

1633213527356.jpeg

1633213554074.jpeg

1633213583764.jpeg

1633213694969.jpeg

I cleaned up the overboards rather then paint them.
1633213641072.jpeg

Hopefully I can get the bottom done and black on before it gets too cold. If not, the black will have to wait till spring.
 

zool

Captain
Joined
Aug 19, 2012
Messages
3,432
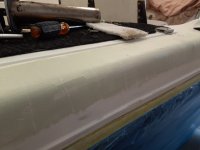
Today I degreased and sanded the primer with 220 on a d/a. After that, I felt there wasnt any blemished large enough to need the 3m premium, s I just used 3m glaze to fill some scratches and pin holes.

Then I block sanded it all by hand with 320. Masked it again and its ready to shoot. There were too may bugs today, being over 80 degrees. Ill try to pick a day this week and run it through.

1633315826568.jpeg

1633315857481.jpeg

1633315893439.jpeg
 

zool

Captain
Joined
Aug 19, 2012
Messages
3,432
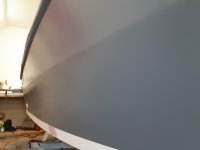
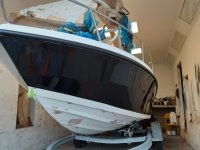
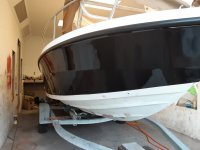
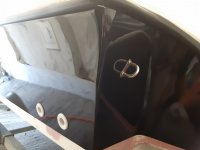
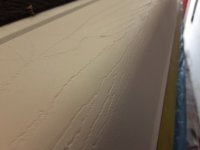
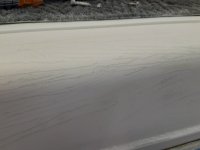
The weather looked good today, so I stole a few hours this morning to squeeze out the 3 coats of paint. Came out real good, just a few scratches I missed with the glaze but only noticeable if u know where to look. Very little peel, and no contamination, so im happy.

1633729298054.jpeg

1633729360791.jpeg

1633729384373.jpeg

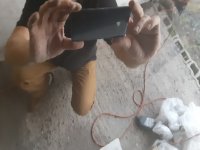
And one mirror shot straight on.

1633729425045.jpeg

Gonna call it done and move on to the gel coat matching for the topside repairs. I may or may not do the bottom paint this fall, ill see how things go.

Time for a bourbon :)
 

kcassells

Fleet Admiral
Joined
Oct 16, 2012
Messages
8,715
The weather looked good today, so I stole a few hours this morning to squeeze out the 3 coats of paint. Came out real good, just a few scratches I missed with the glaze but only noticeable if u know where to look. Very little peel, and no contamination, so im happy.

View attachment 351086

View attachment 351087

View attachment 351088

And one mirror shot straight on.

View attachment 351089

Gonna call it done and move on to the gel coat matching for the topside repairs. I may or may not do the bottom paint this fall, ill see how things go.

Time for a bourbon :)
That looks Great Larry! Whew, nice job! Cheers!
 

88 Capri (2022 SOTY)

Master Chief Petty Officer
Joined
Aug 25, 2019
Messages
819
The weather looked good today, so I stole a few hours this morning to squeeze out the 3 coats of paint. Came out real good, just a few scratches I missed with the glaze but only noticeable if u know where to look. Very little peel, and no contamination, so im happy.

View attachment 351086

View attachment 351087

View attachment 351088

And one mirror shot straight on.

View attachment 351089

Gonna call it done and move on to the gel coat matching for the topside repairs. I may or may not do the bottom paint this fall, ill see how things go.

Time for a bourbon :)
That looks phenomenal! That's some great work to be proud of!
 

zool

Captain
Joined
Aug 19, 2012
Messages
3,432
Thanks guys, painting black always stresses me because its not forgiving. Glad that's behind me.

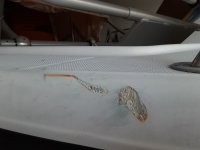
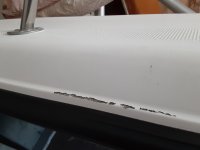
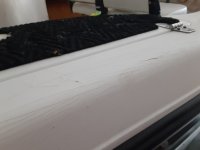
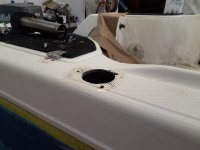
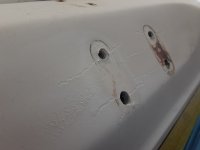
Next im gonna cut and buff the gel to reveal the true color and try to match it best I can. I bought white gel, and some black, yellow, and brown tint. Gonna ground out the large gouges and fill with vinyl-ester compound, fair and spry the gel to blend it in. These are some of the major repair areas, plus a bunch of unused holes in the console. The stress cracks that came from a dock hang up will be v grooved and faired.

1633804773708.jpeg

1633804799187.jpeg

1633804820193.jpeg
 

zool

Captain
Joined
Aug 19, 2012
Messages
3,432
I forgot to add i plan to inject epoxy in the smaller cracks, and laminate some cloth in the large one. Then use the vinyl ester as a tie coat for the gel.
 

zool

Captain
Joined
Aug 19, 2012
Messages
3,432
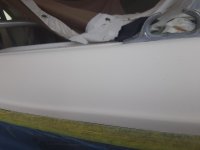
Took a little time today to see if I could come up with a gel restoration schedule that wont take forever to get good results. Upon close inspection, the gel has a bunch of pinholes in it that need to be rubbed out.

1634149543606.jpeg
its the dark spots that look like blotches in this pic.

I wet sanded a 2 foot area on the cap with 400 grit lightly. I was able to remove most of it.
1634149797650.jpeg


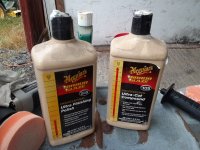
Then I tried Mequires 105 and 205 I had on the shelf and it did just an ok job on the gel, it removed the chalk and shines it using a 3 inch orbital polisher, but took a while for a small area.
1634150023190.jpeg


1634149825398.jpeg

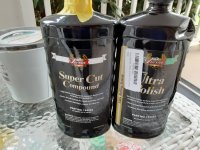
Next up im gonna give presta a try to see if i can speed up the process. I have to ultimately do the entire cap, inner sides, and deck, so im looking for quick and effective.

1634149999333.jpeg

the true color is revealed now so i can do some color matching.
 

zool

Captain
Joined
Aug 19, 2012
Messages
3,432
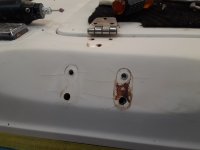
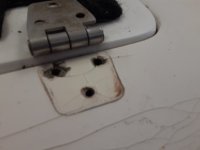
Got some most of the prep work done for the gel repairs. I stripped hardware where stress cracks were.

1634440070976.jpeg

1634440092526.jpeg

1634440119034.jpeg

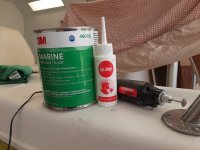
Todays lineup was just 3m premium, capt tolleys creaping crack sealer, and a mini roto tool i got at harbor freight for 6 bux, easy to handle and hold, and did the job great.
1634440242866.jpeg
 
Last edited:

zool

Captain
Joined
Aug 19, 2012
Messages
3,432
I used a blunt cone tip on the tool and grooved all the cracks, that was tedious. I filled in the gouges and scrapes up near the bow and midship.

1634440439088.jpeg

1634440479521.jpeg

Put some creeper in the deeper cracks and spread a mostly sacrificial coat on
1634440529454.jpeg

Sanded it off with 350 grit to a smooth fingernail test finish.

1634440649912.jpeg
 

zool

Captain
Joined
Aug 19, 2012
Messages
3,432
I polished again up by the bow area with the Presta products but this time I also used wet 1500 grit after the 400, then the machine....its looking better now.
1634440858068.jpeg

Theres only one set of cracks on the other side, then I should be able to spray the gel for the repairs.

1634440945778.jpeg
 

kcassells

Fleet Admiral
Joined
Oct 16, 2012
Messages
8,715
That sure is a lot of freakin work there! Looking forward to the results. Is one used for different applications? Ie; 3m vs. Capt T?
 
Top