1992 Wellcraft Excel 18sx custom rebuild. Project name "Aqua Rover"

Status
Not open for further replies.

Jared9220

Seaman
Joined
Dec 29, 2010
Messages
59
Good work and progress. WOG is referring to the structural aspects under the floor as they existed. The stringers/bulkheads/deck structures will end up being a result of putting back what was there.....in a better fashion and the deck mods will at some point tie back to the under deck replaced structure.
So then if you are contemplating like a long bench etc for "sunning" in addition to the existing structure being replaced you will want to consider modifying whats under the deck to accept the deck/bench mods. for strength and integrity.
Pics/meas etc will refresh your memory cause these rehabs last longer than your mind remembers. They end up being great references.

Thanks for the kind words.

I was lucky enough that another member on here has already rebuilt this exact same boat so I can look back at his rebuild for help.
http://forums.iboats.com/forum/boat...at-projects/326960-1992-wellcraft-excel/page2

I think I understand what you are saying about thinking about what will be above when building the structure below. Basically you are saying if there will be something heavy above, build better support below to carry the load. Am I picking up what you are putting down?
 

Tnstratofam

Commander
Joined
Aug 18, 2013
Messages
2,679
I think you'll like that interior layout better than what you had. Our Stratos has the large sun pad and the bench seat with two captais chairs. The sun pad is nice, and the passenger sear swivells for onserving skiers. The back to back seats with jump seats in the back do see to give a little more floor space. Did you cut out your bow seating and retain some of it for templates?
 

Jared9220

Seaman
Joined
Dec 29, 2010
Messages
59
I think you'll like that interior layout better than what you had. Our Stratos has the large sun pad and the bench seat with two captais chairs. The sun pad is nice, and the passenger sear swivells for onserving skiers. The back to back seats with jump seats in the back do see to give a little more floor space. Did you cut out your bow seating and retain some of it for templates?

I didn't keep anything for templates. I didn't really see the point as nothing is being reused as far as interior so the seating structure doesn't need to be the exact same as before. I do not expect building the bow seating will be very difficult at all. I have plenty of pictures to go back to and it seems very, very simple. Remind me I said this when I'm having troubles building the seats in a month or so;).
 

Jared9220

Seaman
Joined
Dec 29, 2010
Messages
59
At my current pace I can see myself reaching the actual rebuild stage and done with the grinding and gutting within a week or 2. Should I start thinking about getting the new plywood soon? I've heard that it's good to let it dry out in your garage for a while before sealing it up with resin and glass.

Also, I know this is a much debated topic and I'll probably get a million different answers but what type of wood is recommended? (doug fir, ext grade, )
 

nurseman

Lieutenant Junior Grade
Joined
Jun 2, 2013
Messages
1,045
Marine vs. Exterior plywood is another hot topic! Marine is much more expensive, has no voids, and usually has more plys. Exterior grade will have some voids, and usually has fewer plys than marine grade. However, I think that the general consensus is that the marine grade is just not worth the extra expense, if you take the time to prep the exterior grade properly and make sure it is fully encapsulated in resin and glass. Here is a link to a good head to head comparison between the two. It seems that most guys use the exterior grade and have no issues with it. I used ACX 3/4 and 1/2 for my rebuild. just take care to fill any voids with resin or PB before you glass it in. That will give you a solid build that won't blow your budget.
 

nurseman

Lieutenant Junior Grade
Joined
Jun 2, 2013
Messages
1,045
Here is the link, I couldn't get it to let me post it in the previous post
 

Jared9220

Seaman
Joined
Dec 29, 2010
Messages
59
Thanks for posting that video nurseman. Very informative. I think I will just use the best exterior plywood I can find after watching that.
 

PitaBoat22

Petty Officer 2nd Class
Joined
Jun 20, 2009
Messages
148
Get yourself a multifunction tool with a plunge blade. This thing really made my stringer removal easier and allowed me to cut the glass nearly at hull level. Reduces the amount of grinding you'll have to do later.
 

Jared9220

Seaman
Joined
Dec 29, 2010
Messages
59
Get yourself a multifunction tool with a plunge blade. This thing really made my stringer removal easier and allowed me to cut the glass nearly at hull level. Reduces the amount of grinding you'll have to do later.

Are you talking about one of these Oscillating tools? I almost bought one before starting this project but I didn't think that it would be strong enough to cut through the Fiberglass. I love buying new tools so it looks like I'll be adding a new one to my collection soon. Thanks for the suggestion.

Bosch-MX25EC-21-Corded-Multi-X-Oscillating-Tool.jpg
 
Last edited:

Tnstratofam

Commander
Joined
Aug 18, 2013
Messages
2,679
Since your changing the seating having templates shouldn't matter. I wasn't sure if you were going to keep the bow seating the same as original. +1 on what nuresman said. Exterior grade plywood should be fine for your rebuild. The boat is gonna be much stronger than factory if you encapsulate everything well. Getting the wood now and letting it dry out is a good idea. I'm curious how others recommend storing it to prevent as much warpage as possible.
 

Jared9220

Seaman
Joined
Dec 29, 2010
Messages
59
Since your changing the seating having templates shouldn't matter. I wasn't sure if you were going to keep the bow seating the same as original. +1 on what nuresman said. Exterior grade plywood should be fine for your rebuild. The boat is gonna be much stronger than factory if you encapsulate everything well. Getting the wood now and letting it dry out is a good idea. I'm curious how others recommend storing it to prevent as much warpage as possible.

I also was concerned about possible warping of the wood. I was thinking I could just lay the sheets of plywood flat on the garage floor with something heavy on top?
 

Woodonglass

Supreme Mariner
Joined
Dec 29, 2009
Messages
25,928
Uhmm you don't want to lay the wood on concrete. It will sweat and introduce moisture into the bottom layer. Cut 8- 4' long 1x2's and space them 12" apart lay the ply wood on them if you're gunna lay it flat. I prefer to store it on edge(on 1x2's) and "sticker it" with 1x2's and then C-Clamp the ends to prevent warping. Look for the Arauco Brand of plywood. It has more plys and fewer voids than most. Also ask if they have "Underlayment" plywood. It also has fewer voids and is usually made from Douglass Fir.
 
Last edited:

PitaBoat22

Petty Officer 2nd Class
Joined
Jun 20, 2009
Messages
148
Yes, an oscillating tool. Worked very well for me and now that I have started the grinding I am glad I used it as it really let me cut the glass covering the stringers, etc. nearly flush with the hull. Really cut down on the dust, too, as I was able to vacuum the dust as I went along. I'm following your thread as I am in the middle of the same effort.

http://forums.iboats.com/forum/boat...ader-floor-repair-support-needed-take-2/page5
 
Last edited:

Tnstratofam

Commander
Joined
Aug 18, 2013
Messages
2,679
:facepalm: Wog that makes sense. I didn't think about using 1x2s for setting the plywood on. I like the idea of standing it up and clamping it too.
 

Rickmerrill

Senior Chief Petty Officer
Joined
Mar 13, 2014
Messages
686
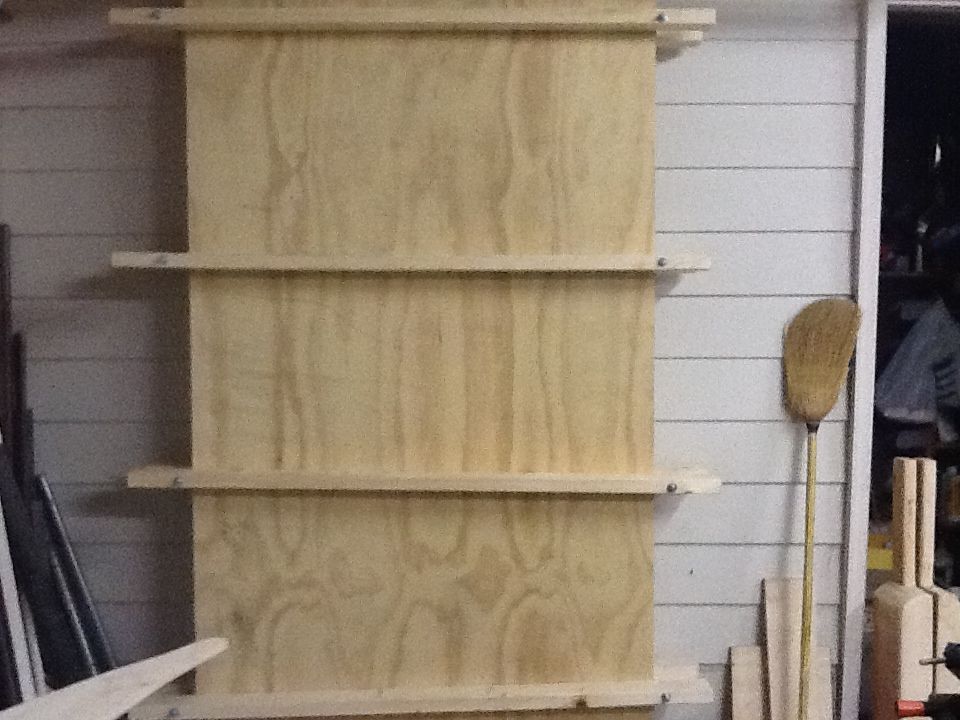
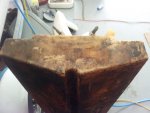
I didn't have enough flat floor space so I borrowed the transom clamps and did this.
 

Jared9220

Seaman
Joined
Dec 29, 2010
Messages
59
Uhmm you don't want to lay the wood on concrete. It will sweat and introduce moisture into the bottom layer. Cut 8- 4' long 1x2's and space them 12" apart lay the ply wood on them if you're gunna lay it flat. I prefer to store it on edge(on 1x2's) and "sticker it" with 1x2's and then C-Clamp the ends to prevent warping. Look for the Arauco Brand of plywood. It has more plys and fewer voids than most. Also ask if they have "Underlayment" plywood. It also has fewer voids and is usually made from Douglass Fir.

Thanks for all that information. I'll keep this in mind when looking for the wood.
 

kcassells

Fleet Admiral
Joined
Oct 16, 2012
Messages
8,737
Thanks for the kind words.
I was lucky enough that another member on here has already rebuilt this exact same boat so I can look back at his rebuild for help.
http://forums.iboats.com/forum/boat...at-projects/326960-1992-wellcraft-excel/page2
I think I understand what you are saying about thinking about what will be above when building the structure below. Basically you are saying if there will be something heavy above, build better support below to carry the load. Am I picking up what you are putting down?


Yup... you got it. In addition to the basic replacements which is better than the original then take into considerations above decks mods so below deck mods help support your new designs. So concept design ends up as a part of final structural.
I couldn't save any wood pcs. other for templates at all....they were all mush but pics and measure records will definitely keep your memory sharp as you move back and forth with the reno over time.
 

Jared9220

Seaman
Joined
Dec 29, 2010
Messages
59
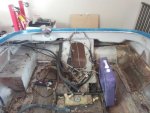
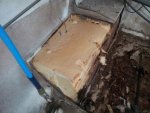
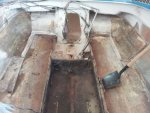
I managed to get back in the boat this morning and I pulled the gas tank and cut out the other "foam box" in the stern. I am officially at the 1 week mark and so far I think my progress is coming along nicely. After I get the stringers and transom pulled it will be all grinding time. My goal is to have all of the grinding done within the next 2 weeks and have a fresh shell to start the rebuilding phase. I might have to wait to start grinding so I can order a full face respirator. I have a good respirator but it's not a full face and although it works great I decided that safety glasses alone will not do much good to keep the fine powder out of my eyes.

Day 7:

20141001_093125.jpg

20141001_094935.jpg

20141001_110930.jpg

20141001_111100.jpg
 
Last edited:

Mark72233

Ensign
Joined
Jul 11, 2014
Messages
926
Jared definitely get the full-face and suit. I thought I knew what grinding glass would be like because I read a bunch of blogs and looked at tons of pictures. I didn't have a clue as to the fun that awaited me. Even a boat the size of yours you will produce piles of white glass powder that is like talcum powder and gets on and into everything. Do your grinding at least 30 feet away from anything you value or cover things with tarps. I used an enclosed canopy to reduce the distance the dust will travel. I am finally done grinding out my old glass after 6 weeks. Good luck on the project looking good so far.
 
Status
Not open for further replies.
Top