JASinIL2006
Vice Admiral
- Joined
- Feb 10, 2012
- Messages
- 5,758
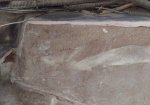
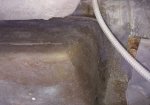
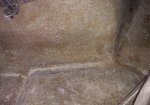
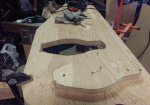
Your grinding looks really good to me. If the stuff that's left is solid, pink, and clean, you are good to go. You do not have to remove all the old tabbing, as long as the stuff left behind is clean and solid, and as long as it's not getting in the way of new glass to be added.
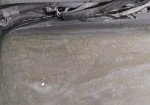
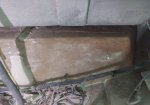
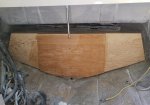
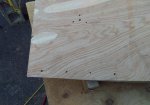
That smooth stuff on the transom is the thickened resin used to attach the transom core. You don't have to remove it, but you want to make sure your total transom thickness when you're done is within spec. If that old thickened resin is too thick, it might cause your overall thickness (after glassing in the transom core) to be too great. If it looks like that might happen, just grind some off. If you're eventual thickness looks OK, though, you can leave the old stuff.
That smooth stuff on the transom is the thickened resin used to attach the transom core. You don't have to remove it, but you want to make sure your total transom thickness when you're done is within spec. If that old thickened resin is too thick, it might cause your overall thickness (after glassing in the transom core) to be too great. If it looks like that might happen, just grind some off. If you're eventual thickness looks OK, though, you can leave the old stuff.
")