1991 MIRROCRAFT TROLLER XL REBUILD/RESTORE

Dignified09@gmail.com

Petty Officer 3rd Class
Joined
Apr 9, 2016
Messages
92
I did a leak test yesterday afternoon after I followed the directions with the gluvit and let it fully cure. Not a single drop from my original leak test in April upon tearing it apart.

Looks like im ready to get this floatation foam in and install the floor.

A quick few questions about the foam, does it need to be glued down or should I just set the pieces in and lay the floor on top of it?

Also, what type of hardware are have you guys been using for the floors? original hardware everything below the deck (metal pieces) were riveted down.

I know I want to use STAINLESS hardware, but should I use self tapping screws instead?

what works best?

Thanks.
 
Last edited:

Slager

Petty Officer 2nd Class
Joined
Apr 30, 2014
Messages
189
Hey, just finished reading through your thread. Looks good so far.

For the foam, if you are using 1/2" plywood for your deck, you'll want to make sure the foam is snug against the bottom of the deck to provide a bit of support, otherwise it may bend as you walk on it. It will feel much more firm with the foam providing some support. On my boat, I used 1/2" plywood and it would flex when stepped on, I added pour foam under deck and it firmed right up.

For cutting the foam I have seen others use a hot knife. As far as I know there is no easy way to get the pieces cut to fit. Let us know how you do it.

Keep up the good work!
 

Slager

Petty Officer 2nd Class
Joined
Apr 30, 2014
Messages
189
Also, I don't think glue is required unless you think it would be important for your situation. If you do use glue, test it on a small piece of foam first. Many glues contain solvents that will melt the foam.
 

Watermann

Starmada Splash of the Year 2014
Joined
Jan 12, 2013
Messages
13,797
No glue for the foam, layer it in as much as you can get.

Large flange rivets are best for securing the decking, screws will come loose and have next to nothing in the way of material to hang onto under the wood.
 

Dignified09@gmail.com

Petty Officer 3rd Class
Joined
Apr 9, 2016
Messages
92
Watermann does that mean ill have to drill some holes before since theyre rivets? confused as to how a rivet will go thru wood and the alum.
 

Watermann

Starmada Splash of the Year 2014
Joined
Jan 12, 2013
Messages
13,797
Yeah, 3/16" blind LF rivets are standard for deck attaching, the length is determined by how thick your decking is and yes you have to use a 3/16" drill bit to create the holes for the rivets. So what was the original decking riveted to?
 

Dignified09@gmail.com

Petty Officer 3rd Class
Joined
Apr 9, 2016
Messages
92
Watermann im going to take a few pictures as well as go thru some old ones that I took on how it was attached and ill post them so you could maybe help me out a little more, ive been brainstorming on the floor situation since i cant figure out how im going to attach it.
 

Dignified09@gmail.com

Petty Officer 3rd Class
Joined
Apr 9, 2016
Messages
92
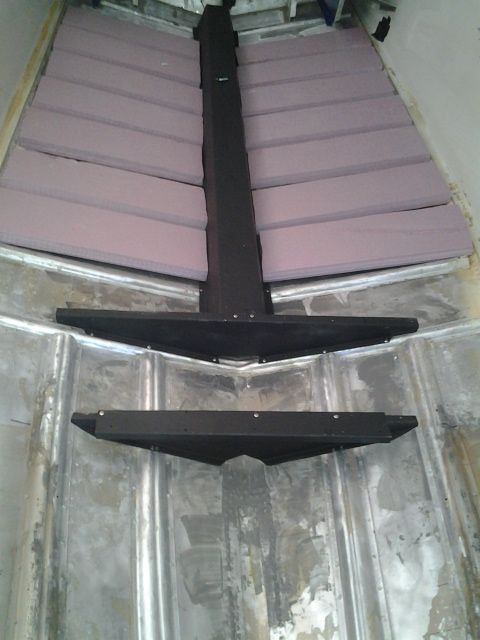
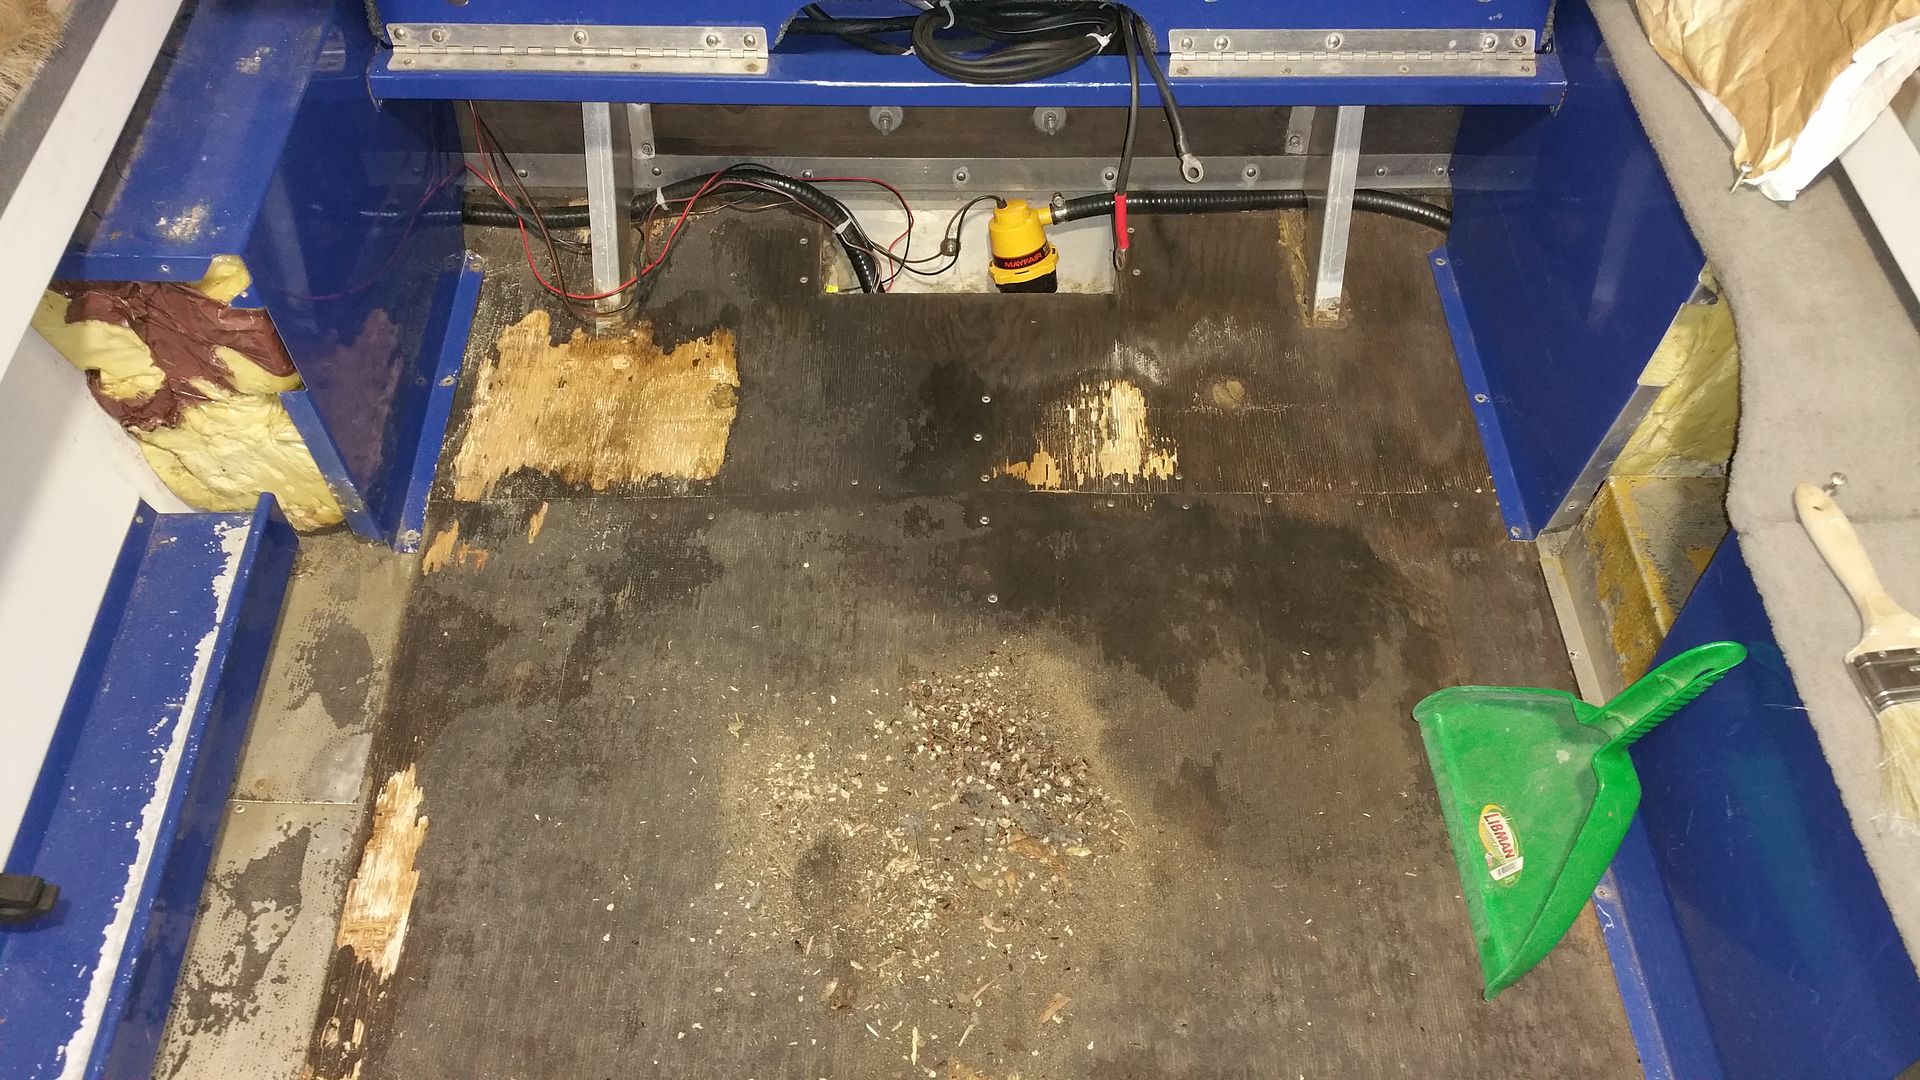
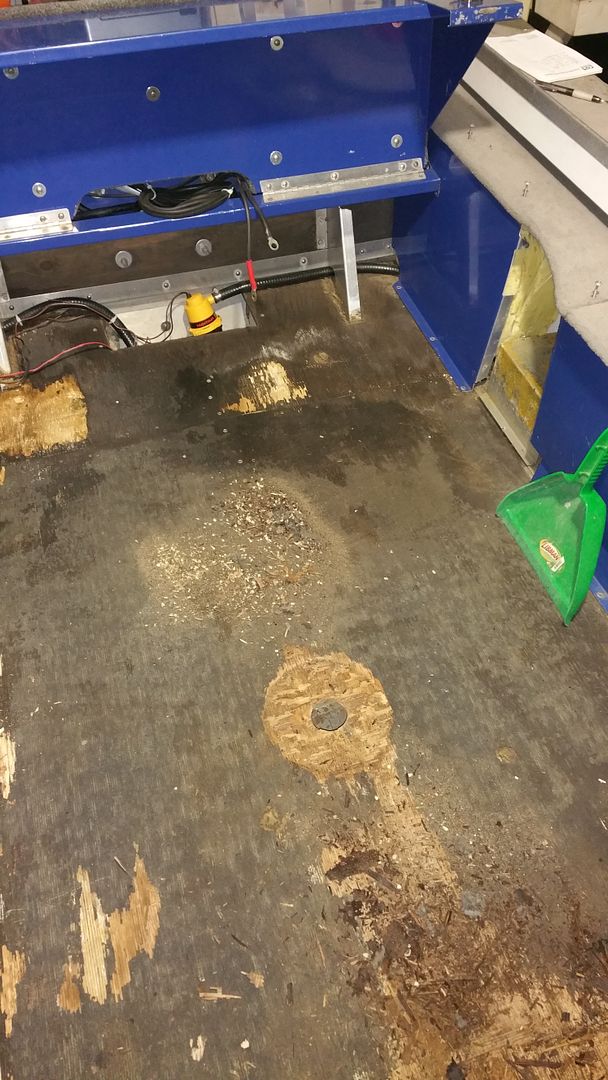
The floor was riveted to some of my metal components, ive already put them back into place with the original holes.


shown here, also had them on the splashwell sides shown in the picture on the right, as well as the livewell. (theres pre drilled holes already)


the metal bilge piece is connected in the back to the middle running piece but also had what was 2 smaller pieces of wood (you can see the outlines, and had some screws in it around there, smaller screws. I was wondering about that the most. the back piece.


Watermann

Starmada Splash of the Year 2014
Joined
Jan 12, 2013
Messages
13,797
Looks like the decking was attached at the rib ends with rivets like Starcraft does. I think I can see some holes in the end where the rivets were. The small cut out pieces were probably how they poured in the foam.

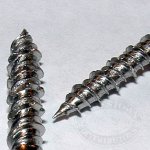
If you do decide on screws rather than rivets don't use self tapping screws, pre drill for the screws and I really like the Sharx marine deck screws, the teeth on them really hold well. Pic below are the Sharx screws, way different design than any other screw out there.

sharx.jpg
 

Frey0357

Petty Officer 1st Class
Joined
Mar 13, 2014
Messages
313
Dig,
I used the Sharx screws like watermann said, they worked great! Really bit into the aluminum structure below. If doing my project I would do it the same way again, the original rivet fashion really didn't work well on my boat. Many of the rivets missed their mark and did nothing, as they came loose or missed the aluminum in the first place. My suggestion includes screws.

Thanks Frey
 
Last edited:

Dignified09@gmail.com

Petty Officer 3rd Class
Joined
Apr 9, 2016
Messages
92
I guess it has been so long since ive been able to come back to this project that photobucket decided to take down all my photos and to my knowledge theyre wanting me to pay for them to be restored. Anybody have any information on that?

I would really like to start back up on this project as I do have most of the worst work done on it.

Can anyone tell me what site theyre using for pictures now? or how to fix this problem?

Thanks. Zach
 

Dignified09@gmail.com

Petty Officer 3rd Class
Joined
Apr 9, 2016
Messages
92
Not to mention photobucket is PACKED FULL of ads and makes it hard to navigate and use. I can clearly see the uploading photos part of this site hasnt changed at all. its such a dying PROCESS it seems like !
 

Dignified09@gmail.com

Petty Officer 3rd Class
Joined
Apr 9, 2016
Messages
92
photo1.jpgphoto2.jpg

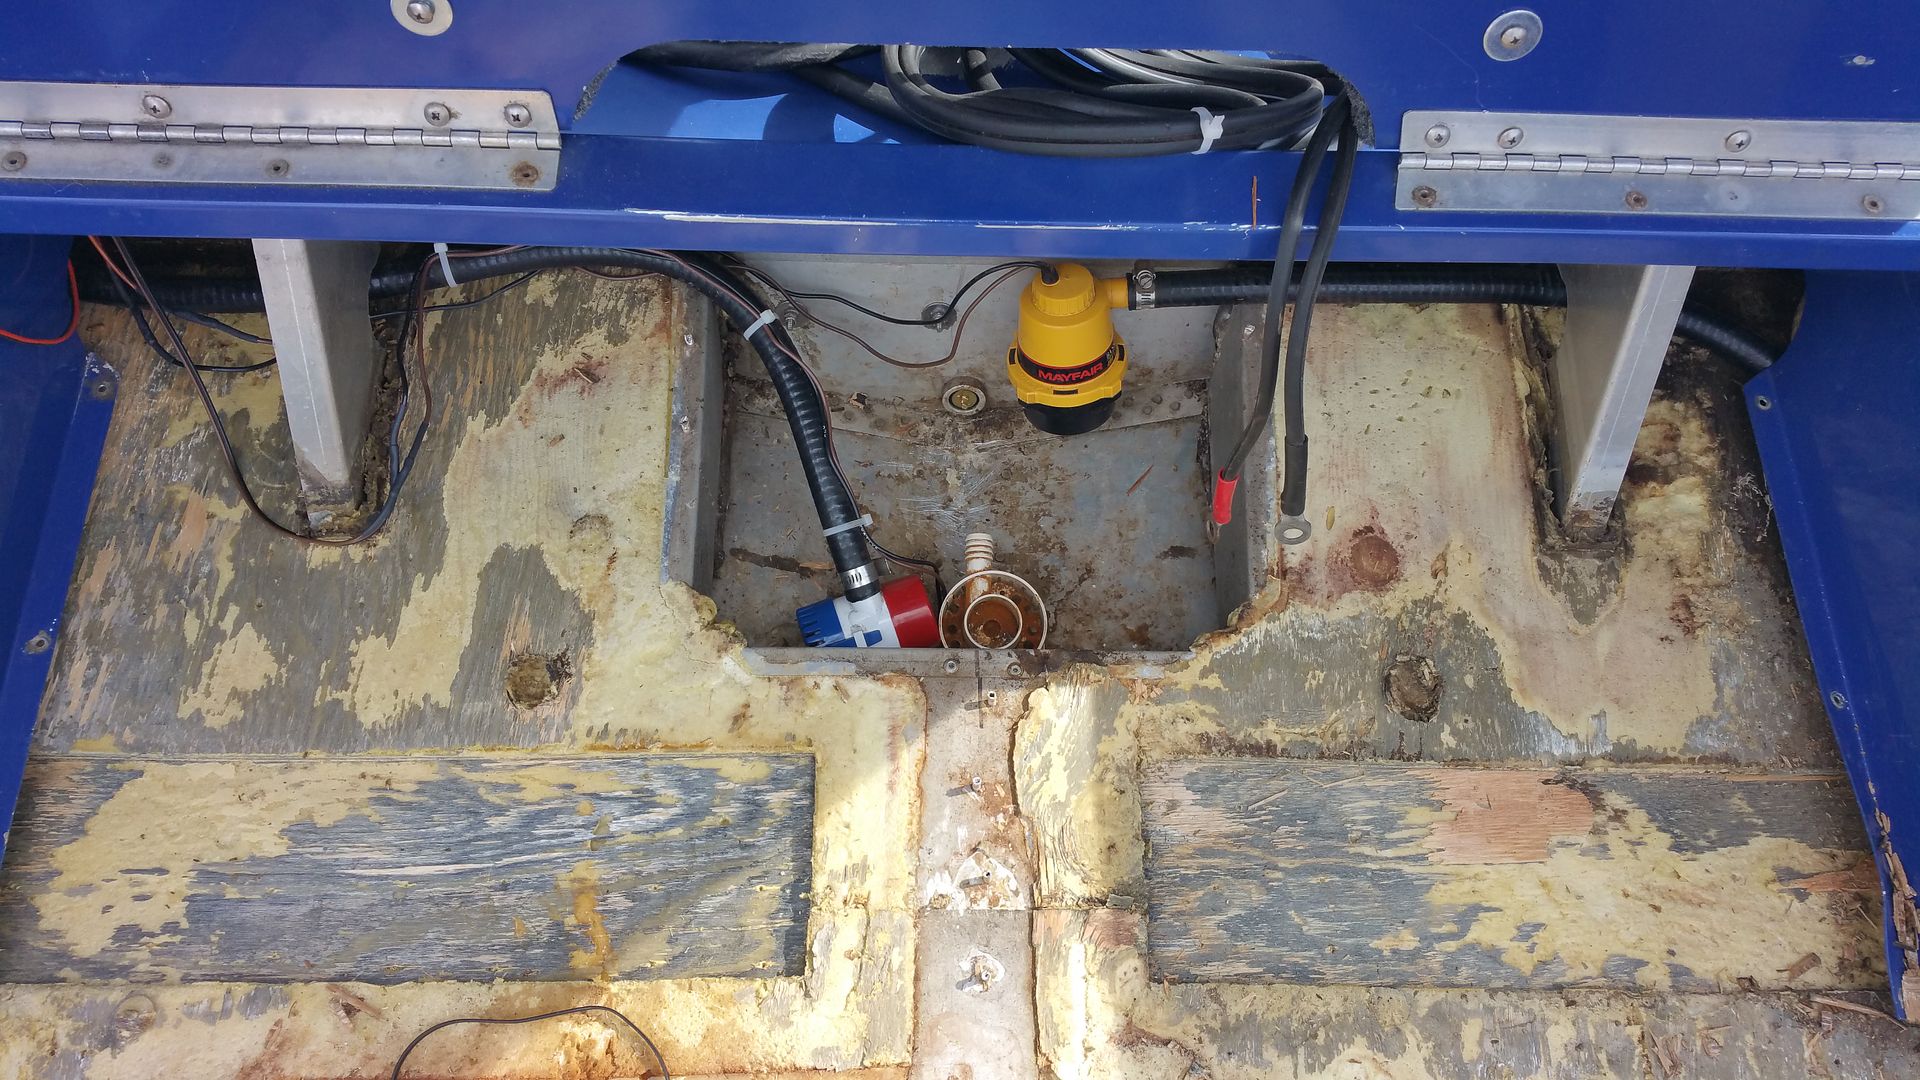
Alright guys so I have figured out how to continue posting photos for some help.

Current dillemna is installing the bilge kit. I have purchased one (as pictured) with a 3/4 inch fitting, however, the fitting does not fit through the hull? am I doing something wrong here or do I need to essentially drill that hole bigger to accomodate that? seems like a shitty job to complete but if anyone has any insight on that I would appreciate it.

Still dreaming of the water.....

Thanks, Zach
 

Watermann

Starmada Splash of the Year 2014
Joined
Jan 12, 2013
Messages
13,797
How does the blige pump hose attach to that fitting without a barb and clamp? Guess I haven't seen the kit, I ordered the thru the hull fitting for 3/4 line and it went right in the hole on both my SCs.
 
Top