1991 MIRROCRAFT TROLLER XL REBUILD/RESTORE

Dignified09@gmail.com

Petty Officer 3rd Class
Joined
Apr 9, 2016
Messages
92
Yeah well it might be boring to some older forum salts but when some noob comes strolling through with his new to him boat he may be thrilled to see how others do these things.

Point well made , watermann. I am going to post some pics soon for all I've been doing.

I have to remember that I'm not the only one reading, sometimes. Haha.
 

Dignified09@gmail.com

Petty Officer 3rd Class
Joined
Apr 9, 2016
Messages
92
Hello all, I hope summer has been treating you all well with the boating weather.:fish2:

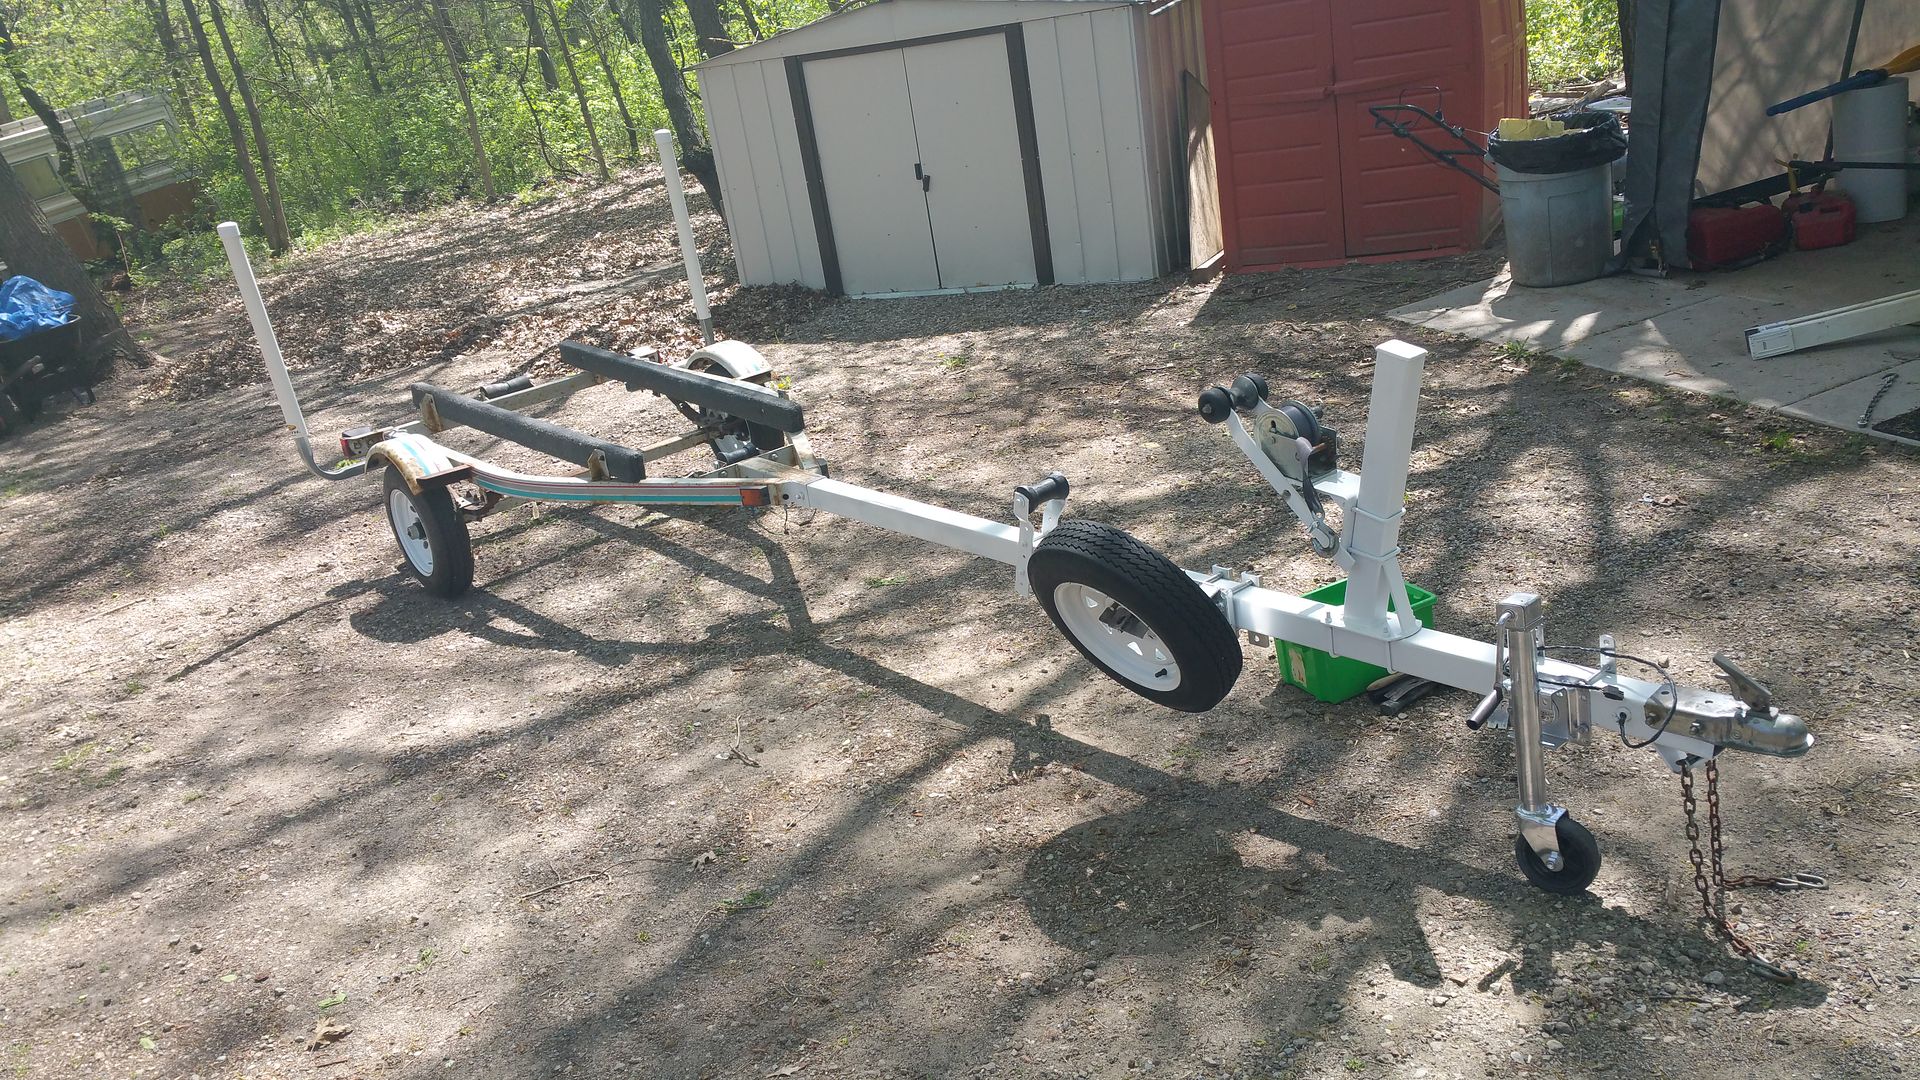
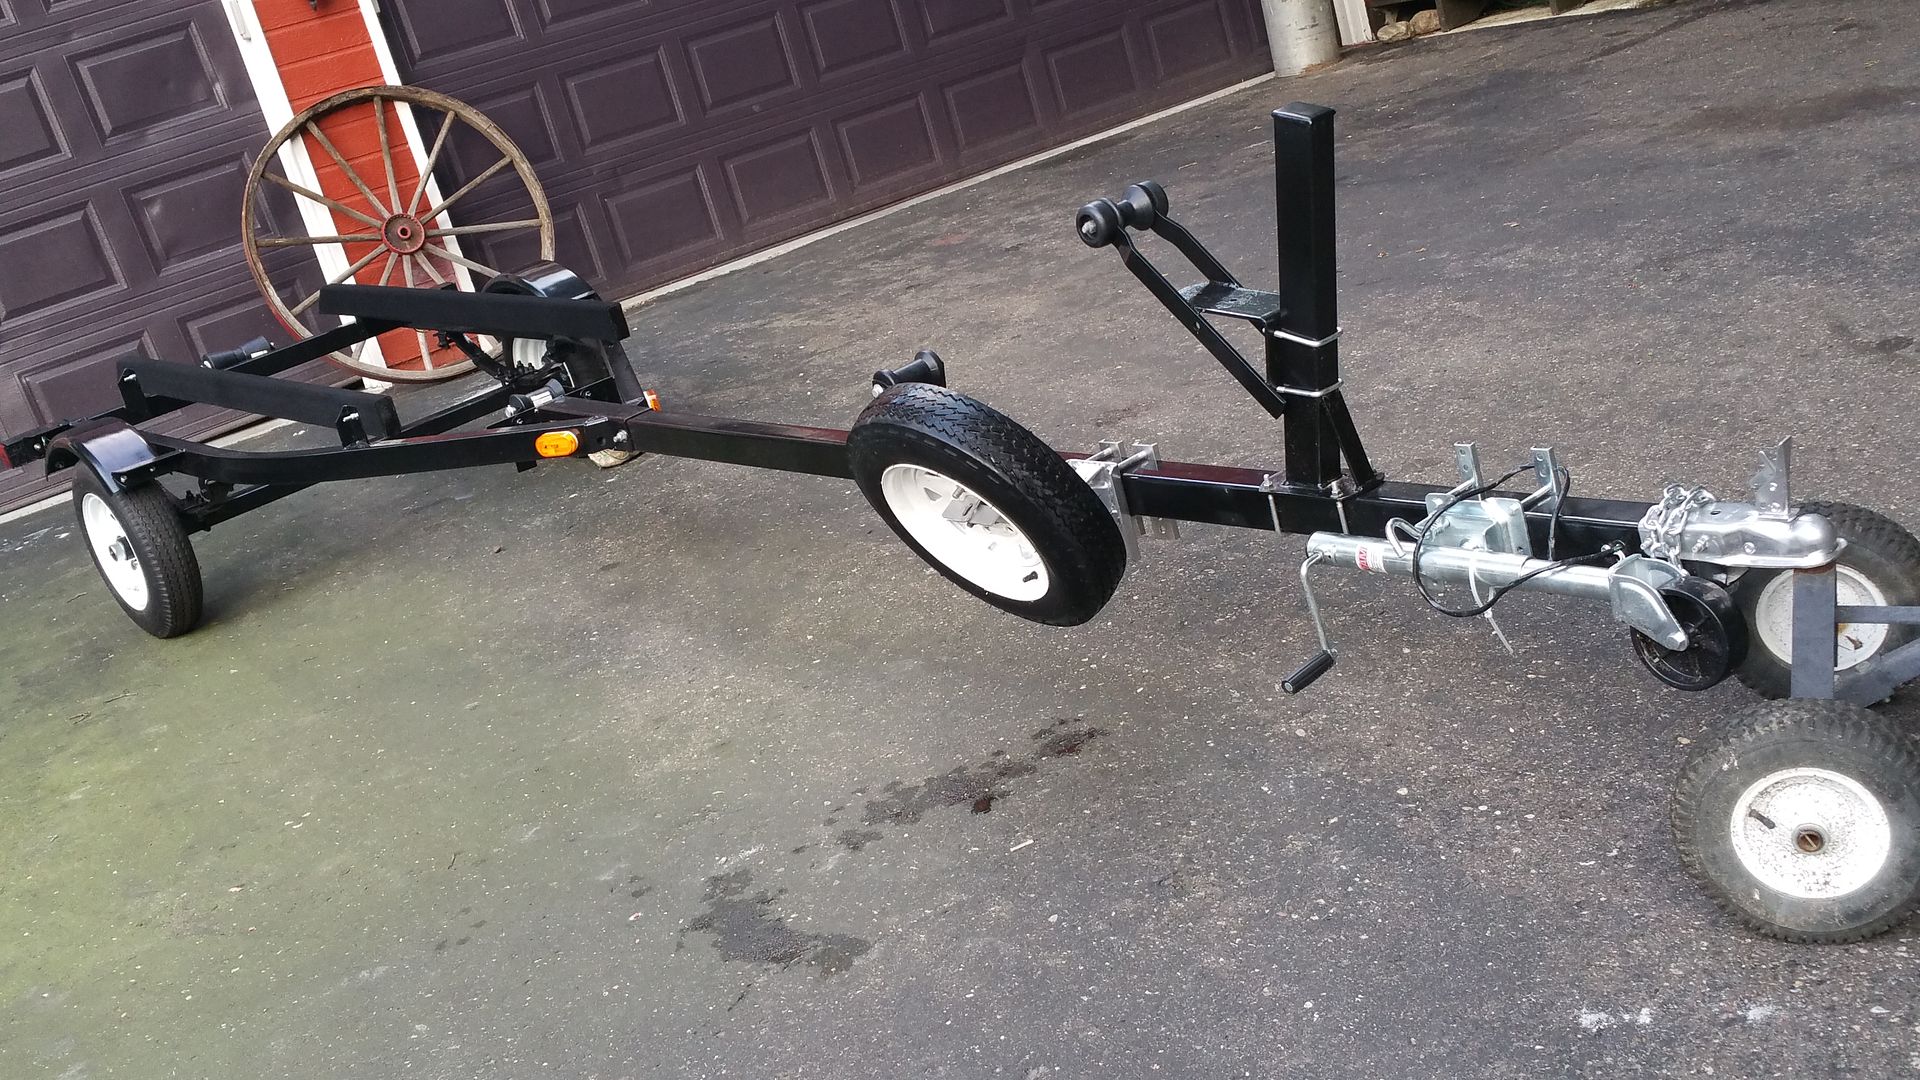
This project is still in swing and as of now this is my update: ive been busy doing things here and there thatll speed up fasterdown the line. how bout some before and afters? :D


before:


After:


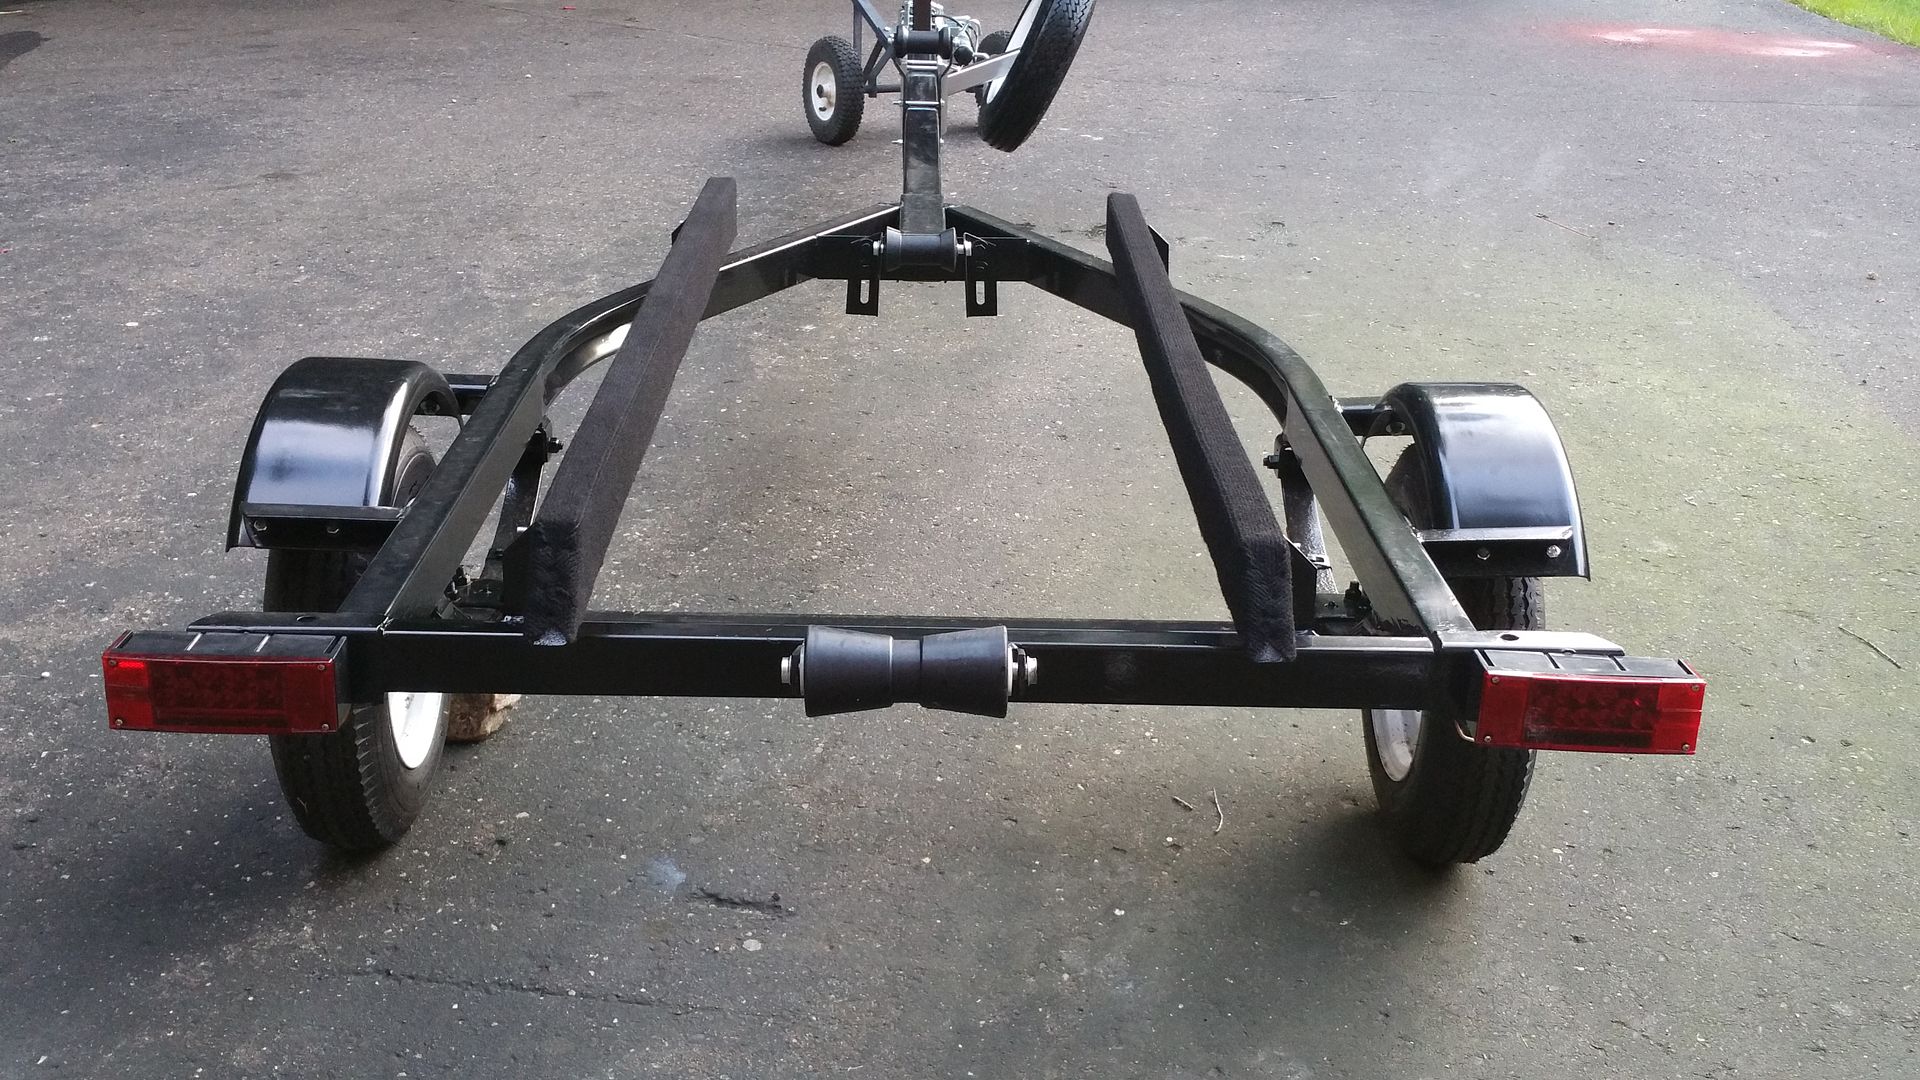
Its pretty much done aside from a few things like the trailer winch and the guide ons which I will install later. I also plan on getting some Vinyl striping to match it like in my previous pics.

pretty much new everything:
tires,
rewired all lighting with LEDs and made watertight connections,
Trailer jack,
coupler,
wheel hubs and bearings,etc

it looks really nice in person, my father does a great job in the paint department!

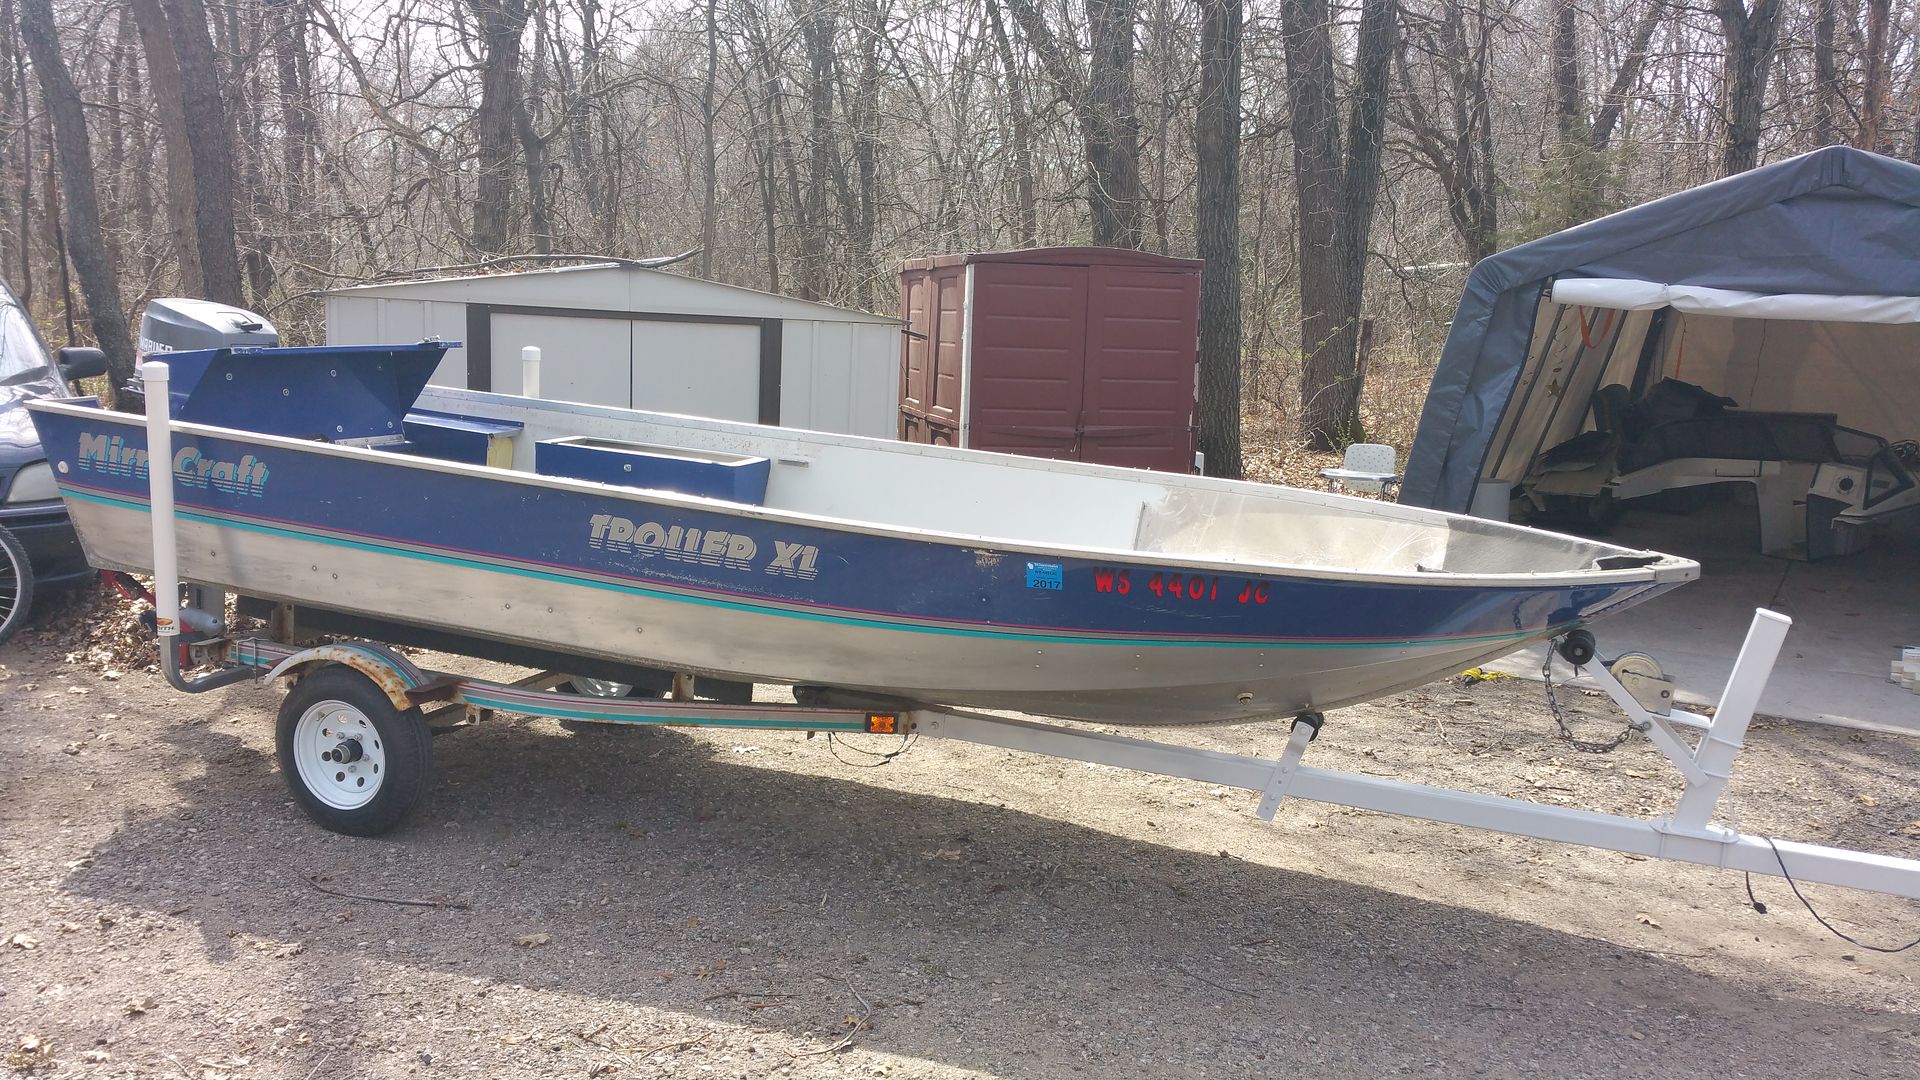
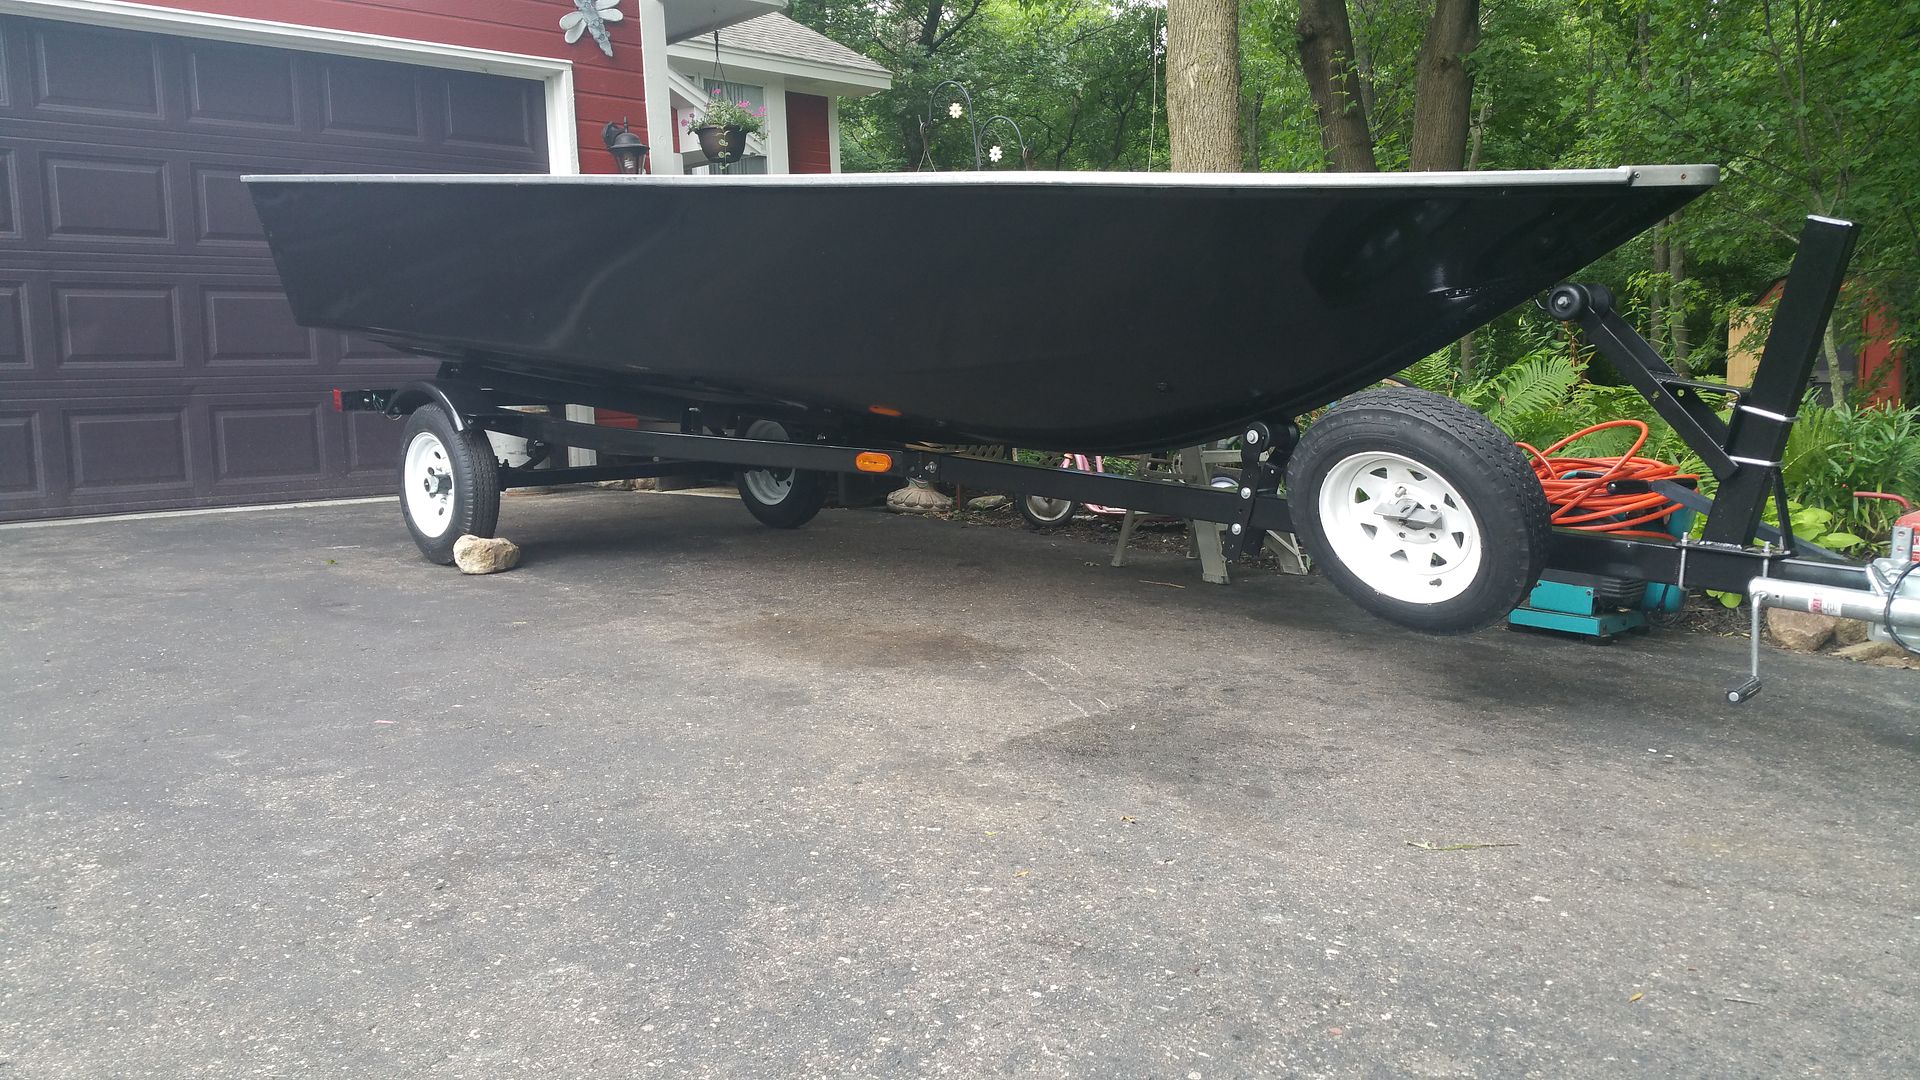
Also got the first shot of color on the boat, check it out :nod:

before:


After: (1st color)


I'm very pleased with how its turned out so far, completely changes the look
 

Frey0357

Petty Officer 1st Class
Joined
Mar 13, 2014
Messages
313
Dig,
I've been wondering how this is turning out, and I must say it is looking GREAT!

The trailer looks brand new again, and the hull is awesome! Keep at it, and you'll be back on the water in no time!

Frey
 

Watermann

Starmada Splash of the Year 2014
Joined
Jan 12, 2013
Messages
13,798
Lookin good and back in black too!

One suggestion, move the trailer jack to the other side otherwise you'll have to step over the tongue all the time when connecting and disconnecting from the vehicle.
 

Dignified09@gmail.com

Petty Officer 3rd Class
Joined
Apr 9, 2016
Messages
92
For anyone doing bunk setups, i'll go ahead and post how I did mine.

I followed 'Watermann' post on page 11 of his current rebuild, you can find it here:

http://forums.iboats.com/forum/owne...-well-traveled-1979-starcraft-18-v5-ss/page11

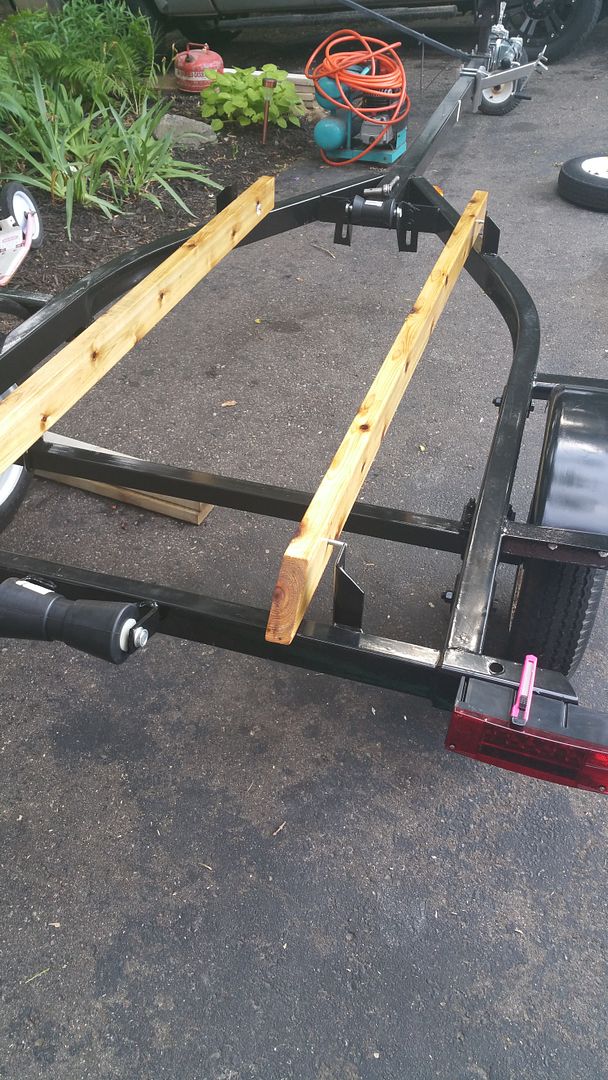
I used untreated Cedar for my bunks, went to the lumber yard and got myself (1) piece of 12'

cut it in half for (2) 6 footers.

First I cut the 45 degree angle at the loading end of both, Next I covered it in the WOG mixture and sealed with a final Spar coat.

Let them get a good dry.

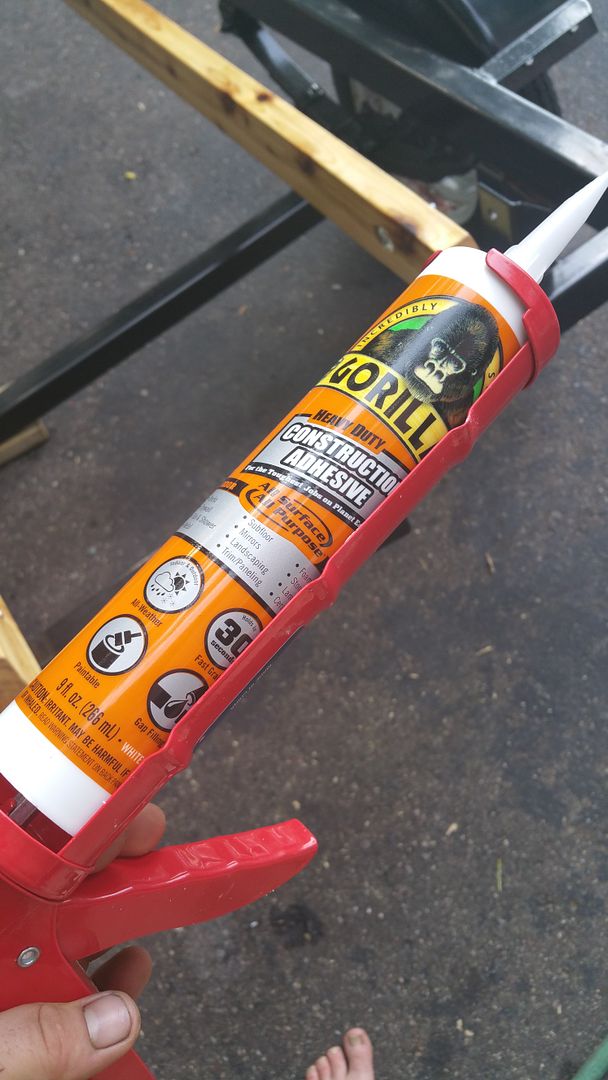
used one full tube of this to get it done, good stuff.


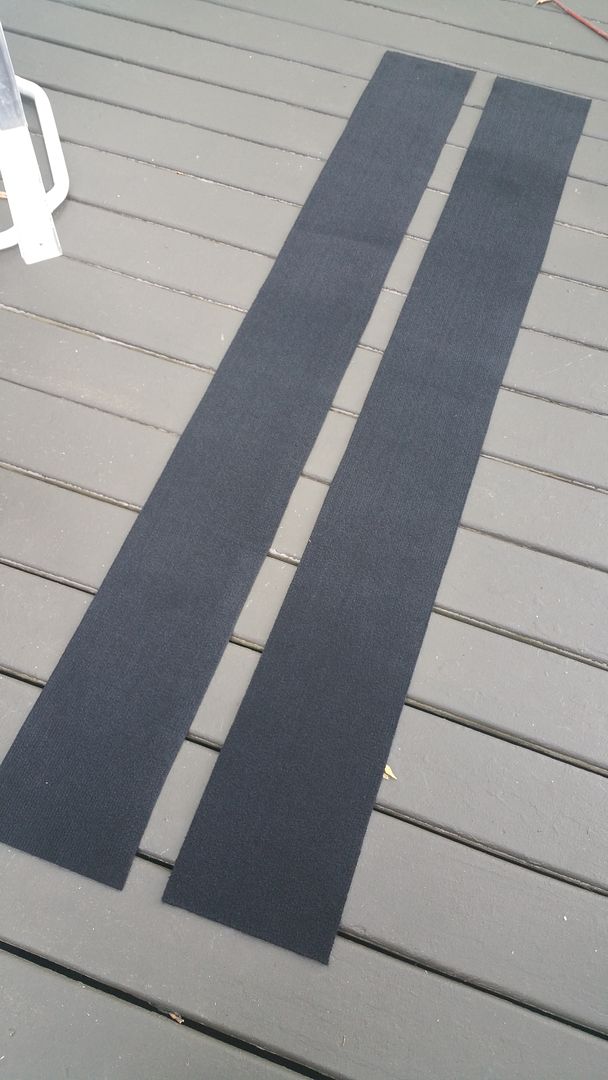
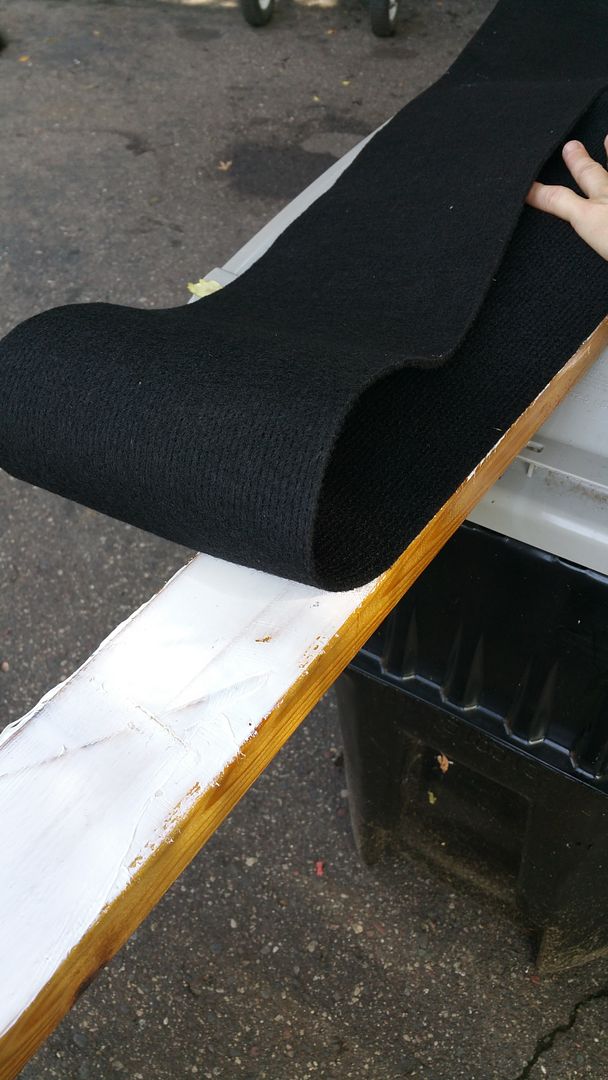
got myself a 12' roll of marine quality bunk carpet, cut it in half for size:


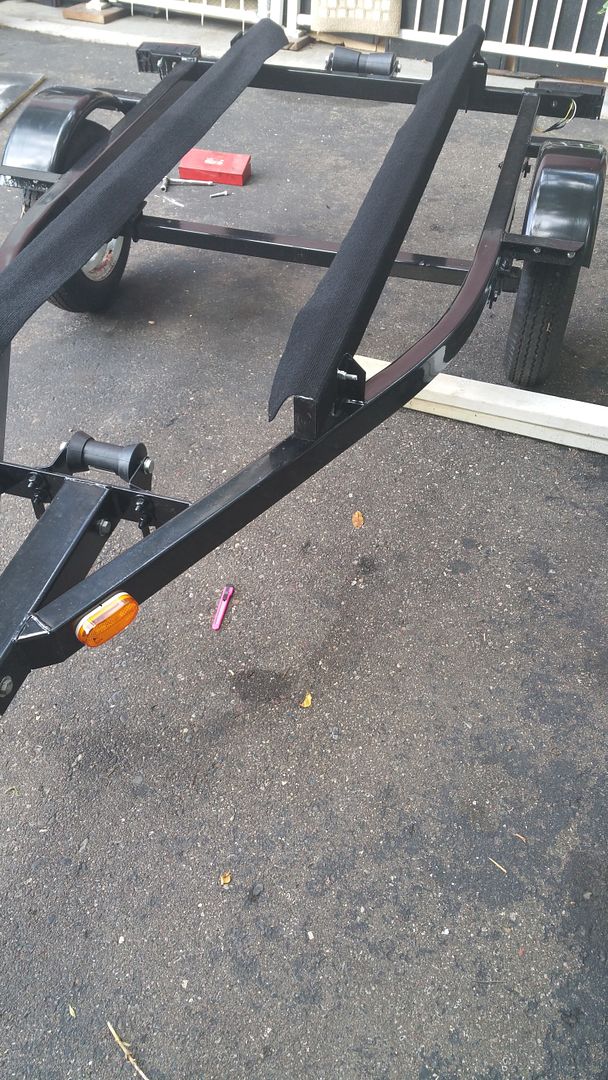
Then I test fitted my holes to make sure everything lined up good:


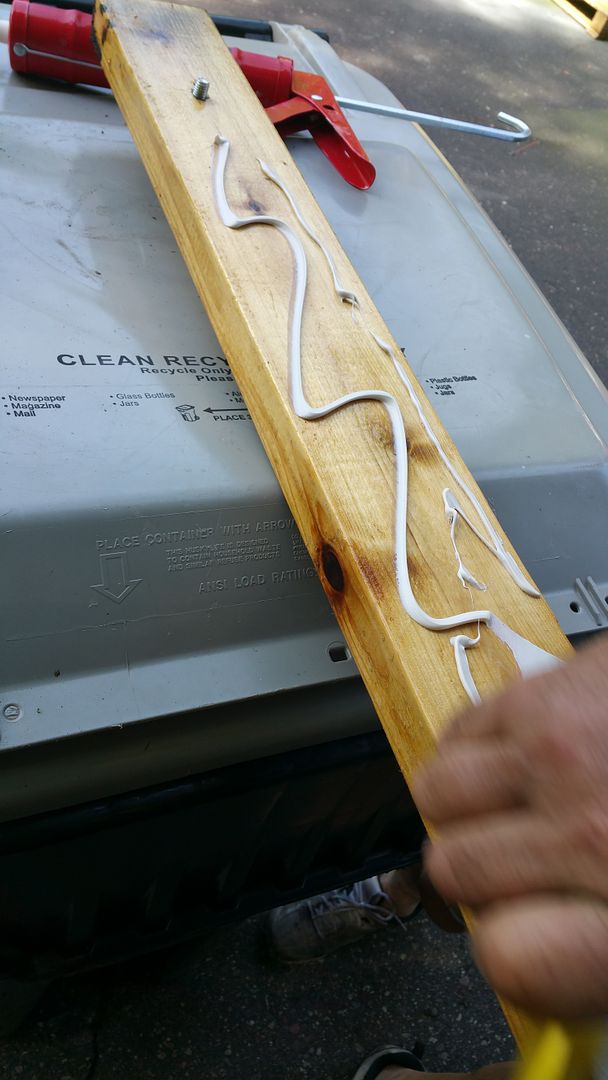
spaghetti'd the adhesive all across one side of the bunk first:


spread it with a squeegee, layed one side of carpet firm:


Then I fit them back on and glue other side firm:


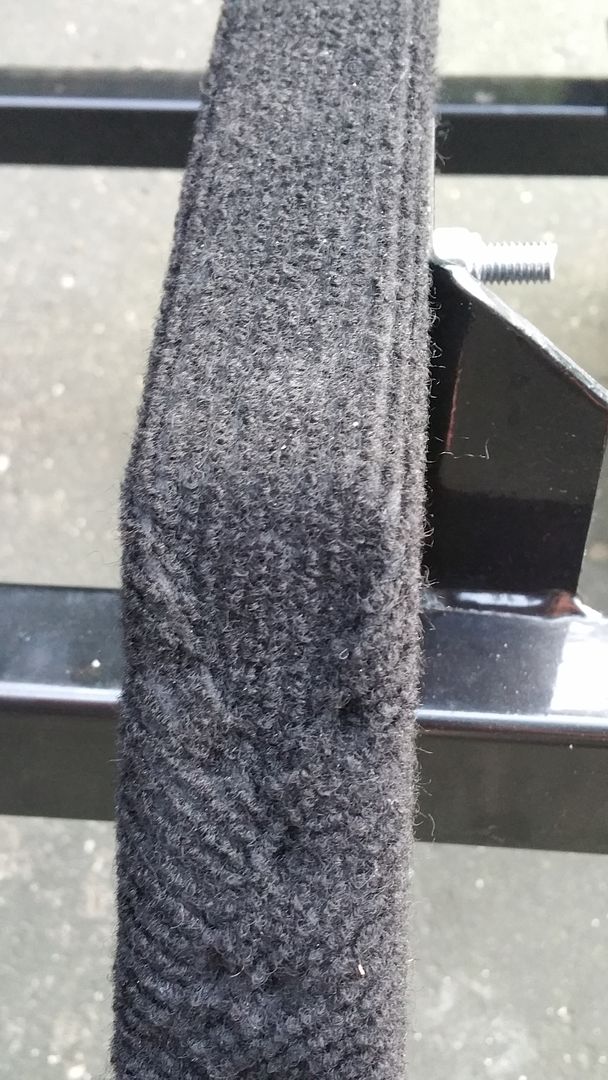
everything is snug


and there ya go, NICE!
 
Last edited:

Dignified09@gmail.com

Petty Officer 3rd Class
Joined
Apr 9, 2016
Messages
92
How about some more BEFORE AND AFTERS? :clap2:

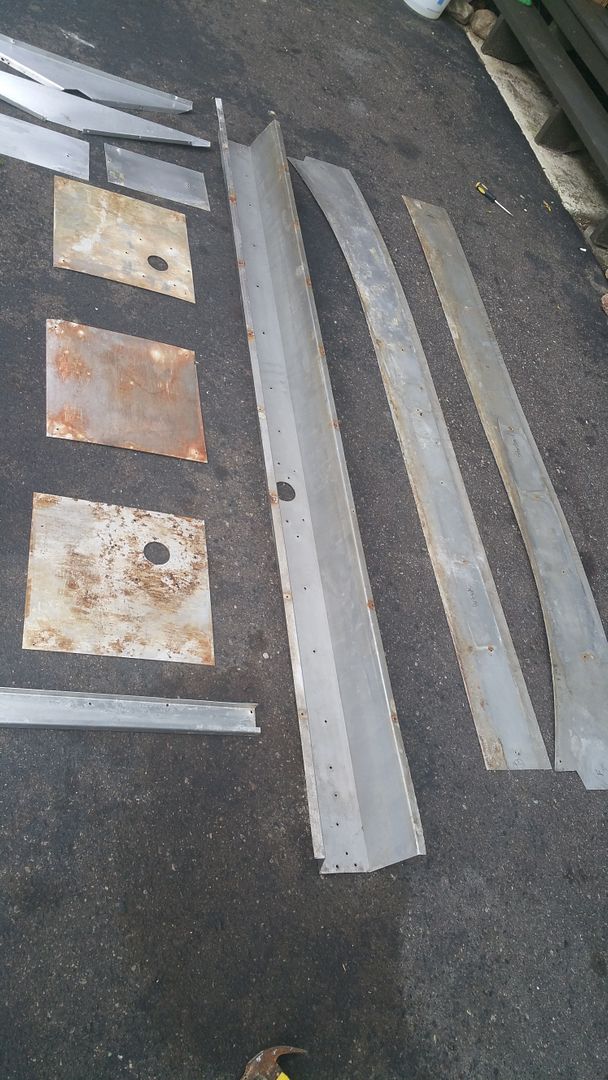
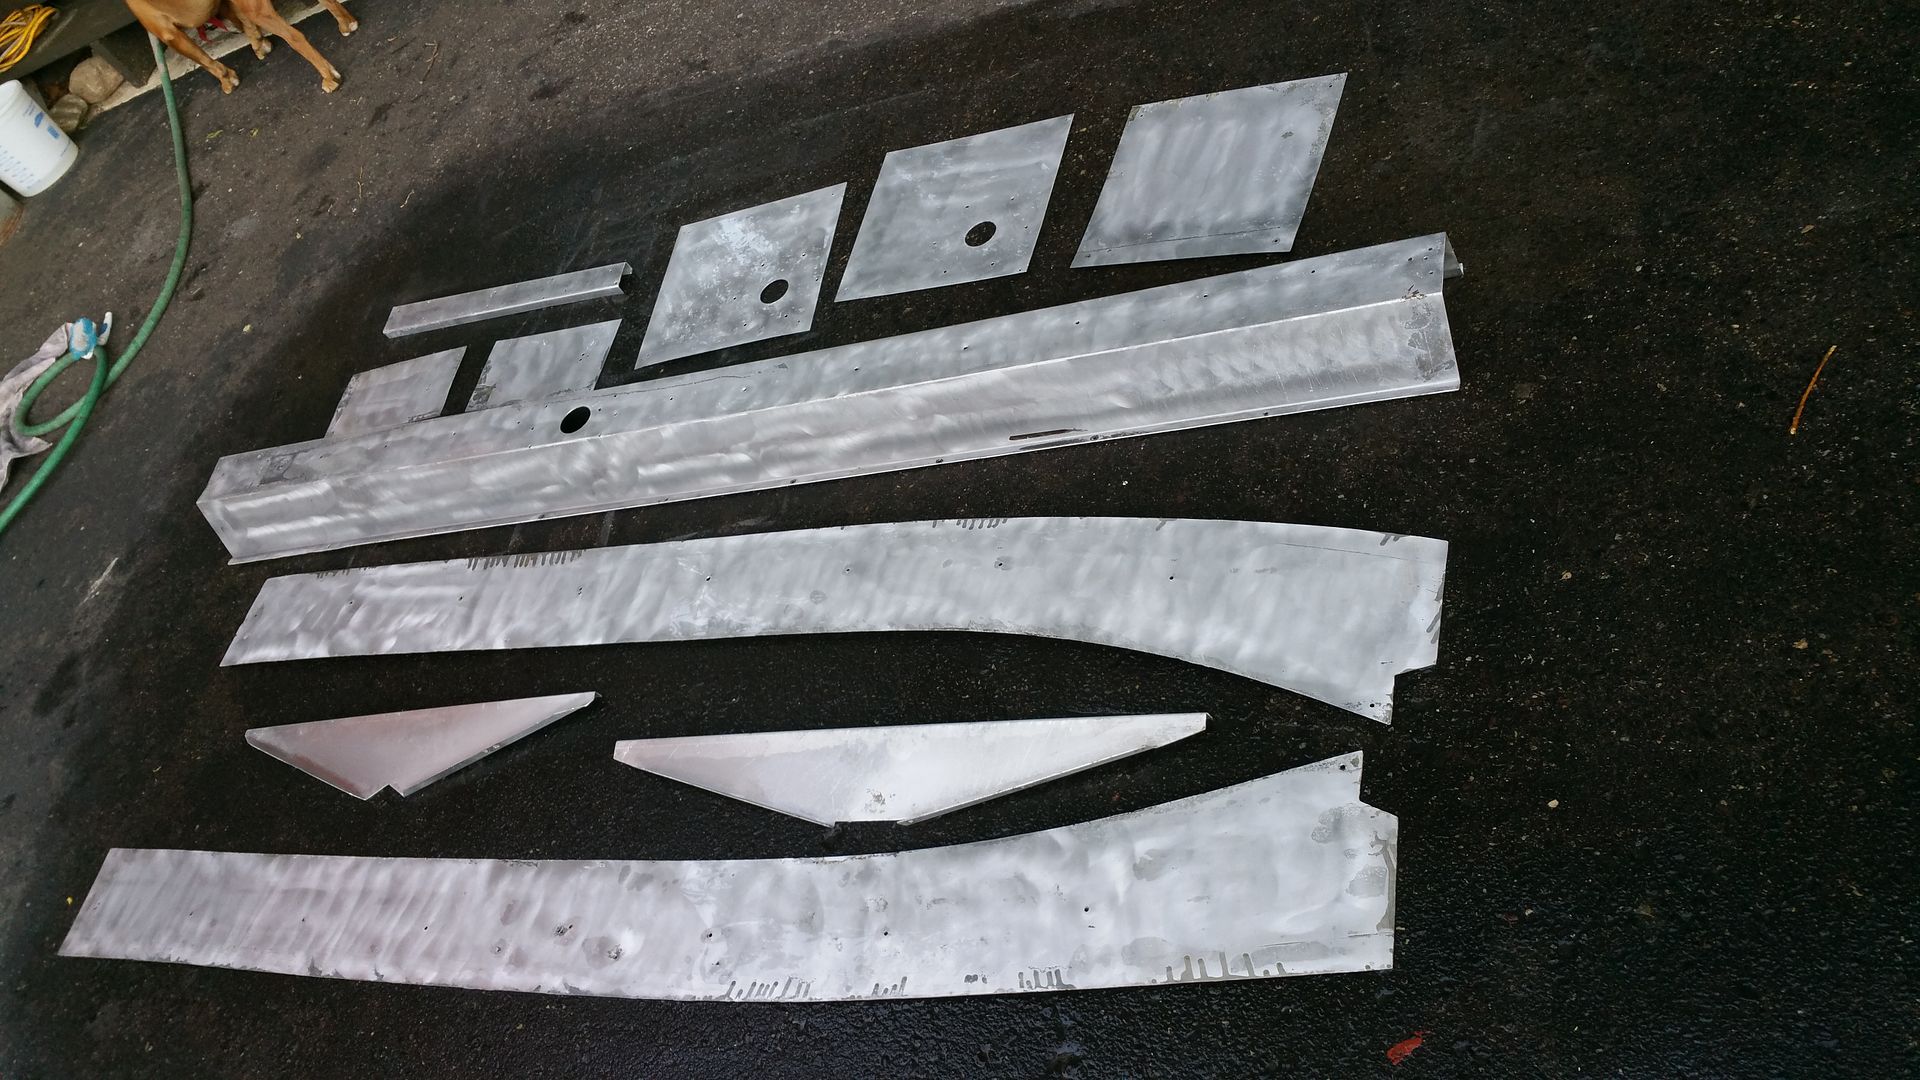
This is the setup I've been using on all of the hull work and aluminum components
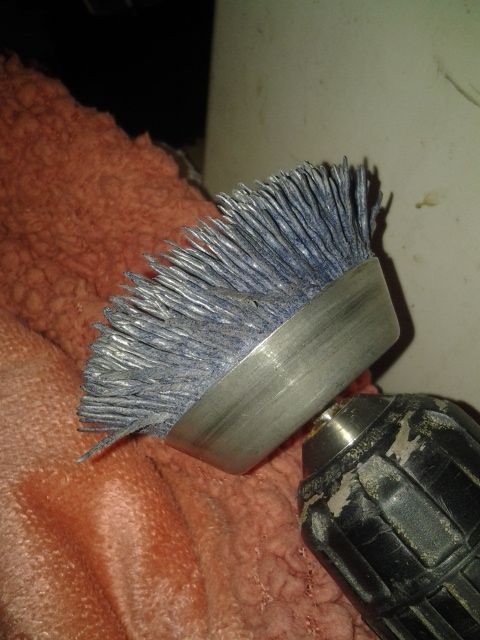
3" nyalox cup brushes, I recommend these vs wire wheels or cups, although I tried both and saw no harm. I just felt I had more control with a nyalox


All of my aluminum components, minus the bilge fitment (BEFORE)


AFTER


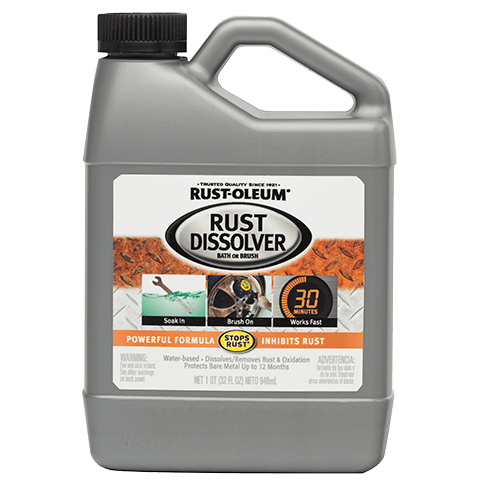
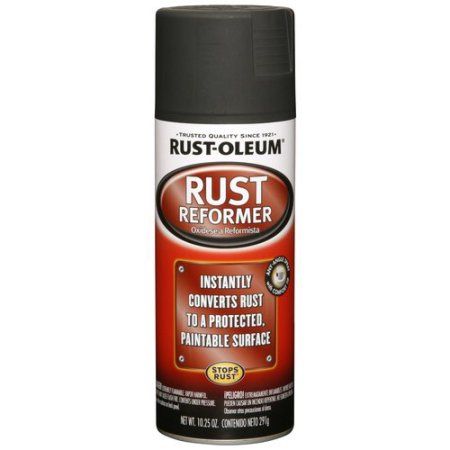
Heres the products I used to treat them, ALSO used inside the hull. First I sprayed them all down with this
Used a hand pump pressure sprayer, worked GREAT


After following the directions with that I waited for them to dry and hit them all with this,
Rustoleum products proove what theyre meant to do and I also reccomend them :thumb:


Last edited:

Dignified09@gmail.com

Petty Officer 3rd Class
Joined
Apr 9, 2016
Messages
92
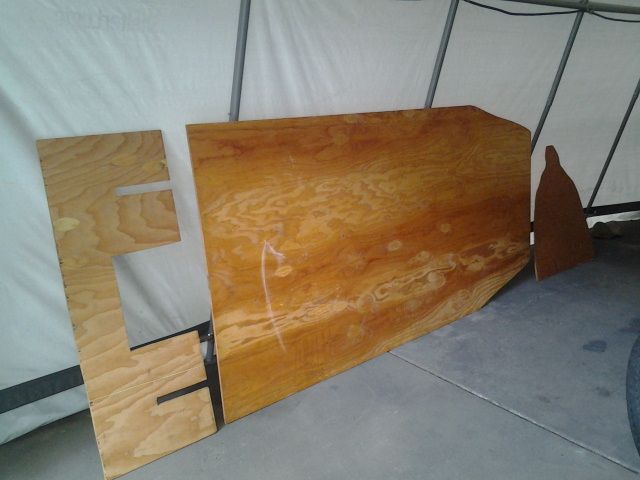
Heres my new floor pieces, waiting to be installed. a simple 3 part layout, I cut them damn near perfect on my first rip with the jigsaw using that stencil I made before I tore her apart. measure twice, or 3 or 4, cut once, right? :lol: I've already put a few coats of the OT/WOG mix on them and hitting them with a few more WOG/OT mix and the FINAL SPAR COAT this weekend.
1/2" AB Marine ply was used, Im gonna get the middle piece dry fitted in with the cap situated on it later next week as Ive finally been granted some time off of work

(all of our excuses for these projects not being finished faster , haha)
so I can find a couple good spots for
some seat post support backers on the undersides,
I too will be making a few motorboat noises im sure, :lol:


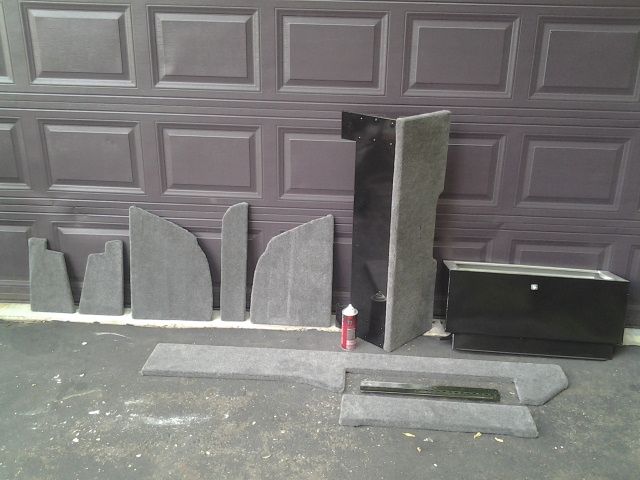
All of my new wooden parts above deck have fresh 1/2" AB Marine ply as well as Marine Grade carpet and are ready to go
Also gave the stern bench seat and livewell, or icebox?, a paint job to keep the color scheme going
All wood parts have been hit with OT/WOG mix and final spar as well


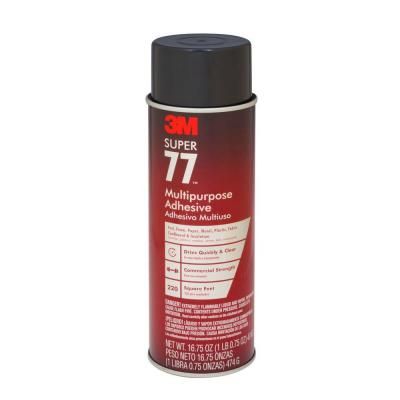
Another great product used in my build that I reccomend for carpeting parts, a little pricey at almost $10 a can, but fantastic hold

 
Last edited:

Dignified09@gmail.com

Petty Officer 3rd Class
Joined
Apr 9, 2016
Messages
92
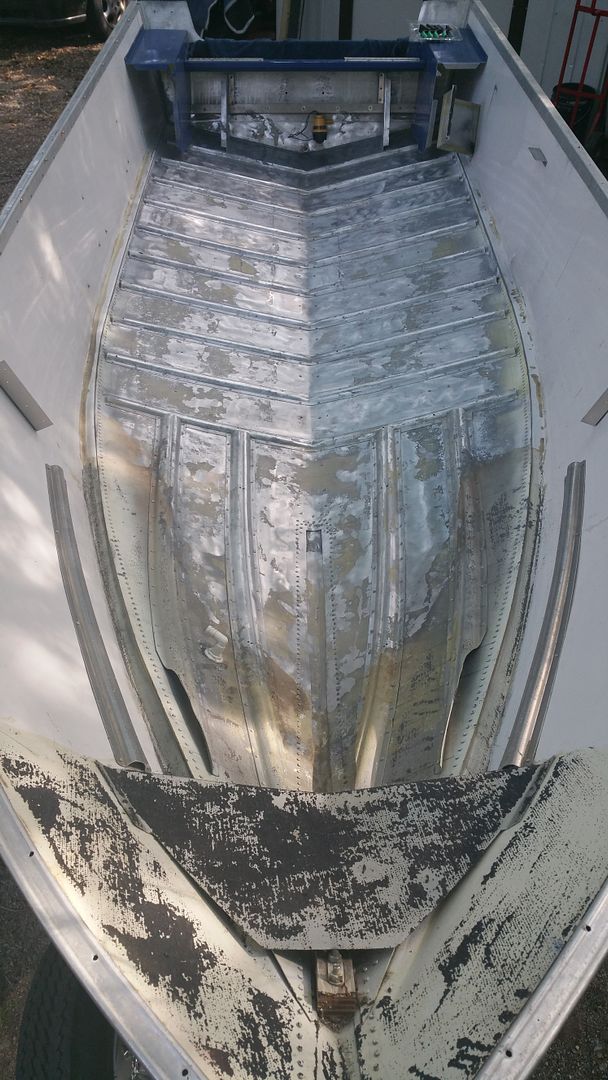
Heres some pictures after I was done with all the work of fixing the pitting

Brushed the entire inside below waterline with the nyalox cups to reveal all the pitting, after that, vaccumed it, wiped it clean with a cloth and some mineral spirits, then used the Rustoleum Rust dissolver on it and drained her dry. Watermann, I remember you saying one of your vessels was a "Salty Dog" ,ha, lets just say this one kind of was too, shame on the previous owner, amazing how it eats away like that, this thing must have just sat in the water docked for a period of its life. my dad and I were able to find some pretty good action basically where all of that foam was with tons of water but nothing seriously deep


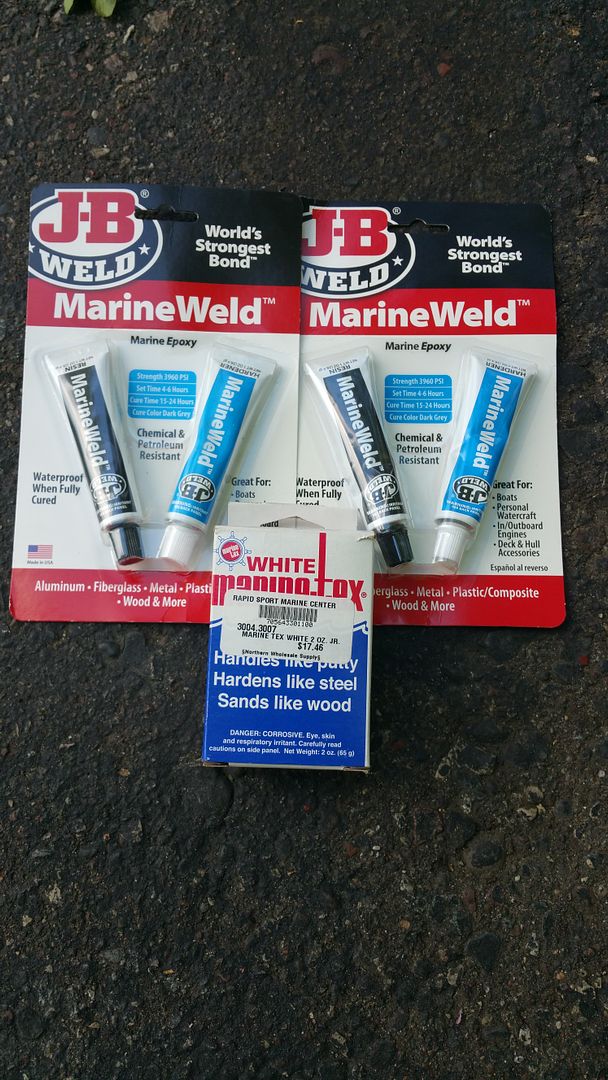
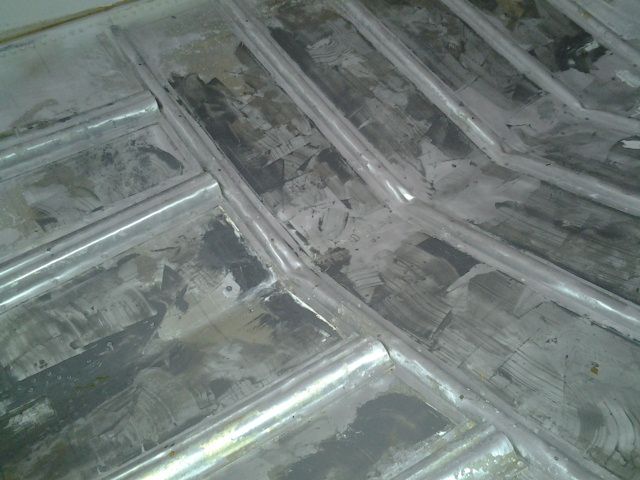
Heres what I used to patch my hull, combination of Marinetex and JB Marineweld, I used what I had at the time because I had bought it all before knowing id need it at some point. and I got it all done with what is pictured, it cost me about $35-40


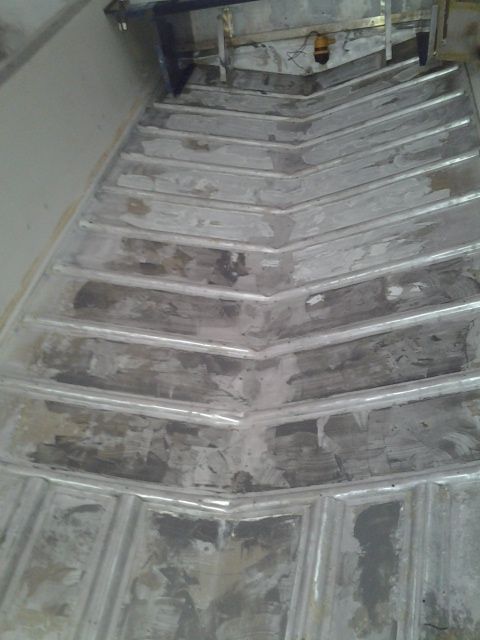
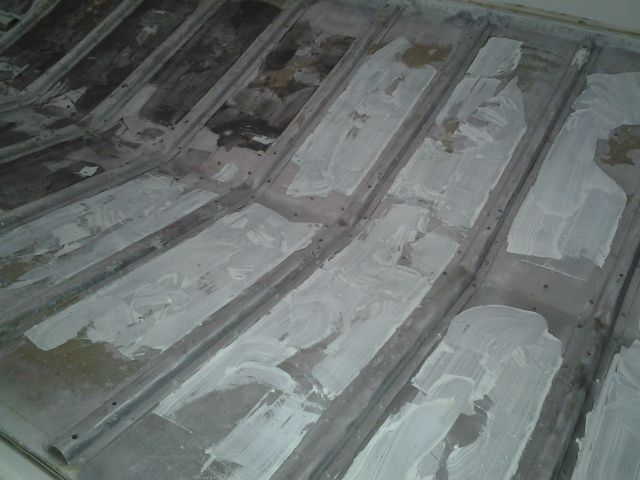
These pictures illustrate how I filled with the JB Marineweld and Marinetex, spread some on putty knives and filled it all, it seemed to be the most logistical way to cover with my severity. the stuff sets pretty fast and thats why it looks thicker in some areas, but JOB IS DONE.

question on this, do I even need to sand it? doesnt that kind of defeat the purpose of 'filling' ?


Last edited:

Dignified09@gmail.com

Petty Officer 3rd Class
Joined
Apr 9, 2016
Messages
92
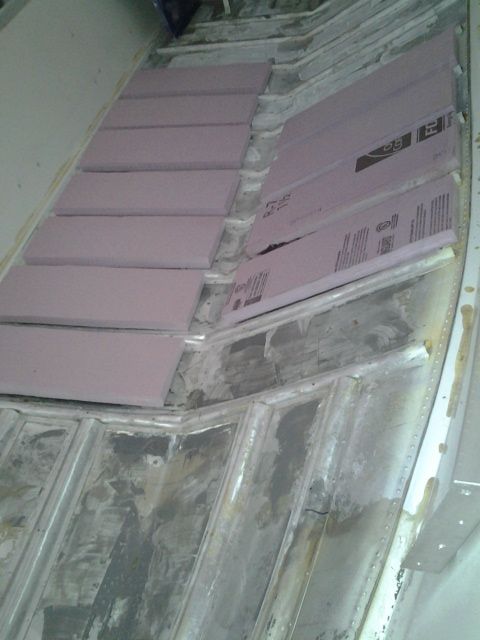
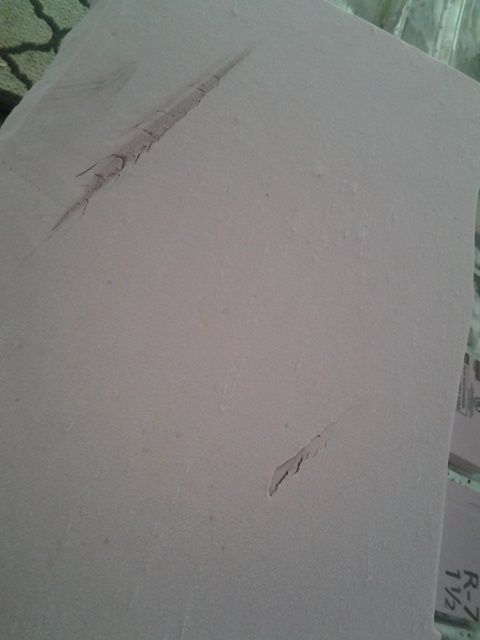
Ive also started to cut out foam pieces for the route I think I should take for the floatation department. I got a couple 1 1/2" 4x8 sheets from my local home improvement store for really cheap because they were a bit damaged a while back and I was wondering now if it'd be ok to still use the pieces I cut that have a bit of damage to them?

and also, I would like any advice from anyone else who has used this stuff and comes across this post to chime in because im not entirely sure on how I should do it. So any help on this would be great! Every boat is differently structured so I may want to hear from others.

Also, how are we going to secure this floatation foam? Do we use some adehesive of some sort or just lay it in there? seems like its going to be a chore cutting and notching out foam to properly 'curve' or angle right with the design of the hull, and also fit the floor flush, if that makes sense?


If some pieces have been punctured like this will the foam still be good or no? again, not all are like this only some that I cut.


Dignified09@gmail.com

Petty Officer 3rd Class
Joined
Apr 9, 2016
Messages
92
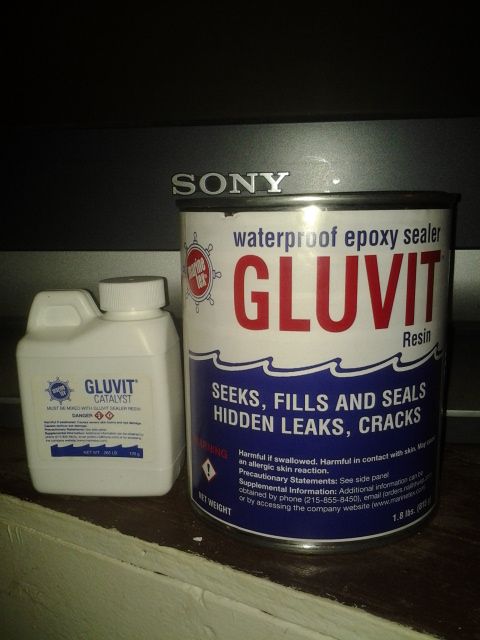
Ive also got the gluvit ready to go, any words of wisdom on this stuff? Im going to hit ALL of the seams, anywhere else I should coat? perhaps around the keel rivets? I plan on spreading it tomorrow morning, its suppose to be a high of around 80 degrees. but the directions seem so anal as far as applying it.

does the temp play a huge roll? 72 is the number they mention.

Also it says pot life 90 minutes, does this mean the whole can is only good for 90 minutes of use? and after that its no good? I heard someone say they only mixed up half of it first before the other half? I want to do 2 coats or maybe a third?


Watermann

Starmada Splash of the Year 2014
Joined
Jan 12, 2013
Messages
13,798
Once mixed is the pot life. Yeah if you wan't to do 2 coats just mix half. That stuff is runny and I imagine the hotter temps the runnier too. It will fool you that it's just laying there and when you look again it will be running off where you don't want it. :lol:
 

Tnstratofam

Commander
Joined
Aug 18, 2013
Messages
2,679
That is a lot of work, and looks really good. As to the marine tex/ jb weld I wouldn't worry about sanding any patches below deck. So long as they seem like they filled the pitting good that's what matters. If you were filling in somewhere that needed painting or was vissible then yeah youvwould want to sand the area smooth.

On the gluvit remember it is runny stuff so it kind of goes where it wants. You may have to adjust the boat to allow it to flow in all areas. I'm not sure but the 90 minute work time sounds about right for any you've poured out of the can. The working time and cure time will be affected by the temp and humidity. I believe any left in the can if properly sealed will stay good for a while. Hopefully others will chime in on it.

Finally to the foam the pieces that have damage should be okay as long as the foam isn't flaking off. The key to it is getting as much fitted in all the places you can to offer the most flotation. There is no right or wrong way because as you said each boat is different.

Keep up the good work.
 

Dignified09@gmail.com

Petty Officer 3rd Class
Joined
Apr 9, 2016
Messages
92
Thanks for stopping by and checking my progress, guys.

I have had the new transom piece cutout and ready to drill holes for quite some time now.

but I have a question in regards to that, my old piece had some holes that werent straight through, they were angled a bit, I suppose to fit the shape of how it sits in the back with the motor on and what not.

Now I remember someone here saying that drilling holes at the same angle wouldnt matter, or something along that line, but I lost the message in my inbox somewhere about that.

will I be alright just drilling the holes again or Do I need to make them into an angle again like the old piece? I really wanna get started on sealing that piece up but I never took the time to ask this question about the hole placement.

Thanks.
 

Watermann

Starmada Splash of the Year 2014
Joined
Jan 12, 2013
Messages
13,798
The holes in the transom should be straight through the wood and the angle transfers when you put it in. If there's holes at an angle in the old wood with it laying out flat then someone screwed up and drilled straight through when it was installed. Be careful when drilling through the plywood, it will splinter and tick you off especially the drain tube holes with a hole saw bit.

Forgot to mention that my SS I'm working on I had to line up holes for rows of through bolts so I drilled mine using a drill guide while it was installed in the boat so that is another option but you have to match the transom angle with a guide.
 
Last edited:

Dignified09@gmail.com

Petty Officer 3rd Class
Joined
Apr 9, 2016
Messages
92
The holes in the transom should be straight through the wood and the angle transfers when you put it in. If there's holes at an angle in the old wood with it laying out flat then someone screwed up and drilled straight through when it was installed. Be careful when drilling through the plywood, it will splinter and tick you off especially the drain tube holes with a hole saw bit.

Forgot to mention that my SS I'm working on I had to line up holes for rows of through bolts so I drilled mine using a drill guide while it was installed in the boat so that is another option but you have to match the transom angle with a guide.


Id rather just drill straight through, I have the old transom in one piece so all Id have to do is line it up. hmm, makes me wonder if it has been replaced once in its lifetime....
 

Woodonglass

Supreme Mariner
Joined
Dec 29, 2009
Messages
25,928
Are we talking about drilling the holes when the transom is on sawhorses OR after it's installed in the boat? If it's IN the boat you have to angle them with the angle of the outer skin Drilling Transom.jpg
 

Watermann

Starmada Splash of the Year 2014
Joined
Jan 12, 2013
Messages
13,798
Id rather just drill straight through, I have the old transom in one piece so all Id have to do is line it up. hmm, makes me wonder if it has been replaced once in its lifetime....

Which holes are at an angle? You can always put the new transom in, mark the holes and pull it back out to lay flat and then drill straight through. I use a drill guide since I have troubles now even with that. :lol:
 

Dignified09@gmail.com

Petty Officer 3rd Class
Joined
Apr 9, 2016
Messages
92
Are we talking about drilling the holes when the transom is on sawhorses OR after it's installed in the boat? If it's IN the boat you have to angle them with the angle of the outer skin

I had planned on just drilling them when the transom is on sawhorses. So.... what if its not IN the boat? :lol:
 

Dignified09@gmail.com

Petty Officer 3rd Class
Joined
Apr 9, 2016
Messages
92
Which holes are at an angle? You can always put the new transom in, mark the holes and pull it back out to lay flat and then drill straight through. I use a drill guide since I have troubles now even with that. :lol:

alright so after carefully putting the old transom piece on end and standing back about 5-6 feet, I can deff tell that the 2 splashwell holes ARE at a slight angle, also looks as if the 2 lower bolt holes for the motor mount plate are angled as well, but not the top 2?

The 4 U-bolt holes that hold the boat in place with tie downs look to be STRAIGHT through, and the smaller holes that connect the wood to the inside metal runner piece are too small and I cant really tell? But theyre probably just straight through due to size of them?
 

Frey0357

Petty Officer 1st Class
Joined
Mar 13, 2014
Messages
313
Dig,
I had the same challenge for my restoration. I must have put in and taken out my transom 15 times before I put a bit in my drill and began drilling! I ended up drilling the holes slightly larger than I needed, but did so straight through. The slightly larger bit allowed for any differences in how the original manufacturer drilled the holes and slammed the screws in and moved on. I used large SS washers on the exterior sealed up with 4200 to prevent the aluminum from caving in or becoming distorted, and all of this worked out just right, I had no issues. I think it might have been Watermann who told me not to overthink it just do what you need to, do the best you can, reseal a hole with spar if you need to and move on, the more fun parts of the project are coming up after this! He was exactly right, so I recommend the same for you.

Hope this helps, really coming along nicely! I wouldn't bother with sanding down the JB Weld by the way, looks great the way it is and will be completely covered anyway.

Frey
 
Top