1990 Bayliner 2651 resto

Drivewayboater2

Petty Officer 1st Class
Joined
Aug 21, 2019
Messages
334
Update 6-29
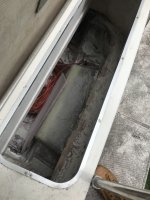
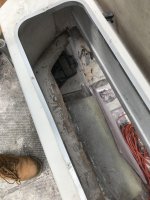
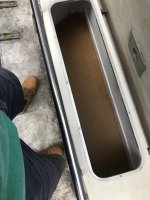
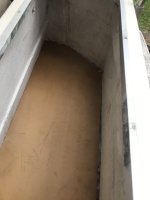
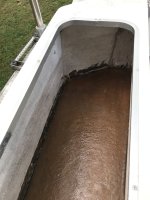
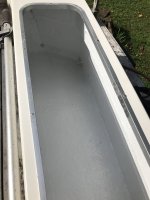
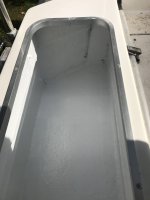
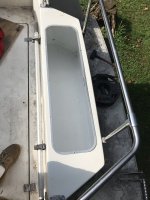
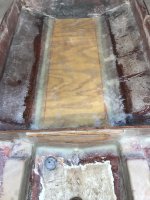
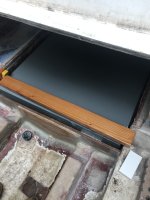
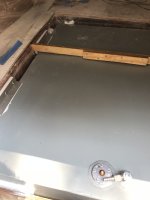
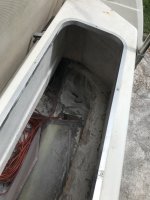
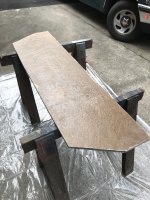
another project that needed attention. The aft locker was toast. I removed that a couple years ago. After removing the rotted wood i made a template out of cardboard. So today I decided to tackle this and use polyester instead of epoxy. Learning curve here. Here’s the locker empty with the old wood shelf removed.
BC4BCD4B-B2F4-4D10-8D5D-69FBE92C6A76.jpeg


6694686B-2AD2-47F1-9FD4-9609174A8A13.jpeg


395EC3F3-3859-45A1-8833-1301C247EC86.jpeg

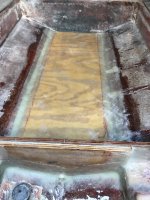
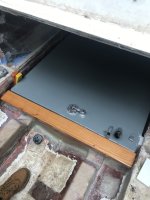
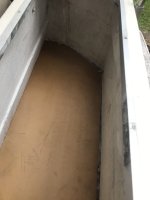
after several test fits I got the new wood fitted
677D65EB-0C2D-41ED-81EF-1A11D99DB564.jpeg
CF47CB97-D5CB-497B-84FA-D8CFB9FD00C9.jpeg

first time using polyester resin… I’m a epoxy guy…. This was stinky and wow work time was speedy. Happy with the results tho.
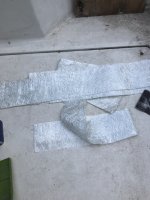
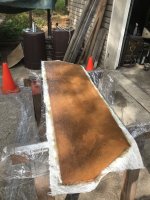
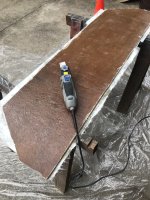
Both sides of the locker floor treated with resin and a layer of csm.
A6AB24B3-6C45-4AE2-90FB-2118719DAB47.jpeg

F0B50ACE-1011-4B1E-822E-B384F90F8A41.jpeg

getting ready to trim the excess cloth off.

final look after trimming excess.
A2D6D400-0145-48C3-BA5A-4396845349BE.jpeg


came out nice.. first time using polyester was interesting

hope I can install the shelf tomorrow…


progress is progress. Plugging away at it.
 

Drivewayboater2

Petty Officer 1st Class
Joined
Aug 21, 2019
Messages
334
Maybe…it was incredible how fast it cured..I wanted my first attempt on something less critical to the structure of the boat. happy with the results.
 

Drivewayboater2

Petty Officer 1st Class
Joined
Aug 21, 2019
Messages
334
7-5 More progress. Finished replacing the after locker. Used polyester resin in 90 temps. Stuff was kicking off in like 10 minutes. 🤣
Made small batches about 8 oz at a time. dry fit the board. tabbed in with 6 in wide csm. Very happy with how it came out. A little paint and she will look purdy.

86667316-9875-45AF-BBAB-C275F6747955.jpeg

63FAC911-B93A-4FF3-9331-0FDC487146BC.jpeg 2FC43E8E-C85F-4C9E-AC89-A0CEDC1C560B.jpeg

301DA859-8F7F-407D-A259-24509E57FF64.jpeg


BD2E6F9B-B494-4FD8-98AC-AF8F1066CB1C.jpeg
 

Drivewayboater2

Petty Officer 1st Class
Joined
Aug 21, 2019
Messages
334
7-6 very hot temps today. 96+…

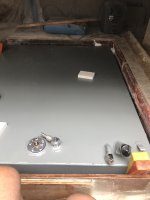
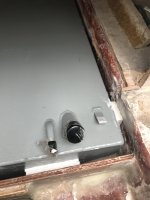
got out early and put he second coat of paint in the aft locker.
0BAB863E-FC8A-44DE-926A-8C5912A66FDD.jpeg

C55612F2-3D93-44FC-BE81-D91AE2045C65.jpeg

EDF090AE-FEB8-4449-BCEF-7D7D6AABE54E.jpeg


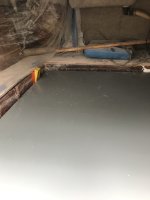
also put a layer of 1700 on the fuel tank shelf. The tank may get installed tomorrow.

77AD598D-21A3-4DCF-99CD-EA7F4E418D8A.jpeg
 

Attachments

  • 1A7FDEC0-9AE8-4B83-A851-A7CD7FB87371.jpeg
    1A7FDEC0-9AE8-4B83-A851-A7CD7FB87371.jpeg
    1.9 MB · Views: 7

Drivewayboater2

Petty Officer 1st Class
Joined
Aug 21, 2019
Messages
334
Also epoxied up the old holes for trim tabs and fish finder. While I was at it I drilled out the outdrive holes ( a smidge over sized) and epoxied those up as well. Ya know the little details. Getting it done!
 

Drivewayboater2

Petty Officer 1st Class
Joined
Aug 21, 2019
Messages
334
Update 7-21
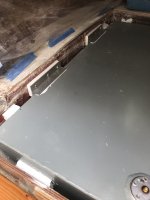
fuel tank is in.
EF388578-B8D3-4714-97C6-FB9D4AEAE5D5.jpeg

E68AF2B6-ABBE-44D7-B8E1-3298D0FD2FC4.jpeg
using plastic baseboard on each corner with pl marine adhesive. Started on the starboard side front corner. Using wood splitting wedges to help keep the tank snug while the adhesive is curing.

97583B1B-73BE-418E-BDBE-CAC8D7410BAA.jpeg

then starboard side aft.


9AAC81CE-1951-4429-9EAB-6A2341D4B44E.jpeg

fabricated solid piece of linear fir to cap the entire aft bulkhead
5636A961-C8ED-43F8-8CA8-E97E1D747725.jpeg
it will fit like this once all corners are complete. This will be glassed in with 1700. Should help support the entire aft end of the tank🤞🏻.


question. There wasn’t ANYTHING previously holding the tank down. Do I need to fabricate aluminum pieces to secure the tank to the stringers? Need to know before I start putting the floor in he aft cabin down. Any thoughts?
 

kcassells

Fleet Admiral
Joined
Oct 16, 2012
Messages
8,720
As I understand it there should be not tank to contact surface and neoprene being the material to use as the buffer. Something to do with corrosion. I would suggest some form of support for the top of the tank. JMHO
 

Drivewayboater2

Petty Officer 1st Class
Joined
Aug 21, 2019
Messages
334
neoprene was used under the tank as shown.
93DF6D71-2131-4A34-B5F5-8C0236587882.jpeg


was thinking the same on some kinda top support. The factory only had a single strip of a 1x2 across the top of the tank.
 

kcassells

Fleet Admiral
Joined
Oct 16, 2012
Messages
8,720
Ahh you'll figure something out. :]
On mine I knotched the top sides and placed neo on bottom and screwed glued them in. Where there were more gaps I added more neo.
 

Drivewayboater2

Petty Officer 1st Class
Joined
Aug 21, 2019
Messages
334
Update
been a while since we gave an update. Not being able to post pics has been the reason. Like you all say “pics or it didn’t happen” 🤣
Nonetheless progress has been made

fuel tank installed

IMG_7132.jpeg


IMG_7133.jpeg

very pleased with the fitment.
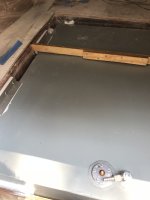
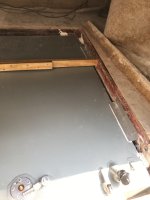
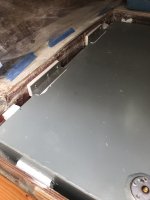
installed the rail for the floor and glassed the floor back in place
IMG_7139.jpeg

IMG_7140.jpeg


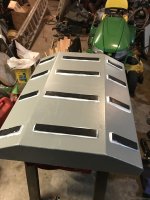
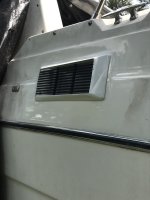
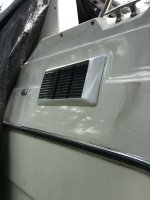
installed the rehabbed side vents. Wet sanded, compounded, and waxed the hull before installing.


IMG_7141.jpeg
 

Attachments

  • IMG_7132.jpeg
    IMG_7132.jpeg
    1.2 MB · Views: 4
  • IMG_7139.jpeg
    IMG_7139.jpeg
    1 MB · Views: 5
  • IMG_7142.jpeg
    IMG_7142.jpeg
    922.7 KB · Views: 4

Drivewayboater2

Petty Officer 1st Class
Joined
Aug 21, 2019
Messages
334
Thanks kcassels! Baby steps
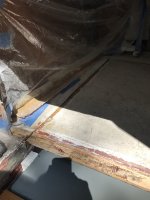
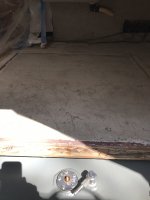
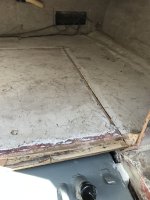
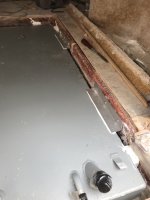
I installed the floor back in the aft cabin. I used thickened polyester and chop strand fibers to add strength to the resin. Used a putty knife to apply the poly to stringers and bulkhead. Then placed the original piece (cut out) back to where it was. I’ll run some chop strand mat pieces over the seam. That’s the plan for tomorrow.

IMG_7167.jpeg

IMG_7166.jpeg

IMG_7165.jpeg


While I had the extra room (3 inches😂) i used oxy clean and a scrub brush on the monkey fur. For those trying to get rid of old stains this method worked awesome. I did use a wet dry vac to really get rid of any moisture residue after scrubbing. It dried quick and smells a ton better in the aft cabin.


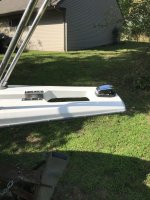
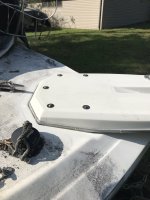
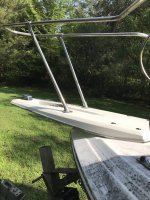
A few weeks ago I re installed the re manufactured bow pulpit. Of course I took the time to wet sand, compound and wax the area before installing.
IMG_7151.jpeg

IMG_7150.jpeg

IMG_7149.jpeg
 

kcassells

Fleet Admiral
Joined
Oct 16, 2012
Messages
8,720
The anchor pulpit turned out really nice. Is there a windlass involved or going manual for starts.
 
Top