stresspoint
Lieutenant Junior Grade
- Joined
- Sep 19, 2022
- Messages
- 1,053
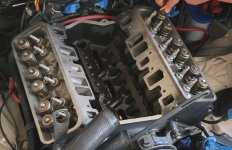
or get a cardboard box and chop it up to shield the oil from the push rods. start the motor , starting with #1 cylinder back each rocker off or tighten till it just clicks then crank down 1/4 a turn .It's a misprint
Me I pay no attention to books for valves. Turn motor until intake or exhaust is down. Then adjust the opposite valve that is not down. Mark with grease pencil and rotate some more until all have been marked
lash done , clean up mess ,put covers back on and go boating
") .
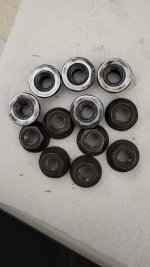
.OP , i found there are 3 different length push rods in 4.3 line of motors.
early non vortec, vortec with roller cam , vortec with roller cam and lifters all use different push rods.
also vortec motors have 2 different stud sizes fat and skinny , the rockers are also different between the 2.
do research if mixing 4.3 parts as they are not a 1 size fits all even although with the correct parts and some machine work all will fit together and get you some good power and a smooth running motor that will pull an easy 6 k rpm (i know these things
)
Last edited: