Re: 1988 Stingray SVB 192 Restoration
One more post to hopefully bring things up to speed. I replaced all of the bellows, gimbal bearing etc in the transom assembly had a couple hiccups with the shift cable but as I said aChris and Don S. offer a ton of help.
Took the remote control apart, cleaned connections and new grease, it will be replaced at some point but for now it is good to go.
Drained out the last 1/2 gallon gas and cleaned up the exterior of the gas tank cleaned out the inside with phosphoric acid, some time and some agitation. Inside looked like new also. Installed a new sending unit ordered a new fill neck, vent and hoses.
Changed outdrive oil, installed a new impeller and water pump assembly. Changed oil in motor, still need to do a tune up got motor dropped in boat, had a couple of issues, first had a horrible time getting the last inch of the outdrive in the coupler, caused me to second guess my alignment, repeatedly, so that fiasco wound up taking two days. Got the drive mounted, fired the motor up and after three or four tries, bam motor was running. I let it idle on the muffs for about two minutes or so and cut it off, it absolutely would not start again drained the battery trying in fact. I got busy at work and needed to work on finding a new trim pump because the original was seized along with the trim cylinders, so I was not in big hurry to run the motor, following weekend I had received a new to me trim pump, installed it and also worked on trying to neaten up my wire runs.
For the first time in two weeks I thought I would try to start her up. First try she fired right up and idled relatively smoothly. This time she ran out of the actual gas tank although I was waiting on some parts still. But it idled for over 10 minutes so I was pretty happy. I tried again a few minutes after turning it off and the starter started to drag again, same issue as a couple of weeks ago. Finally got it to run again. Now, you got it, a crazy kind of grinding/flapping noise. Still not confident in my alignment effort, I pulled the drive to determine if the noise was my now shredded coupler. Ran the motor without the drive, noise still there. Had Don S and the guys over in the I/O section on high alert and I was trying things as fast as they gave me ideas. The noise became intermittent after about 17 tries to isolate it and it would never do it again. It sounded like it was coming from the back of the motor (coupler area) but now who knew? Long story short I finally realized it was the starter, the gear was not releasing all the way from the flywheel every time. Ordered a new starter, bolted it on and no more noise (hopefully permanently) and it starts in less than a second every time now.
So at this point the only thing keeping me from having a functional boat was the frozen trim cylinder issue. I ordered two new seal kits and stared to try dismantling my cylinders. They would not budge no matter what I did, removing the cap? No way. So I finally just stuck a breaker bar in the the round connector and started turning. It did not free the piston though but the cap came free. So now I can pull the piston but no matter what I did it wouldn't budge from the cap. I had to go to Advance Auto rent a three jaw puller and use my impact wrench to finally get the cap off the piston. When they finally came apart, I saw the issue, the cap was totally corroded and unusable in my opinion. So back on ebay, my housing and pistons looked great but I needed caps, that are bout $60 each.
Trying to be thrifty, I look for and find some used cylinders for parts, make a very long story short, buy them, wait forever to get them and when they finally arrive they are not the right ones and just as frozen as mine. So after wasting another week, I buck up and find a great deal on some actual new cylinders.
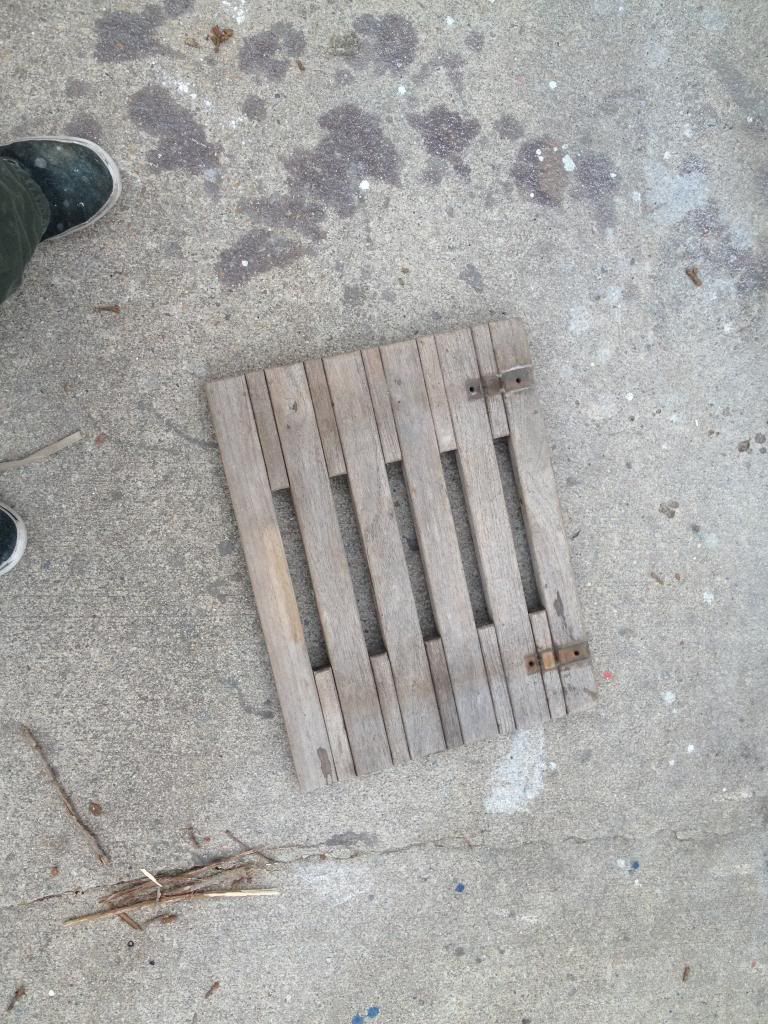
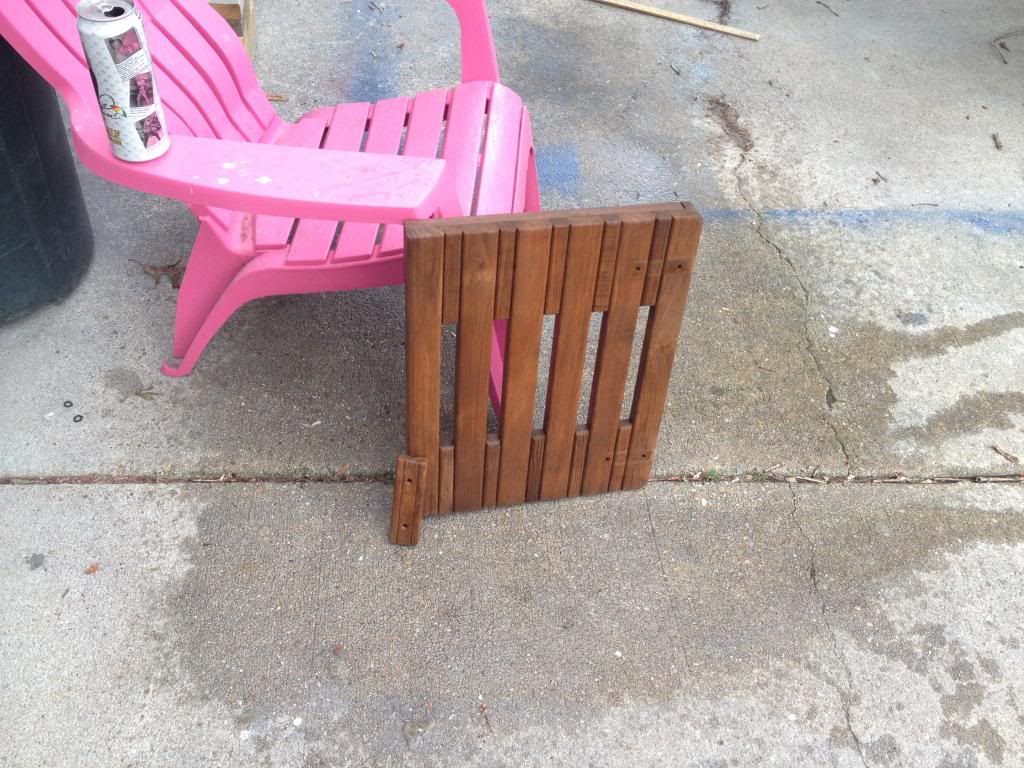
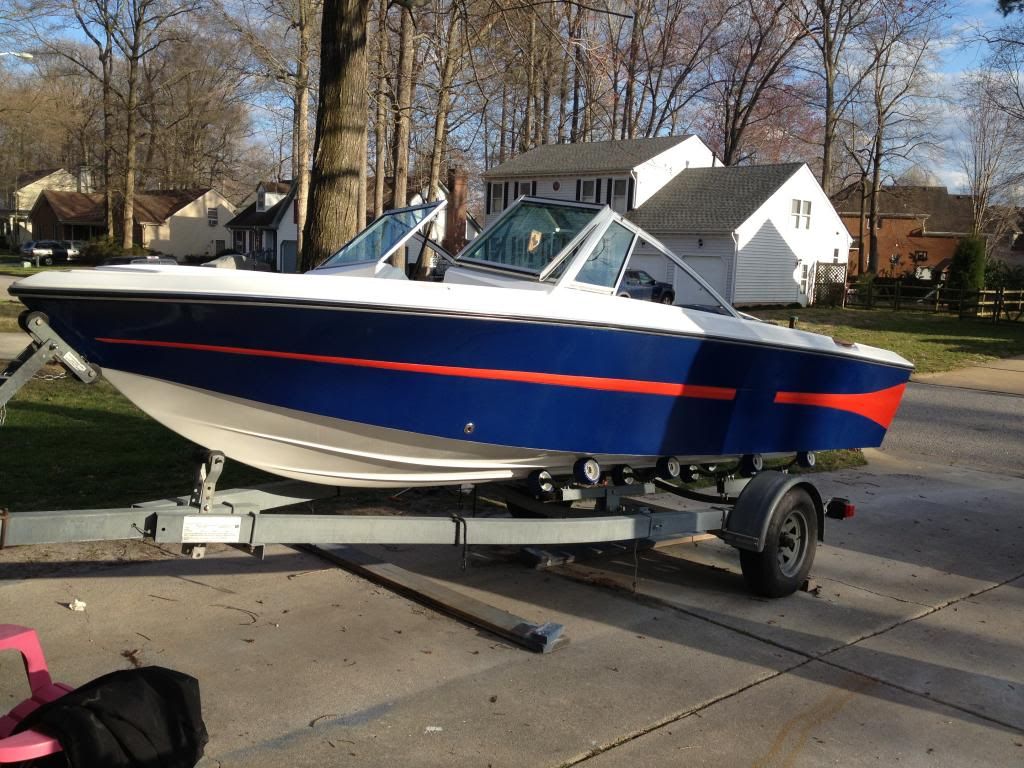
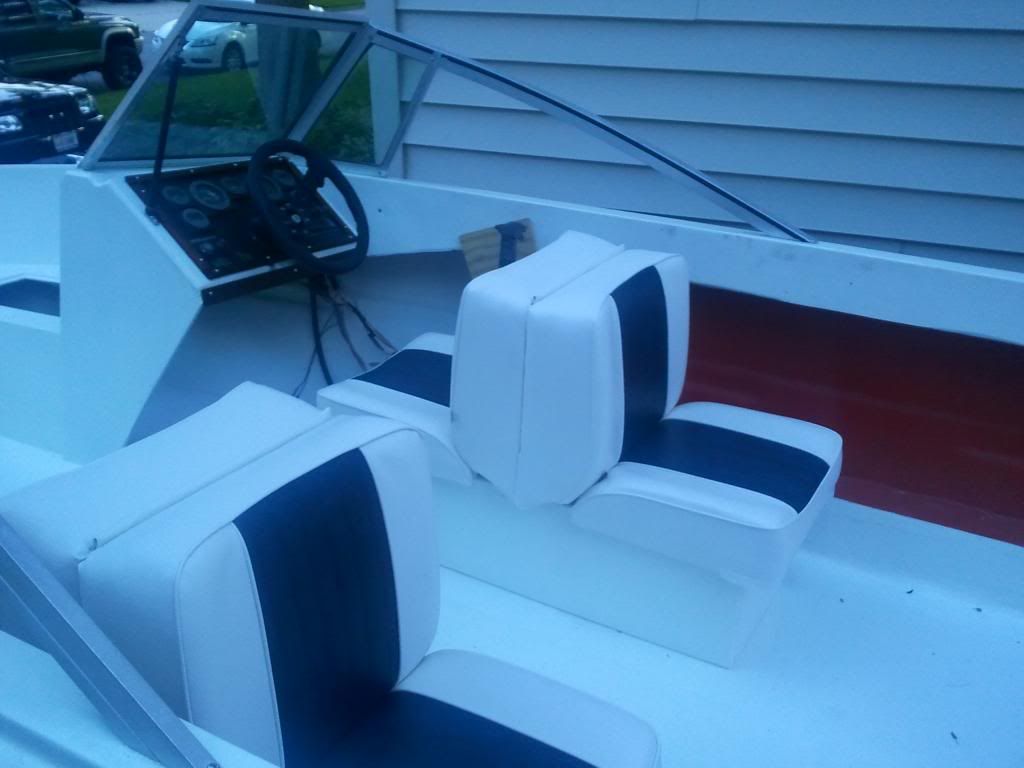
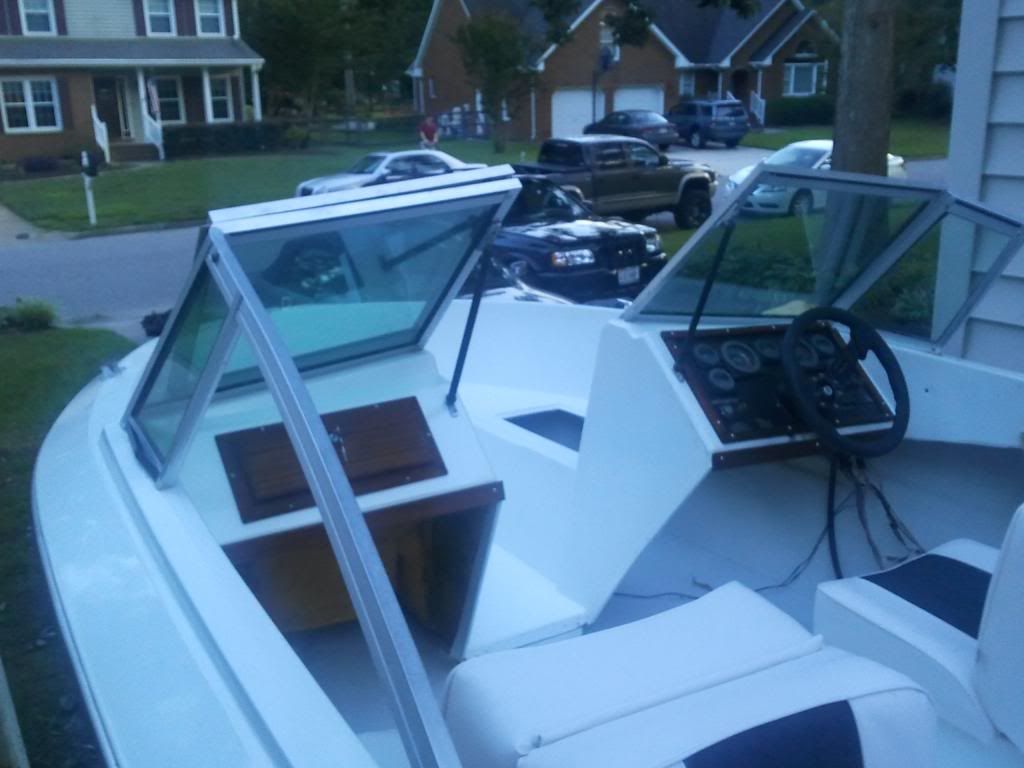
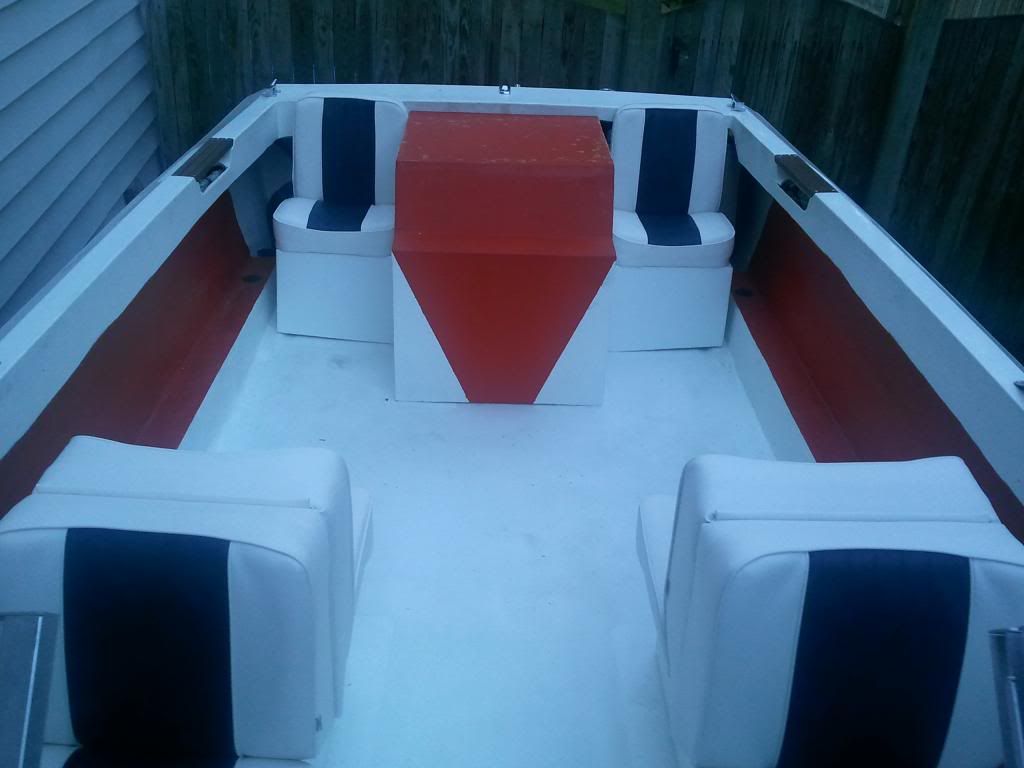
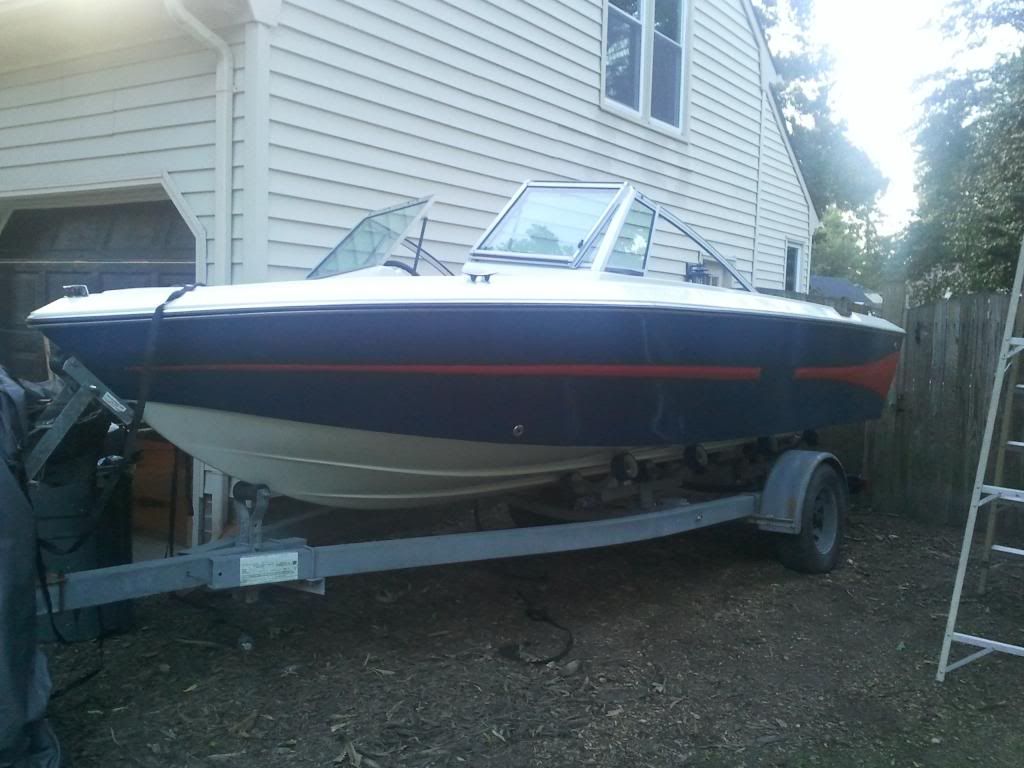
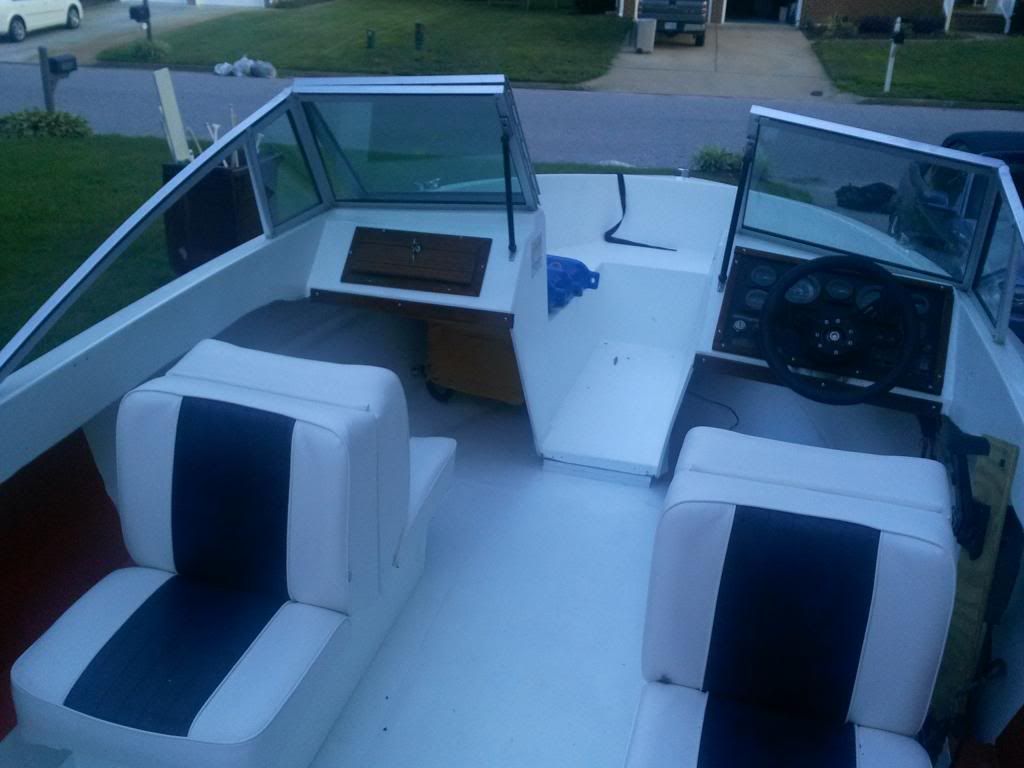
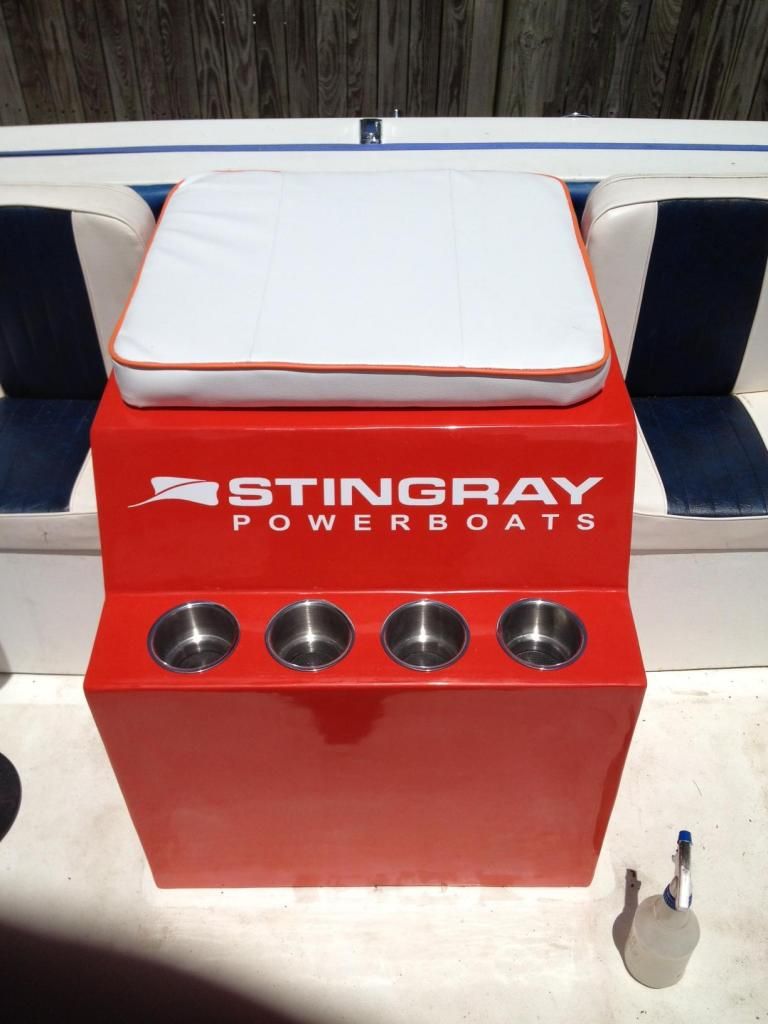
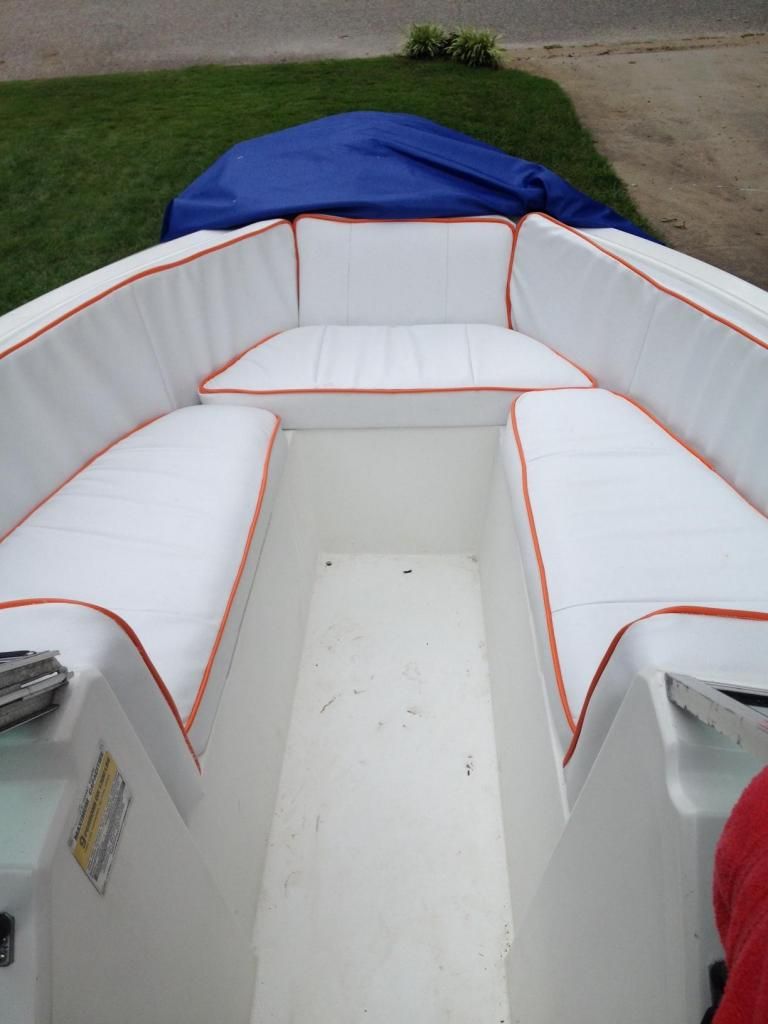
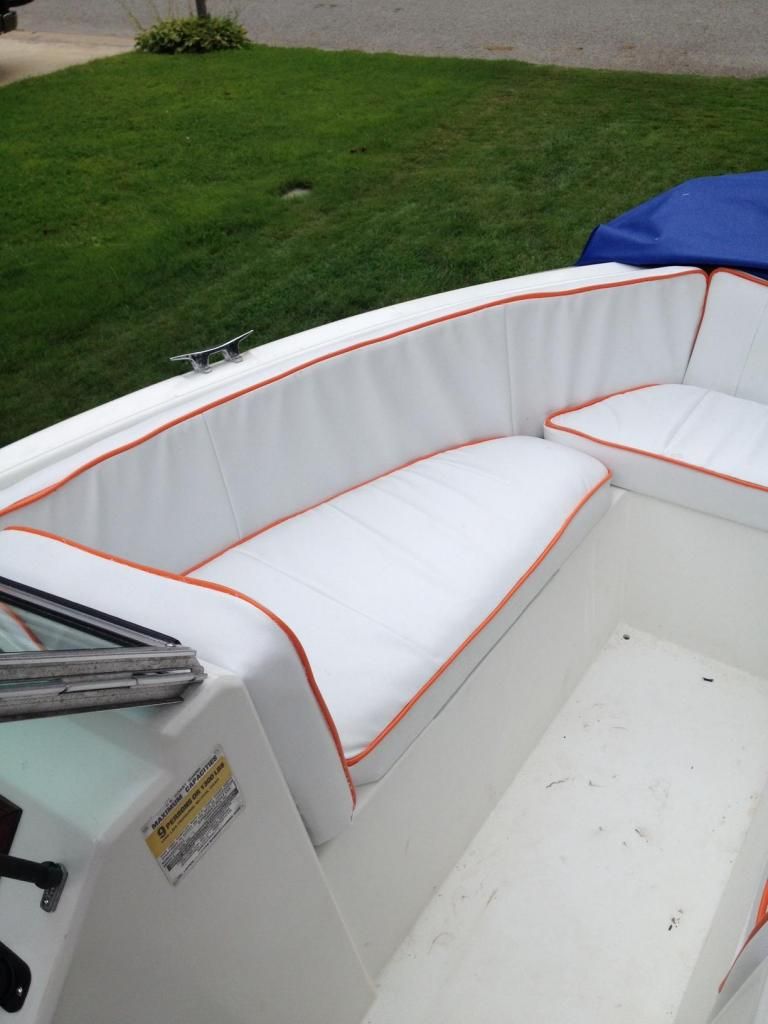
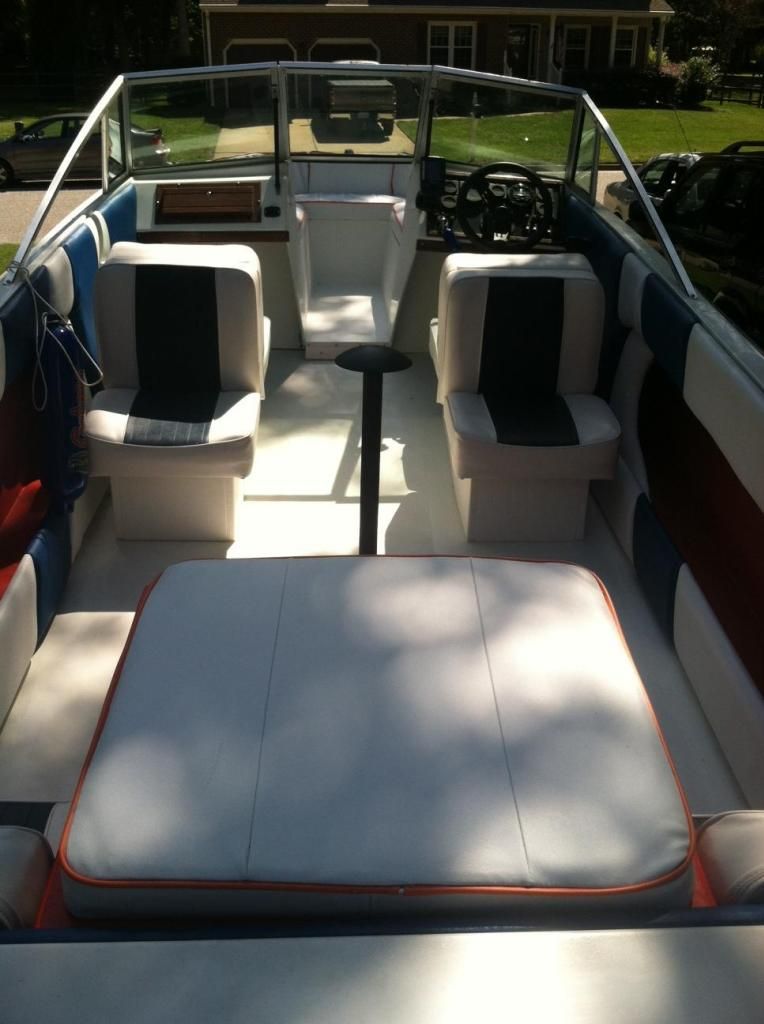
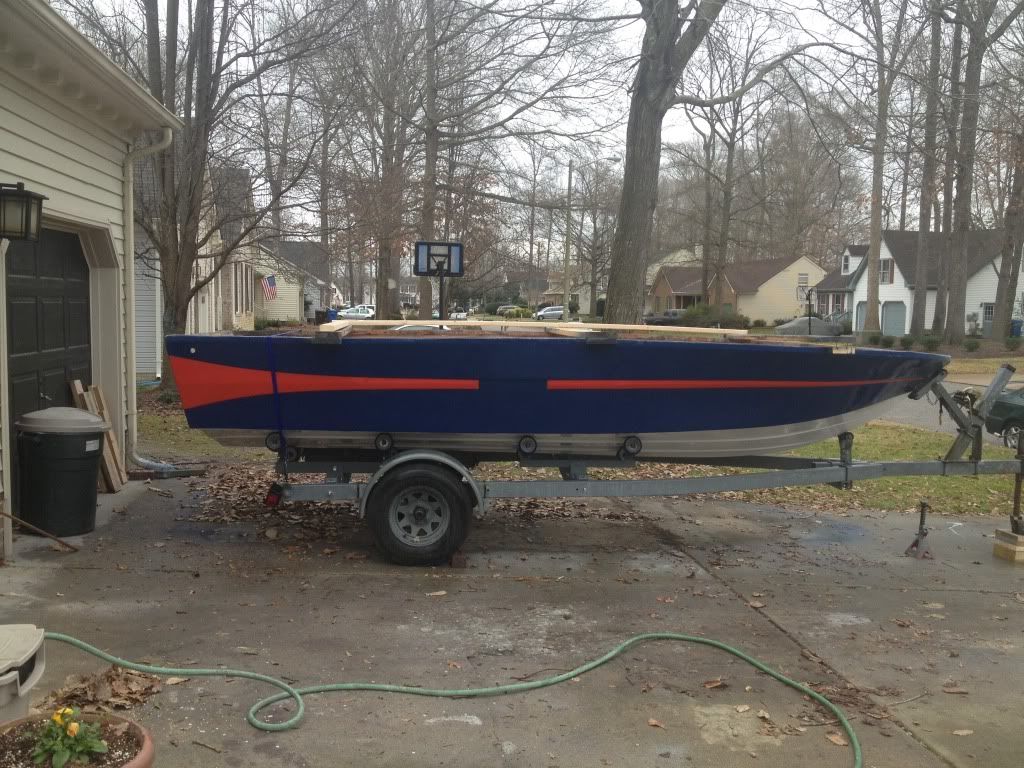
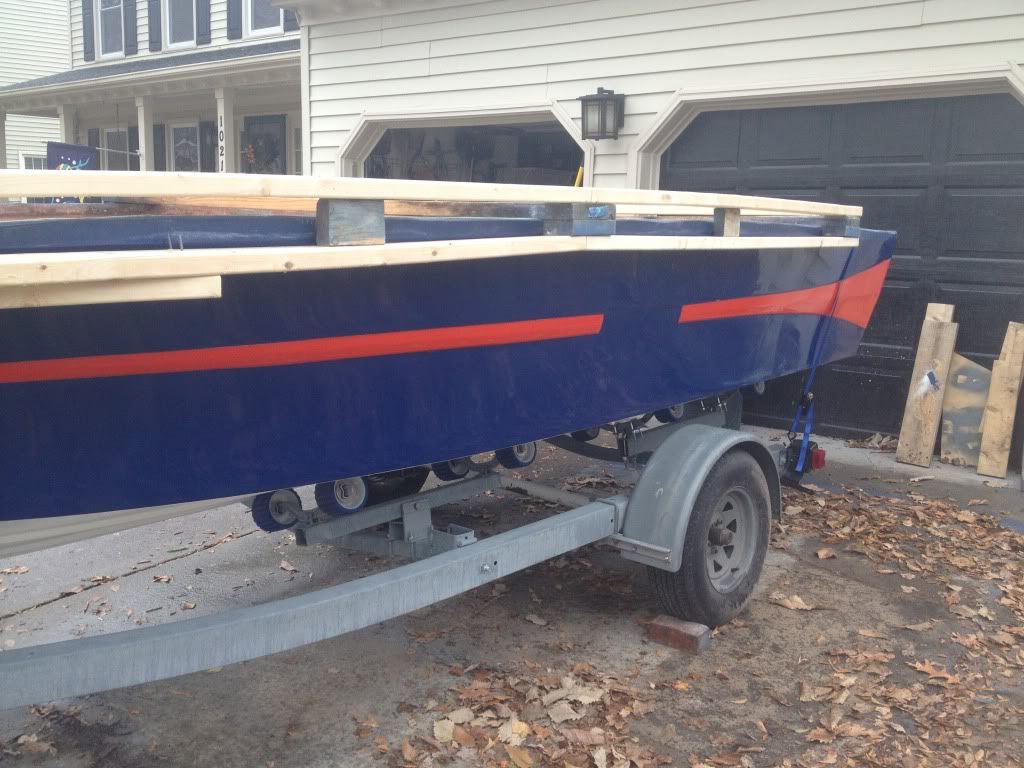
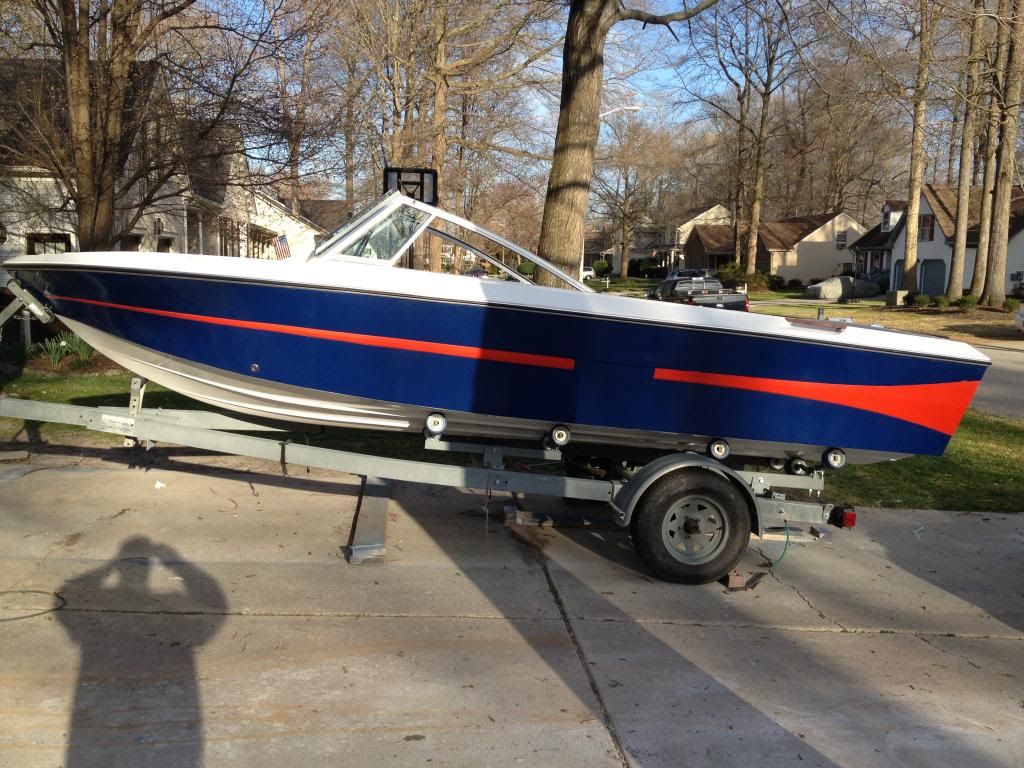
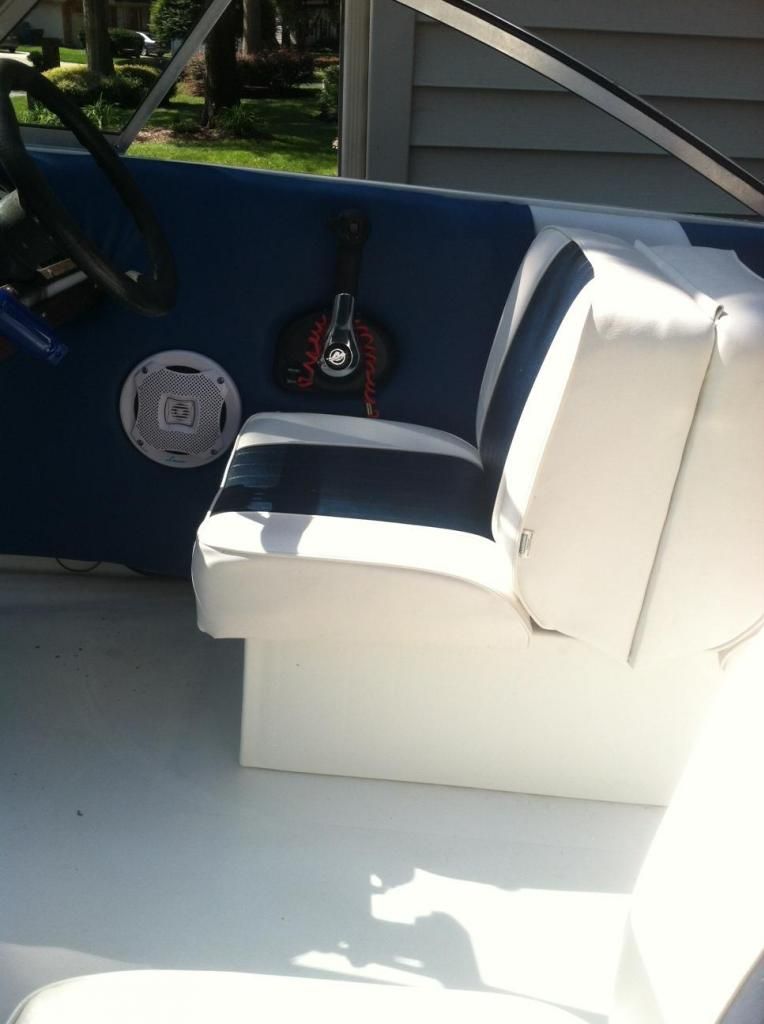
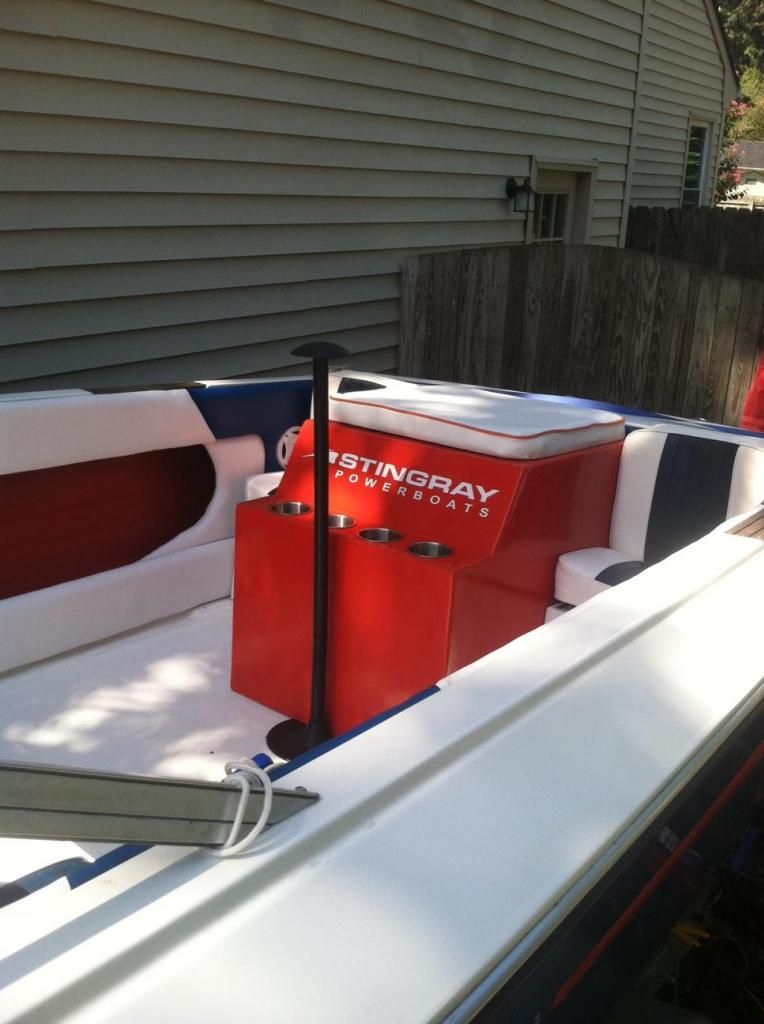
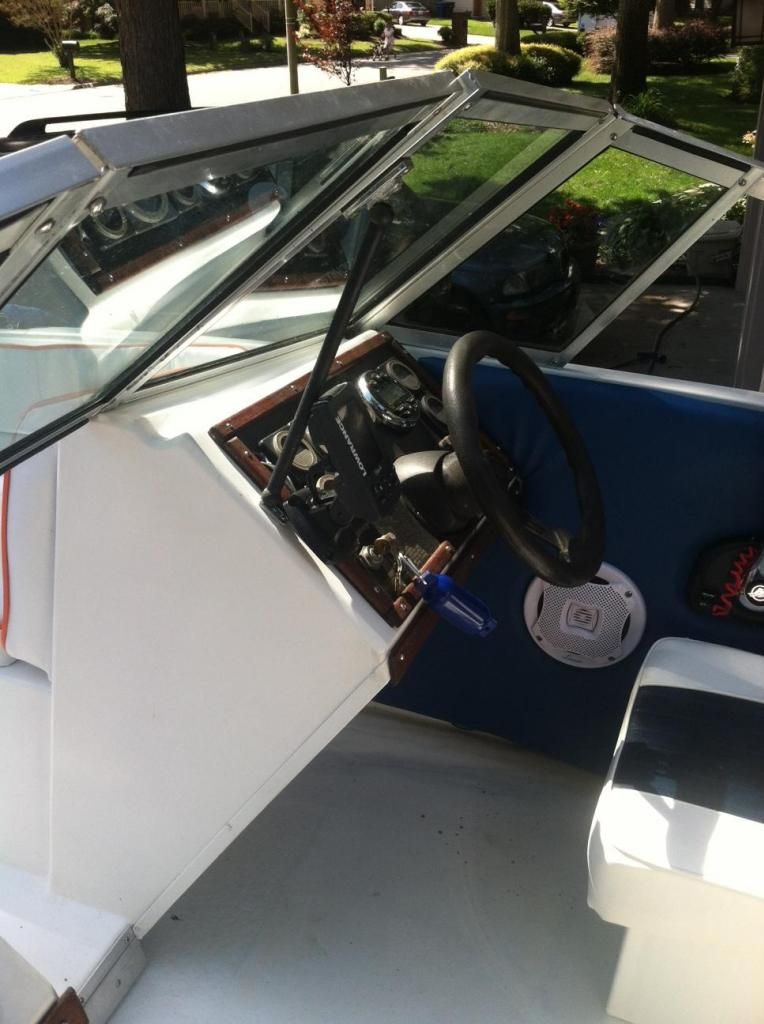
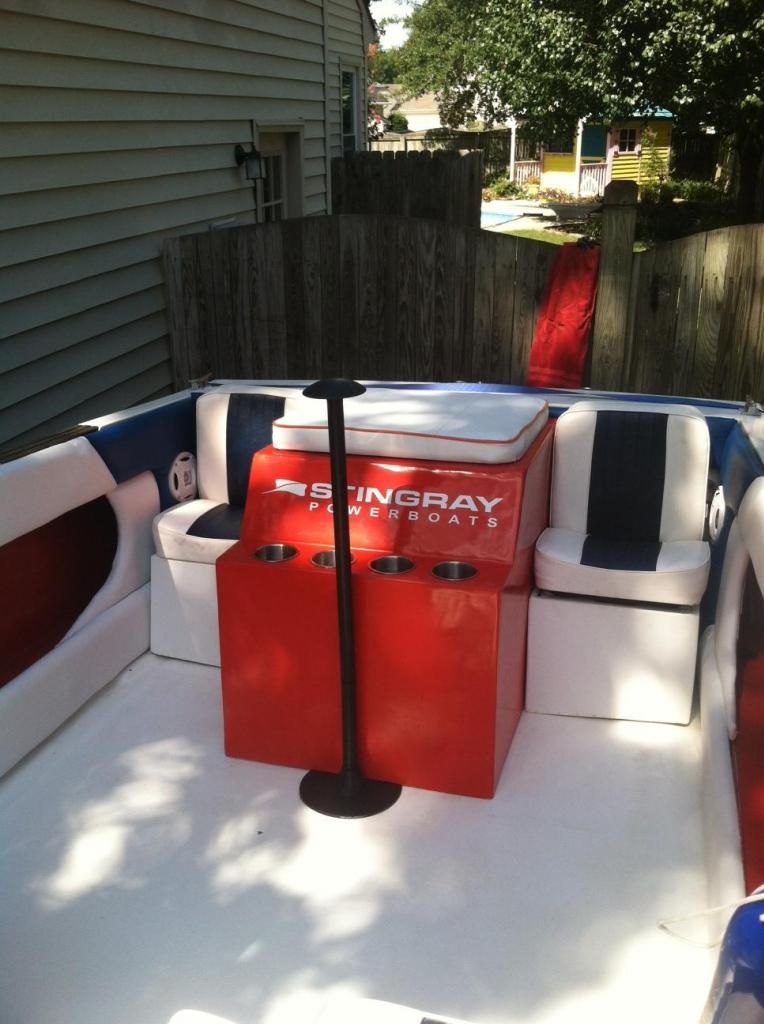
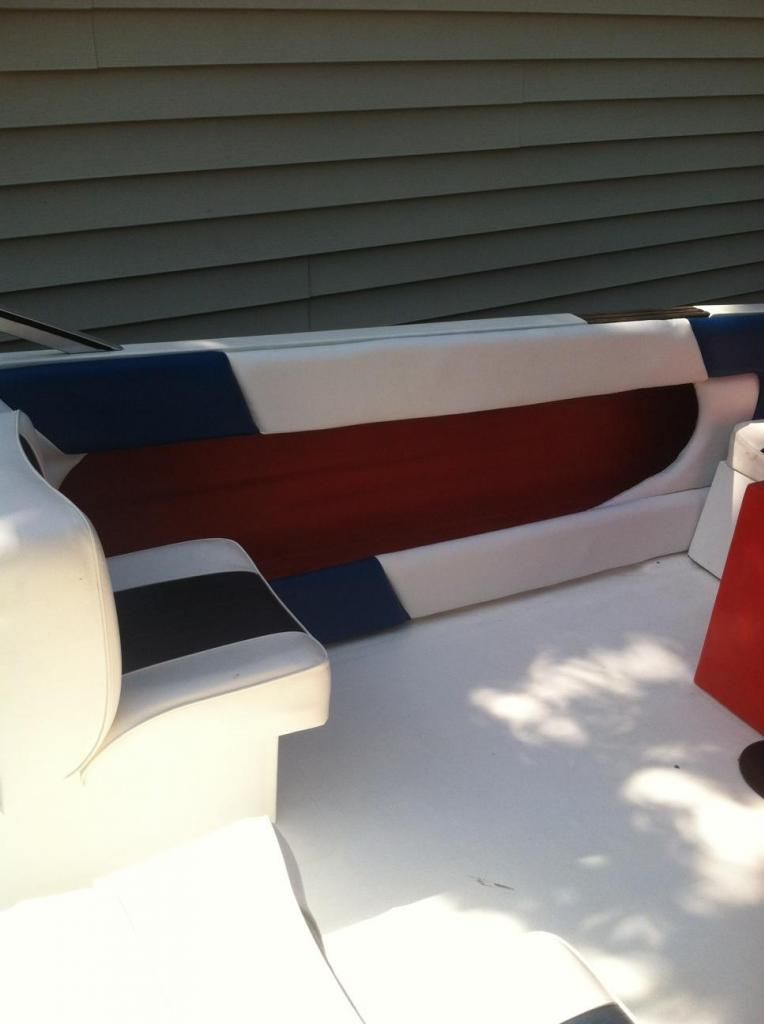
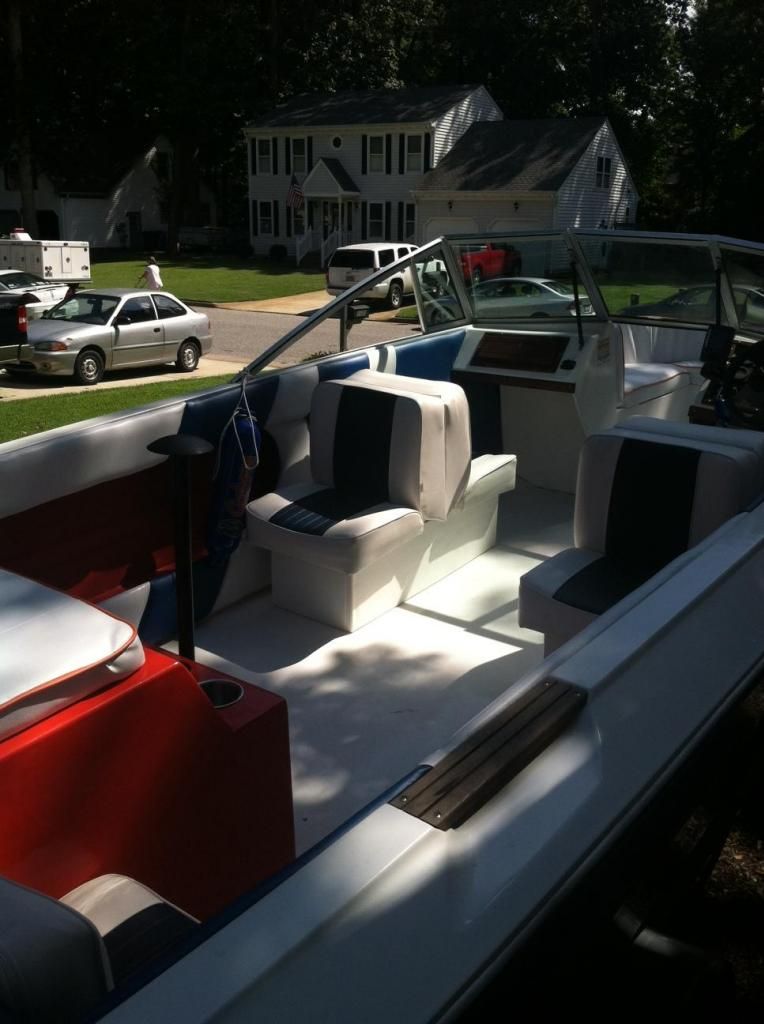
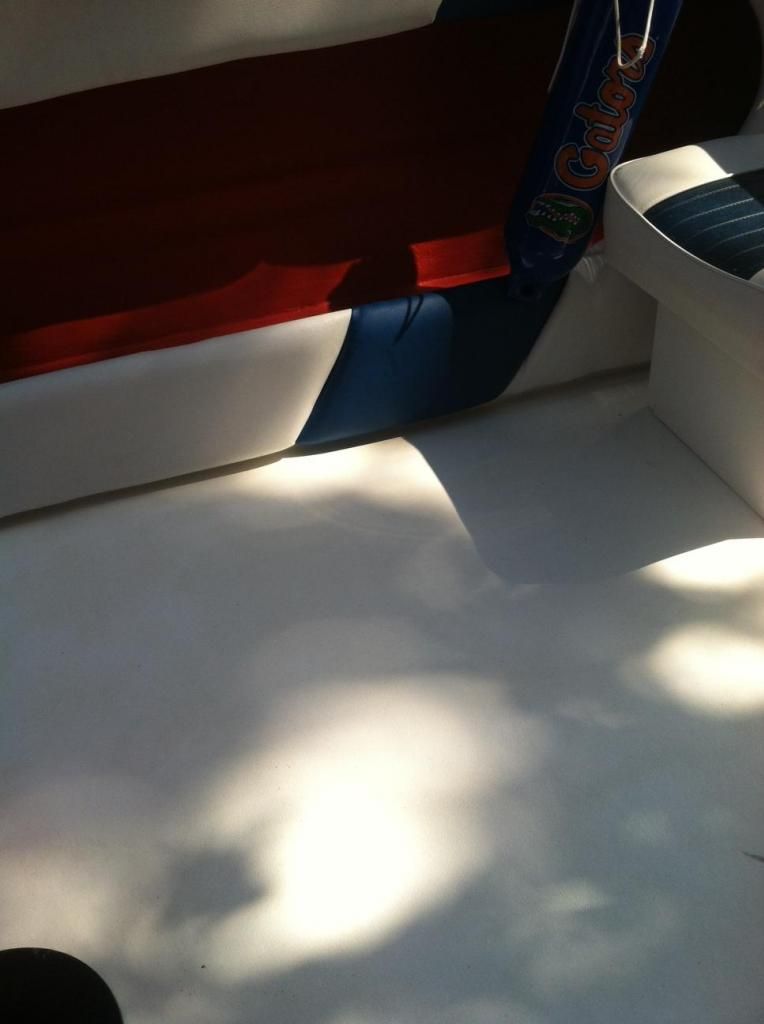
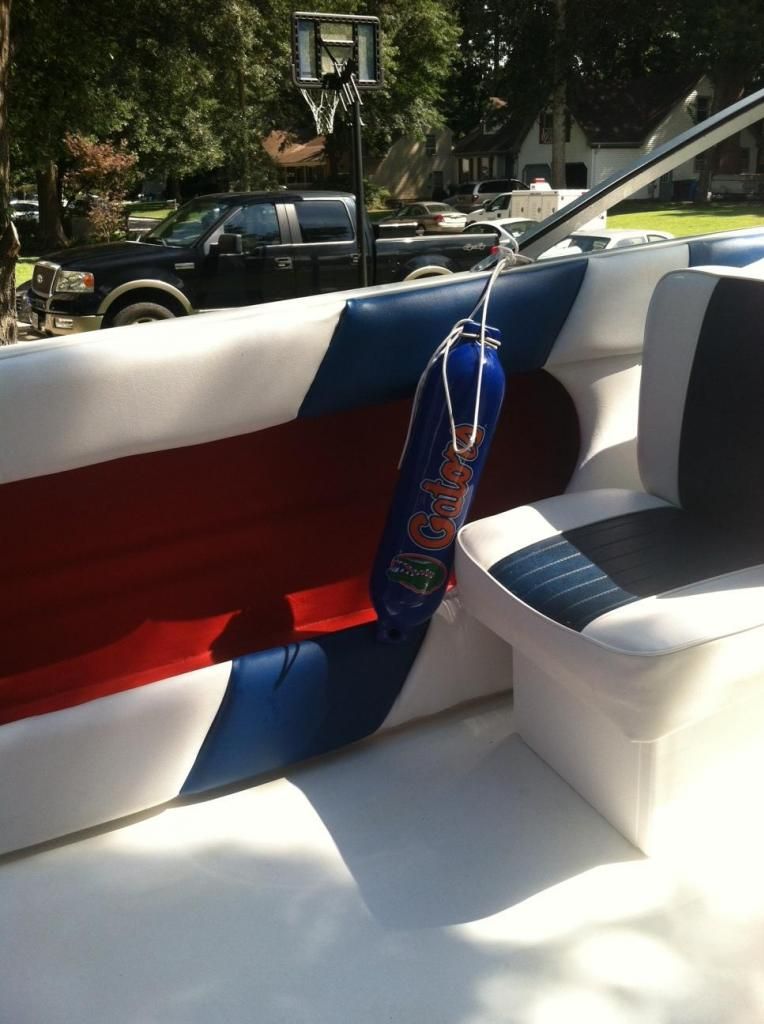
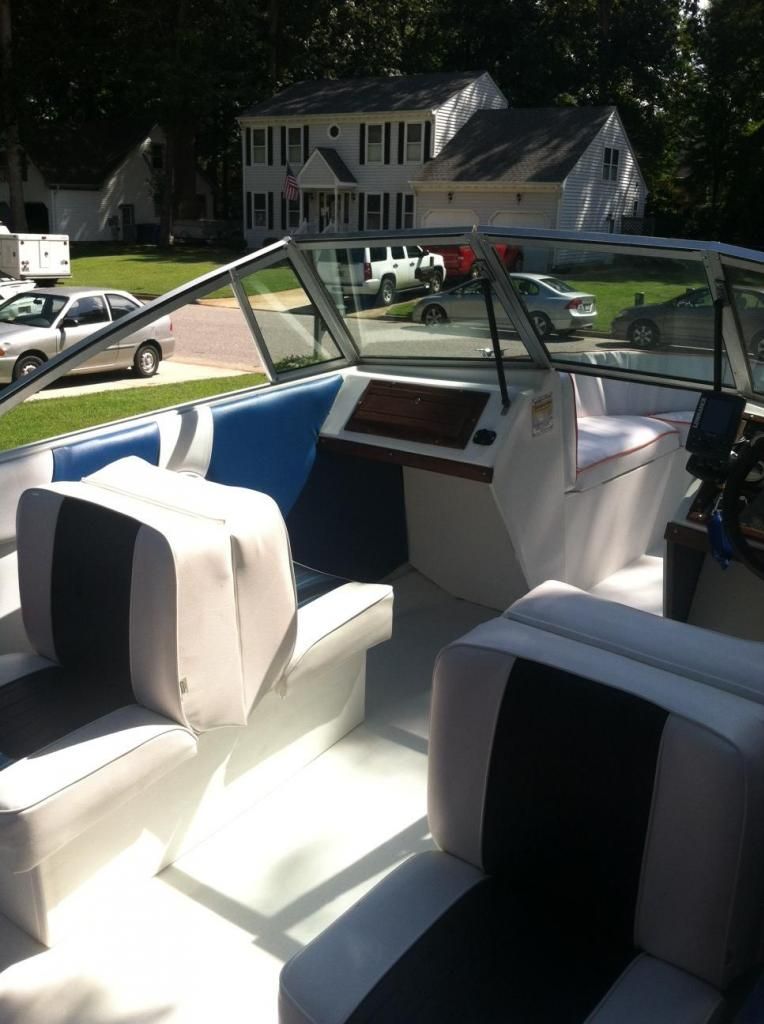
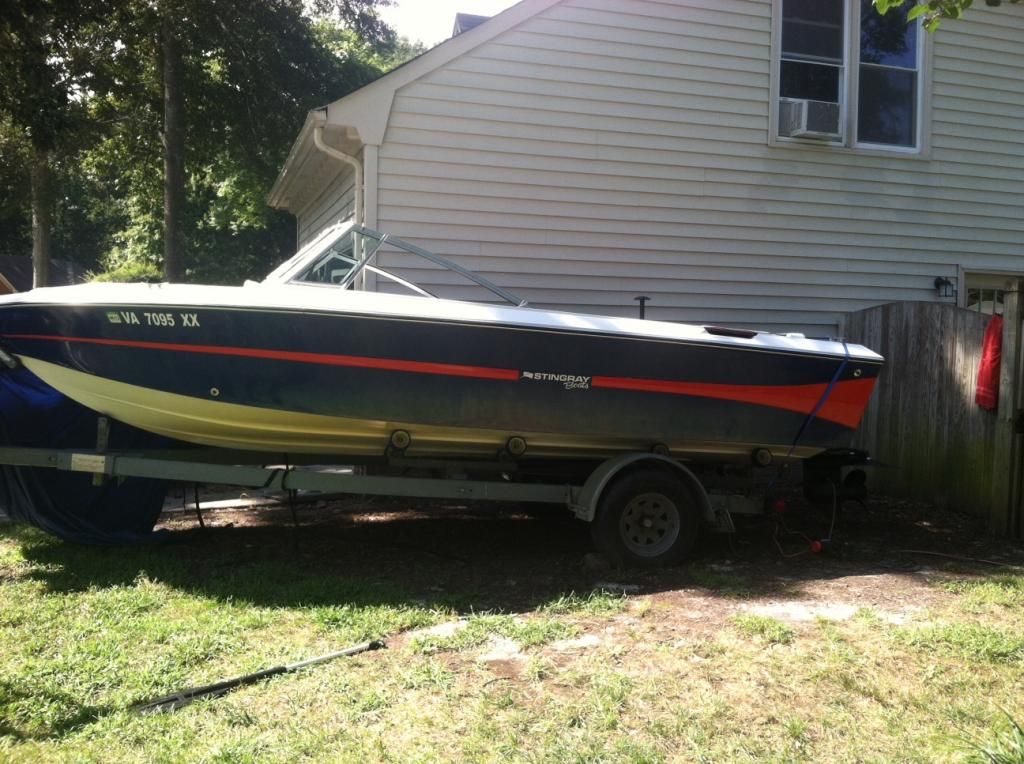
That brings me to today, still waiting on the cylinders to arrive need to install and test them, also waiting on the numbers for the registration. I have installed the gas tank permanently, completed all of the wiring organization, installed the seats, re-installed the outdrive and tested all systems, we are good to go. The boat will go in the water in the next 10 days for certain. I need some life vests and other safety gear (also a rider on my insurance.) Here is a picture of how the exterior looks today, I don't have any interior pictures but I will add some when I am on it next. Oh yeah also need to put the swim platform back, the teak came out nice though.
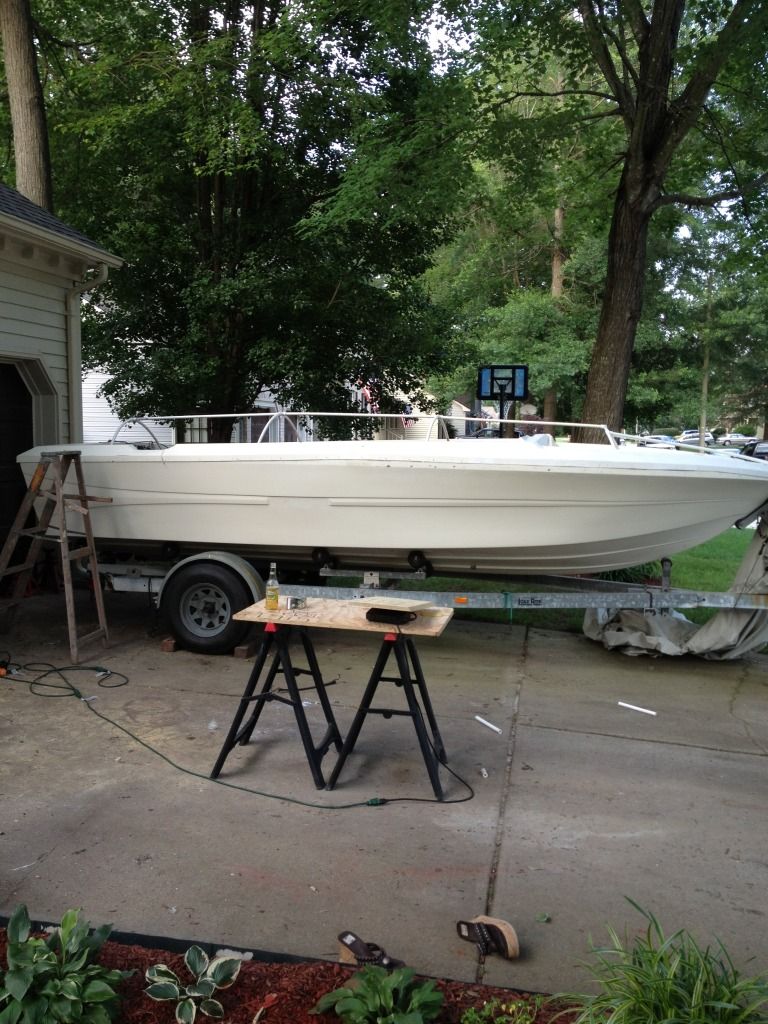
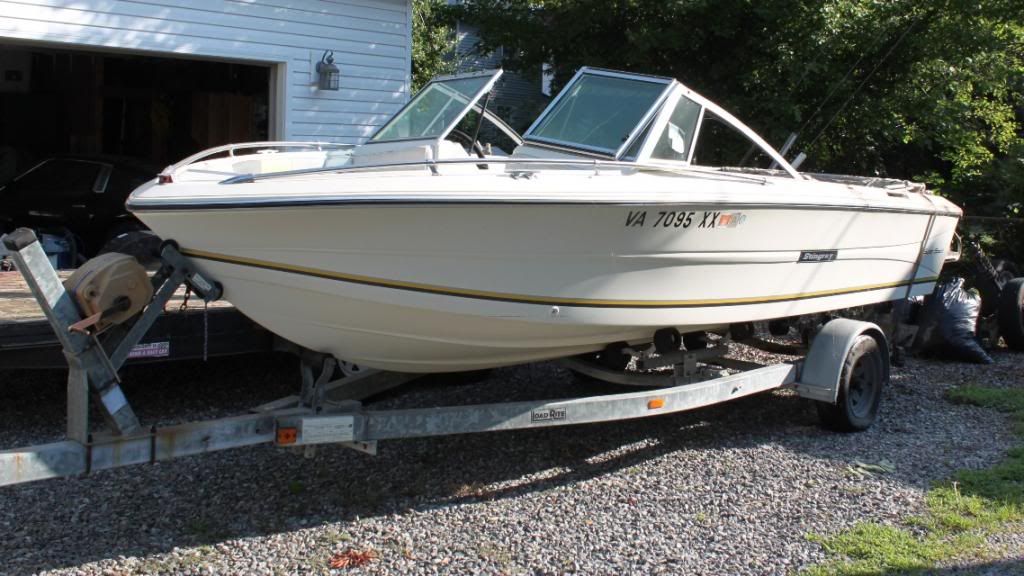
Before
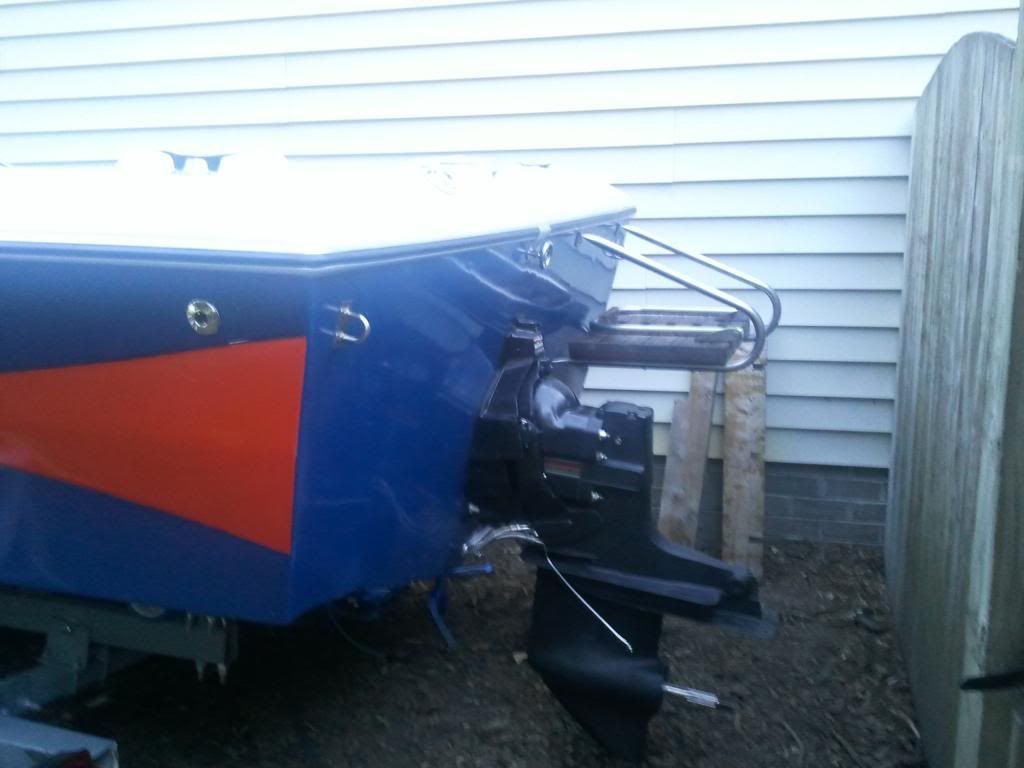
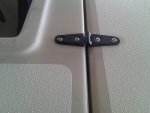
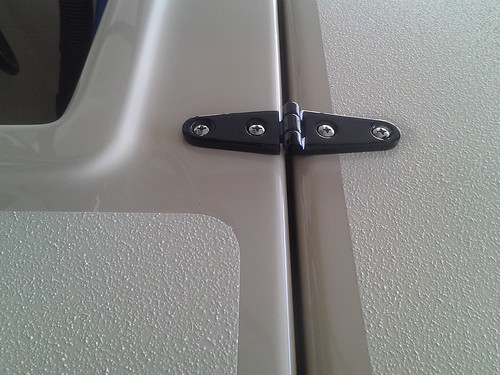
Swim Platform after


") ..
..