1988 Imperial V220 low budget

JaCrispy

Petty Officer 1st Class
Joined
Jul 8, 2014
Messages
391
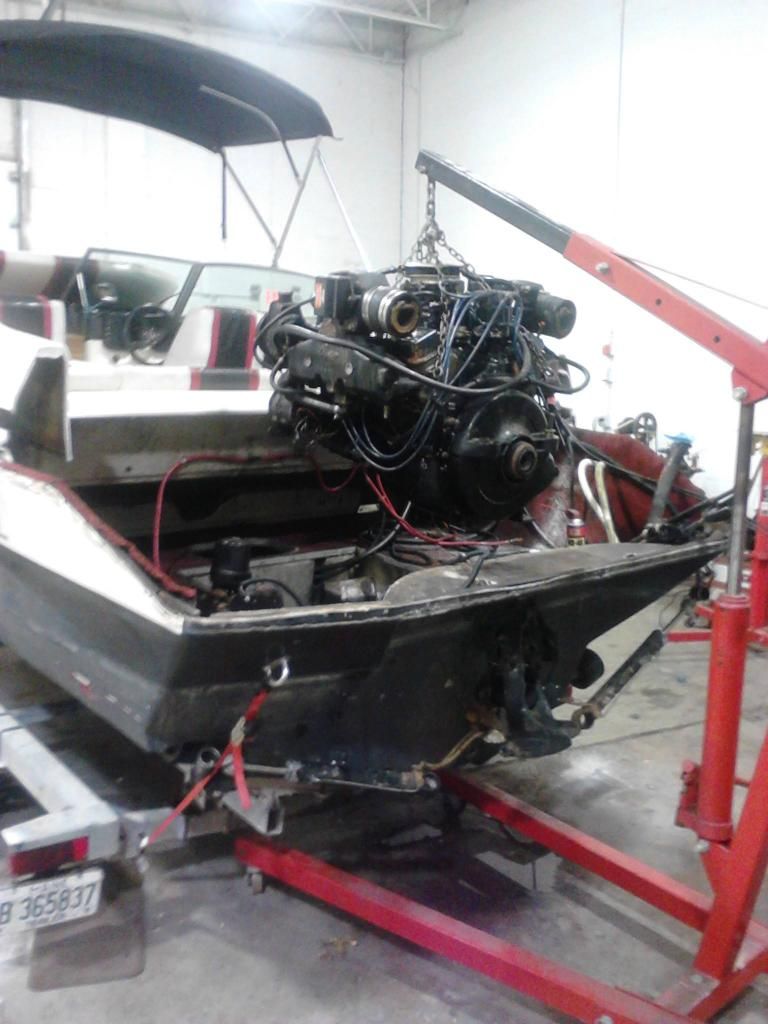
I have a laundry list of things I need to do so (hopefully) I have a trouble free 2015.

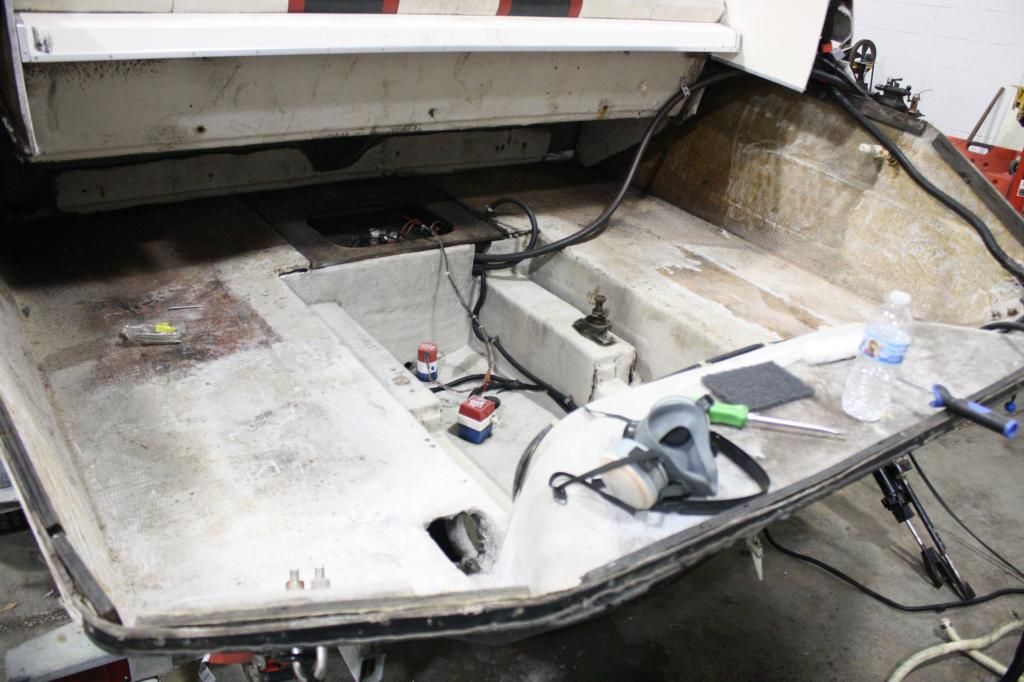
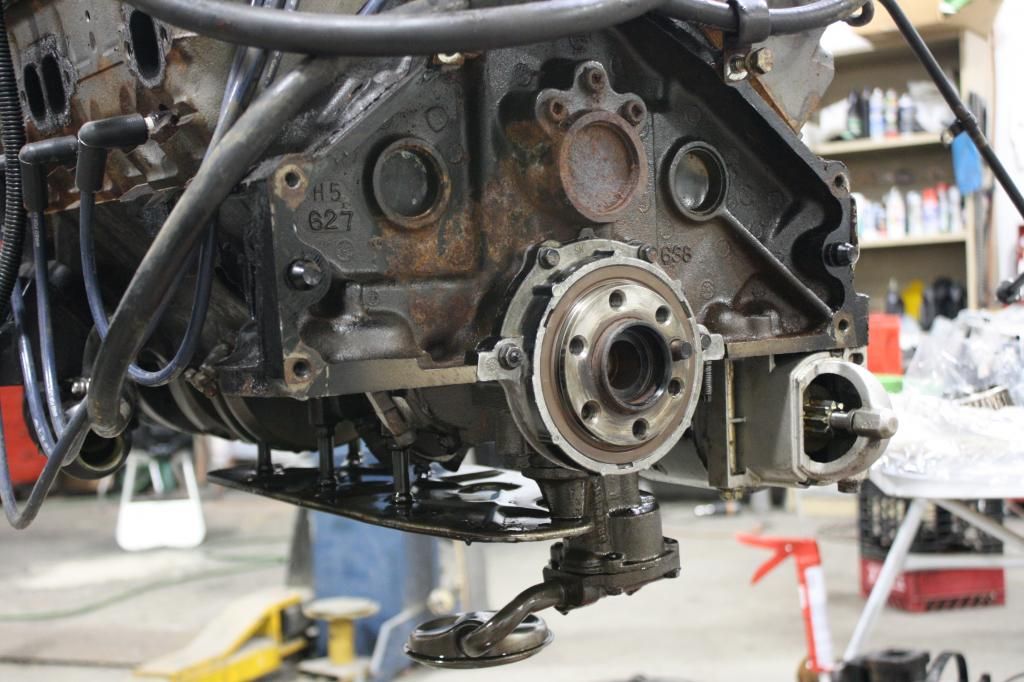
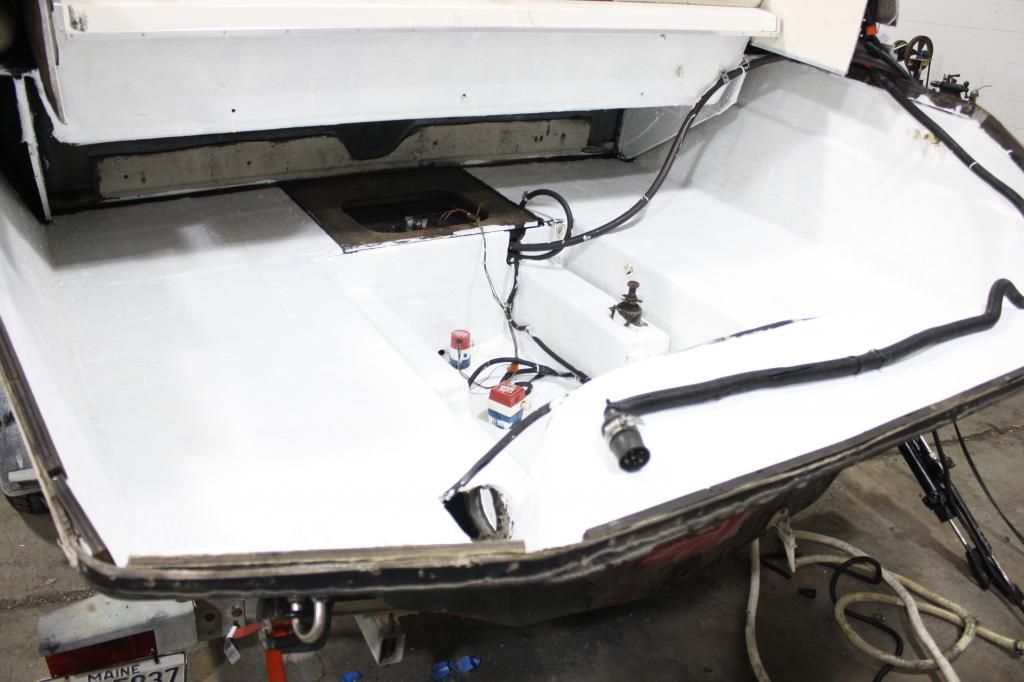
New cables, t-stat housing, bellows, speedo tube, blower and hoses, fuel fill hose (replaced the breather and fuel line already), manifolds and risers, rip out the stinky carpet and paint and just clean up the whole engine compartment. I have pull the engine and check/replace the oil pan and possibly rear main seal. New exhaust flappers too.

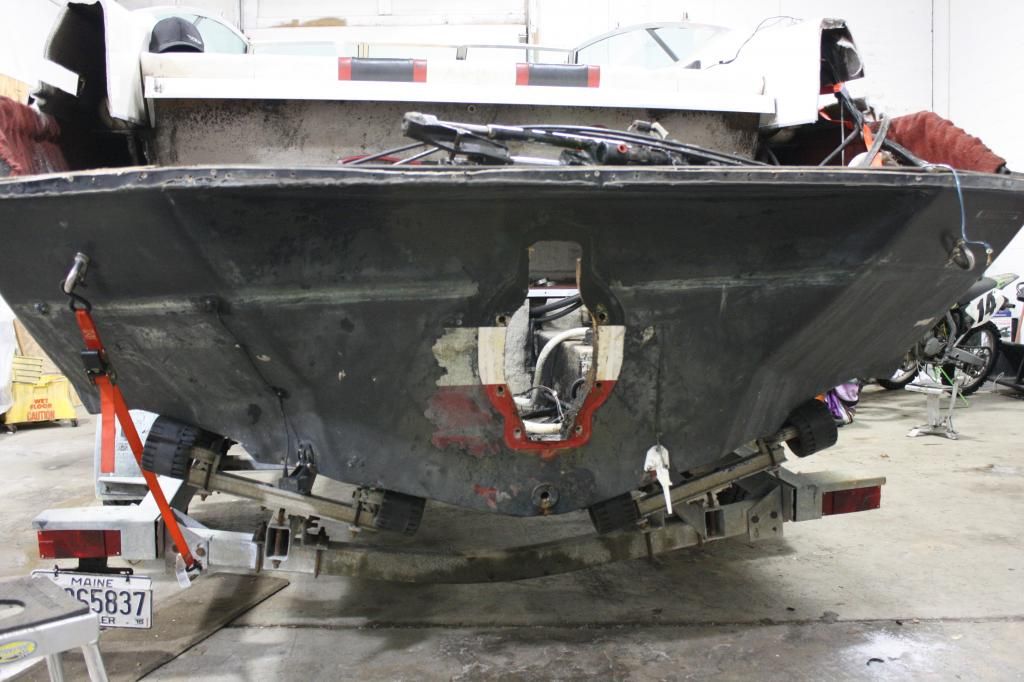
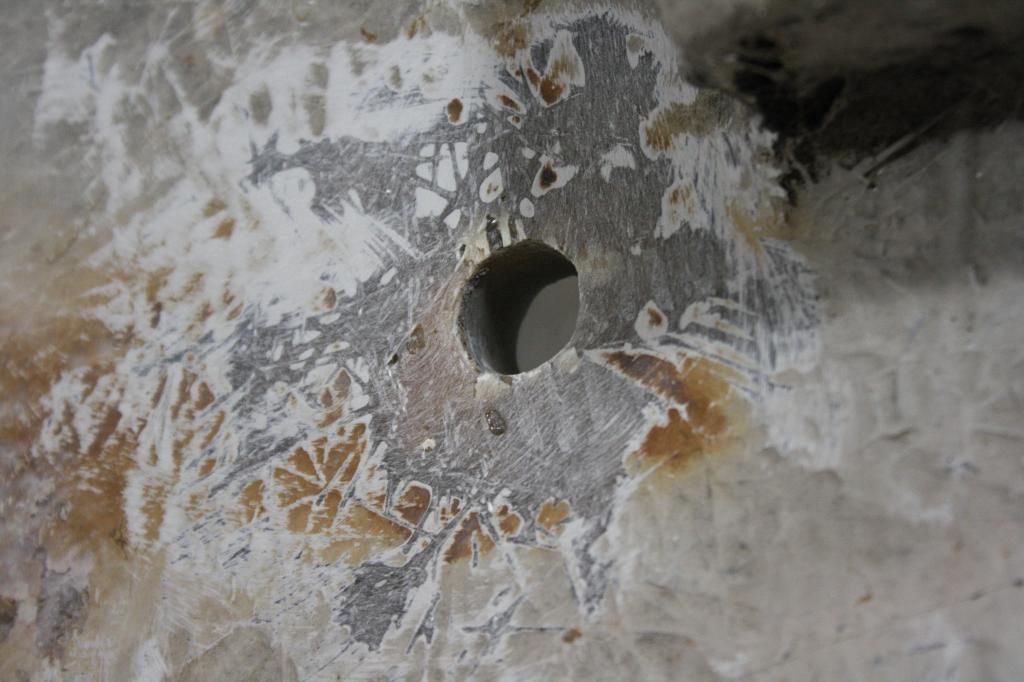
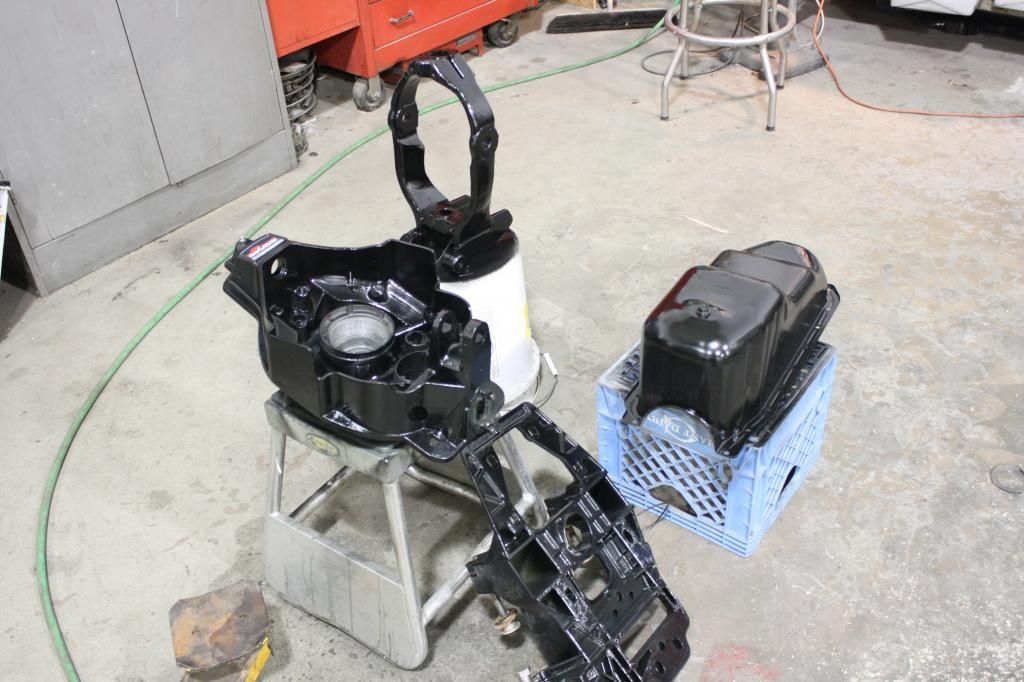
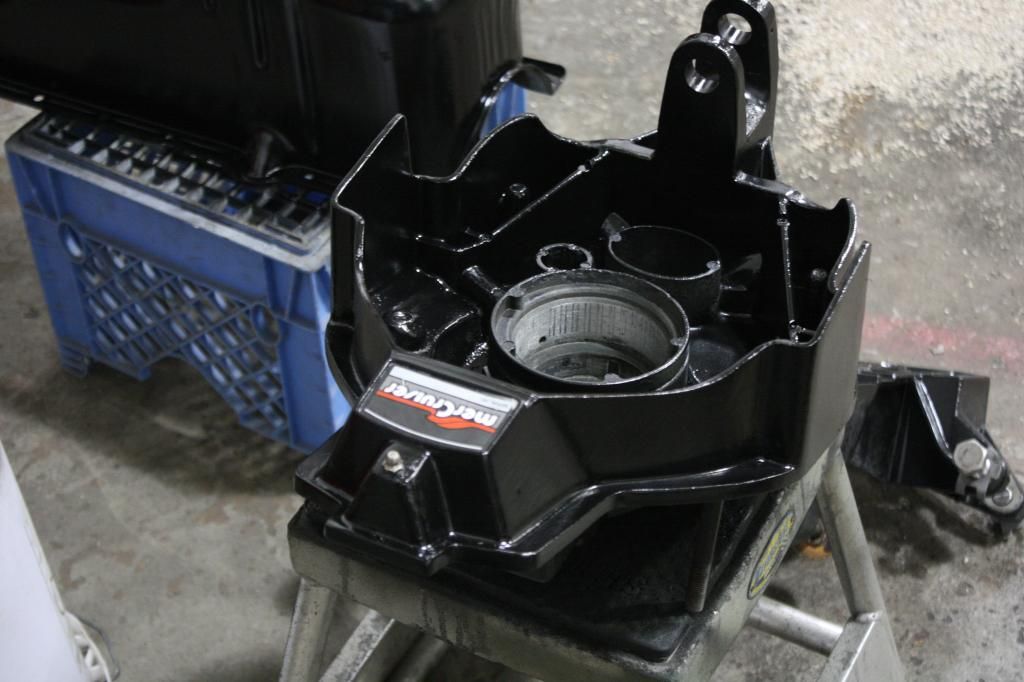
I also have some play on the gimbal ring, a little left to right and about 1/8" up and down. Can you replace the pin w/o removing the whole gimbal housing? I'm going to try to tighten up the bolts first.

What's the paint used for bilges?
 

tpenfield

Moderator
Staff member
Joined
Jul 18, 2011
Messages
17,711
Don't tell anyone, but I use white (or gray) floor & porch polyurethane as a bilge paint. It is highly similar to 'bilgekote' at about 1/3 the price, and tastes practically the same too :D
 

JaCrispy

Petty Officer 1st Class
Joined
Jul 8, 2014
Messages
391
Thanks for the info!

Got the engine out, adding to the parts list. The Y pipe is being a pain in the butt. To remove the steering pin you have to remove the gimbal housing?

10562585_10203909972687240_1041584983336331537_o.jpg
 

JaCrispy

Petty Officer 1st Class
Joined
Jul 8, 2014
Messages
391
Moving along...

Thankfully the transom is solid. It's the first time any major work has been done to this thing. Still had a 1987 date code on the fuel fill hose.

Is there a gimbal "kit" available or is it all a-la-carte?

IMG_6827.jpg
 

Woodonglass

Supreme Mariner
Joined
Dec 29, 2009
Messages
25,924
The Glidden Brand of the Porch Paint is Alkyd based and therefore you can use an Acrylic Based Hardener with it which will increase the durability of the paint by 3-4 times. It will dry/cure faster and with a Higher Gloss. Use a 50/50 mix of Acetone and Mineral Spirits to thin it. You can even use it to paint your hull!!!!
 
Last edited:

JaCrispy

Petty Officer 1st Class
Joined
Jul 8, 2014
Messages
391
Moving along, decided to plug and relocate the transducer and speedometer tube to above the waterline

IMG_6828.jpg


Bilge all cleaned up ready for paint.

IMG_6831.jpg
 

JaCrispy

Petty Officer 1st Class
Joined
Jul 8, 2014
Messages
391
Almost forgot, there's 1/2 plywood strips fastened along the inside of the hull for mounting the top cap. The wood is a little soft and there was a small gap at the stern of the boat allowing water in. I was thinking of replacing the strips with 1/2 or 3/4" PVC trim. Any pros/cons with that?
 

Woodonglass

Supreme Mariner
Joined
Dec 29, 2009
Messages
25,924
I see no problem in using PVC for that. Are you going to use Screws, Bolts or Rivets going back with the top cap?? By the way you didn't have to start a new thread on filling your holes. You could have posted that question in this thread. It's usually best to keep all the questions about your project in the same thread. Less confusion that way AND it is the Forum Rules.;)
 

JaCrispy

Petty Officer 1st Class
Joined
Jul 8, 2014
Messages
391
Ok, thanks..noted.

I was going to just screw everything back together how the manufacturer did. The strips are screwed to the hull, then the top cap screwed through the hull and into the strips, then finally the rubrail screwed through all of that.

Since we're on the assembly subject... the area I cut the top cap I was going to vee out, attach a piece of aluminum plate on the inside of the cap with a few bolts, then glass the seam. The seam is under the hatch so I'm not worried about the bolts being visable, and the cut runs right under the cleats so that will help support everything too. But what should I use to fill the seam? I'll probably just mask it off and paint afterwards. Not really picky about the looks of the boat as much as reliability and keeping water out. Thanks.
 

JaCrispy

Petty Officer 1st Class
Joined
Jul 8, 2014
Messages
391
I meant the section I vee'd out. What mat and how many layers? I have roughly 3/8" thickness on the gunwales.
 

JaCrispy

Petty Officer 1st Class
Joined
Jul 8, 2014
Messages
391
Got a lot of parts cleaned up and repainted. Had a helluva time ordering parts. Couldn't find an "all-in-one" kit or some kits had more than I needed ans dome missing other parts, soooo I just made a list and shopped around. Cross referenced some seals to save a few bucks too. Hopefully will be installing the gimbal next week.

New rear main seal and oil pan gasket.
IMG_6835.jpg


3 coats of paint in the bilge and I'm calling it done. I might put 2 sections of carpet back in there just on the floor, IDK we'll see.
IMG_6837.jpg


Repainted parts
IMG_6840.jpg


IMG_6841.jpg
 

jc55

Senior Chief Petty Officer
Joined
Nov 3, 2006
Messages
665
That's some extensive work! I'd really like to see how you mold your cap back in step by step. You got guts!
 

JaCrispy

Petty Officer 1st Class
Joined
Jul 8, 2014
Messages
391
That's some extensive work! I'd really like to see how you mold your cap back in step by step. You got guts!


That's what I was trying to explain in previous posts.

Here's my idea:

Vee out about 2" on either side of the cut. The cut was made in between the cleat bolts so the cleat itself will add strength in the end. Fasten a 1/4" aluminum plate on the inside of the cap (this area is mostly covered by the sun deck so visible fasteners won't be an issue). Once the rear section of the cap is fitted/bolted in place, I would fill the V with cloth/resin back to the original surface height, and paint.

My question was, what cloth to use to fill in the Vee'd out section. I see a bunch of different ones available.

cap-install.jpg
 

jc55

Senior Chief Petty Officer
Joined
Nov 3, 2006
Messages
665
I'm no expert here on this particular subject, but then again, I spliced a splash pan once and ground out the outside of my transom skin. I would make a 12:1 bevel which is...4.5" minimum for a 3/8" substrate. I don't see why you couldn't use 1.5 ounce CSM with a first layer full coverage and getting progressively smaller. (Some people reverse that process). No more than 4 layers at a time or it'll get hot and you don't want it to cook. Assuming you're gonna gelcoat? I had good luck with D/A'ing it smooth but you'll need to key it for a gelcoat layer.

Others will chime in but this will get the ball rolling here.
 

jc55

Senior Chief Petty Officer
Joined
Nov 3, 2006
Messages
665
When I did my splash pan, I ground out a bevel, clamped the work, PB'ed the crack, and glassed both sides(not pictured), faired with epoxy and painted.
IMG_2172.jpg

IMG_20131217_154039_109.jpg
 

Woodonglass

Supreme Mariner
Joined
Dec 29, 2009
Messages
25,924
Ok, sorry I misunderstood your question. Basic fiberglass repair. No need for screws or bolts. Bevel the back sides of both pieces Use some popsicle sticks glassed in place on one side to act as guides and then butt the other piece inplace and glass em together on the back side with a layer of CSM, and 2 layers of 1708. Now on the front side use a dremel and v out the joint line and then bevel both sides back about 3" both ways. Lay up CSM, 1708 and 2 layers of CSM. Leave it a bit shallow and fill the rest with Resin and Glass bubbles fairing mix. Sand smooth and your ready for either gelcoat or paint. You'll never know it was cut.
 

JaCrispy

Petty Officer 1st Class
Joined
Jul 8, 2014
Messages
391
Thanks for the ideas! That splash pan came out nice!

I'm not 100% what I'm doing as far as finish yet. The hull itself has a nice, thick gelcoat that I plan on restoring. The cap, however, is a little chalky so it's unknown whether it will buff back or not.

A little bad news now.... So I found my stringers a little soft when I removed the lag bolts. I actually had a couple pull up a while back. I know what I "should do" to repair it, but I decided it just wasn't in the game plan this time around so I'm making up some new mounts through bolting some aluminum angle. I'll throw up some pics when the materials come in next week.

Part of why I'm not removing the stringers is the design of my boat. I guess they call it a 3 piece hull (hull, cap and a separate deck area). So to get to the stringers I'd have to remove the cap, then remove the inner piece. I just don't have the time or funds for that right now. The transom is solid so the new mounts should work fine.
 

Woodonglass

Supreme Mariner
Joined
Dec 29, 2009
Messages
25,924
Uhmmm it's not quite all that simple. If the stringers are bad it can severely affect the structural integrity of your boat. They are the "Backbone " of the Hull. If they are weak then the hull can flex when it hits wakes and waves and this can lead to major safety issues. I'd Highly recommend that you rethink your decision.
 

tpenfield

Moderator
Staff member
Joined
Jul 18, 2011
Messages
17,711
I took the engine out of my boat a few years back, only to find that the bulkhead and part of the stringers were shot. Similar 2-piece construction as yours. Fortunately, the issues were contained enough so that I could repair things without removing the cap/cockpit liner.

So, I would do some more investigation as to how far moisture and rot has progressed, because now is your chance. You probably will not want to tear the boat apart again in a year or two.


Now is the time to fix things, here is the link to my thread.

http://forums.iboats.com/forum/boat-...rs-w-many-pics
 
Last edited:
Top