1988 Imperial 280sf engine swap and restoration (pics)

zool

Captain
Joined
Aug 19, 2012
Messages
3,432
Re: 1988 Imperial 280sf engine swap and restoration (pics)

It was hot today, but i sucked it up and got the hammer and chisel in hand and went to work. The glue layer seemed to delam only on th ends and the bottom drain area....the rest seperated from the ply...
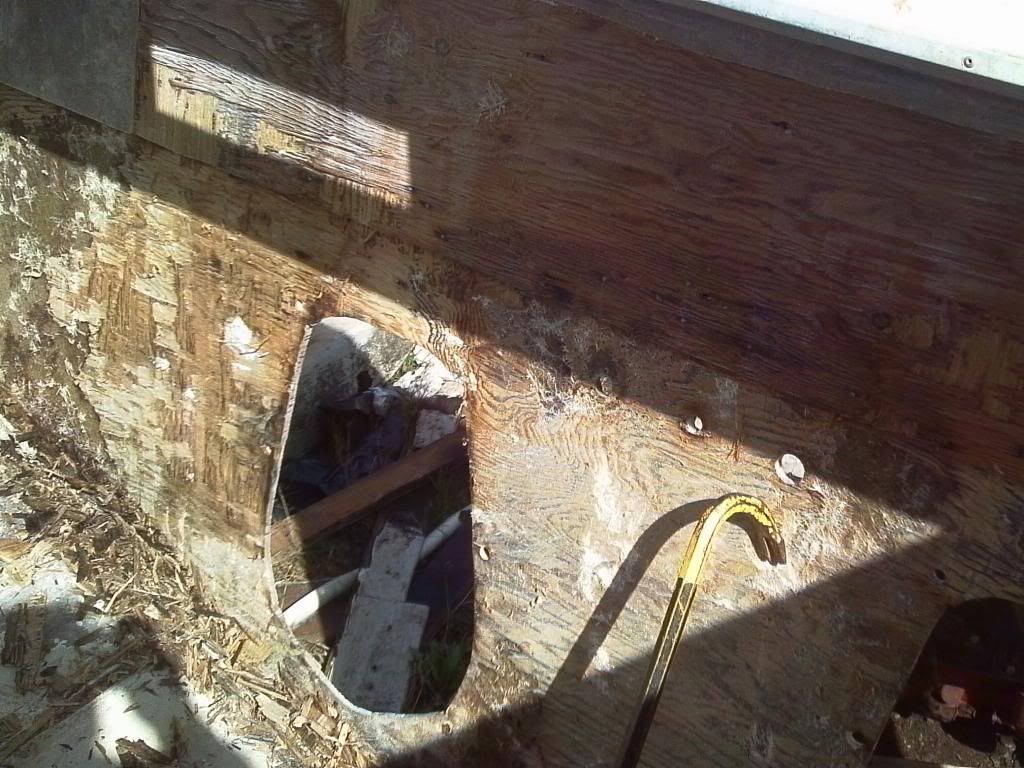
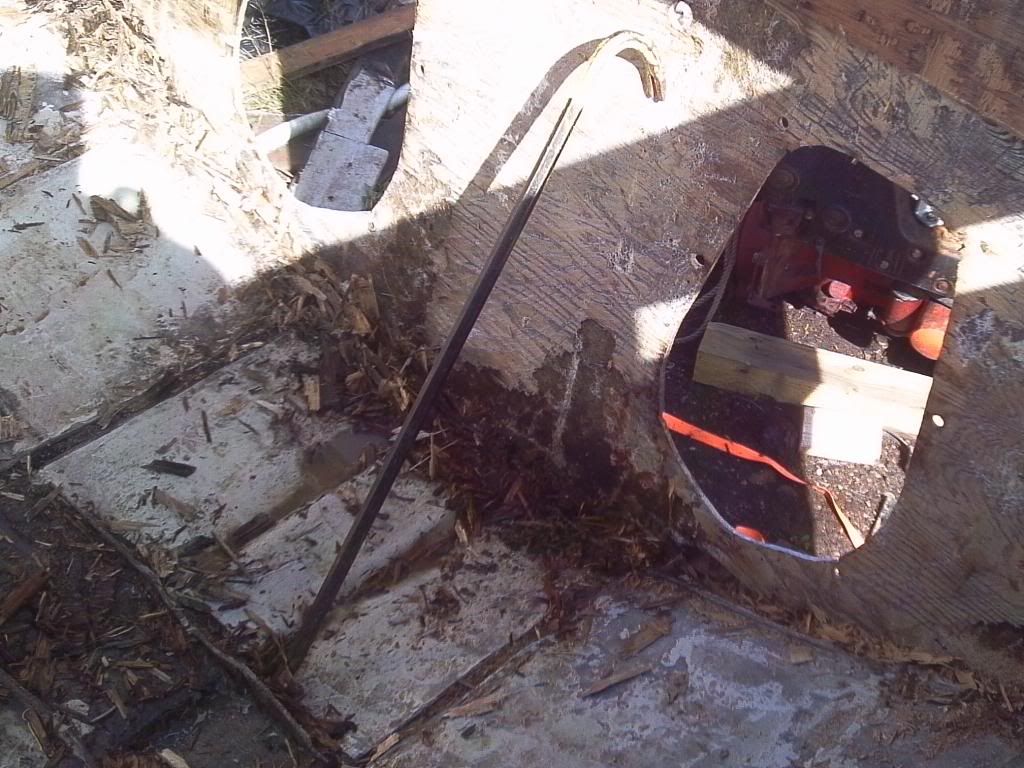


Im gonna grind down the remaing ply skin, and let the pb fill in the void i suppose.. need to clean it up around the edges and make a cardboart template for the overlap lam..
 

zool

Captain
Joined
Aug 19, 2012
Messages
3,432
Re: 1988 Imperial 280sf engine swap and restoration (pics)

I dont know how they lay a transom at the factory, but pressing the transom to the skin on the outer ends may have been an issue..

Maybe they needed clamps..:D
 

GT1000000

Rear Admiral
Joined
Jul 13, 2011
Messages
4,916
Re: 1988 Imperial 280sf engine swap and restoration (pics)

Fuel tank came out amazing, very nice job!
 

zool

Captain
Joined
Aug 19, 2012
Messages
3,432
Re: 1988 Imperial 280sf engine swap and restoration (pics)

Thanks GT, I ended up using just under a qt, i bought the solvent but didnt really need it. I tried it thinned a bit, but it was a better coating straight up.....the thick coats made it come out like a silver M&M..

Dodged a budget buster moment, not needing a new one....
 

Woodonglass

Supreme Mariner
Joined
Dec 29, 2009
Messages
25,928
Re: 1988 Imperial 280sf engine swap and restoration (pics)

WOW, Oh, did I mention WOW!!! The tank is... just WOW!!!!!!:eek::D
 

archbuilder

Vice Admiral
Joined
Sep 12, 2009
Messages
5,697
Re: 1988 Imperial 280sf engine swap and restoration (pics)

nice looking work on the tank, that came out great!
 

zool

Captain
Joined
Aug 19, 2012
Messages
3,432
Re: 1988 Imperial 280sf engine swap and restoration (pics)

Thanks for the comments guys, i just want to add a few application tips for the product.

The silver has the best filling properties, because it has aluminum in it, but it constantly seperates as soon as you stop stiring it. So what I did to overcome that was stir with one hand, while dipping the brush with the other, seemed to solve that somewhat. Spraying lays it solid, but the overspray is all but impossible to remove, and when atomized, its as toxic as it comes. No need to spray it for a tank.

When applying it with a foam brush, treat it like a varnish, and paint in single strokes from the dry areas into the wet line, lifting the brush as you cross...any attempt to brush from the wet area distorts the finish..

The product cures opposite of paint, where moisture and himidity cure it faster....at least up to 50% humidity, then it leaves bubbles...i did mine at 72 degrees in an ac room, to lower the humidity.

dont work from the can, put only what you will apply in a seperate pail, even covered, it will cure in the pot.....and cover the unused portion left in the can with platic wrap, so you can get the lid back off for other coats..

It left a bullit proof surface and well worth the 50 bux a qt.
 

Woodonglass

Supreme Mariner
Joined
Dec 29, 2009
Messages
25,928
Re: 1988 Imperial 280sf engine swap and restoration (pics)

At my first opportunity, I WILL be using this product!!! Thanks so much for the detailed description on how to apply!!! GREAT STUFF!!!
 

Tboner7864

Petty Officer 2nd Class
Joined
Mar 27, 2013
Messages
177
Re: 1988 Imperial 280sf engine swap and restoration (pics)

Looking at my tank zool i have the same problem with pitting, But like GWPSR i dont know If i can get my tank out of my boat I may be doing this inside the belly of my beast. how did you clean the inside of the tank. I know that I will have to because looking the old tank was not being used the PO added another tank and just disconnected the old tank bent over the hose and tied it off. Right now my boat has two tanks both with old gas :grumpy:
 

zool

Captain
Joined
Aug 19, 2012
Messages
3,432
Re: 1988 Imperial 280sf engine swap and restoration (pics)

All i used to clean the inside of mine was Xylene, from home depot.

Klean-Strip 1 gal. Xylene-GXY24 at The Home Depot

Just pour about half the gallon in, let it soak for an hr or two, then turn it, to soak one side at a time, then the top just washed clean as i emptied it. I believe the fact that i had old gas in it, kept it from corroding on the inside. Once you remove the sending unit, and feed tubes, you can see in it.

When i started, there were some small rust specs and clean metal, now it looks like brand new aluminum. If after cleaning it, you see some corrosion inside, you can seal it with por-15 tank sealer. You just pour the sealer in, flip it around to coat the whole inside, then empty the unadhered product back out. The sealer can get pricey tho, about 100 bux a gallon, which will do a 100 gallon tank.

I felt i didnt need to seal mine in the end.
 
Last edited:

zool

Captain
Joined
Aug 19, 2012
Messages
3,432
Re: 1988 Imperial 280sf engine swap and restoration (pics)

I forgot, you have to etch the inside after cleaning it with Metal Ready, which adds another 20 bux+-...Removing the tank may be required to get all this right, but its better to try to remove it now, then after your resto is done, and it starts leaking...
 

Tboner7864

Petty Officer 2nd Class
Joined
Mar 27, 2013
Messages
177
Re: 1988 Imperial 280sf engine swap and restoration (pics)

Yeah like GWPSR everything need to come up and all the wood below the waterline is dust I will be using GWPSR thread as my Bayliner vic boat building instruction book hopefully i can get my tank looking like yours and his
 

zool

Captain
Joined
Aug 19, 2012
Messages
3,432
Re: 1988 Imperial 280sf engine swap and restoration (pics)

Im sure your tank will come out looking great tbone, but it doesnt really matter, cuz you wont be seeing it.....get it structurally sound, then you can set it, forget it, and have piece of mind....when you finally pull it, post some pics and we'll figure it out.
 

zool

Captain
Joined
Aug 19, 2012
Messages
3,432
Re: 1988 Imperial 280sf engine swap and restoration (pics)

Update:

Today the weather let up just a bit, and i was able to get back in the bilge and fine chisel more of the channel wood left, and clean up some of the remaning laminate attached to the outer skin. The rest im gonna have to grind out, along with the channels so i can start maijng the templates for the transom. Not too easy in this heat, i can stay in there maybe a 1/2 hr, then i have to get out for a while, going back in after i cool off.

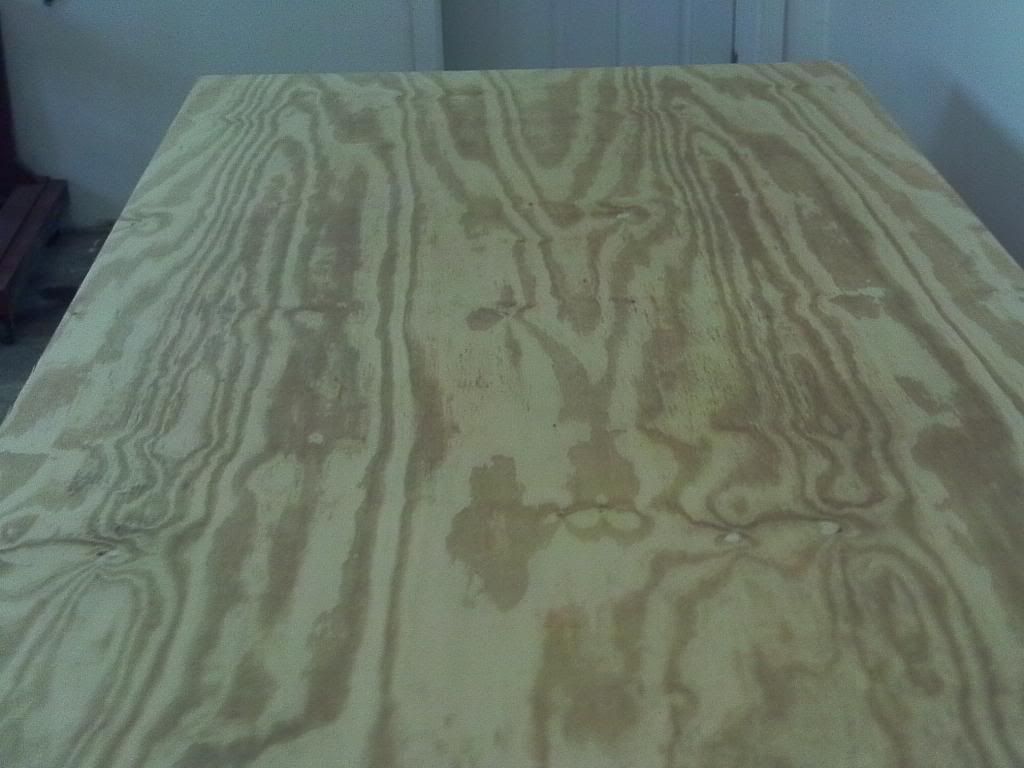
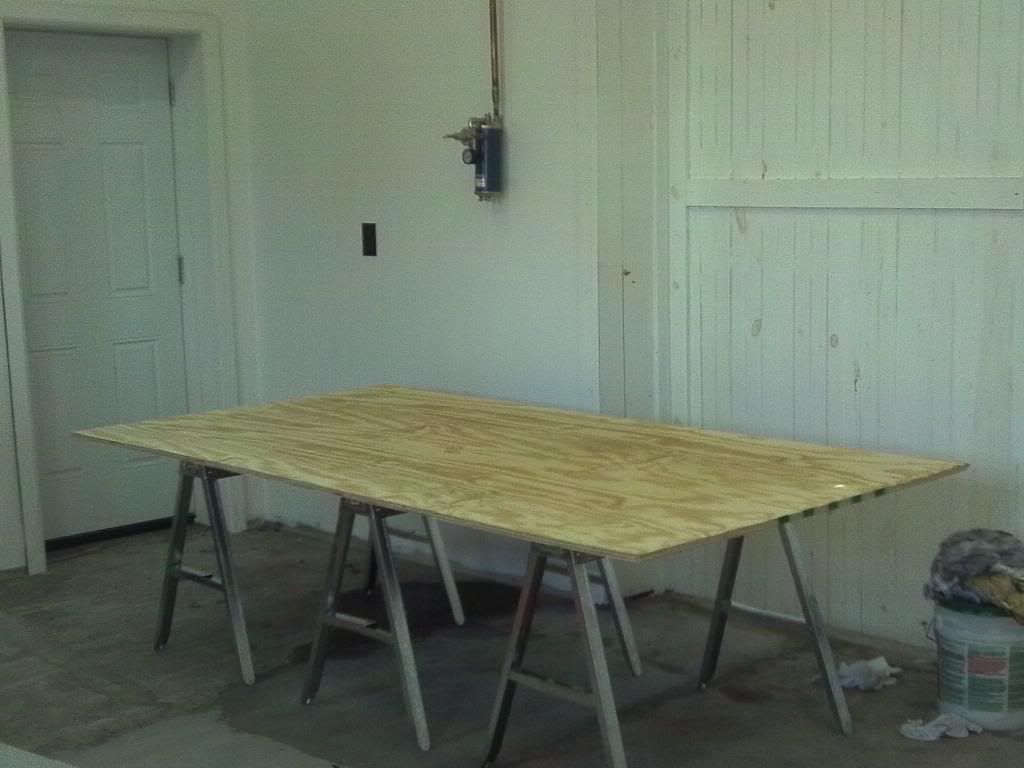
I picked up some bcx exterior sanded ply today. it has 5 plys to it, and exterior glue, and the pieces are pretty straight, its the best i could find around, and will have to do.
 

zool

Captain
Joined
Aug 19, 2012
Messages
3,432
Re: 1988 Imperial 280sf engine swap and restoration (pics)


set one on 3 horses to keep it true, if i can make the templates today, it shouldnt take longto lam up the transom, and epoxy it in this week, when the weather cools.

 
Last edited:

Woodonglass

Supreme Mariner
Joined
Dec 29, 2009
Messages
25,928
Re: 1988 Imperial 280sf engine swap and restoration (pics)

Once the voids in the edges are filled and it's coated and glassed, it'll last for Decades cuz I KNOW you'll care and maintain her like she's supposed to be!!!!!:);)

R U usin TiteBond III to do the Lams??
 

zool

Captain
Joined
Aug 19, 2012
Messages
3,432
Re: 1988 Imperial 280sf engine swap and restoration (pics)

Hey wood, no im gonna mix up some epoxy to a glue, and trowel/clamp it. Because I have to extend it, i figure ill drill and screw it from the outer skin side, then remove the screws and leave the holes for some grip when i clamp it in.

Youre right, shes gonna be covered and babied to last the life of the new motors...the places im at now, I plan to never revisit, on this rig anyway ;)

Looks like I soaked up enough AC, i guess it back in the hot hole..hehe
 

archbuilder

Vice Admiral
Joined
Sep 12, 2009
Messages
5,697
Re: 1988 Imperial 280sf engine swap and restoration (pics)

Zool thanks for noting that you are keeping the lumber supported and not on the floor soaking up moisture on the bottom side. My dad was a framer, so I was taught to stack lumber off the ground and neatly. I don't think a lot of people realize how not stacking and supporting lumber (or plywood in this case) can lead to warping, twisting, cupping and bowing. Nice and toasty here in OK....got my work outside done early, now time to hit the drywall repairs inside! Don't overdo it in the heat! Looking forward to your progress.
 

Woodonglass

Supreme Mariner
Joined
Dec 29, 2009
Messages
25,928
Re: 1988 Imperial 280sf engine swap and restoration (pics)

Yeah, well using epoxy will for sure make it a TANK!!!! Using Screws will ensure shes solid. You might consider drilling several 1/2" holes in the transom wood to allow the PB to ooze through and avoid air pockets and really make a mechanical bond to the outer skin. Something to think about.
 

saginawbayboater

Senior Chief Petty Officer
Joined
Mar 8, 2012
Messages
677
Re: 1988 Imperial 280sf engine swap and restoration (pics)

Nice work on the tank zool! Tagging along to watch your build.
 
Top