1985 Sea Nymph CC-191 Striper Rebuild / Restore

Status
Not open for further replies.

Acpics80

Seaman Apprentice
Joined
Mar 17, 2016
Messages
41
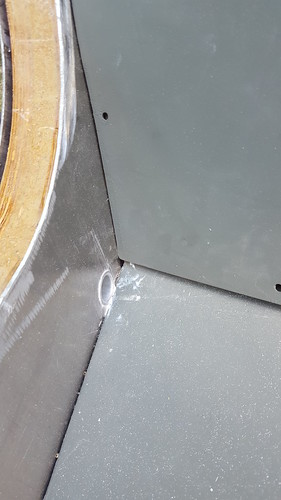
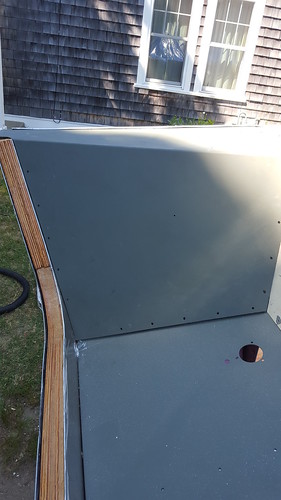
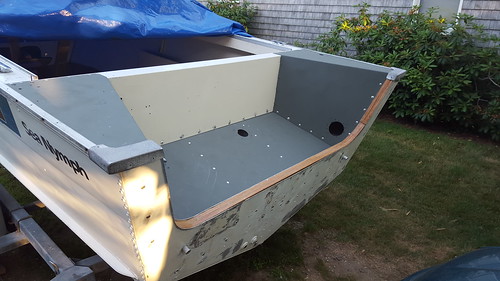
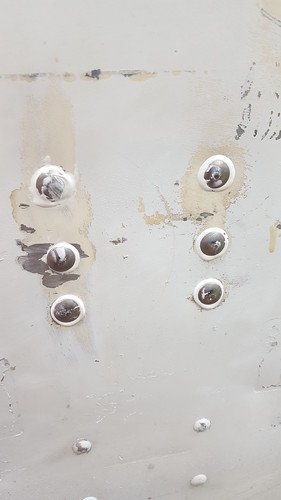
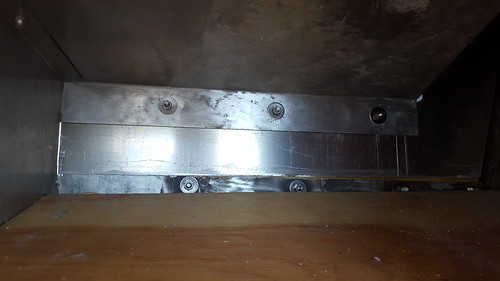
Sea Nymph makes a solid boat but one thing I'm not very fond of is that inner alum skin on the transom. Water makes it's way in between and will rot out the transom eventually. I've omitted the inner alum skin to help the transom dry out. That skin does give it a nice finished look and gives it a bit better durability though. If you are going to use it I'd suggest you backbutter (notch trowel) the skin with 5200 (or something similar) and permanently seal it to the transom. That way water won't make it's in between. Knowhattamean:thumb:

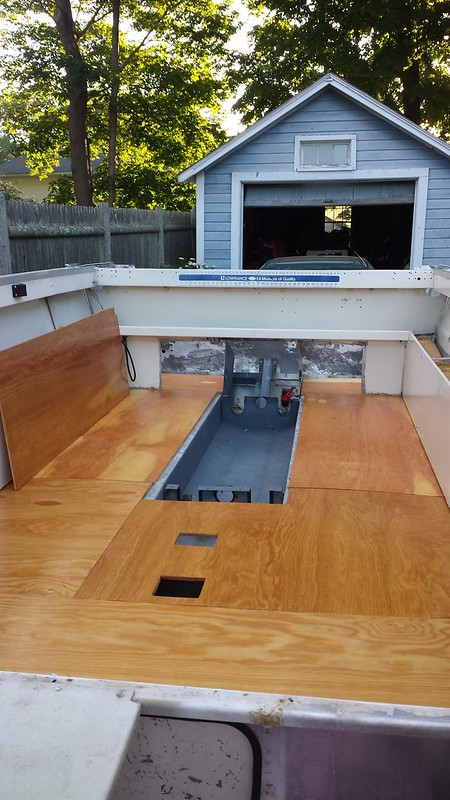
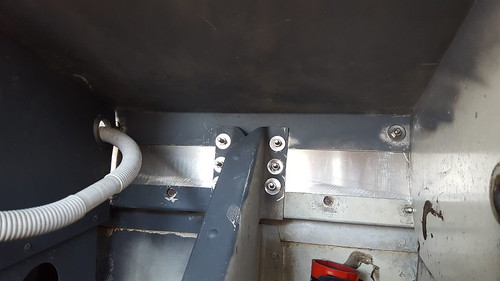
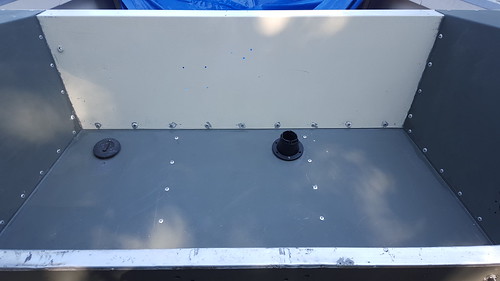
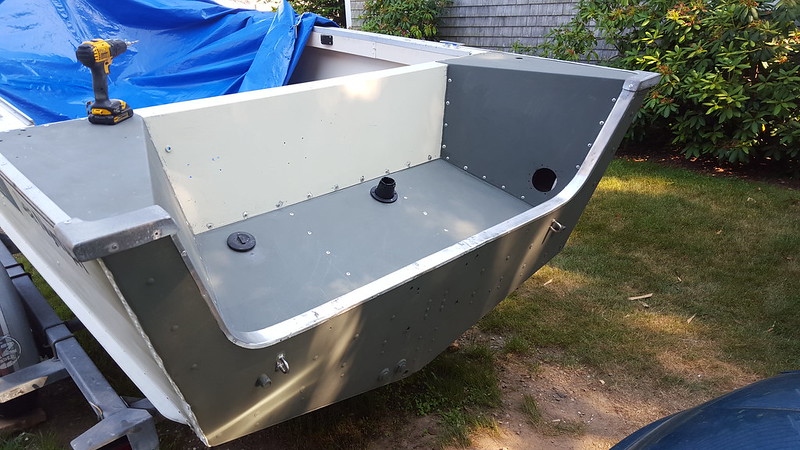
jasoutside, I competely agree, this has definitely become a concern but unfortunately since then I have finished the transom and installed the motor. At this point I need to be extra vigilant in how I seal the transom from the outside and maintain these seals to try and minimize water intrusion. I'll just have to hope that the multiple coats of "old timers formula" on the boards themselves will still give me many years of use until they eventually rot out again. Hopefully this won't be for a long time though!
 

Acpics80

Seaman Apprentice
Joined
Mar 17, 2016
Messages
41
On to installing the new foam. Never wanting to deal with spray in foam again, until my next resto, I decided to use sheets of the exterior insulation foam. Found a good deal at a local big box store and started the process of cutting out the pieces. I used cardboard to make templates for each size that I would need, making sure they would all fit properly.

27704849160_709a1696d4.jpg


27984652755_ce754b492e.jpg
Towers of foam!

27984654265_6b9a3fb0e1.jpg


27984651705_f9368ef69c.jpg
Shaving the tops off to make sure the deck fits flush.

27984654055_c9677868f1_c.jpg


Installing the deck to check for proper fit before it is finally screwed down.

27704841460_108f470822_c.jpg
 

Acpics80

Seaman Apprentice
Joined
Mar 17, 2016
Messages
41
Time to finish the transom. First up was drilling the holes for the splashwell drain tubes.

27950535166_194911a7a1.jpg


27950534586_823c6d1dea.jpg


Then to install the new SS thru-transom hardware. Have to admit, after all the work to fabricate the new transom, drilling into it was pretty nerve-racking!

27371922734_dc61816f1f.jpg


27705162300_a2349e6c3c.jpg


Made sure to use plenty of 5200 on every bolt. View of the bolts attaching to the boot brace from the outside.

27705164050_b1c3a03a57.jpg


View from the inside.

27984973895_a57c3d14a1.jpg


27950528366_dd756eb20e.jpg
 

Acpics80

Seaman Apprentice
Joined
Mar 17, 2016
Messages
41
Splashwell primed and riveted back on.

27371920284_e696118142.jpg


Reinstalled the tank fill line, cap and a new boot.

27705157480_9e92ce98fe.jpg


Primed and eye bolts installed and finally reinstalled the cap. Made sure to be extra careful with the cap, not to bend or break it because I have no idea where to find a replacement!

27907285811_c859e09d9c_c.jpg


As of right now my drain tubes still extend as shown, for now they are mini faux exhaust pipes!!!! Checkmate style!

At this point I was running out of time before I had to leave for my next work trip and I needed to get the boat to the marina to install my new engine so the decking forward of the console were laid down but not secured. I planned on finishing that after getting the boat back, plus I still needed to work on the bow section and the anchor storage.

27907279311_897d9de20f_c.jpg


27984975355_d4ca5254e4_c.jpg


Ready for some power!!!!!!!

27984976995_fe3db89176_b.jpg
 

Frey0357

Petty Officer 1st Class
Joined
Mar 13, 2014
Messages
313
Looks really nice! Keep up the good work. It's amazing how much more sturdy it is when all of this work is completed, right?

Frey
 

seathings

Cadet
Joined
Mar 28, 2018
Messages
17
Hey Acpics80, I am new to the iBoats forum and came across your link. What a great step by step guide to the restoration of this type of boat. I just picked up a 1982 Sea Nymph CC-171 and apparently I am traveling the same road you took. Only difference is that basically my entire deck was mulch. Curious to hear how your restoration project went.
 
Status
Not open for further replies.
Top