1985 Sea Nymph CC-191 Striper Rebuild / Restore

Status
Not open for further replies.

Acpics80

Seaman Apprentice
Joined
Mar 17, 2016
Messages
41
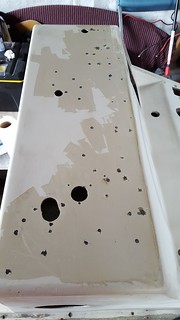
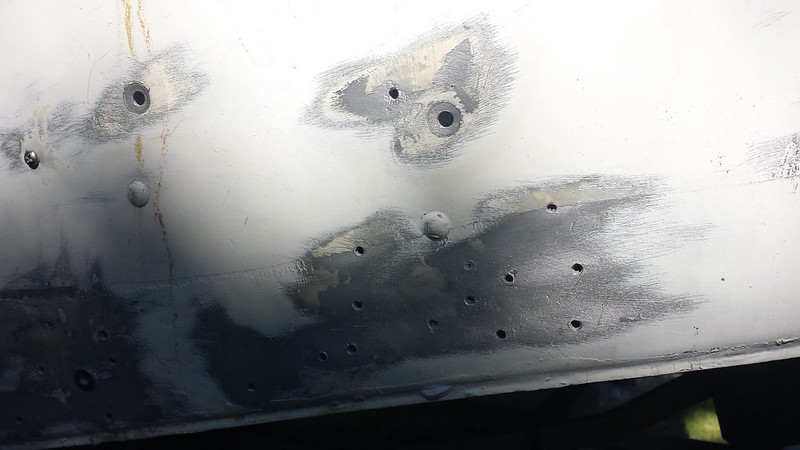
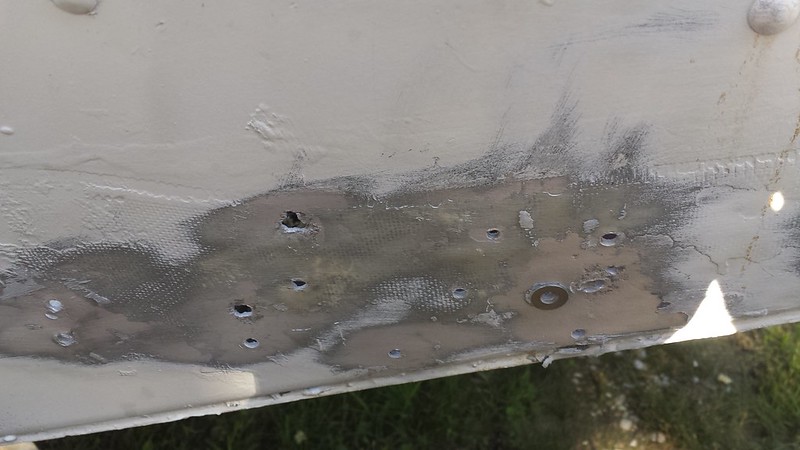
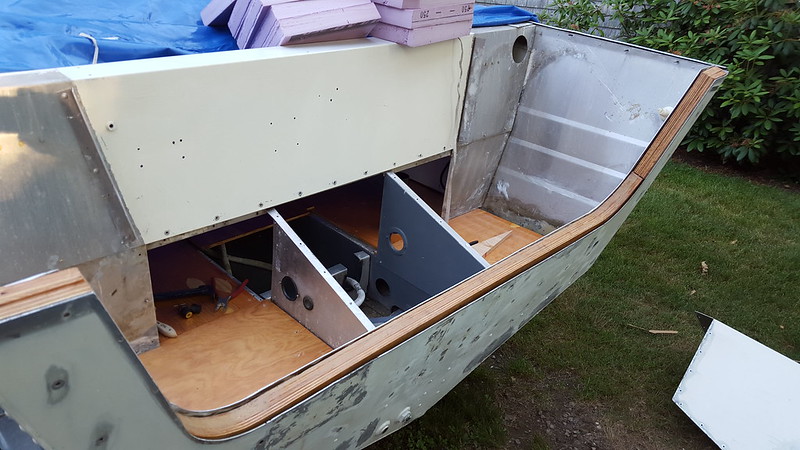
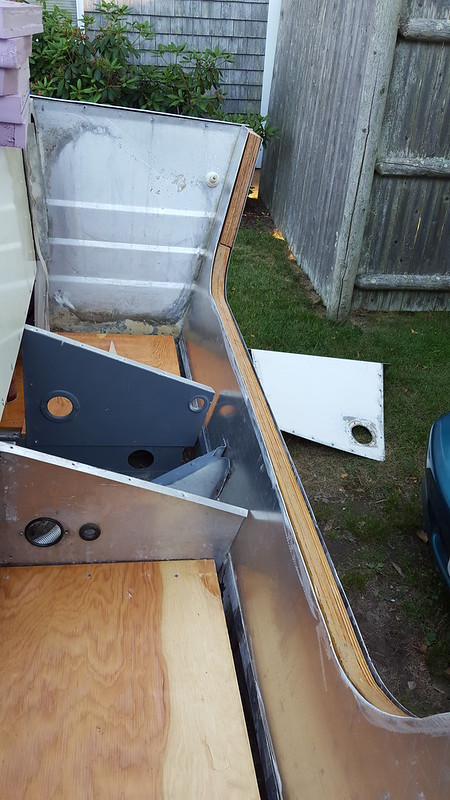
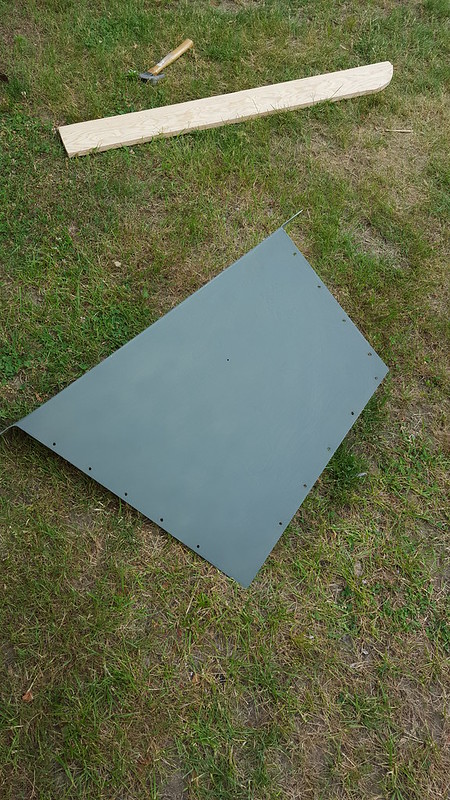
After asking around on what to use to patch all these holes I decided to try West Systems six10. I taped up the inside of the holes with Duct tape and then started filling all the holes. After allowing to dry overnight I sanded the areas again and applied another layer. I think I'll sand and apply one more layer before a final sanding and then prime the whole unit. The six10 is very easy to work with and overall I'm really happy with the results. One word of caution or con I guess would be that if the product gets too hot it doesn't sand very well, almost becoming gummy and sticking to your sand paper, you have to take your time and not just sand one area continuously. Other than that I'm happy with the results.


Acpics80

Seaman Apprentice
Joined
Mar 17, 2016
Messages
41
With everything out of the boat and great weather the weekend before leaving on my trip I decided it would be a good time to take the boat down to the ramp and do a leak test. We loaded it up with essentials, including a hand bilge pump, and dragged it down to Woods Hole to look for leaks. Other than a small pinhole leak through the transom where it looks like a transducer was once installed the hull was bone dry! We figured it would be funny to throw the Evinrude lightwin onto the transom as well and fire that up, at least we could take a quick cruise around the harbor after making sure the hull was sound. We definitely got some good laughs at the ramp when people saw our setup! :lol::lol:


You'll notice too that the railing on the bow has been removed. I wanted to keep it and loved the lines it provided but it was cracked in multiple places and when we removed it there was significant corrosion under the base plates so I'm glad I got to clean those areas up. The pitting was filled in with JB and that whole top rail will eventually be primed and painted.

Flushing out the Lightwin after the cruise:


And after all of my friends hard work that weekend I felt obligated to feed them! Fired up the bbq and had some cold brews!


jbcurt00

Moderator
Staff member
Joined
Oct 25, 2011
Messages
24,829
A new topic isnt always necessary, but I definitely recommend linking new topics if you start 1, and linking the main topic in the new ones. It can be helpful, and you'd probably have gotten the no PB replies sooner....

If you end up over in the motor forums posting a topic, link back here and add a link to here in that topic. Helps everybody follow along.

Lots of parts and pieces to a rebuild.

Otherwise, carry on.
 

Acpics80

Seaman Apprentice
Joined
Mar 17, 2016
Messages
41
Knew eventually I had to thoroughly check the transom. I inspected some of the old engine mount holes and the wood seemed dry, from what little I could see. However, one of the previous owners had attached a secondary plate inside the splashwell, on the transom and there was extra caulking around this plate...I knew this wasn't a good thing. Peeled back that plate and sure enough, the original aluminum skin was completely corroded, turning to powder in some spots. Long story short, transom is completely shot and is coming out.


Peeled off the cap, which I was able to salvage and started digging. I ran out of time before I had to leave but my first task when I return on Sunday is to get all of the old hardware removed, which may take some time since some of the bolts are stripped. I was also surprised to see that the transom is actually three parts, two sides and then a large piece across the bottom. I was able to completely remove the port side piece and if that's any indication of the work to come this will take some time.


Acpics80

Seaman Apprentice
Joined
Mar 17, 2016
Messages
41
The plan is to use 2 pieces of 3/4" ACX, glued together and sealed the same fashion as my floors. I think I'll also remove the two side panels of the splash well to make this job easier and gain access to that space to remove the remaining foam, rotten deck and install new fuel lines and bilge lines.

The two side panels I hope to remove and reinstall after with closed end pop rivets:
 

Frey0357

Petty Officer 1st Class
Joined
Mar 13, 2014
Messages
313
Good plan Acpics on the transom replacement. Your pics looked familiar to mine, unfortunately. Removing the splashwell will give you more access to the transom and will aid in the replacement, and cleanup of the old rotten and corroded one. Remember: JB Weld is your friend for repairing pitting that may have occurred.

Just noticed the beverage in the pic....must have been a great day!

Frey
 

Holzy

Recruit
Joined
Sep 8, 2016
Messages
3
Greetings!

I am also reffiting/restoring an 85 CC191. Seats being re-upolstered, re-wiring, Debugging power Trim Tilt. Will be replacing floor soon. I'll share my experiences, especially what I found out about the Tilt/Trim which doesn't have to be as expensive as they appear.
 

Acpics80

Seaman Apprentice
Joined
Mar 17, 2016
Messages
41
Greetings!

I am also reffiting/restoring an 85 CC191. Seats being re-upolstered, re-wiring, Debugging power Trim Tilt. Will be replacing floor soon. I'll share my experiences, especially what I found out about the Tilt/Trim which doesn't have to be as expensive as they appear.

Hi Holzy, welcome to the SN club. Nice to hear that you are bringing another CC191 back to life, it is such a great boat. Have you had any chance to use yours yet? I need to catch up on my thread, I've done a ton of work since my last post, just have been very busy. I'll try to get my thread up to date tomorrow, after football! Curious to hear of the work that you have done on yours.
 

jasoutside

Supreme Mariner
Joined
Dec 20, 2009
Messages
13,269
Perfect hull for a serious fishing boat! Looking forward to seeing how this turns out:thumb:
 

Acpics80

Seaman Apprentice
Joined
Mar 17, 2016
Messages
41
Found some time to try and catch-up on my thread, here goes:

After pealing off some aluminum plates that had been installed on the inside of my transom by the previous owner it quickly became apparent that the transom was a full loss and would need to be replaced. Started digging and began the arduous task of pulling out the rotten transom and heavily corroded aluminum.

27882777602_b541a301db_c.jpg


Once I got into the transom I realized it was made of three pieces, a long bottom piece that was completely rotten, and two wings that were surprisingly intact. The port side ended up coming out fairly easily after I managed to remove all of the hardware.

27166281302_58bde63acf_c.jpg


As you can see the bottom portion was a whole different story. It was essentially mulch and some of the thru-bolts were completely seized.

27984674495_13494819f5_c.jpg


It quickly became apparent that the entire splashwell would have to be removed to do this job correctly. Once removed, it became much easier to work on and exposed all the areas that needed attention.

27370921363_47c922f423_c.jpg


Removal of more waterlogged foam which exposed some of the last remaining waterlogged decking.

27370921563_41196e353a_c.jpg


Below is a pic of all that remains, you really get a sense of the shape it was in.

27984653705_e83b04fa55_c.jpg
 

Acpics80

Seaman Apprentice
Joined
Mar 17, 2016
Messages
41
With the removal of the rotten transom, waterlogged foam and decking, it was finally time to start putting her back together! First up was to repair the outer transom skin, which suffered from corrosion and what appeared to be 50+ holes drilled by previous owners to install multiple gadgets, the majority below the waterline!

27704848020_5594285395_c.jpg


27370918313_149dcf9b4e_c.jpg


27704848550_b719be0b12_c.jpg


After cleaning up around all the holes, removing all corrosion, I applied duct tape to all the holes from the inside and then began layering on JB from the outside. Allowing to dry, I then sanded each hole and applied more coats until satisfied that each hole was properly sealed.

With the holes that were visible patched, I turned to the inside. With the hull stripped down to bare bones, I power washed the entire boat and then coated every seam and rivet below the waterline with Gluvit. After allowing to dry and waiting a few days for nice weather, it was time for another float test!

27950247586_fd82e1f1d8_c.jpg


Float test at a local pond:
27704841750_b03315fc46_c.jpg


The boss giving her approval, important when vying for the allocation of more funds.....
27704843830_73ed190da5_c.jpg


A few pinhole leaks were found but for the most part she was dry. I applied a few more coats of JB and Gluvit and it was time to move on to building the transom and cutting new foam!
 

Acpics80

Seaman Apprentice
Joined
Mar 17, 2016
Messages
41
Transom measured out to 1.75" so decided to use two 3/4" pieces and one 1/4" piece glued together. There was just enough of the old transom to use as a template so after cutting them out I sealed each piece individually using the same process as my deck and glued them all together.

27704850460_780fae783e_c.jpg


Adding some extra weight for a good squeeze!

27704844330_e6976dcdee_c.jpg


27704845140_1e8732fefe_c.jpg


Had to track down a sheet of aluminum to replace the inner transom wall which was completely corroded. Ended up with a piece double the thickness and knew that it could be a tough squeeze getting it installed but figured I could shave down my transom enough to squeeze in the new aluminum. Also figured it would help strengthen the entire transom with a thicker piece.

Tracing out the transom. The two end pieces were not sealed at this point.

27907309841_32d4f73514_c.jpg


Traced out and ready to cut

27371182383_e25f4dace6_c.jpg


27907306841_cf087d0b9b_c.jpg


Finishing off the cut with an angle grinder to remove all the nasty burrs

27705174980_18ec4487d2_c.jpg
 

Acpics80

Seaman Apprentice
Joined
Mar 17, 2016
Messages
41
Time to see if everything fits! After a few tries, adjustments made with both the angle grinder and belt sander, finally slid the new transom in. Pretty excited with how it turned out, seems that it will be sold once all the hardware is installed.

I wanted to seal the top of the transom a bit more so I ended up mixing sawdust with some leftover glue until I had a nice paste. Smeared it along the top and then sanded it smooth after a few coats.
27950539196_f4c05a17f2_c.jpg


View from inside, showing the newly cut piece of aluminum.

27984998565_f4271b95c1_c.jpg


While the panels were off, I decided to prime the entire splash well using Rust-Oleum self etching primer, just to clean things up a bit.

27705169560_f75a5842e8_c.jpg
 

jasoutside

Supreme Mariner
Joined
Dec 20, 2009
Messages
13,269
Sea Nymph makes a solid boat but one thing I'm not very fond of is that inner alum skin on the transom. Water makes it's way in between and will rot out the transom eventually. I've omitted the inner alum skin to help the transom dry out. That skin does give it a nice finished look and gives it a bit better durability though. If you are going to use it I'd suggest you backbutter (notch trowel) the skin with 5200 (or something similar) and permanently seal it to the transom. That way water won't make it's in between. Knowhattamean:thumb:
 
Status
Not open for further replies.
Top