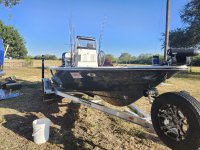
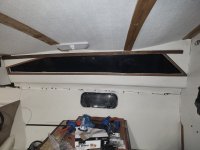
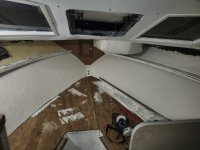
1985 Bayliner 2750 Ciera Sunbridge Resto

Drivewayboater2

Petty Officer 1st Class
Joined
Aug 21, 2019
Messages
334
What’s your plan for the headliner? how are you installing? I’m not at that point but thinking about options going forward. Love to hear your plan.
looking good
 

eggs712

Petty Officer 1st Class
Joined
May 8, 2012
Messages
342
What’s your plan for the headliner? how are you installing? I’m not at that point but thinking about options going forward. Love to hear your plan.
looking good
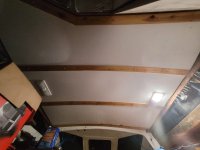
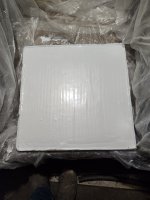
I'm using white FRP for the headliner with 1/2" foam and reflectix underneath. I'll secure the FRP with 1/4" varnished cedar planks using SS screws and finishing washers. For the ceiling lights I've already installed, I bought some nylon standoffs/spacers to make them flush mount; I kinda wish I'd waited and bought some better looking lights for a recessed look.

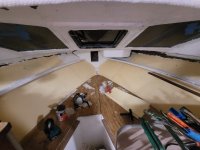
This will cover the main area, but the forward area over the V-berth with the windows is going to be tricky for me with so many compound curves. I've started coating the ceiling there and all the hull sides with white gelcoat in the meantime. I'm leaning toward gluing EVA decking foam (the texture kinda provides a finished look) where I don't have to worry about wiring access as condensation barrier/insulation and the white gelcoat beneath can help mask any minor mistakes I'll make.
 

eggs712

Petty Officer 1st Class
Joined
May 8, 2012
Messages
342
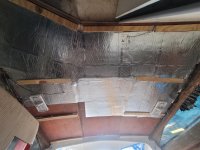
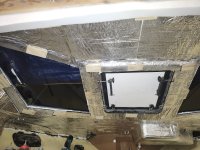
Minor update: I've gelcoated most of the cabin interior, and it has surprisingly helped A LOT with the outside heat thus far. Previously, it was unbearable past 90 degrees in the cabin, and now it's like being in the shade with the portholes open. I've decided to go ahead with insulating the cabin, starting with the ceiling. I'm using self-adhesive 3/8" mylar-faced PE closed-cell foam. If the self-adhesive begins to fail, I'll fix it with contact cement:
20240519_145659.jpg
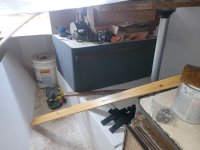
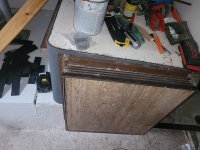
As a little experiment, I used some EVA decking foam around the base of the dinette seat boxes to cover the rough plywood. I want to see how well the self-adhesive sticks in a hot cabin on an uneven surface. I'm very pleased with the aesthetics:
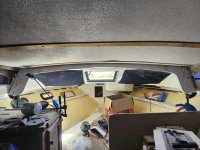
20240512_155704.jpg

20240512_155728.jpg

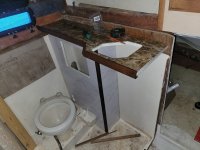
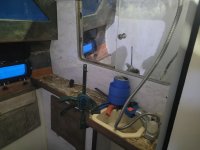
Next, I didn't like the painted rough wood appearance of some of my head pieces, so I tried out some vinyl coverings. This stuff did not like uneven surfaces, so there are a few wrinkles I can live with.
20240512_171550.jpg
For the sink top, I contact cemented 1/16" PVC sheeting under the vinyl covering. I originally wanted to used formica, but could not find any in small quantities.

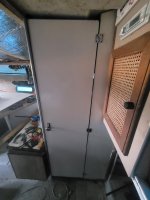
I also hung the door to head: getting all the old screw holes to line up required some persuading of the shower pan
20240519_175207.jpg
 

eggs712

Petty Officer 1st Class
Joined
May 8, 2012
Messages
342
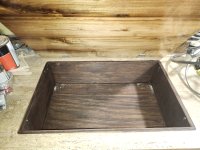
I finished assembling the wood pieces of the head:
20240602_202452.jpg

20240602_202459.jpg

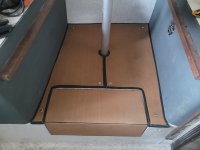
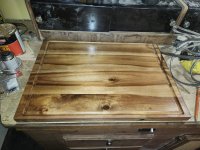
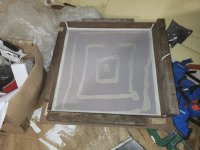
For my first sewing project, I made a snap-in EVA piece for the dinette. I backed it with black vinyl made for chairs to roll on (wasn't really sure what to use) with 1" sunbrella binding. The sewing is imperfect, but it was good practice for me.
20240602_185932.jpg

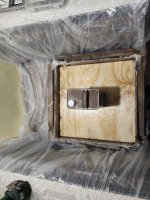
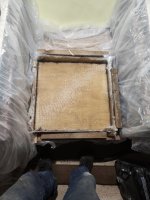
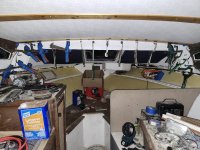
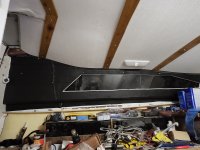
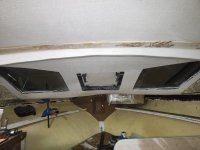
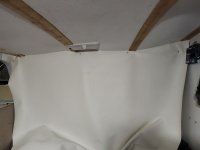
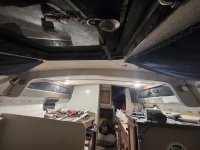
I finished insulating the cabin ceiling (sans above the V-berth) and started installing the FRP panels.
20240612_212946.jpg

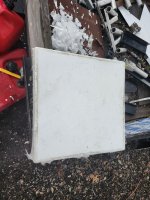
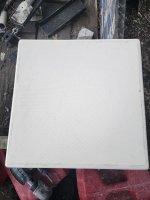
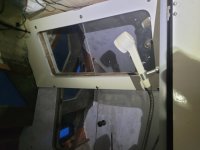
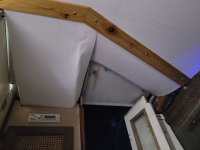
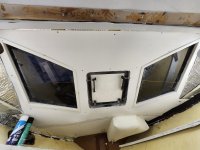
The multi-compound curves by the head have been tricky, but the "FRP" panels I bought were actually PVC. I'm trying to take advantage of this by heating and bending it around the curves as much as possible. I still have to figure out trim pieces for the seams.
20240613_205123.jpg

Lastly, I bought some 1/4" PE foam to insulate the cabin walls and begin installing it with Dap Weldwood contact cement.
20240612_212845.jpg
 
Top