That is helpful. I'm considering about a 45-gallon tank. I would think that the weight of all that fuel would help make it ride better. Plus, the gas probably comes in handy too...I don't know if it's helpful, but my 1994 22ft islander with a 4.3LX came with a 52 or 53 gallon belly tank.
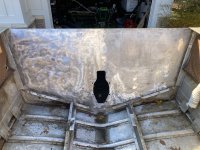
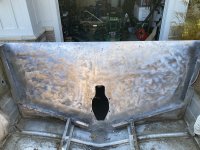
Right down the middle of the floor.
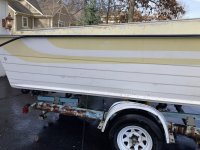
A big space between the engine compartment and the fuel tank compartment.
That is helpful. I'm considering about a 45-gallon tank. I would think that the weight of all that fuel would help make it ride better. Plus, the gas probably comes in handy too...
What kind of range do you get on your engine with that fuel tank?
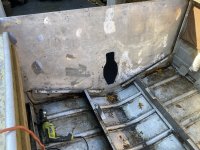
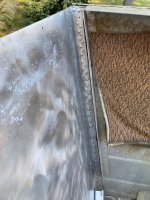
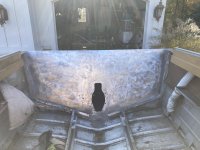

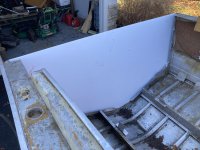


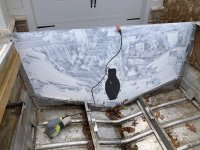
I do enjoy your builds!! The Coosa is spendy, but it's permanent!!! How thick was the original transom? (If there was enough left to measure!!!) Also, what are you going to use to build out the horse collar for final thickness (2" -2.25" I think)? Are you going to use Coosa for the cockpit sole too? Thanks for letting me tag along.We had a beautiful fall day today, so I decided to take advantage and get some work done on the Islander. Today I worked on building the transom. The old transom was totally toast so the first thing I needed to do was make a template.
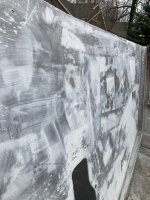
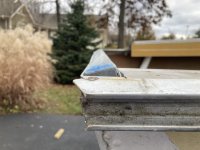
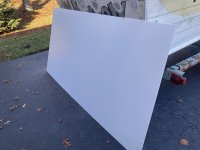
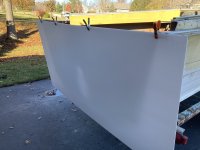
I made the template using a plastic corrugated sheet. First I clamped it to the back of the boat, then I traced the outline of the transom onto the sheet. This got me about 75% there. The transom on this boat doesn't go all the way down, it ends at the z-bars, so I had to get that in using my tape, angle finder and a little bit of the force if we're being honest. So, I slowly went back and forth using whatever means possible to get the plastic sheet template as close as I could, before I did it with wood.
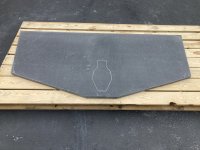
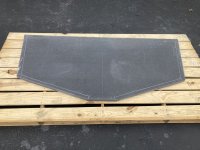
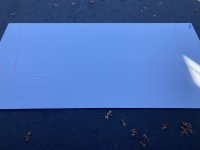
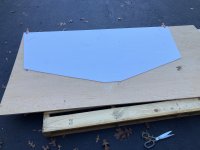
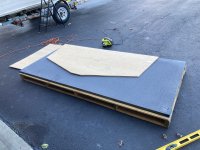
Next, after I was about 90% satisfied with my plastic template, I traced it onto a piece of 1/2" marine-grade ply (Douglas Fir). I did what I could to improve the fit on the ply, cut it out and I was about 95% happy with how it turned out.
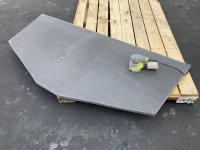
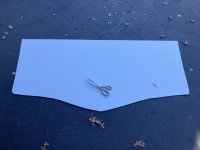
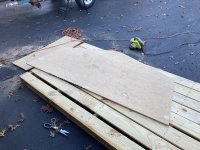
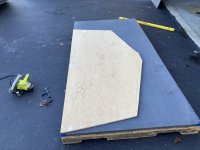
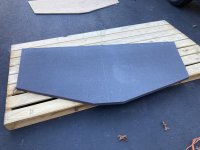
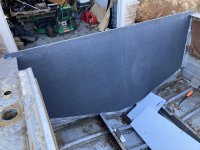
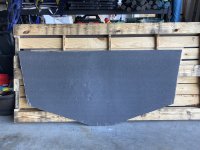
I traced what I ended up with from the 1/2" marine-grade ply to a piece pf 1.5" Coosa Board and I can't be happier with how it turned out. That Coosa Board isn't cheap! I am so thankful that the process I dreamed up for doing this resulted in what seems like perfection. I hope the rest of this transom build yields results equal to the quality I had today. Tomorrow I'm going to sand down the transom edges, dry fit and cut out the horse collar.
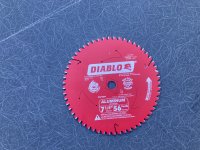
I used a carbide finish blade in my circular saw to cut the coosa board. It cut it like butter and the edges are nice.
Thank you! You don't have to thank me! I get encouragement from having people to share it with. I just hope I don't screw it up...I do enjoy your builds!! The Coosa is spendy, but it's permanent!!! How thick was the original transom? (If there was enough left to measure!!!) Also, what are you going to use to build out the horse collar for final thickness (2" -2.25" I think)? Are you going to use Coosa for the cockpit sole too? Thanks for letting me tag along.
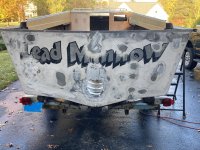
Bye bye boat. Thank you for the engine and all the good times and smiles you put on people's faces!


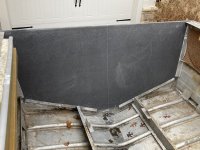
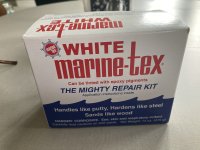
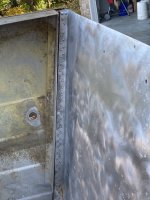
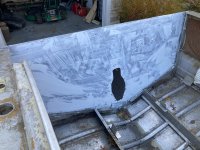
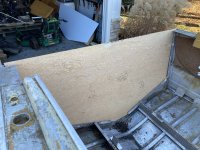
I love Coosa, such a great product. I did my floor with the stuff.Today was all about getting the new coosa transom 100% seated so I could trace the keyhole onto it. So I spent the afternoon sanding the coosa transom and the Marine-Tex on the transom skin that I did a couple weeks ago. When I was finished sanding and the transom skin was smooth I popped the coosa in, used a white grease marker to mark the keyhole and z-bars.
While the transom was seated, I notice I will have to go back and take a little off the top, which was actually the plan. I wish I had a little more to take off than I do. It would make trimming it down easier... It is, what it is.
I am happy with the Marine-Tex. That stuff is tough and it adhered well! It seems to be stronger than wood, as far as sanding it goes.