Let me try this again.
I did take a few pictures today, and while they are not pictures of everything finished on the top side, there are mockup shots. Until I coat the bow area and the rod boxes and storage compartments, I don't want to attach the tops just yet. I figured it would be a lot easier to coat them before PBing the final tops on everything. So I really need to decide on what I'm going to use and buy in now.
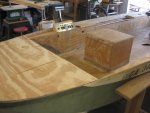
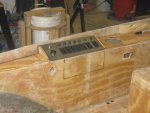
In this first picture you can see the bow platform sitting in place. You can also see the mockup for the switch panel on the Starboard side. I haven't made a final decision on that just yet. You can also see two holes for the kill switch and control cable openings. And an outline for the engine's remote controls. In the background you can see everything just sitting on top of the rod box side. I still have to coat the insides before PBing all those things in for good. There is also a hatch on the bow plate.
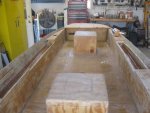
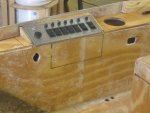
Another shot from the rear end looking forward. I have already install all the floorings in the rod and storage boxes and they are waterproofed as well. They just need coated yet. If you look real close, you can see a lot of wood circle plugs laying around. Those are there to install after I pour the mix and pour foam in the lower sections of the rod and storage boxes. So there will be plenty of floatation foam in the sides as well.
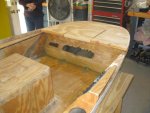
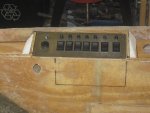
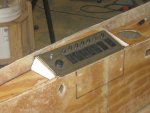
Another shot from the starboard side near the front Switch panel. I really didn't want the switch panel to extend above the side of the hull, but I haven't figured out another way to mount it yet. And ideas are certainly welcomed. I presently have the bow platform curing after I applied some 1708 to the underside today. And I installed some cleats around the sides to support the bow platform. Everything is come out nicely. Once I make the final decision for the switch panel and coat the boxes, I can install all the top box parts and flip this baby over and start prepping for paint.
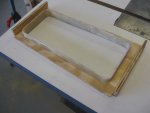
One other thing I've tried after see Red Herring's excellent work on his storage boxes. Now mind you, these are no where even close to his efforts, but I certainly did learn a lot trying it. And will try again.
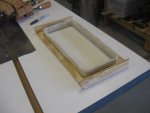
This is my first try on making the lips around one of the storage top. No it isn't nice looking, but I did learn so much doing this and will continue until I get it right. Presently the lip is cut at 3/4" height. I am going to cut them a little lower. Probably 5/8" because I have to get it to fit into the opening with a lid closing on top.
If you remember, I mistakenly sprayed everything with mold release including the wood section that it has to attach to. So I took everything off and used carb cleaner and some elbow grease and cleaned it all off. I was wondering if the polyester would stick to the wood after that. Well in really did stick and is very solid. I used three layers of 1708 and polyester resin to apply everything. The corners I used regular molding clay. I couldn't fine fillet wax and the proper tools to install that, so molding clay was my last choice. And the polyester didn't stick to the clay in the least. And once I cut this to the final height, I think it will look pretty nice. Not Red Herring's nice, but okay.
I know it needs a lot of improvement. :facepalm:[/QUOTE]
I hope these pictures show up. I still can see the other pictures as well. But who knows...


