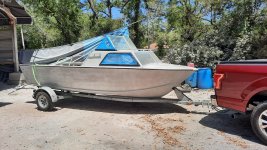
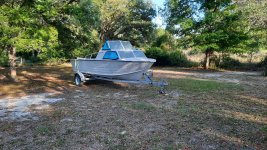
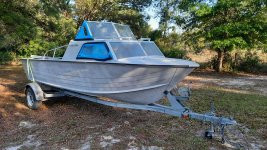
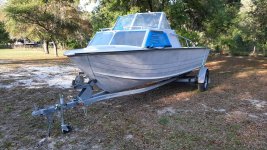
1976 Starcraft Chieftain 18' OB - restomod

BWR1953

Admiral
Joined
Jan 23, 2009
Messages
6,176
However, I do know how to use parallel processing! :D

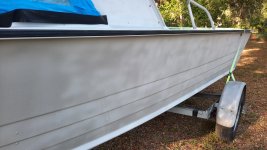
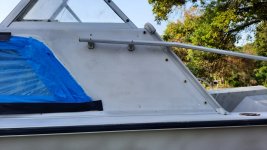
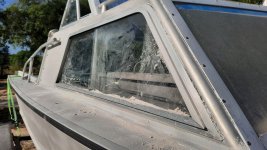
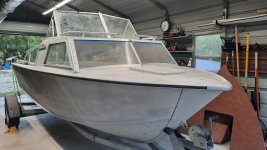
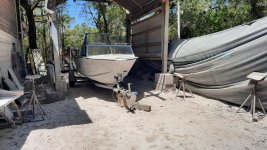
Took the Chief to the dustless blasting guy on 15 Apr 22. He said there were 3 other boats ahead of me but that he'd try to squeeze me in later this week. Then he called me this morning to say that the Chief was done and ready for pickup! Alas, no pix of the blasting process because I didn't know it was happening. :confused:

But, I managed to pick it up this afternoon before picking up the sod. ;)

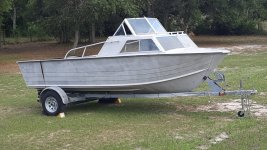
I'm very pleased with how it turned out!
1.jpg

2.jpg

I managed to get the Chief home just in time to go pick up the boy from school and then we went to pick up the sod. So, no actual Chief work by us today. But soon... I do have several other projects which require my attention before I can get deep into the Chief. Gonna try some parallel stuff again too.

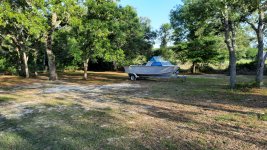
Back in our own backyard.
3.jpg

4.jpg

5.jpg

6.jpg

7.jpg

8.jpg

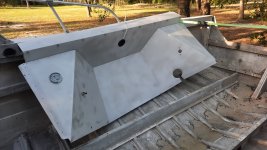
I'd forgotten to bring the splashwell with the Chief last week but brought it this morning. It was blasted while I went to the bank to fetch money.
9.jpg
 

BWR1953

Admiral
Joined
Jan 23, 2009
Messages
6,176
So the next step is to get the masking off the Chief. After that, we'll take it to the local drive-thru carwash that we'd used before and wash all of the residual stuff off the boat.

Then will come the leak testing and whatnot. Could be a little while before we get to that, but it's gonna be a blast! :D
 

BWR1953

Admiral
Joined
Jan 23, 2009
Messages
6,176
We got 2 of our non-boat projects fully completed last week. Finished up the second one yesterday afternoon. Yay! :cool:

This morning I went out and moved the Chieftain up closer to the garage, then pulled the masking tape.

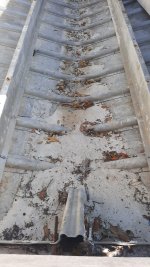
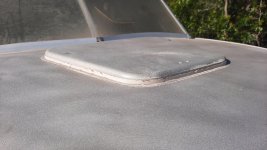
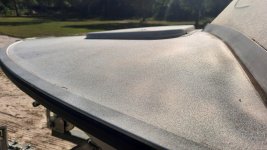
That boat has a ton of sand in and on it from the dustless blasting job! o_O

4.jpg

1.jpg

3.jpg

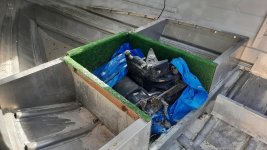
The next step will be to remove the motor part from inside the cabin. I really should have done that prior to the blasting, but they were able to work around it okay. My bad. šŸ˜
5.jpg

In order to get that big part out, I'll pull the Chief back into the garage, put some plywood down in the deck location and then use a come-along to winch it to the stern. After that, we'll use the shop crane to lift it out and get it put away.

Once the motor part is removed, we'll take the Chief to the local drive-thru car wash and use the heavy duty vacuum there to suck the bulk of the sand out. (An idea proffered by my car guy buddy.) After that, we'll wash the hull down (inside and out) using the high pressure wands. Final cleanup will happen at home after the Chief dries thoroughly for a couple of days.

After that comes leak testing. I'm not looking forward to crawling around under that boat and trailer. Ugh. :rolleyes:

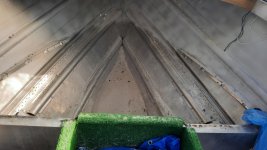
But, I really do like how the blasting job turned out. The hull surface has good "bite" for the primer to grab onto. (y)
2.jpg

6.jpg
 

BWR1953

Admiral
Joined
Jan 23, 2009
Messages
6,176
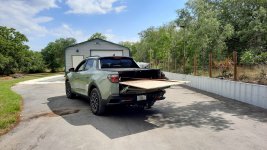
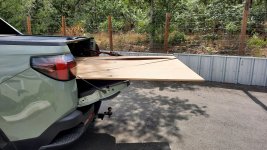
This afternoon I used my trucklet to pick up a single sheet of 4' x 8' BCX plywood . It was easy peasy to get the sheet in and out of the bed of the little truck. :cool:

1.jpg

2.jpg

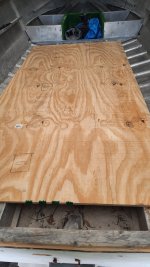
The purpose of the single sheet is to safely let us walk around inside the hull while working. Later on, it'll become part of the deck.

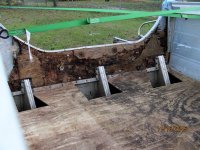
However! After we got the sheet into the hull and I went to get inside, the plywood sheet started moving around because the longitudinal stringers aren't connected to anything. Tomorrow I'll try riveting the stringers to the plywood temporarily and see if that stiffens the sheet up enough to be useable. I'm not sure if it'll be sufficient without having the sheet connected to the rib ends. But, we'll give it a try.

:unsure: :cool:
5.jpg
 

renns

Petty Officer 1st Class
Joined
Dec 20, 2017
Messages
316
On my Aluminum Goods hull, similar to the SS16, the longitudinal stringers had formed c-channel profiles riveted between the stringers at every four foot increment to support the decking. Those would provide stability for your temporary sheet, and support the deck nicely in the final assembly as well. That is assuming you don't have rod lockers or a long fuel tank going down in that space.
 

BWR1953

Admiral
Joined
Jan 23, 2009
Messages
6,176
On my Aluminum Goods hull, similar to the SS16, the longitudinal stringers had formed c-channel profiles riveted between the stringers at every four foot increment to support the decking. Those would provide stability for your temporary sheet, and support the deck nicely in the final assembly as well. That is assuming you don't have rod lockers or a long fuel tank going down in that space.
I found a different way! Surprised the heck out of me this morning. šŸ¤Ŗ

I'm not sure if I'll have a custom under-deck fuel tank fabricated. I have a contact who should be able to fab up the extra transom braces for me. I'll talk with him about the fuel tank option. :)
 

BWR1953

Admiral
Joined
Jan 23, 2009
Messages
6,176
I went out to "have a look" at the Chief this morning and suddenly found myself working. And with great success! :cool:

I guess the 6 months of physical therapy I had is paying off! :D

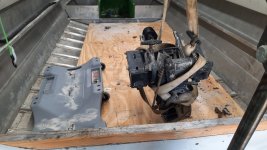
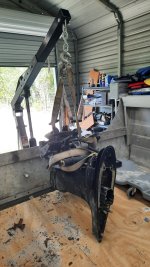
Seriously, I was just going to look. Maybe figure out options on how to get that 90HP center section out of the cabin and out of the boat.

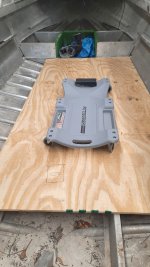
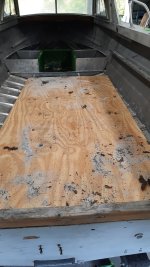
Spotted the mechanic's creeper and realized that I could use it to roll the part from the cabin to the stern. Then I also realized that I could shove the plywood against the starboard side of the hull and maybe get some rigidity. So I did that!
1.jpg

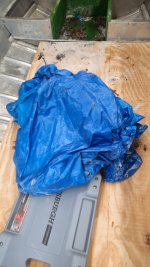
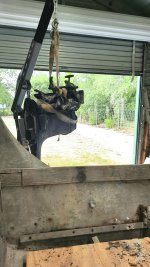
At that point, I decided to test the stability and climbed up into the boat. It held me just fine! So I ambled up to the cabin to check out the motor part. It wasn't as heavy as I'd thought and all of a sudden I'd moved it onto the creeper. All by my lonesome self!! šŸ¤“
2.jpg

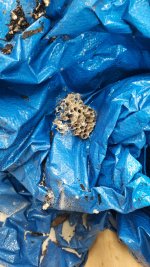
I'm mighty glad that this was unoccupied though!
3.jpg

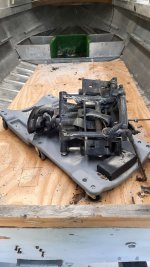
I pulled the plywood down to the stern, then rolled the center section to the rear.
4.jpg

Hooked up the shop crane to the motor section and hoisted that puppy outta there. Success! (y) :)
5.jpg

6.jpg

7.jpg

Done!
8.jpg
 

BWR1953

Admiral
Joined
Jan 23, 2009
Messages
6,176
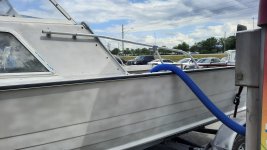
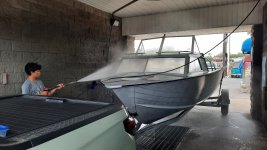
We hooked up the Chief and headed to the car wash this afternoon.

Stopped to get a coffee for me and a snack for the boy on the way. So while the boy was inside getting the goodies, I snapped a quick pic, natch! šŸ¤Ŗ
1.jpg

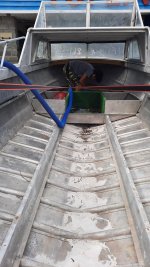
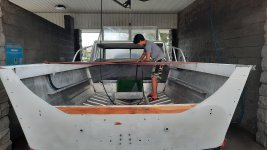
We followed my buddy's advice and used the heavy duty vacuum at the car wash to suck the sand out of the Chief. Worked great! (y)
2.jpg


3.jpg

4.jpg

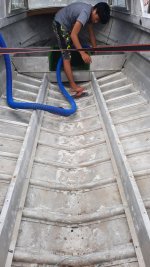
Then the boy got busy with the power washing wand; set it to "Spray Rinse" and blasted what was left.
5.jpg

6.jpg

And now the Chief is once again in our backyard, draining and drying.
7.jpg

Tomorrow I'll call the fabrication guy to see if he can create a couple more knee braces to support the twins after installation. If he can't, then I'll take the Chief to another place I know that can do the work, although I may have to "get in line" and wait awhile for them to get to my task.

The 3 knee brace concept is sorta/kinda like this:
3 brace option.jpg
 

ShoestringMariner

Lieutenant Commander
Joined
Apr 18, 2015
Messages
1,593
We're back home! Rolled in here about 4pm after a nice drive. All in all it was a great trip even though it was very quick and short. Even the boy had fun this time. :lol:

We put the truck down low into a ditch. Made it easy to roll the motor on the stand over to the bed for loading. Worked well!
View attachment 229507


My wife securing the motor.
View attachment 229509


Back at the motel. Motor is well secured and ready for the trip home.
View attachment 229513

On the road!
View attachment 229511

Home safe! Just waiting for a couple big, strong neighbors to help me get it out of the truck! :lol:
View attachment 229508
Last of the classic f150s right thereā€¦then they got real ugly until they lost the ā€œcarā€ look.
 

BWR1953

Admiral
Joined
Jan 23, 2009
Messages
6,176
Last of the classic f150s right thereā€¦then they got real ugly until they lost the ā€œcarā€ look.
Yeah, it was a good truck. I sold it last year after I got the Santa Cruz. The young deputy who bought it lived 300 miles away and paid my full asking price. Nice guy. He deserved a nice truck. :)
 

BWR1953

Admiral
Joined
Jan 23, 2009
Messages
6,176
Okay guys, talk to me about paint! Getting that done next month is a real possibility. :p

The first option I've been told about is acrylic enamel. Good stuff for our aluminum boats?

And I know I've been planning on white, but seeing the Chief stripped makes it look like a destroyer or something. Kind of interesting. Am wondering how it might look in a light gray? :unsure:šŸ™ƒ
 

ShoestringMariner

Lieutenant Commander
Joined
Apr 18, 2015
Messages
1,593
Okay guys, talk to me about paint! Getting that done next month is a real possibility. :p

The first option I've been told about is acrylic enamel. Good stuff for our aluminum boats?

And I know I've been planning on white, but seeing the Chief stripped makes it look like a destroyer or something. Kind of interesting. Am wondering how it might look in a light gray? :unsure:šŸ™ƒ
Me, Iā€™m partial to white and blueā€¦real nautical but it could look sharp grey.
Will the boat be launched for the season or trailer stored?
How are you painting it? Spray or roll and tip?
 

BWR1953

Admiral
Joined
Jan 23, 2009
Messages
6,176
Me, Iā€™m partial to white and blueā€¦real nautical but it could look sharp grey.
Will the boat be launched for the season or trailer stored?
How are you painting it? Spray or roll and tip?
It's a trailered boat. I'll be paying a guy to spray it for me. The same fella who did the dustless sandblasting.
I did a photo edit a little while ago and didn't really like the gray. Moving on... probably back to white. :cool:
 

j cat

Petty Officer 2nd Class
Joined
Oct 13, 2015
Messages
100
It's a trailered boat. I'll be paying a guy to spray it for me. The same fella who did the dustless sandblasting.

I did a photo edit a little while ago and didn't really like the gray. Moving on... probably back to white. :cool:
my 1969 starcraft had a few rivets that had a small leak .. I fixed those rivets .
 
Top