1976 AeroCraft Fishmaster - Complete Restore

UConnMRB

Petty Officer 2nd Class
Joined
Jul 18, 2014
Messages
119
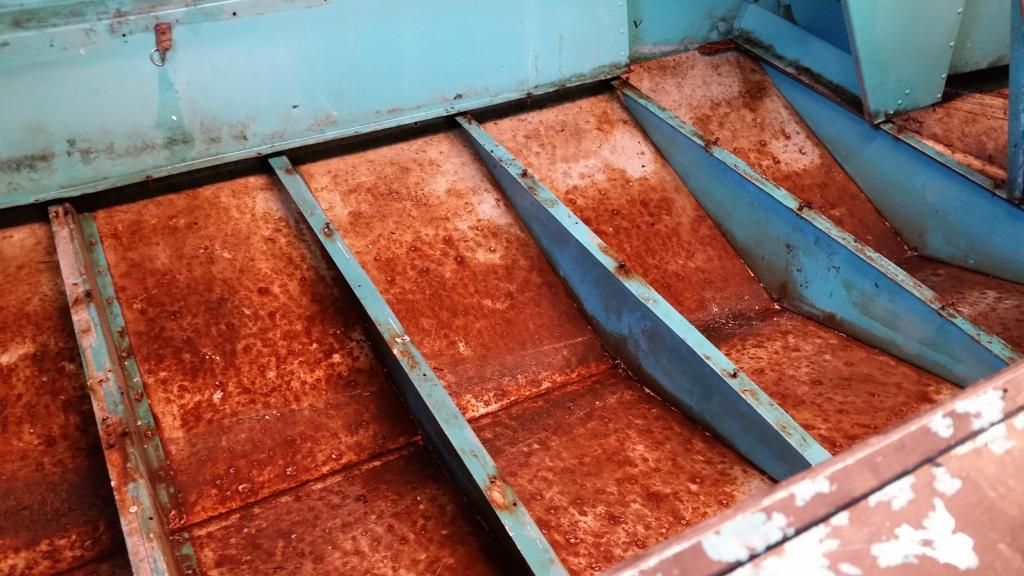
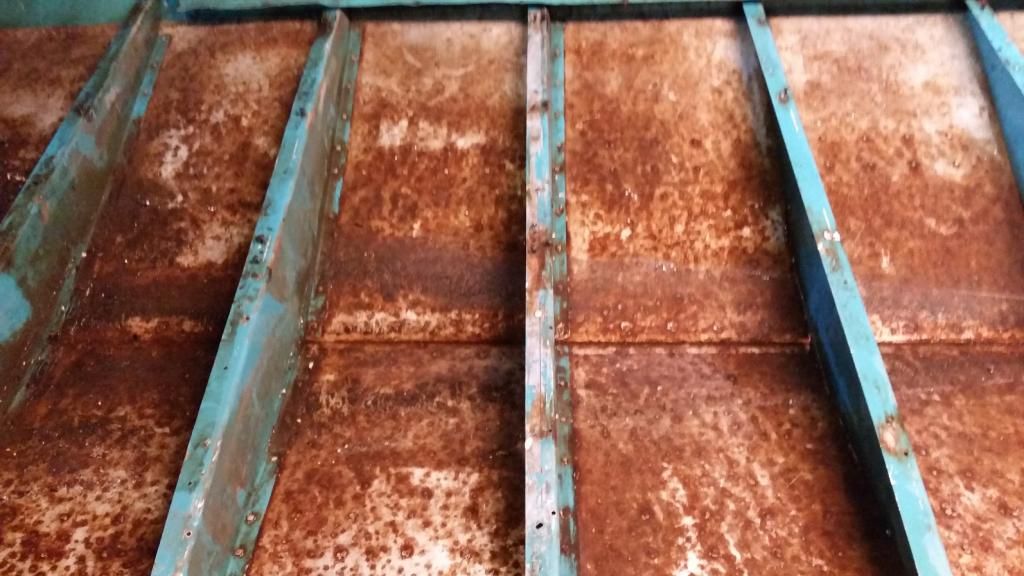
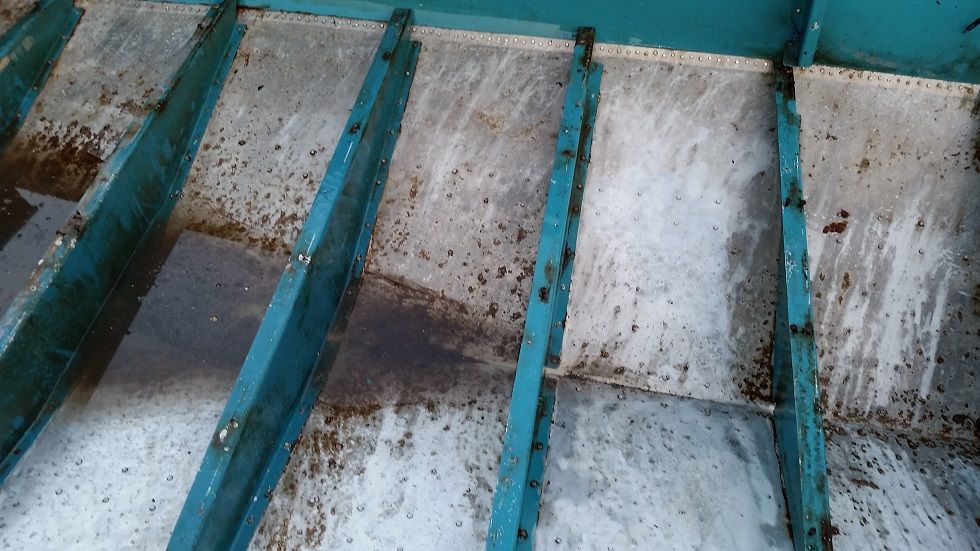
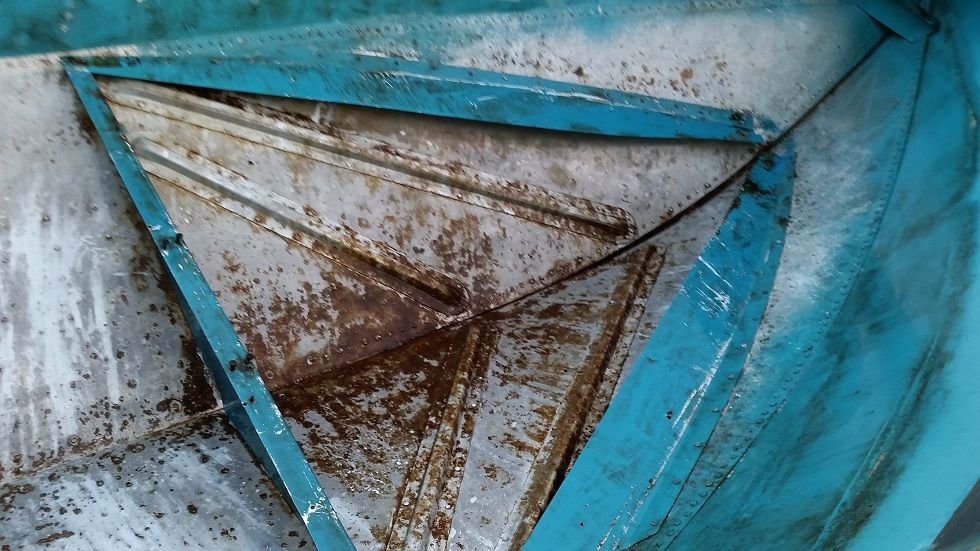
I spent the weekend on Lake Sunapee in NH and that has me really wanting to get moving on this boat. Even though there were lots of rich kids in their daddy's $40k+ ski boats making me jealous, I think a boat you restore yourself is worth more than that. I wont have a whole lot to update as I have another 8 hours + to go wire wheeling the inside on the hull. While I am at it I might as well document my expenses.

$0 for boat
$24 for 2x4s for cradle (scrapped)
$7 for PL glue (yet to use)
$30 for cradle wheels (scrapped)
$120 for 2 trailer wheels
$17 for new titanium coated drill bits
$16 for trailer coupler
$21 for cutoff tool
$30 for trailer jack
$20 for wire wheels (3 of them)
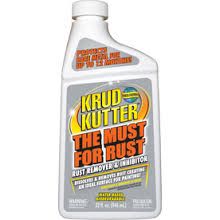
$20 for paint stipper (EZ strip (2) and aircraft stripper)

Total: $305
 

UConnMRB

Petty Officer 2nd Class
Joined
Jul 18, 2014
Messages
119
I was able to spend a few hours on the boat Friday evening. Made very good progress. When I was at Home Depot a few weeks ago I bought this stuff:

KrudKutter_zpse7a1fb62.jpg


I used it awhile ago and followed the direction and it didnt seem to do much. However when I was washing out the boat on Friday I realized that some of the rust/crud was just washing away. Then it hit me! Thats where I applied this stuff before! So I went out to HD and bought 3 more bottles of it (at about $5 each). When I got home I applied all 3 bottles which was enough to do coat the entire boat. I let it sit for awhile and power washed the inside. Holy crap! This stuff really works at removing the surface crud. I estimated that I saved at least 6 hours of wirewheeling.

Before:
20140803_172856_zps4436cef9.jpg


20140803_172826_zpsedeb5dcf.jpg
 

UConnMRB

Petty Officer 2nd Class
Joined
Jul 18, 2014
Messages
119
After:

20140905_185605_zps1642ae08.jpg


20140905_185609_zpse4c1755c.jpg


As you can see, it didn't get everything, but it sure got most of it. I am going to get a few more bottles and do it again, then I will use the wire wheel to get the rest. I had little faith in the product, but it sure did work in my case.
 

UConnMRB

Petty Officer 2nd Class
Joined
Jul 18, 2014
Messages
119
I also removed the splashwell and transom (mostly). The transom is so tight against the sides of the hull that I cannot easily remove it.

20140905_193822_zps7b2ad677.jpg


I have a few options to get the transom completely free. One: I could remove the gunwales (not something I want to do). Two: I could remove the 2 vertical aluminum braces that run from floor to gunwales on port/starboard side (would require drilling through the hull to get the 10 rivets or some that hold it in place, not something I want to do) or Three: I could cut the transom in half.

Cutting the transom in half should still give me a good template for the new one. However, I think I would still run into an issue getting the new transom installed. My thinking is though that I could just shave a little bit off the port and starboard sides of the transom so then new isnt so tight against the hull.
 

UConnMRB

Petty Officer 2nd Class
Joined
Jul 18, 2014
Messages
119
Also did a little more paint stripping as well. Thanks to those who suggested using plastic wrap on the stripper to keep it wet. That really lets the stripper do its thing. I put a section of stripper, cover it with plastic and then do work elsewhere and every hour or so I remove the paint and lay out more stripper/plastic and go back to do another area of the boat. The paint will be removed...little by little.
 

UConnMRB

Petty Officer 2nd Class
Joined
Jul 18, 2014
Messages
119
Transom is out, did more wire wheeling on the hull. Once that is done I will be doing a water test for leaking rivets/seams. I have aluminum closed end blind rivets (dome) on order, hopefully thats what I need. I will get some 5200 and replace any rivets that need it. After that comes a wash with TSP then 1:1 vinegar and water.

Once that is done, I will gluv-it all rivets and seams on the inside of the hull. All that seem to be right?

Once the Gluv-it is applied I will put on some ZC and then maybe 1 or 2 coats of primer (just for added protection under the foam, not sure if its necessary but why not).

How much Gluv-it do you think I need for this 16' x 6'er?
 

UConnMRB

Petty Officer 2nd Class
Joined
Jul 18, 2014
Messages
119
Can anyone weigh in on my Gluv-It question? If I coated all seems and all rivets how much would I need? With the pricing I see right now, 2 quarts will cost about the same as a gallon, so I can get twice as much for the same price, but a gallon might be overkill. Any chance a quart would be enough for 16 footer?
 

Woodonglass

Supreme Mariner
Joined
Dec 29, 2009
Messages
25,924
I'm NOT speaking from experience, Only from what I've read here on the forum so based on that, if you're careful and mix only the amounts needed and can tip and tilt the boat so the Gluvit can flow where it needs to flow, then 1 qt should do the trick. It's very runny stuff and flows very well so coverage is usually quite good. Others may come along with more definitive answers base on actual experience. It does require some "Baby Sitting" in order to ensure it does not run out of the areas where it needs to stay.!!!:eek:
 

UConnMRB

Petty Officer 2nd Class
Joined
Jul 18, 2014
Messages
119
Thanks for the feedback WOG. I guess the worst that happens is I get a quart and then it if it ends up not being enough I just order another quart (but then I could have just gotten a gallon for same price). I did a lot of digging through the forums before I asked the question and I guess because every boat/situation is different everyone has used varying amounts on the stuff so I figured I would just ask it here and get some responses on what might figure for my boat.
 

UConnMRB

Petty Officer 2nd Class
Joined
Jul 18, 2014
Messages
119
You are the man WOG! Those were the few I was looking at before. I think the second post there has my answer, it seems to be that most think a quart would be just enough. I also referenced the calculations that come from Gluv-it about how much coverage you will get. My math might need to be checked, but Gluv-it states that the 2lb order will cover 30 square feet. So if I work in inches, that gives me 4320 sq inches of coverage. to do 32' of seams at 3'' width that would be 1152''. I estimated that for the transom seam and rivets it would be about 12' (6' across and 3' up on each side of hull, also at about a 3'' width). The hard part is to calculate all of the other rivets but my guess would be around 100 (but i will use 125 to over estimate) rivets to also coat at maybe 1 sq inch each.

So....

+4320 inches of total coverage
- 1152 inches for seams
- 432 inches for transom
- 125 inches for other rivets
--------------------------
= 2611 inches remaining
- 1709 for second coat
--------------------------
= 902 inches left for miscalculations, gluvit still left in mixing cups, errors, etc

That sounds right in my head, but I could have completely done the math wrong....and also i might find that I need to do 4 or 5 inches wide which would blow up all my calcs
 

Woodonglass

Supreme Mariner
Joined
Dec 29, 2009
Messages
25,924
Hey, I'm just an Old Dumb Okie, What do I know about all dem dere Mathamatical Kalcumalachuns!!!!!
 

UConnMRB

Petty Officer 2nd Class
Joined
Jul 18, 2014
Messages
119
I want to take the time to mention that in my post, #62 in this thread, that I do not work from krud-kutter and I dont have anything to do with them. I simply found that that stuff seemed to work for my boat and it might not do anything for yours. The only reason I want to mention this is because I saw in another thread that someone responded with product info and a link and they were banned. I dont want to be banned and have my thread discredited because I raved about a certain product.
 

UConnMRB

Petty Officer 2nd Class
Joined
Jul 18, 2014
Messages
119
This would probably be the most epic troll thread to promote a product in history of the internet. I find a very obscure, run down boat, spend days stripping it down, spend time and money to get it partially stripped of paint, get the transom and consoles out, partially sand the inside of the hull.....then BOOOOOM rave about the product that I sell......and then just for kicks I finish the boat.......LOL
 

saginawbayboater

Senior Chief Petty Officer
Joined
Mar 8, 2012
Messages
677
Matt where did you say you live? Oh ya that is where the products home office is! :laugh:
 
Last edited:

UConnMRB

Petty Officer 2nd Class
Joined
Jul 18, 2014
Messages
119
OK, so GluvIT is close to going down and then I need to start thinking about foam. I am not doing pour-in foam. I will be doing the foam boards from either Home Depot or Lowes. The reason I decided against the pour in is because I am worried about the boat potentially leaking in the future and then I wont be able to easily work on the rivet and I am afraid I wont get proper drainage if a small leak does occur. Man, I priced out the foam boards and those sure arent cheap (its going to be a few hundred $ of it before I am done)

I had an idea of how I want to lay down the foam boards and I havent really seen anyone do it this way but I wanted opinions on what you all think. I have sketched up my idea which I will attach. My stringers, as you can see from pictures run from port to starboard. I realized that if I cut the foam to match the hull I can lay them in vertically, thus maximizing the amount of foam I can get in there. Up front in the bow I will lay them down (it would be really time consuming to match the curve of the bow for each vertical piece of foam). I will be cutting a half circle in the foam at the lowest part of the hull to allow for any water to run to the bilge area.

Doing it this way will be very time consuming but I will be able to get foam into more of the area..

FoamSketch_zpsc870844b.jpg
 

Woodonglass

Supreme Mariner
Joined
Dec 29, 2009
Messages
25,924
I'm NOT a tinner, But it seems to me that you'd want the boards ALL stacked vertically and running parallel to the keel in order to allow proper drainage to the stern.

 
Last edited:
Top