1976 AeroCraft Fishmaster - Complete Restore

UConnMRB

Petty Officer 2nd Class
Joined
Jul 18, 2014
Messages
119
Thanks for the replies JB and Rick. I think letting it sit awhile AND covering it is a good idea. What I noticed was putting it on thick and giving it time to work seemed to peel off the first layer no problem, but the stuff dried pretty quickly which did help it much. After about 20 minutes it dry and so is the paint it pulled up. It didnt seem to really strip the bottom layer well, so maybe putting it on real thick, covering it so it doesnt dry as easily and letting it sit awhile could be the trick. I am going to try a few test spots while still on the trailer so when its time to flip and strip I know which method is the best.
 

UConnMRB

Petty Officer 2nd Class
Joined
Jul 18, 2014
Messages
119
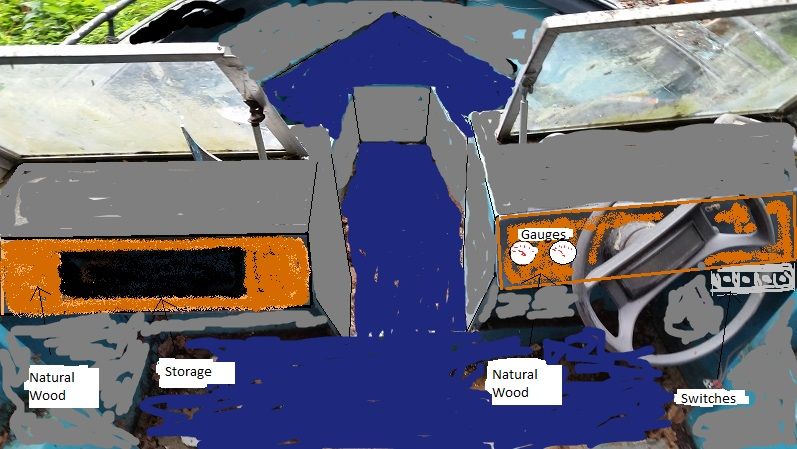
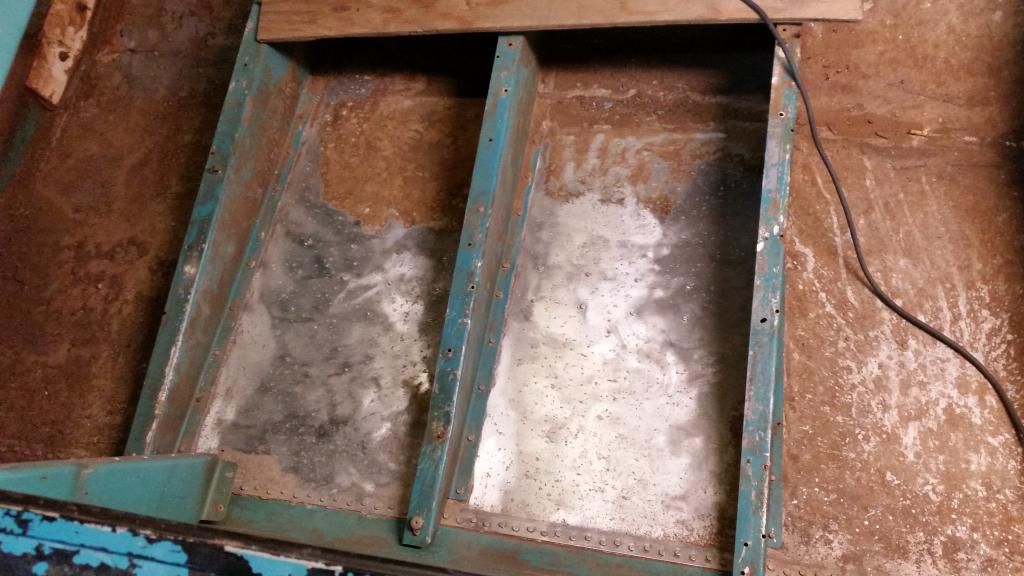
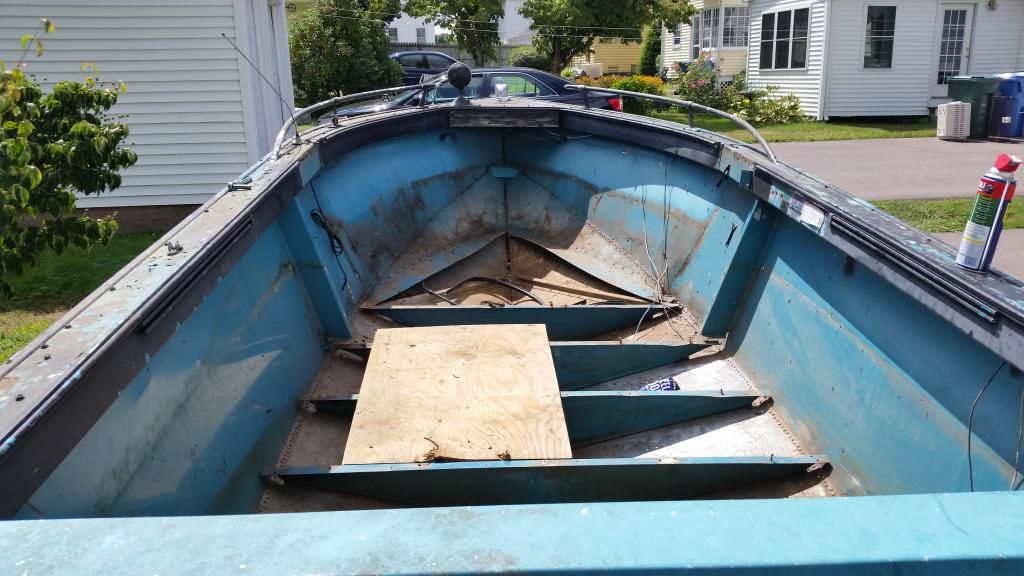
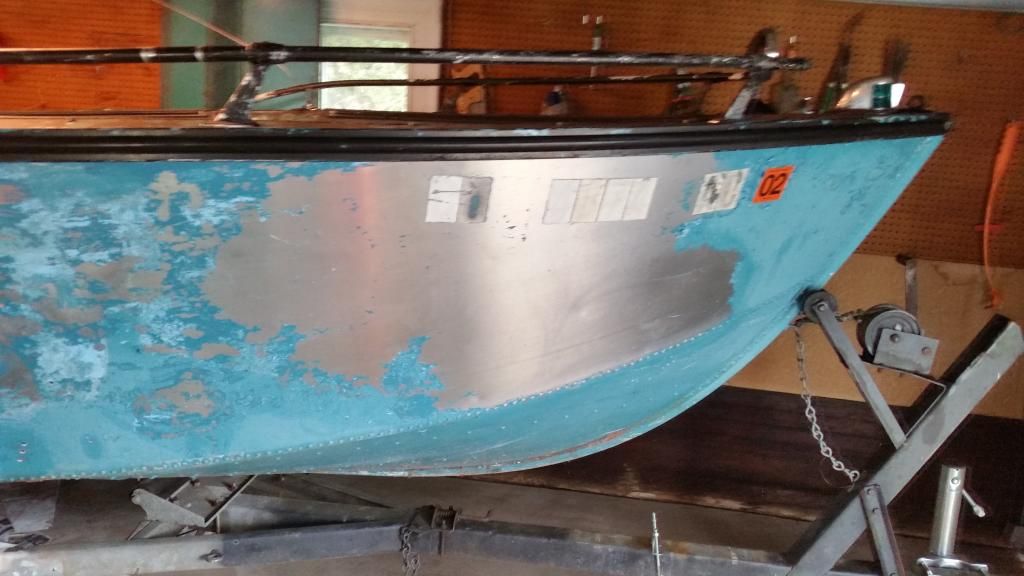
I appreciate everyone who has responded. If this site didn't exist I would have no idea what to do. Anyways, time for an update. As you guys stated before, messing with old steering is not something that should be done, so I took my cutting wheel and just cut through the line and threw out everything related to steering. I removed the consoles on both side and with it came the bow seating frames (all in 1 piece, just 14 rivets through the hull)
20140815_115357_zpsb5f34dcf.jpg


20140815_115408_zps4432783b.jpg


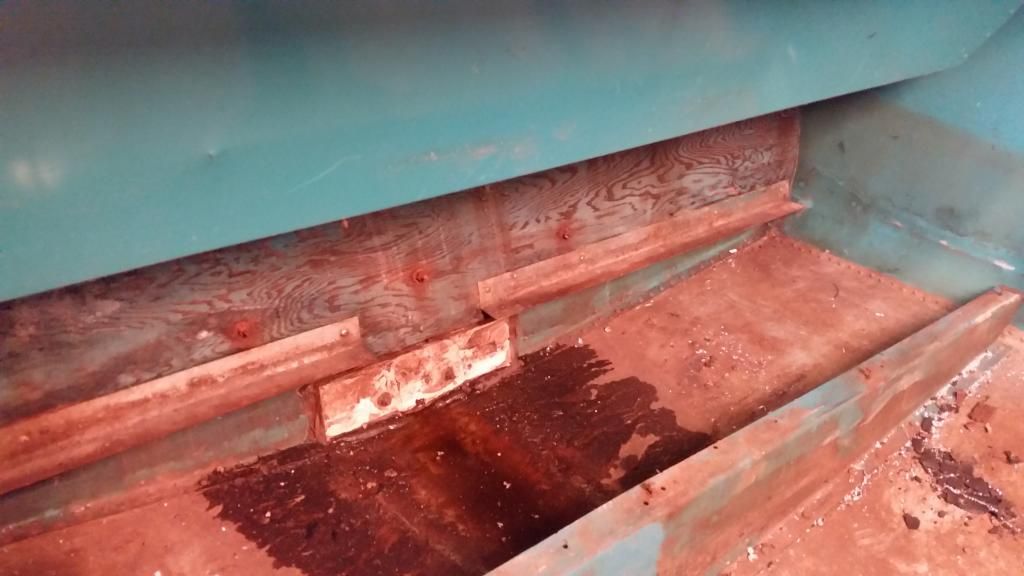
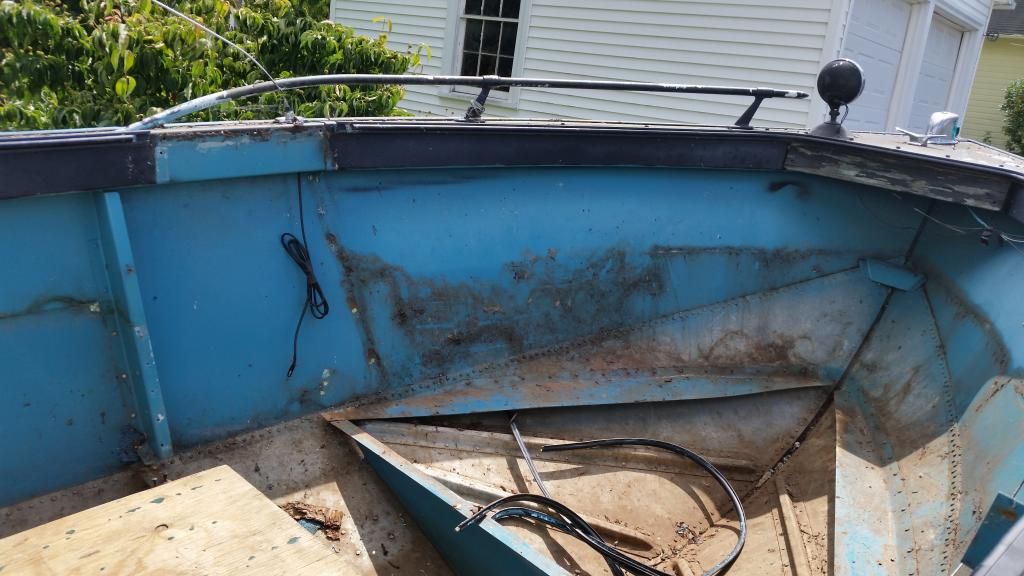
Next I took the transom cap off and the stern caps. That was easy, just had to drill out a few rusted/frozen screws and about 5 rivets. Once the transom cap came off I was greeted by a swarm of ants.

20140815_115346_zpse7dc9f96.jpg


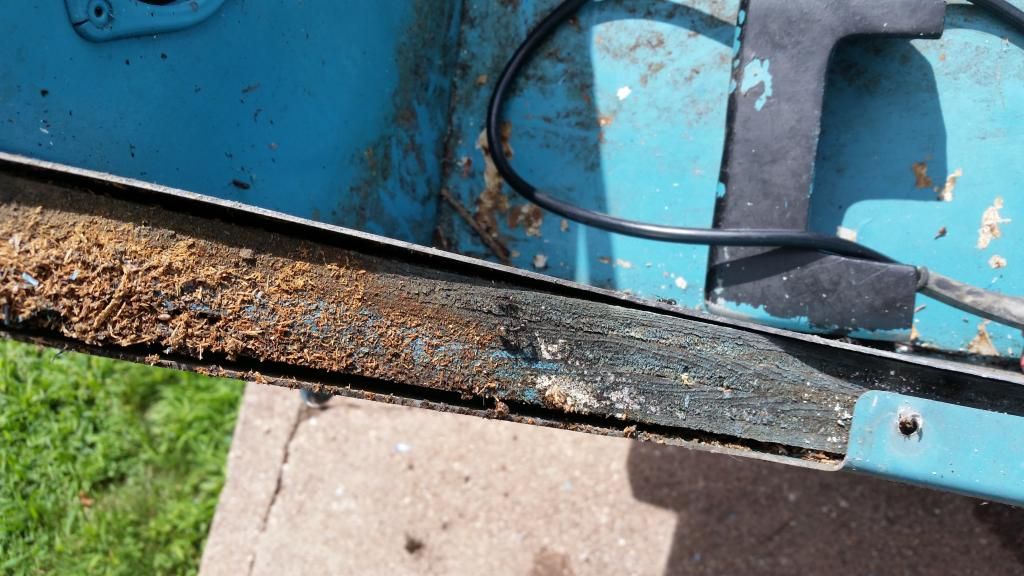
I still have to remove the splashwell, but that is going to be a headache. I realized that there are about 4 rivets that are buried under the gunwales. They dont come through anywhere, so I dont have a way to access them. I guess the only option is to go buy a 12''+ drill bit.

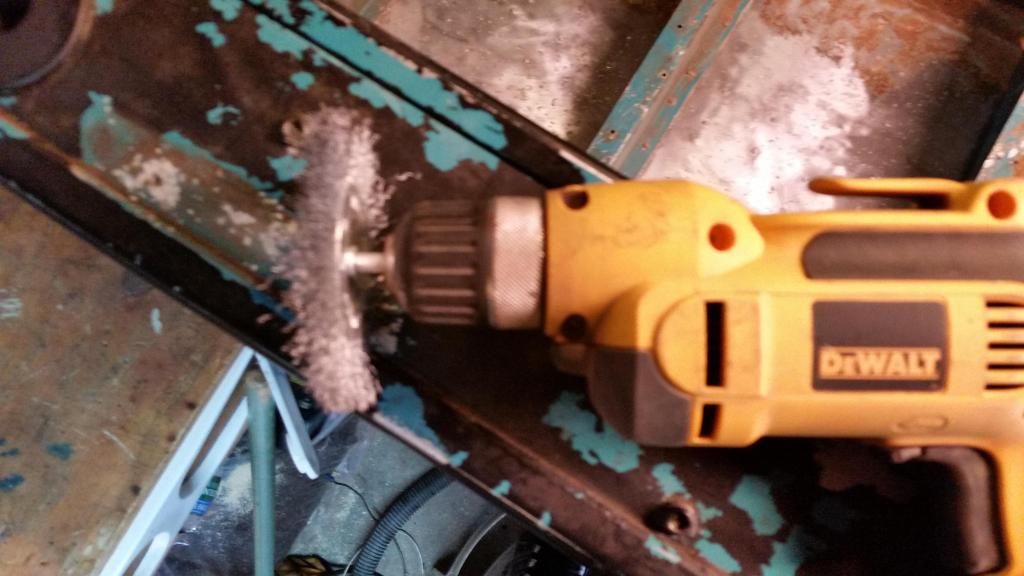
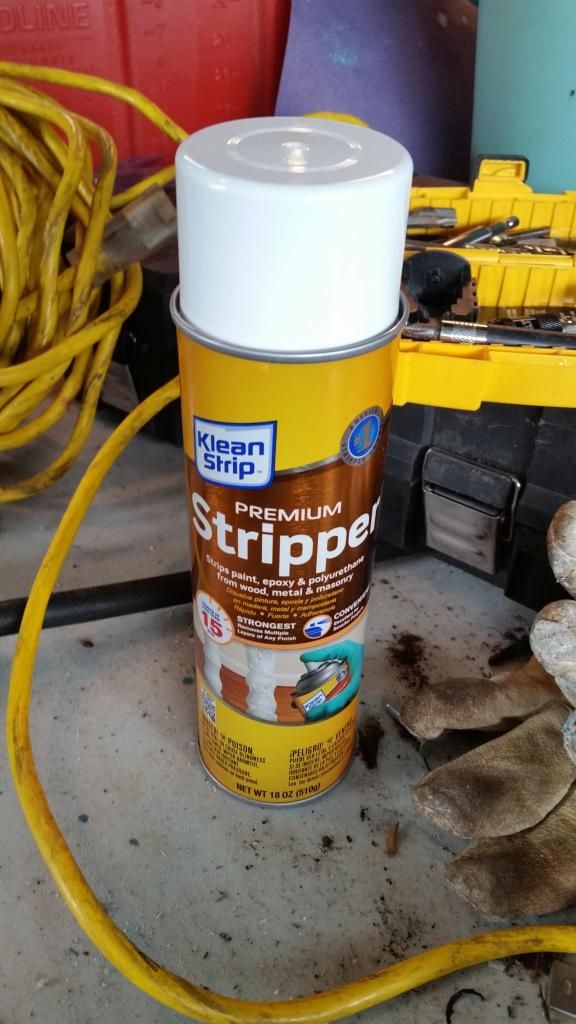
When I get a little bit of time I have been running out and spraying on some stripper. I bought some of the spray stuff and it works really well. It sticks to the verticle service. It takes 2 attempts to get both layers off, but you literally just wipe it off (I use a plastic mud blade for sheetrocking). I have gone through 70% of one can, so at $7 a can it will be an investment, but I think its worth it. Sand/soda blasting would cost me a few hundred and sanding would cost me a lot of time.

20140815_123405_zps5ac213ba.jpg


20140815_123411_zps06451a39.jpg
 

jbcurt00

Moderator
Staff member
Joined
Oct 25, 2011
Messages
24,871
Hmm, the stripper in a can looks to work great........

Sounds like the Browning Aerocraft splashwell is sorta like the Starcraft dash. It was made 1st and the boat was basically built/hung from it. Can't pull the Starcraft dash w/ out pulling the bow cover or cutting it... Always something.....

Spend some time sitting on a milk crate mulling it over, maybe a buried rivet solution will present itself.

Leaving the hull bare once you get it stripped?
 

UConnMRB

Petty Officer 2nd Class
Joined
Jul 18, 2014
Messages
119
Yeah i will grab a beer or two and go stare at the splashwell. The admiral will think I am crazy, but thata noyhing new. As far as the hull goes, I plan on painting it (I think). I never really thought about leaving it bare. You dont see too many bare ones though. Could be pretty cool.....
 

jbcurt00

Moderator
Staff member
Joined
Oct 25, 2011
Messages
24,871
Lots of SC's go bare.... Bare from the splashrail (on some) or from the riveted seam down w/ color above. On yours it'd be from the riveted seam down:
UConn_zpsbca4b345.jpg


Here's one of my favorite 1/2 bare boats:
attachment.php


Casey did the polish above the splashrail, but you get the idea..... His Topic about the rebuild:
1952 Duracraft Sportsman

Good luck sitting and staring ;)
 

UConnMRB

Petty Officer 2nd Class
Joined
Jul 18, 2014
Messages
119
Very interesting. I was thinking of doing a dark blue and gray color scheme. Dark blue and bare isnr much different from that. Thanks for the ideas JB. And P.S. I really like what Casey did there for paint.
 

UConnMRB

Petty Officer 2nd Class
Joined
Jul 18, 2014
Messages
119
Yesterday I got about an hour to work on the boat and I vacuumed out the inside more which had a lot of drilled out rivets and metal sharps from drilling out. I them power washed the inside which got some dirt off. I had some success power washed around the rivets on the seams on the inside of the hull. Still lots of grinding to do to get the inside back to normal. I will then use JB weld to fix any small voids (nothing too extreme yet). Because the console and bow seat frames came out as one large piece, I am going to start prepping those for paint. I know I am jumping around a bit, but that allows me to get some stuff done when I only have a small window to work (an hour here, an hour there.)

That means that I need to decide on a paint scheme. I am thinking dark blue (like jbcurt has above) and dark gray. I am thinking dark gray on the inside of hull and console/seating frame with dark blue vinyl for floor and seating. As far as the console trim/bow trim board I think I might go with natural poly'ed wood. Not sure though.
 

UConnMRB

Petty Officer 2nd Class
Joined
Jul 18, 2014
Messages
119
I might go bare aluminum on the underside, still not sure. That will depend on how nicely is polishes out. There is a lot of goop around some of the seams, so I am not holding out a lot of hope for that, but I love the way it looks.
 
Last edited:

UConnMRB

Petty Officer 2nd Class
Joined
Jul 18, 2014
Messages
119
ok, I bought a 12'' drill bit extension today to remove the splashwell. The only problem is it looks like it runs up and under the gunwales. I really hope once I drill out the rivets that it just falls out. Is it common to not have a knee brace attached for the transom? I really dont know what gives it strength/ties to the hull other than sitting between splashwell and gunwales. I guess I could always fabricate a brace and rivet it in? I am constantly getting ahead of myself but it keeps me sane. I keep putting off the task at hand which is spending 4+ hours using a wirewheel on the inside of the hull :censored:

20140815_122550_zps9f3222f5.jpg
 

jbcurt00

Moderator
Staff member
Joined
Oct 25, 2011
Messages
24,871
If there is no evidence of a brace being thru bolted to the transom and the bottom of the hull, then perhaps the Browning/Aerocraft designers deemed it un-necessary. Unless you notice something (cracks, tears, missing rivets) that indicates the transom has been flexing (NOT related to a soft/rotten transom) excessively, I wouldn't worry about 'adding' a knee brace.

If you think you see signs of stress then, yes, maybe add 1, 2 or 3.... But I'd want to see how the bottom of the hull and keel strip are installed before recommending you actually add a knee..
 

UConnMRB

Petty Officer 2nd Class
Joined
Jul 18, 2014
Messages
119
I am ignoring the transom for now. I am not too worried about replacing it. There are so many great resources on here that I have a lot of confidence that the transom replacement will go smoothly. I was able to do about an hour of using the wire wheel on the inside of the hull. I have to redo my calculations. I now predict it will take 7-8 hours to grind everything down. This is all I got done in that hours time:

20140822_091336_zps7d484e6c.jpg


There is shallow (so far) pitting everywhere. When I restored a 69 Mercury Cougar I used a product on the inside of the doors that stops rust from forming/growing. I wonder if that stuff would work here as well. I dont know if I will be able to get all rust/crap out of every pit because I would risk going too deep in the hull.

20140822_091343_zps3ca885ae.jpg


20140822_091350_zps354a4143.jpg


This is what I am using to do the grinding for the hull. I have a compressor but the drill is easier to just pick up and go. Anyone know of better wheel/tool setups? I did notice that if I put my drill on reverse it seems to cut through a lot more of the crap but doesnt leave a nice finish, so I have been doing a combo of reverse/forward until I am happy. Around some of the rivets there is slight pitting but I am thinking the Gluv-it with primer and paint over it will be fine.

20140822_091445_zps00814949.jpg


Thanks for checking out my thread. Lots of work ahead of me, but I am up to the task.

P.S. Are the pics showing up ok?
 
Last edited:

jigngrub

Fleet Admiral
Joined
Mar 19, 2011
Messages
8,155
Pics are showing up real good.

Wear eye protection when using that wire wheel... if you aren't already.
 

UConnMRB

Petty Officer 2nd Class
Joined
Jul 18, 2014
Messages
119
You arent kidding Jig, thankfully I had my safety glasses on (actually my shooting glasses). It wasnt long before I realized that those little pieces of wire shoot off. Even found one stuck in my shorts a few hours after working on the boat.
 

Watermann

Starmada Splash of the Year 2014
Joined
Jan 12, 2013
Messages
13,753
Just got through reading your thread, half a stogie and a couple cups of coffee. She's a great project tinny and a family heirloom very worthy of restoration.

I see a bunch of similarities with what your finding in your boat and my Chief. The rust in your boat and the pitting. I noticed that there were ferrous metal fasteners all over and steel rivets or mandrels. That's what caused your rust and surface pitting so once they're all gone you wont have those problems. It's amazing how many boat builders use steel fasteners.

I see the design thought behind the knee brace or lack of in your boat. See those 2 braces that are still attached at the bottom of the inner transom? Those transfer the inward force to the decking which tie into those cool ribs/floor supports. If any of those ribs are the slightest bit loose I would drill out and hammer in new solid rivets. I can't tell by the pics but any of the solid rivets steel? I would definitely use 3/4" marine grade to replace the decking in this boat because of the rib design and the knee brace set up.

I wire wheeled off the entire inside surface of my Chief too, went through 4 or 5 fine wire wheels when doing it so you're not alone.

I'll be following your progress, keep up the good work! :thumb:
 

UConnMRB

Petty Officer 2nd Class
Joined
Jul 18, 2014
Messages
119
Alright watermann...i just realized that I read your whole thread before I even brought my rig home. All of the rivets seem to be original aluminum. I will do a water test after I grind the entire hull. Then I will drill out any bad ones and refit new rivets. Then comes the Gluv-it.
 

UConnMRB

Petty Officer 2nd Class
Joined
Jul 18, 2014
Messages
119
I also did another hour + on the wire wheel. It is now completely bare. Once my wire wheel was shot I decided to.tackle removing the spashwell. I bought a 12" drill bit extension but I didnt need it. It turns out that once I got in there an extension was needed. So I drilled out about 5 rivets and realized there are about 25 rivets that attach directly from the splahwell to the transom. I am lucky (I guess) that those the transom is so rotten that those rivets come right out. But those will add strength to the new transom. Also watermanns point of strength to the transom viam brackets/decking which will all tie the hull together.
 

Rickmerrill

Senior Chief Petty Officer
Joined
Mar 13, 2014
Messages
686
Was that POR-15 you used on that Mercury? They recommend using POR-15® METAL-READY Rust Remover/PrePrimer over aluminum to create a zinc phosphate coating. I used POR-15 restoring on an old VW bug and was impressed with it but it doesn't stick to smooth surfaces - they need to be rusty, sandblasted or converted to zinc phosphate. The tinnies may have better/cheaper solutions, I don't know (most of the aluminum in my boat looks suspiciously like 12 oz cans).
 

UConnMRB

Petty Officer 2nd Class
Joined
Jul 18, 2014
Messages
119
Hey Rick, that might have been the stuff, but not sure. This would have been about 10 years ago. I might just go with ZC then primer and paint unless I can find a better solution in the forums.
 
Top