The John
Petty Officer 2nd Class
- Joined
- Nov 16, 2009
- Messages
- 123
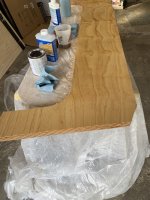
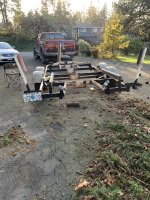
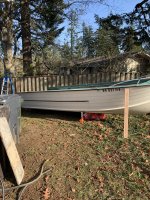
Took the boat off the trailer to replace the rollers, adding new bunks and getting it painted (well rattle canned one color). The trailer will be white when complete.
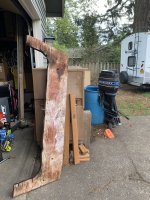
FYI there’s a tire under the front of the boat, I put the box there as kind of a cushion as I knew it would collapse.
FYI there’s a tire under the front of the boat, I put the box there as kind of a cushion as I knew it would collapse.


")