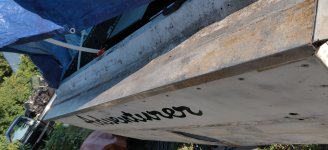
1974 Chieftain 25 "Adventurer" Restoration

IslandExplorer

Petty Officer 1st Class
Joined
Oct 21, 2019
Messages
370
interesting design! i still have to install the port wall. but that design is wild looking . i like it....
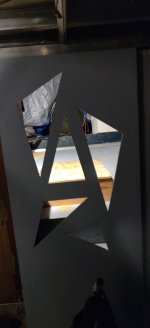
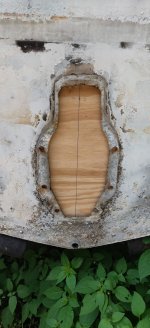
Thanks, I just had to do something different for some reason. Is the retro looking geometric silhouette of an "A" for Adventurer a touch too subtle? 😅
 

1975oday22

Chief Petty Officer
Joined
Sep 2, 2022
Messages
590
i think its awesome. you do come up with some wicked ideas. keep it unique , this one is a keeper.... you sell it, i is first in line. lol......
 

IslandExplorer

Petty Officer 1st Class
Joined
Oct 21, 2019
Messages
370
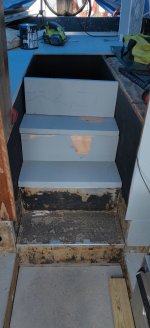
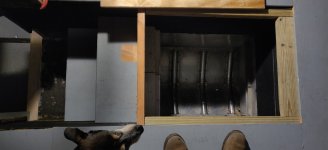
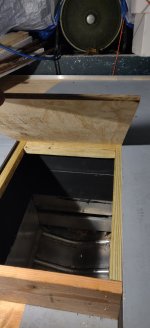
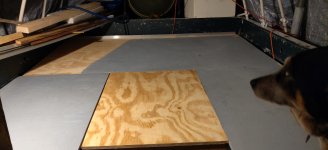
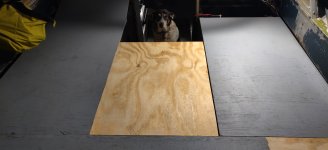
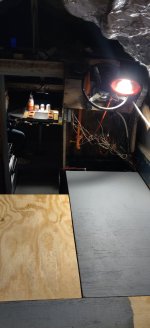
I finally got to find out what the stairs and raised cockpit deck area looks and feels like. Really liking it so far! Aside from the six 1.5 cu ft blocks of flotation down in the center stairwell section there is also a nice big empty storage area (I'm hereby calling it the hold!) measuring about 24"W by 30"L by about 3 feet deep. This will be an awesome place for carrying around random bulky items like a raft, or some beach chairs, or scuba gear, or stowaways, or hoards of lobsters, or a keg, or a crank driven margarita maker, or whatever- all out of sight. The steps aren't too steep or doorway too small which was something I was concerned about. Got the dining table mounted too. Converted it from the approx 2" pedestal post to one of the sturdier 3" ones like for chairs. Figure standardizing now is good for the most table and chair reconfig possibilities.
IMG_20230726_152247.jpg
IMG_20230726_175053.jpgIMG_20230726_175107.jpgIMG_20230726_175119.jpgIMG_20230726_183219.jpgIMG_20230726_184102.jpgIMG_20230726_232927.jpgIMG_20230726_232955.jpgIMG_20230726_233008.jpgIMG_20230726_233121.jpgIMG_20230726_233159.jpgIMG_20230726_233219.jpg
 

Attachments

  • IMG_20230726_175323.jpg
    IMG_20230726_175323.jpg
    1.2 MB · Views: 1

IslandExplorer

Petty Officer 1st Class
Joined
Oct 21, 2019
Messages
370
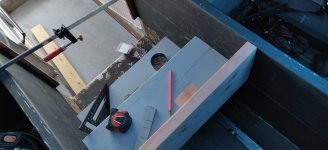
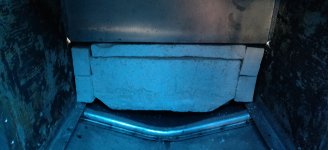
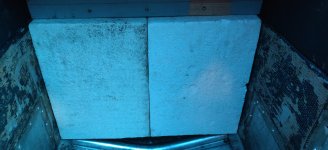
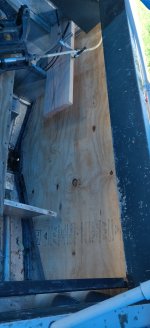
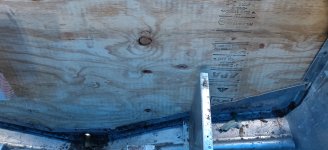
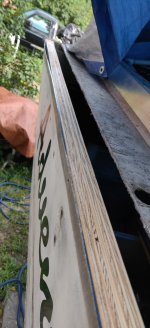
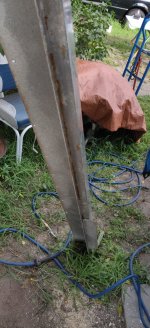
Test fit of the single thickness transom shape I cut. Much to my surprise considering I only did a really quick measurement job with just a tape measure- it fit first try. Was mainly worried about the angles on the sides being right. I recommend if doing this yourself to take accurate perimeter measurements of each flat side. Cut top and bottom then arc from those ends the two measurements to find where they intersect which will be the corner where the chine is. Worked out great for me anyway. Thinking this piece fits along sides and bottom great but I will trim off a 1/2 from the top edge so it sits in there with a small gap at the very bottom edge, just above the aluminum channel that it sockets into. Thinking small clearance in there along with a few small drain holes will help keep it dryer at the bottom edge and avoid soaking in water. We'll see. It overlaps quite far into the channels as it is with through bolts on the sides so looks very strong.IMG_20230728_123332.jpgIMG_20230728_111707.jpgIMG_20230728_123215.jpg
IMG_20230727_182421.jpgIMG_20230728_111647.jpgIMG_20230728_111655.jpg
 
Last edited:

IslandExplorer

Petty Officer 1st Class
Joined
Oct 21, 2019
Messages
370
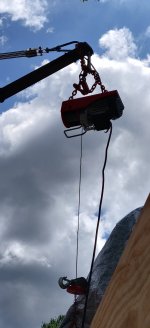
Thanks guys! I'm cranking away at it as fast as I can. A little too fast, actually. In my near heat stroke delirium today ("real feel" was 107° by the way) rushing the transom along with no shade I fed my finger into my 18V router... 🤦‍♂️ There was a lot of blood for a relatively small cut lol but it didn't stop me! Well, not for long anyway. Bandaids ibuprofen and Sambuca fueled a decisive retaliatory strike and I finished routing the edges and got the whole thing quickly painted with the help of my better half. It will get lowered in tomorrow and with a little luck the motor will be getting hoisted in next!
 

IslandExplorer

Petty Officer 1st Class
Joined
Oct 21, 2019
Messages
370
The motivation to be back on the water is stronger every year it seems. Whenever you work on your boat, no matter what a pain it is at that moment, just keep thinking about all the good times past and to come and you'll plow through these projects battle wounds and all. Honestly, dragging them out is probably more expensive and definitely more painful in my opinion. Life's too short to do so anyway so get it the way you want it and out there asap!
 

IslandExplorer

Petty Officer 1st Class
Joined
Oct 21, 2019
Messages
370
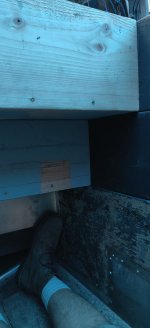
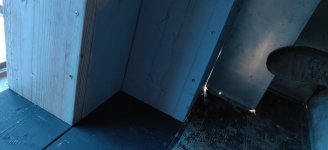
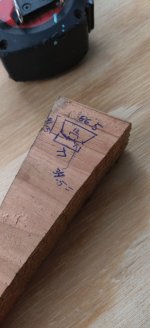
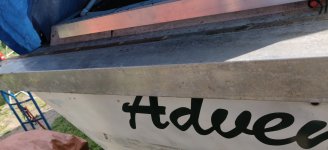
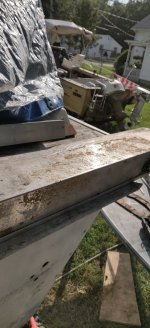
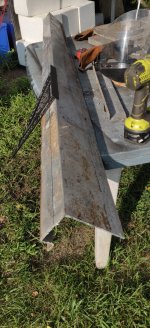
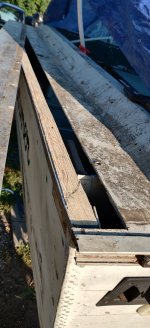
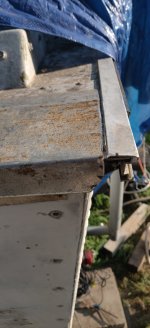
Trimmed top edge at an angle to make it sit flush since I didn't do this before dropping it in. One of the now unused side step/ledge pieces made a great donor to make a nice trim piece to seal the transom slot. Once the paint on the transom top edge dries it will be ready to be sealed up below deck. Still need to drill the through bolt holes and then do the screws from the inside.IMG_20230729_170852.jpgIMG_20230729_170916.jpgIMG_20230729_171007.jpgIMG_20230729_171003.jpgIMG_20230729_175509.jpgIMG_20230729_182351.jpgIMG_20230729_182345.jpgIMG_20230729_182341.jpg
 
Top