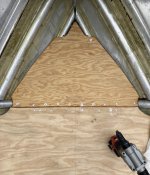
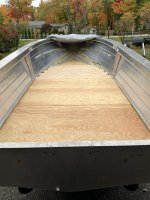
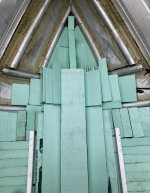
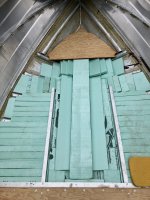
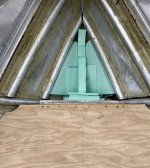
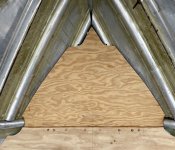
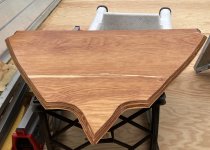
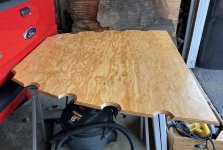
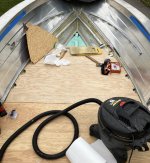
Dodging rain showers (don’t ask how many times we have removed the tarp/re-tarped so far today) and working to get the final floatation foam and deck plywood attached to the boat. And the Admiral and I are determined to get ‘er done! Well, I‘ve got to get lunch first and dry out a bit…

Safe boating,
Joe
Safe boating,
Joe


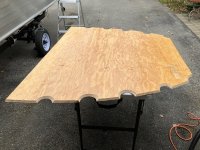
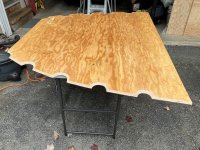
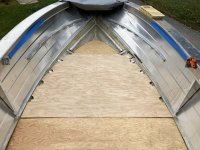
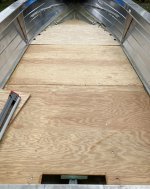
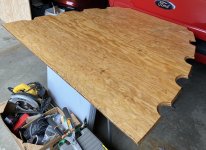

 ) kind of got my attention really quick. Figured out how I will get those locations corrected already so I will take care of it tomorrow when we finish riveting the deck piece in place. Other than that the day was a good one!
")