1968 Starcraft Jupiter - Rebuild

Status
Not open for further replies.

MichaelP

Lieutenant Junior Grade
Joined
Apr 26, 2010
Messages
1,190
Re: 1968 Starcraft Jupiter - Rebuild

Looking great IM. It's good to see another SC hull in nice enough condition to be presentable naked. I had decent luck with the Aircraft stripper too but could only get it in rattle cans locally for $10 each. Too spendy for me at the time. I degreased with TSP. Bighoss went over his with shark hide and it looked great, I'm sure yours will too.
Keep up the great progress.
 

InMotion

Commander
Joined
Nov 3, 2011
Messages
2,080
Re: 1968 Starcraft Jupiter - Rebuild

Looking great IM. It's good to see another SC hull in nice enough condition to be presentable naked. I had decent luck with the Aircraft stripper too but could only get it in rattle cans locally for $10 each. Too spendy for me at the time. I degreased with TSP. Bighoss went over his with shark hide and it looked great, I'm sure yours will too.
Keep up the great progress.

Thanks for swinging by MP --- I hope it turns out half as nice as DII's did!!:) If I find that Sonus doesn't work as well as it should, I can always go the shark hide route later on.

Paint stripper is expensive --- and I have used and spent alot more than I thought I would. Likely the temps have had a lot to do with it... at 5:00am it is still pretty chilly --- warmer than it usually is this time of year this year... but still near the freezing mark. The stuff really works better when it is warmer.
 

InMotion

Commander
Joined
Nov 3, 2011
Messages
2,080
Re: 1968 Starcraft Jupiter - Rebuild

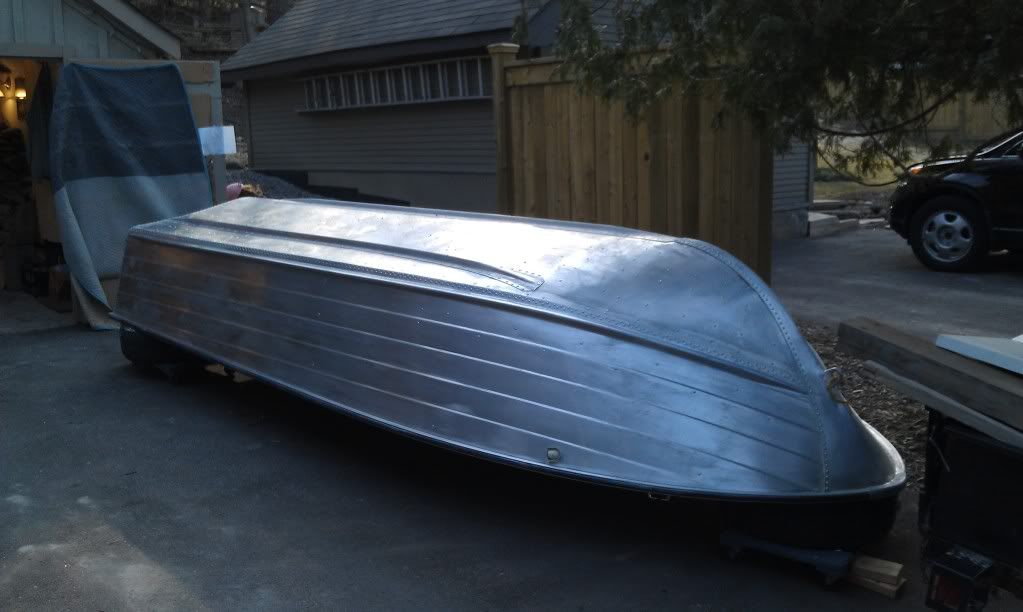
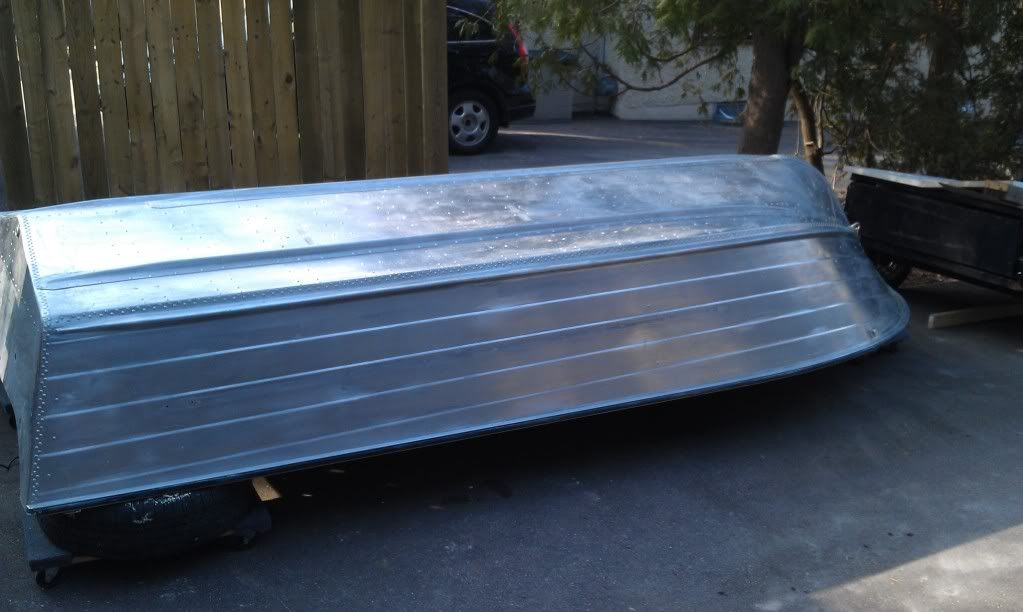
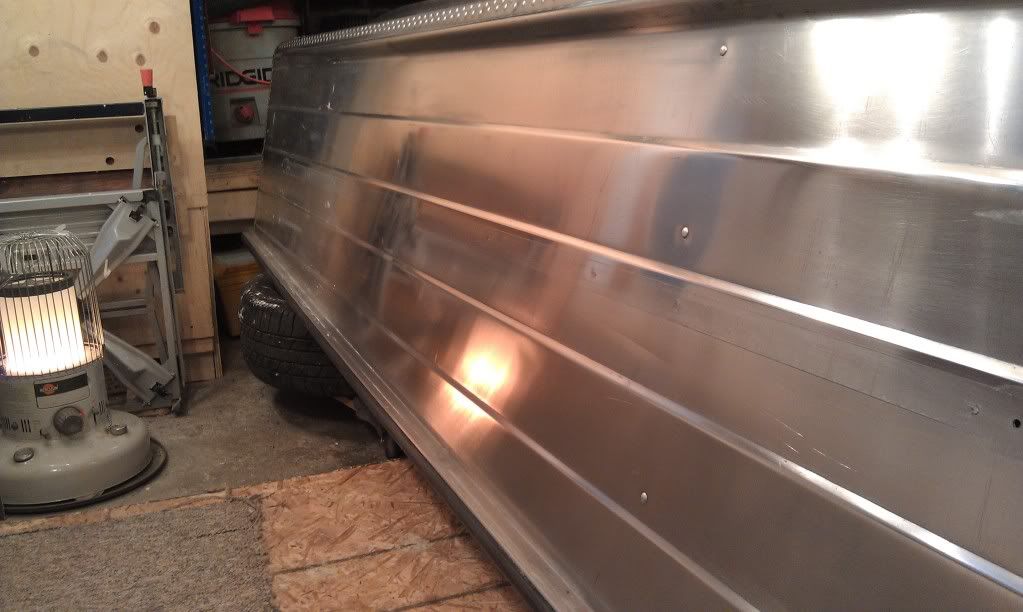
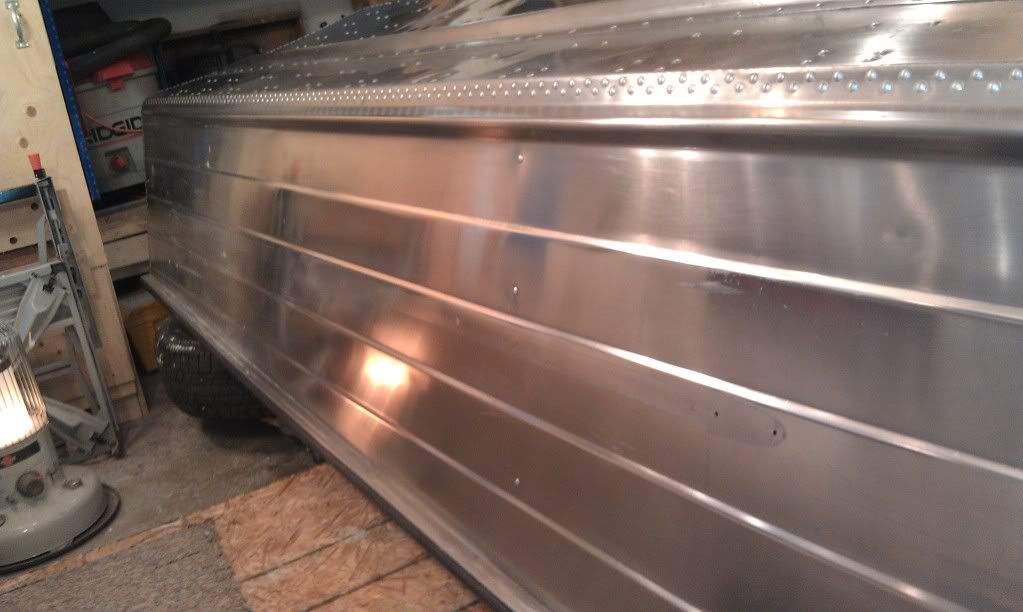
Had the day off today...so did a big push early this morning before being out with the fam for the rest of the day... THE BOAT IS STRIPPED!!! YAH!!! I got it scrubbed with white vinegar and water as well as dish detergent (1st) right before dark. So just waiting for the polish and sealant to arrive. Hull condition is good to very good --- couple of little dents here and there and some general wear and tear -- to be expected on a 45 year old hull!!! Should polish up nicely. Is it perfect...nooooooo. But it should be good enough. We shall see.

Couple of shots before cleaning... its actually has quite a bit more shine to it after cleaning it.

IMAG0172.jpg


IMAG0171.jpg


Have a great evening fellas!! Hope where ever you are, you are enjoying the really oddly warm weather!!!:D
 

jasoutside

Supreme Mariner
Joined
Dec 20, 2009
Messages
13,269
Re: 1968 Starcraft Jupiter - Rebuild

Well done, that's a big job behind you!
 

rheagler

Senior Chief Petty Officer
Joined
Jul 14, 2007
Messages
662
Re: 1968 Starcraft Jupiter - Rebuild

Looking good Jim. That's definitely a milestone progress wise. And yes, the odd warm weather is being enjoyed here in tropical New Jersey!
 

MichaelP

Lieutenant Junior Grade
Joined
Apr 26, 2010
Messages
1,190
Re: 1968 Starcraft Jupiter - Rebuild

Congrats! You've turned the corner. Where are my sunglasses????:D
 

dozerII

Admiral
Joined
Oct 25, 2009
Messages
6,527
Re: 1968 Starcraft Jupiter - Rebuild

Nice job Jim, they look so good naked, just wait till you put some make up on her !!:facepalm: If you can persuade a friend with beer and pizza for the polishing it will go a lot faster. You will need lots of clean soft rags. One guy runs the polisher and the other wipes off the residue behind ( they are both not easy jobs but the polisher is a little easier on the shoulders). You will find one you get the pad loaded with polish it works way better, but the only way to do that is a little at a time other wise you will throw polish all over your helper. OH and don't wear white socks in you sneakers the black doesn't come out of them.
Glen
 

GA_Boater

Honorary Moderator Emeritus
Joined
May 24, 2011
Messages
49,038
Re: 1968 Starcraft Jupiter - Rebuild

Boy, IM - JII looks a million times better than JI. The fishies will be ordering new Foster-Grants and Raybans.
 

InMotion

Commander
Joined
Nov 3, 2011
Messages
2,080
Re: 1968 Starcraft Jupiter - Rebuild

Jasoutside - Well done, that's a big job behind you!

Thanks Jas. It was longer than I thought it would be... but I learned alot too and got faster as it went.

rheagler - Looking good Jim. That's definitely a milestone progress wise. And yes, the odd warm weather is being enjoyed here in tropical New Jersey!

Thanks RH. Good to be farther than I got on JI!!!

MichaelP - Congrats! You've turned the corner. Where are my sunglasses????

Thanks Michael --- Yeh it's much brighter now that it's cleaned!!!

Nice job Jim, they look so good naked, just wait till you put some make up on her !!:facepalm: If you can persuade a friend with beer and pizza for the polishing it will go a lot faster. You will need lots of clean soft rags. One guy runs the polisher and the other wipes off the residue behind ( they are both not easy jobs but the polisher is a little easier on the shoulders). You will find one you get the pad loaded with polish it works way better, but the only way to do that is a little at a time other wise you will throw polish all over your helper. OH and don't wear white socks in you sneakers the black doesn't come out of them.
Glen

It really feels good to have that task put to rest. Glen -- thanks for the really good tips there --- there may need to be more incentive --- in a liquid form... but I ave someone in mind! :D


GABoater - Boy, IM - JII looks a million times better than JI. The fishies will be ordering new Foster-Grants and Raybans.

Thanks GA - Wait till it's polished.... should blind them to death --- won't need to bring a rod to fish... just a big net!


Thanks again guys. It really feels good to have that task put to rest.

I got thinking this morning... I will cut the floor out this weekend! I have the templates and some time before I can flip the boat. At least the floor pieces will be cut and ready to dry fit when I can flip it next weekend. Don't want to get too far ahead... but I know the old floor pieces I took out fit really well.
 

InMotion

Commander
Joined
Nov 3, 2011
Messages
2,080
Re: 1968 Starcraft Jupiter - Rebuild

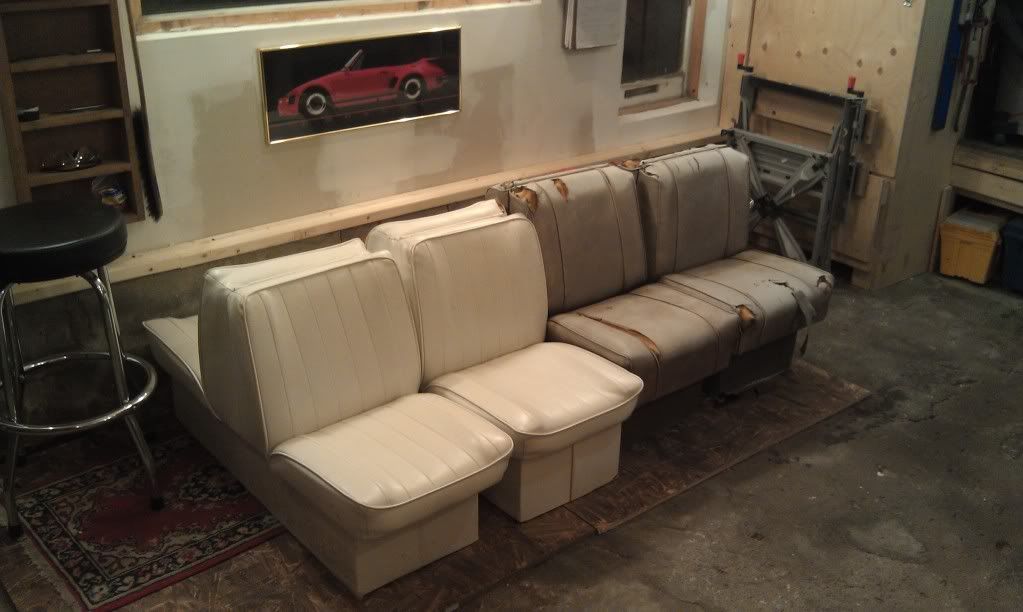
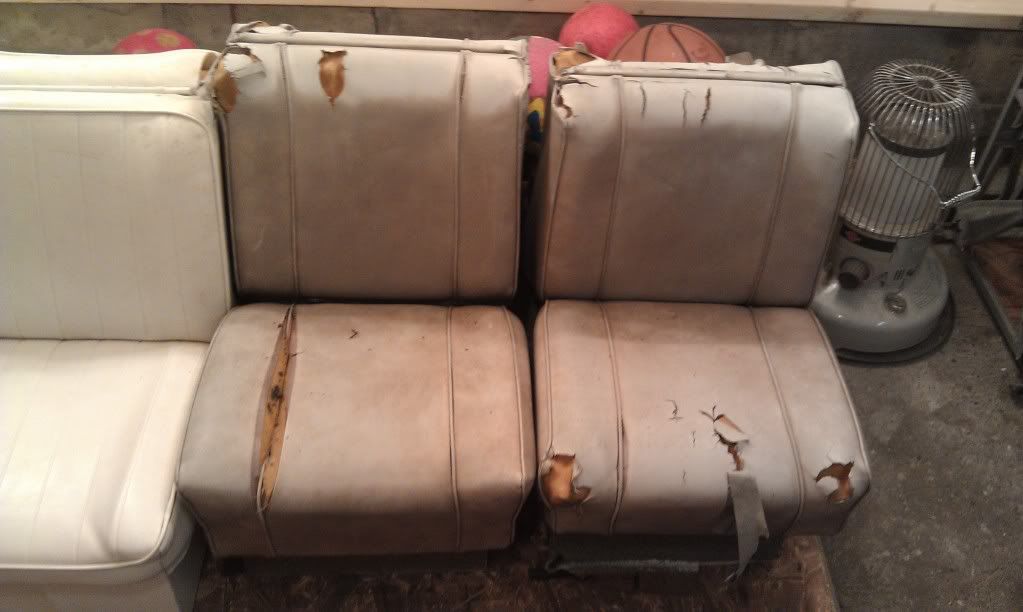
Soooooooo.... I have a couch of seats to show you guys:

IMAG0173.jpg

IMAG0174.jpg


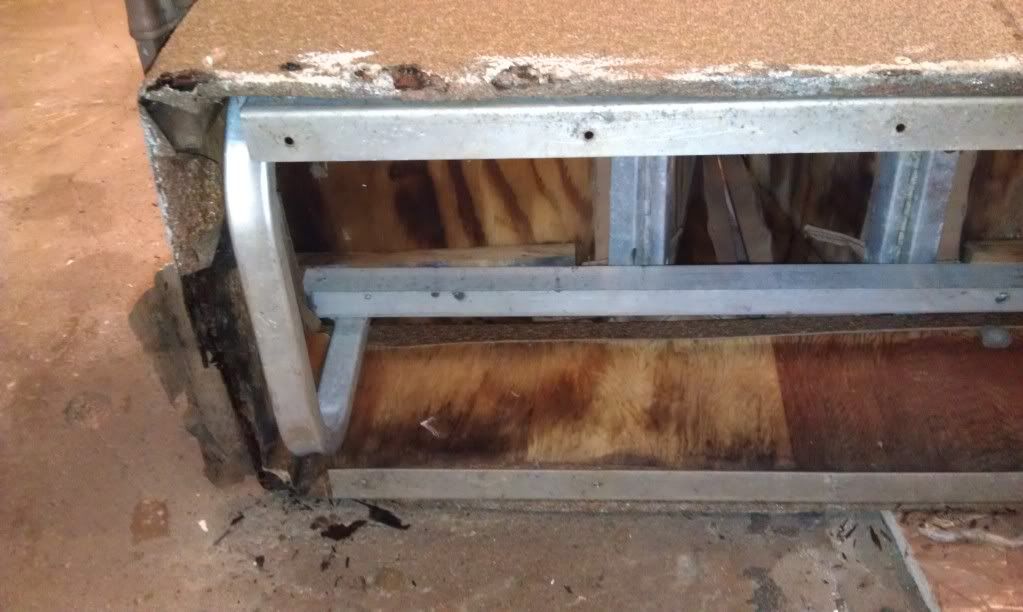
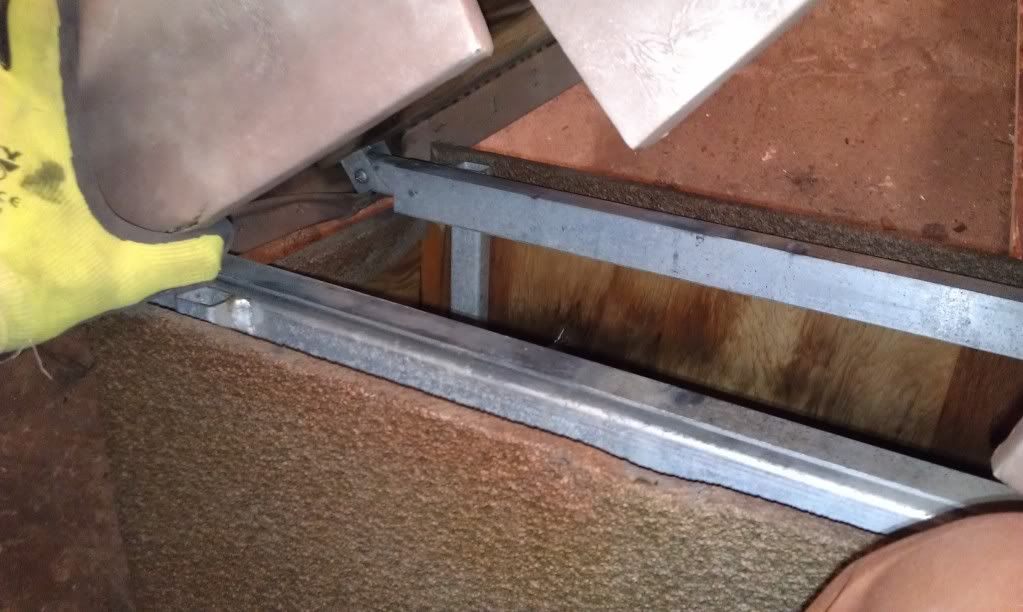
The white set is from J1 and the brownish half destroyed set is from J2. I had thought that the bases from the J2 set could be used to put the tops from the J1 set on... but:

Wood Frame:
IMAG0179.jpg


They're not great either. Actually, the metal frame is in excellent shape. But the wood is shot. It is more mulch then wood to be honest with you.

Metal Frame:
IMAG0178.jpg


So here's what I am thinking... I will take the white seats, remove the bases as they are somewhat rotted and moldy. I will build new bases but use the metal frame from J2's seats. Then sew the seats in the 2 corners at the top of the seats that have split open about 2 inches --- not torn though --- which is good! Whatcha think guys?

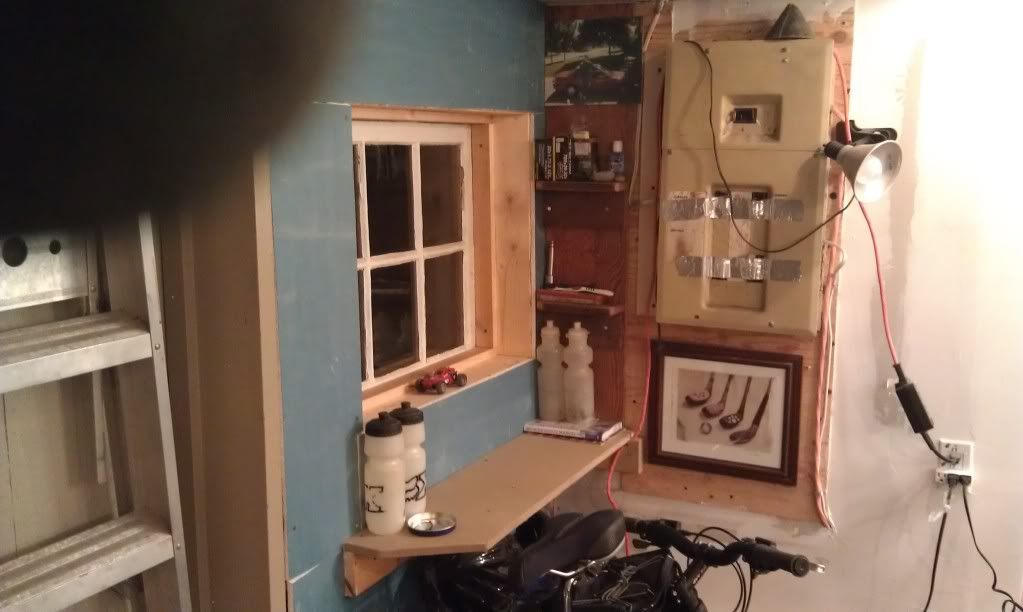
And so that you guys don't think I am completely slacking off... Due to the abnomally warm weather, Mrs Motion thought that it would be a brilliant idea to have the covered deck back for use by us and the kids --- aka no more a storage area for the boat parts. Sooooo a 5 hr cleaning project was born! It is now totally useable... save for some sheets of 4x8 and a boat windshield! I managed to sort of scatter all of the boat bits around the yard --- outside and inside where appropriate. I also stripped J1's side panels of the vinyl and took measurements for Gibbles... What good wood was left I made a couple of shelves as a "tribute" to J1!!!

IMAG0176.jpg


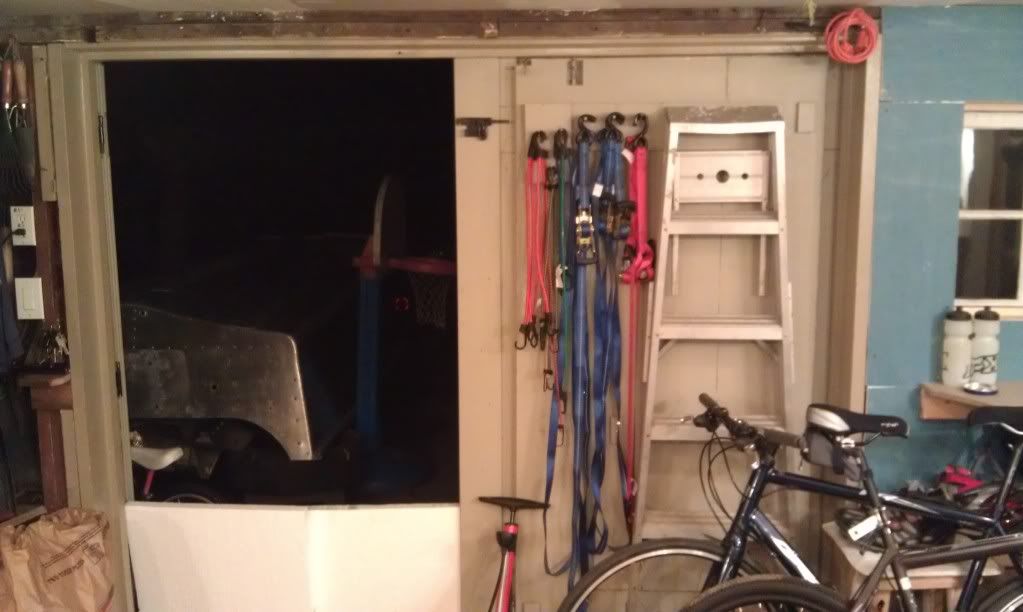
Finally, I managed to properly insulate the front doors and put a rubber piece at the bottom to keep the warm in and roddents out! It's a bit hard to see... but behind the ladder is a some painted white styrofoam attached to the door and a the bottom is a rubber strip... The extra white styrofoam is just there to get it out of the way. I actually have a board in front of the door to keep unwanted critters (skunks and coons) from walking into the garage inadvertantly!!

IMAG0177.jpg


Happy Tuesday fella's!!!
 

InMotion

Commander
Joined
Nov 3, 2011
Messages
2,080
Re: 1968 Starcraft Jupiter - Rebuild

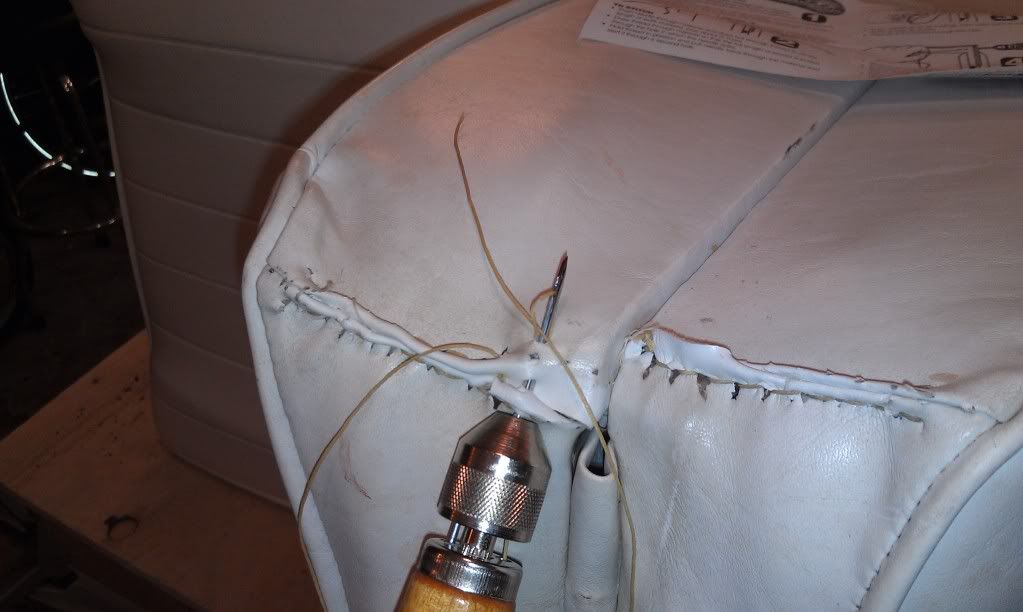
Stich and Stab: Sewing is not my forte... but when duty calls, I'll do it for the team! K' --- big thing is that the sewing tool that I have missed one really important thing in the instructions --- when you push the loose end of the thread through the loop beside the needle, there are two options. One is wrong and one is right. The photo below shows the correct one. Took some time for me to realize this as I wasn't looking for a missing instruction but rather I was looking to make sure I had followed the instructions given correctly!! In the end I got it.

IMAG0184.jpg


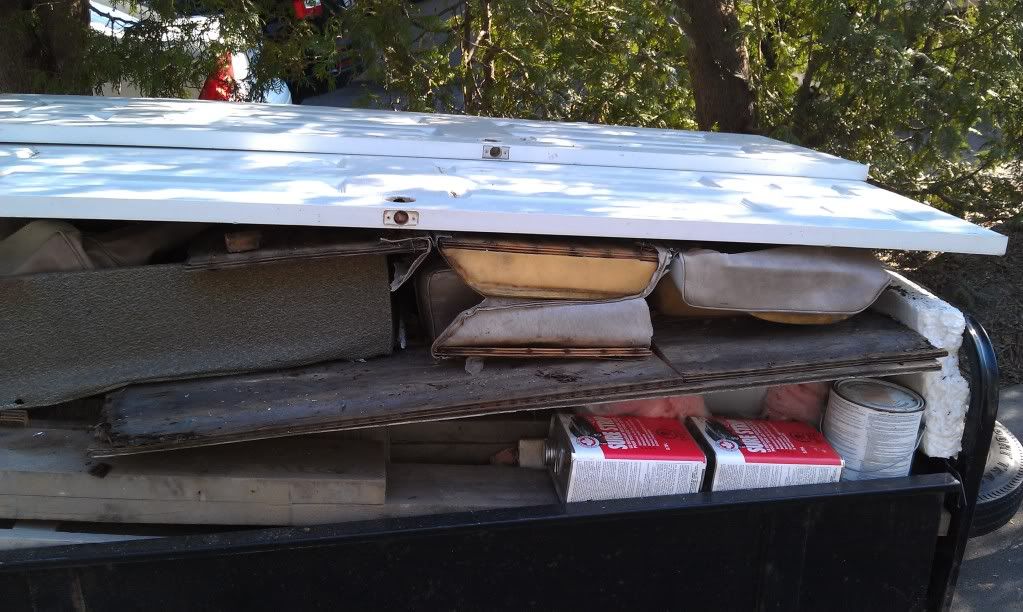
The ratty seats are now heading to the dump tomorrow...

IMAG0181.jpg


Truth is Mrs Motion looked at the seats --- in all their moldy, stinky, sewn state and said "I think you should buy new ones". I spent half a day cleaning these and another couple of hours sewing and fixing the rotted wood... but in the end, the vinyl spent 2 years + sitting in water and exposed to the elements. Although they don't look too bad all things considered, they really will not last long with kids jumping on them. I'll keep them for something... but the Mrs is probably right here. :(

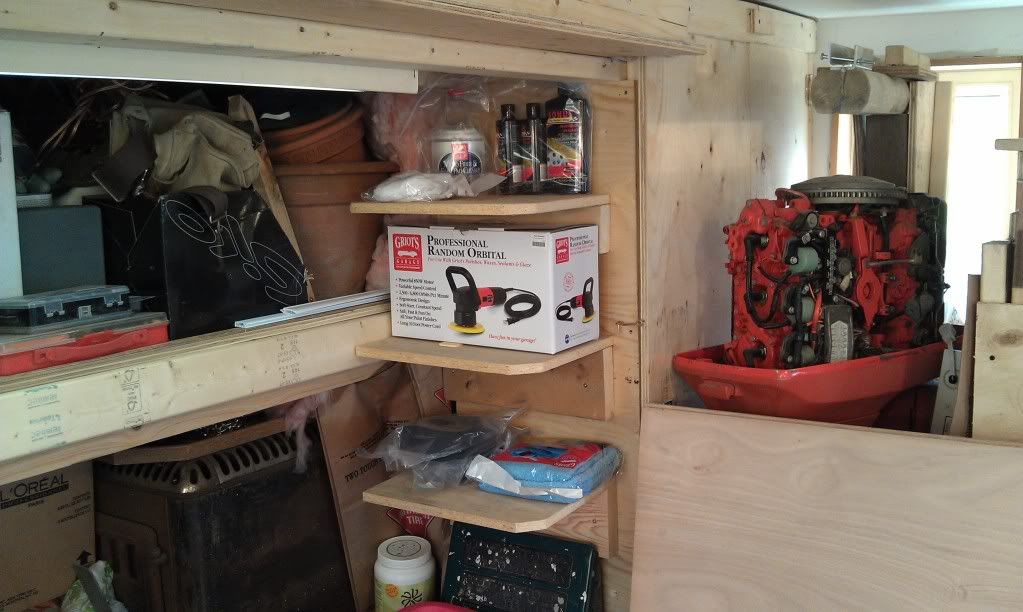
GOOD NEWS... I got me a buffer/polisher! and the polish and sealant. I was pretty excited... so I build some shelves and stocked them with the new equipment.

IMAG0180.jpg


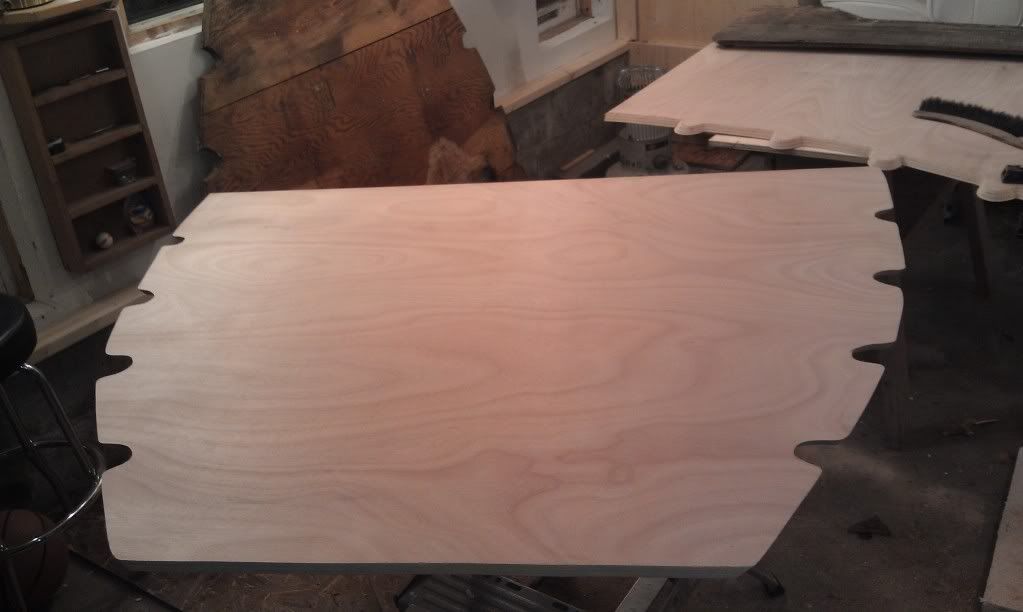
Last but not least... I got 2 of the 3 pc's of the floor cut this morning!! Feels good to have some good forward momentum now.

IMAG0185.jpg


One last thing... had the pleasure of going for a rather fast ride in a co-workers 2010 Corvette --- driven like it stolen. It really goes like a stabbed rat... super fast and man does it make a mean sound!! Made my day I'll tell you! :D
 

Gibbles

Commander
Joined
Nov 14, 2009
Messages
2,027
Re: 1968 Starcraft Jupiter - Rebuild

Stich and Stab: Sewing is not my forte... but when duty calls, I'll do it for the team! K' --- big thing is that the sewing tool that I have missed one really important thing in the instructions --- when you push the loose end of the thread through the loop beside the needle, there are two options. One is wrong and one is right. The photo below shows the correct one. Took some time for me to realize this as I wasn't looking for a missing instruction but rather I was looking to make sure I had followed the instructions given correctly!! In the end I got it.

IMAG0184.jpg


The ratty seats are now heading to the dump tomorrow...

IMAG0181.jpg


Truth is Mrs Motion looked at the seats --- in all their moldy, stinky, sewn state and said "I think you should buy new ones". I spent half a day cleaning these and another couple of hours sewing and fixing the rotted wood... but in the end, the vinyl spent 2 years + sitting in water and exposed to the elements. Although they don't look too bad all things considered, they really will not last long with kids jumping on them. I'll keep them for something... but the Mrs is probably right here. :(

GOOD NEWS... I got me a buffer/polisher! and the polish and sealant. I was pretty excited... so I build some shelves and stocked them with the new equipment.

IMAG0180.jpg


Last but not least... I got 2 of the 3 pc's of the floor cut this morning!! Feels good to have some good forward momentum now.

IMAG0185.jpg

Nice work so far

Question on your flooring

The cut out for the ribs, does the floor lay down low enough to sit down in the ribs?
 

InMotion

Commander
Joined
Nov 3, 2011
Messages
2,080
Re: 1968 Starcraft Jupiter - Rebuild

Nice work so far

Question on your flooring

The cut out for the ribs, does the floor lay down low enough to sit down in the ribs?

Thanks Gibbles.

The short answer is yes. The longer answer is that inner edge of the cutout rests on the very end of the rib on the floor. I should also mention that I cut the sides at a 45 degree angle. There will be a small gap between the hull and the floor board... but not much.

Hope answers your question!
 

rheagler

Senior Chief Petty Officer
Joined
Jul 14, 2007
Messages
662
Re: 1968 Starcraft Jupiter - Rebuild

Looking good Jim. Glad to see some progress. I know how you feel about spending a lot of time on the seats only to not use them. I've done that a lot myself.
 

ezmobee

Supreme Mariner
Joined
Mar 26, 2007
Messages
23,767
Re: 1968 Starcraft Jupiter - Rebuild

Seats aren't that expensive in the grand scheme of things. You'll be glad to have them. The plastic bases are a plus too.
 

MichaelP

Lieutenant Junior Grade
Joined
Apr 26, 2010
Messages
1,190
Re: 1968 Starcraft Jupiter - Rebuild

Put the old ones up on CL. Around here there is always someone looking for them in any condition. You'll be spending alot of time in those so get comfy ones.
 

dozerII

Admiral
Joined
Oct 25, 2009
Messages
6,527
Re: 1968 Starcraft Jupiter - Rebuild

Nice work Jim, can hardly wait till you start polishing, you will have to have the wife take a photo of the smile on your face when you first stand back and take a look.
Glen
 

InMotion

Commander
Joined
Nov 3, 2011
Messages
2,080
Re: 1968 Starcraft Jupiter - Rebuild

Thanks guys... I will definetly keep that in mind when looking at new seats. Glen --- most definetely!!! Although... read my next post.... :confused: The results so far are a bit mixed... ????
 

InMotion

Commander
Joined
Nov 3, 2011
Messages
2,080
Re: 1968 Starcraft Jupiter - Rebuild

So progress business first... had some busy morn's in the garage --- decided to:

1. Patch the floor so the dolly wheels wouldn't catch and dump the boat on the ground.
2. Mud around the front window - 2 coats
3. Final finish mud the rest of the garage --- I'm just generally not good enough at it to do it in 2 coats --- especially the crazy walls/ceiling in this place!!
4. Built a small (12" x 52") wide work bench in front of the big window
5. Cleaned garage
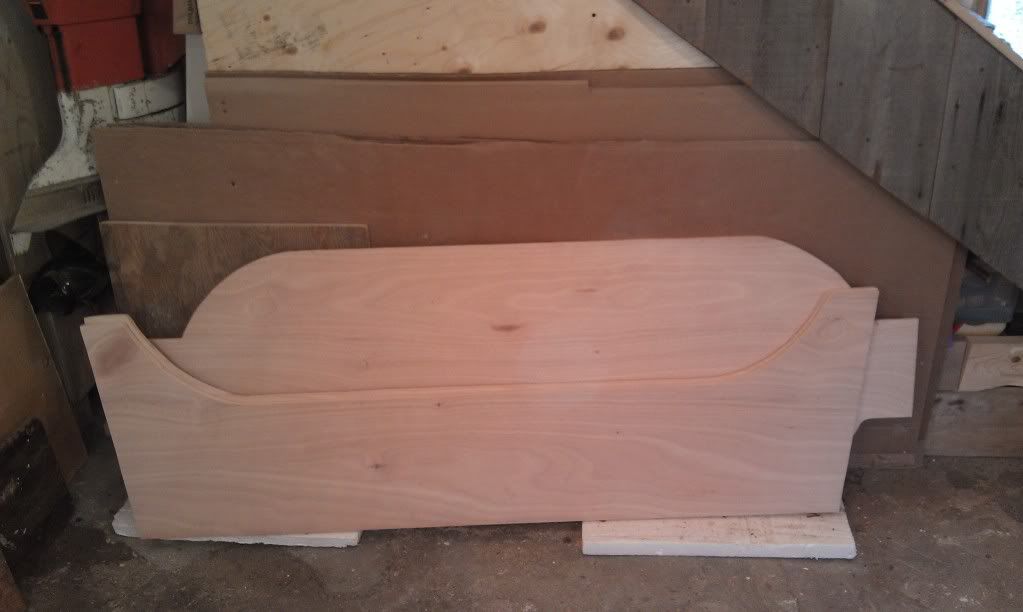
6. BIG ONE --- cut the other floor pieces and the transom!!!
7. Went to the dump with boat and garage junk --900 lbs worth of stuff. My son got to see a fire truck, ambulance, police car and front end loader. Some dude backed his trailer in to a pickup truck right be side us and the lady in the truck may have gotten wiplash or something.... not really sure of the scoop ---- but it was like there was a 4 car pile up on a major highway given the amount of emergency crew that arrived!! Must have been a realllllly slow day!!

Transom shot:

IMAG0186.jpg


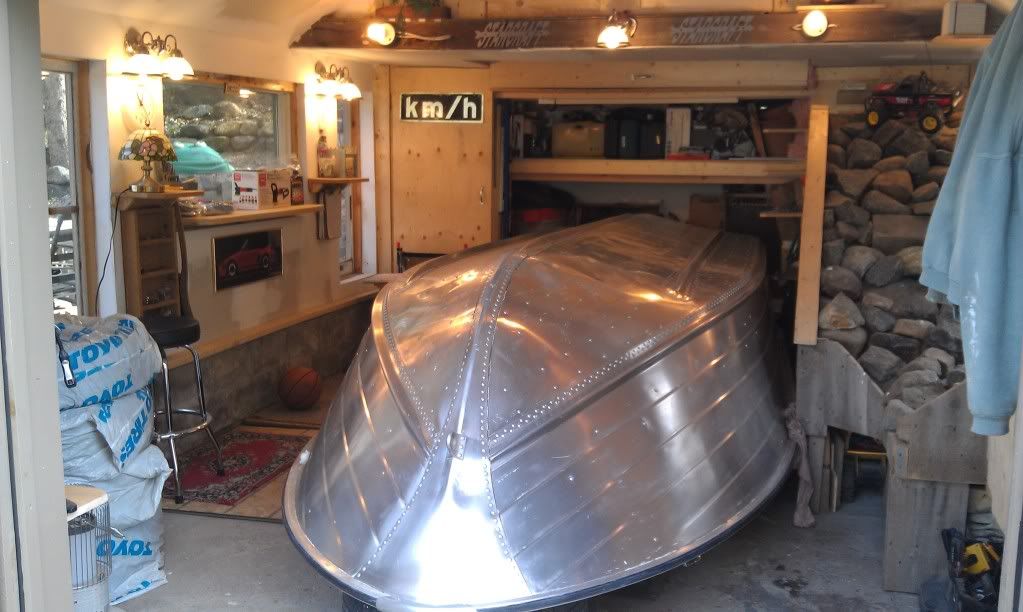
Got the boat back in the garage (phewwww... now we can play basketball on the driveway again!!)

IMAG0187.jpg


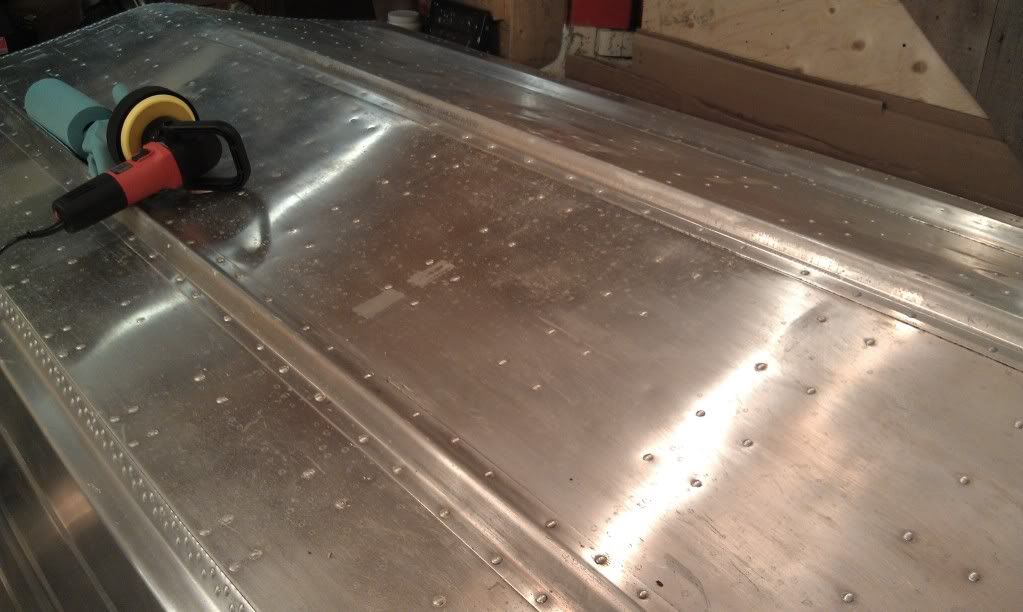
Earlier this morning, I thought I would try my hand at polishing!... ok so here is a "before" shot:

IMAG0190.jpg


And here is the after shot:

IMAG0193.jpg


Not bad... but I was figuring it would be better to be honest --- and boy can you see where the rollers sat now!!! I think I will hit it again. I found that running the polisher a little faster worked a little better. I started on the slowest speed... which was really slow. Griot's recommends setting 4-5 and I was running setting 1. Sooooo, I gradually sped it up and it worked better for sure. I was also really in need of more micro fibre cloths as I very quickly gummed them up.

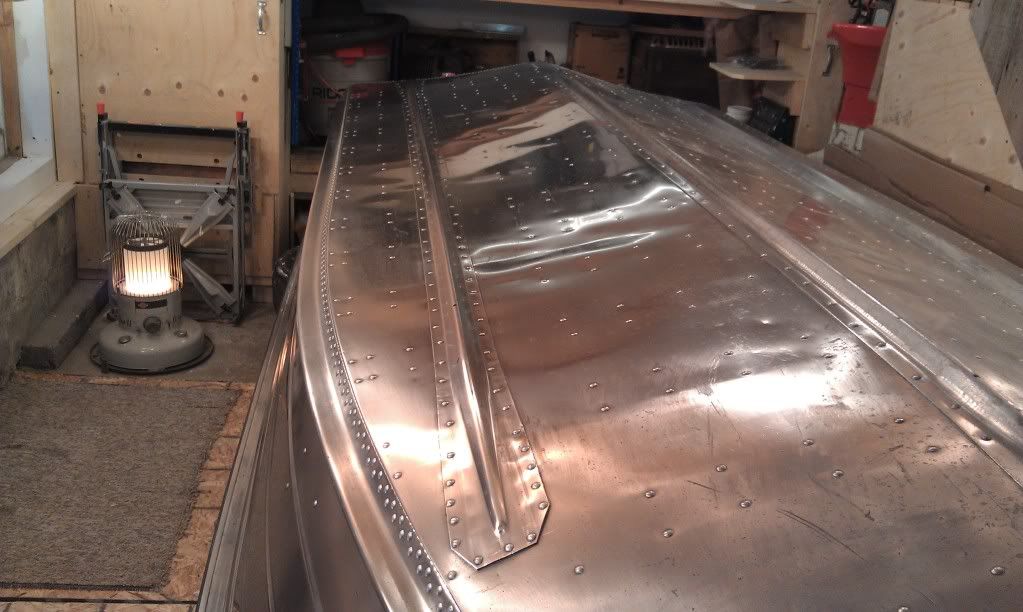
Here's another couple of shots:....

IMAG0192.jpg


IMAG0195.jpg


Notice where the old rub rail was?? It certainly doesn't stand out as much... but it is still visible. Also on the hull, there is very, very slight oxidization or swirl rough areas where the aluminum is not shiny in areas. It got a lot better with the polish... but didn't go away. Maybe I am being to picky here, or I am doing it wrong. Time will tell. One thing is for sure, I will be wearing gloves next time!! What a mess.

Now, I have to admit, I kinda stunk up the basement this morning... I brought the towels and pad in to clean, and man that polish smells (truthfully it was my wife who was not a fan)... so tip here: clean the stuff up with ventilation!!!

Anyway, it looks better I think... just not a mirror finish --- yet.

Have a great day.
 

jasoutside

Supreme Mariner
Joined
Dec 20, 2009
Messages
13,269
Re: 1968 Starcraft Jupiter - Rebuild

I quickly figured out I am too dumb to run a mirror polish job, that's why I went "brushed". So what you got there, looks great:)
 
Status
Not open for further replies.
Top