1967 Starcraft 15' Jet Star Restoration

Status
Not open for further replies.

odyssey350kc

Petty Officer 2nd Class
Joined
Jun 5, 2012
Messages
144
Re: 1967 Starcraft 15' Jet Star Restoration

It's also called cavitation, as Crosby mentions, and that's what the horizontal fin above the prop is supposed to help prevent, hence the name: anti-ventilation or anti-cavitation plate.

That makes perfect sense, I wonder if i could get larger fins on the motor to help at all, though I feel like the aftermarket fins are used to push the motor up out of the water quicker when accelerating, so they would probably have the opposite effect I want.
 

caswesm

Cadet
Joined
Aug 14, 2013
Messages
14
Re: 1967 Starcraft 15' Jet Star Restoration

Hi I have a 1968 15ft Starcraft Jetstar and i was wondering if anyone knows how to get a new windshield or how to restore mine?
 

odyssey350kc

Petty Officer 2nd Class
Joined
Jun 5, 2012
Messages
144
Re: 1967 Starcraft 15' Jet Star Restoration

I found a company in florida that makes them but they charge close to $500. I polished mine with a buffer and car headlight polish. You could barely see through it. Now its crystal clear.
 

caswesm

Cadet
Joined
Aug 14, 2013
Messages
14
Re: 1967 Starcraft 15' Jet Star Restoration

I found a company in florida that makes them but they charge close to $500. I polished mine with a buffer and car headlight polish. You could barely see through it. Now its crystal clear.

Mine is good but you can't see through it was all yellow and green but I got it clean now I just can't see. I'll try buffing it
 

caswesm

Cadet
Joined
Aug 14, 2013
Messages
14
Re: 1967 Starcraft 15' Jet Star Restoration

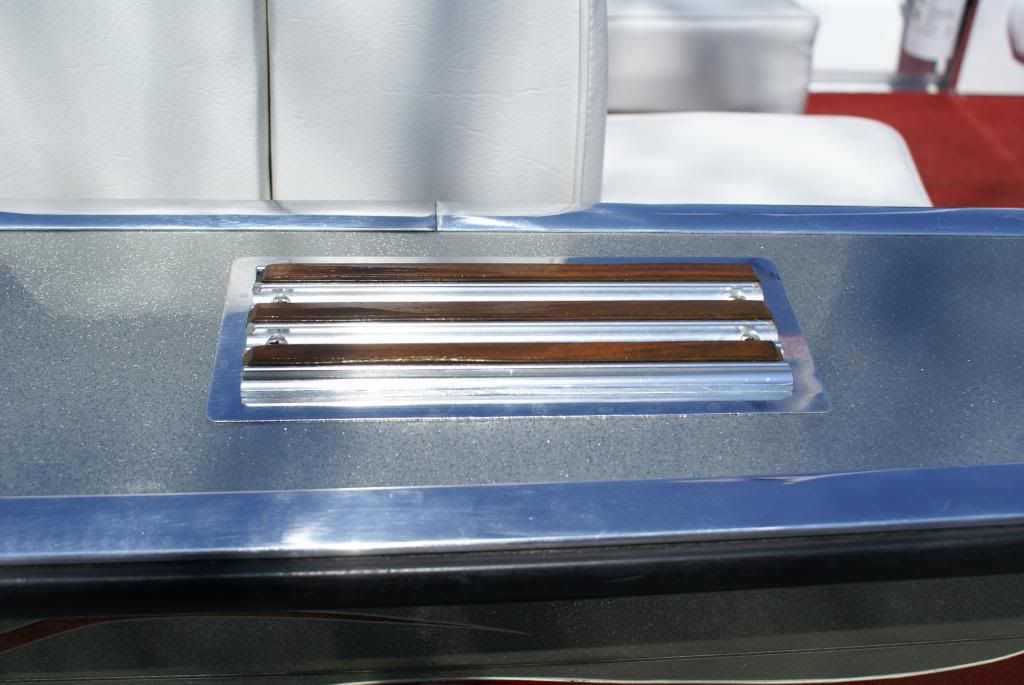
Nice shot of the dash


cleaned up steps


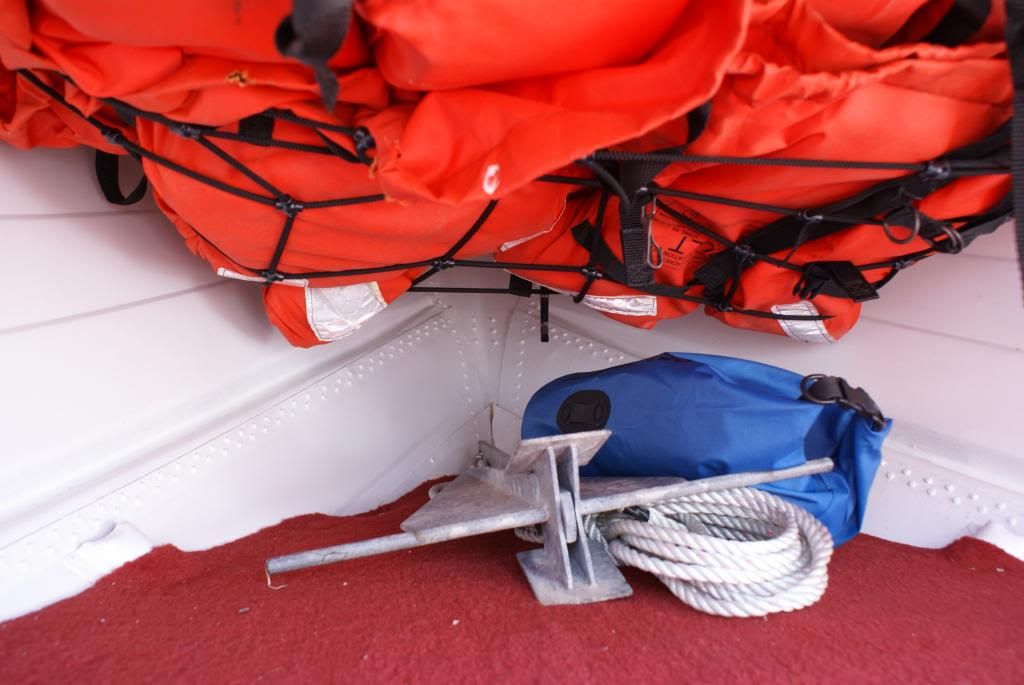
My lifejacket storage system, under bow held in using bungee net


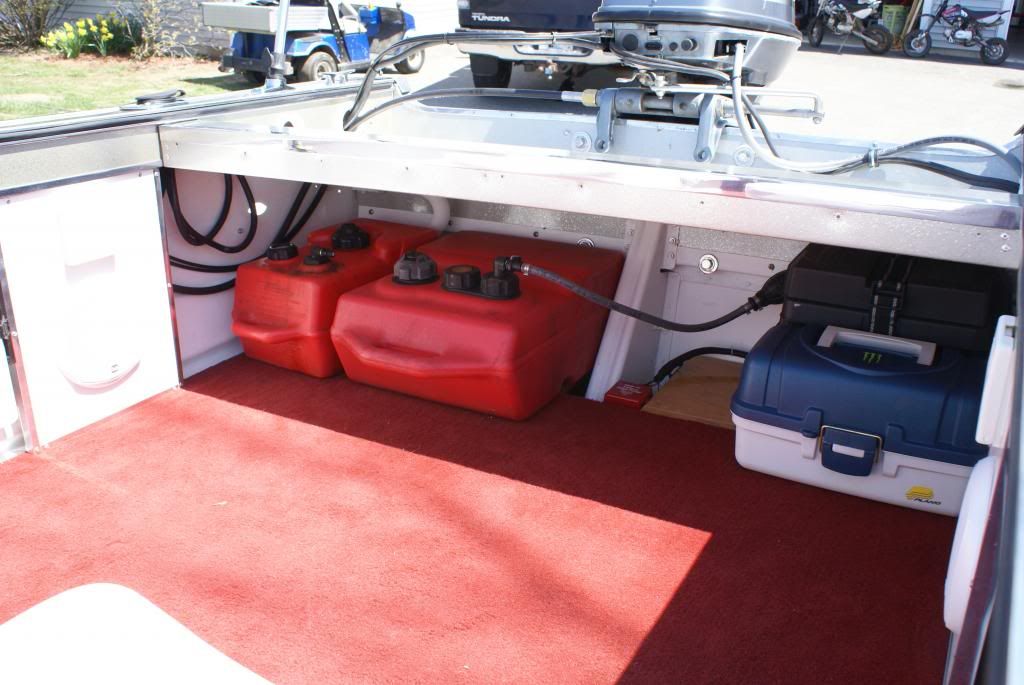
Gas Tanks, bilge and tackle box


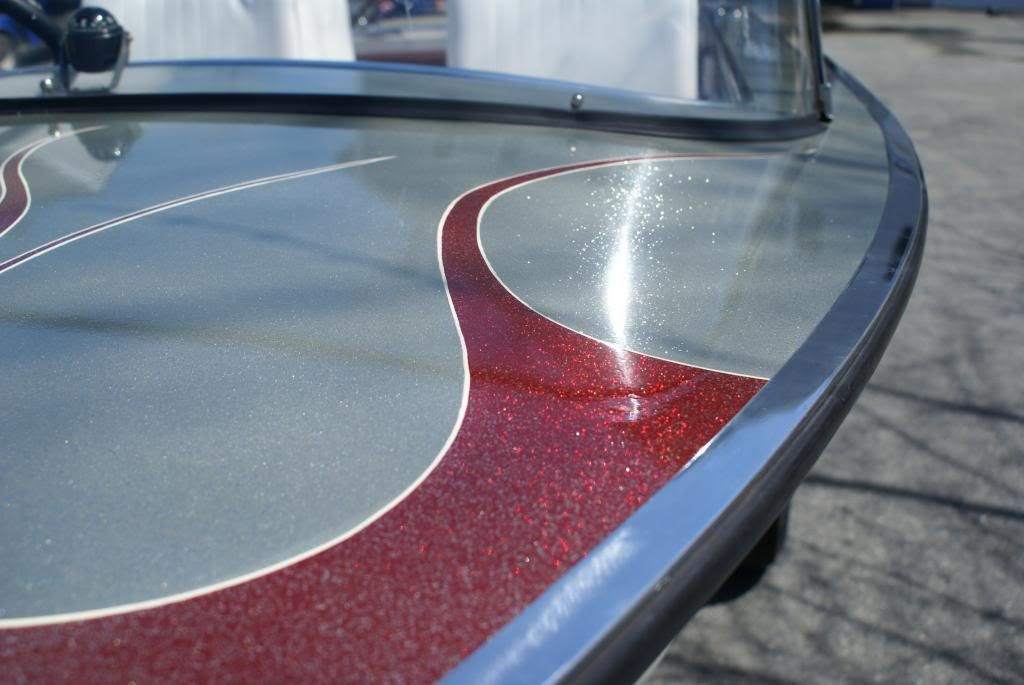
Tryin to get a good shot of the metal flake, hard to do though.

Hey did you get new rub guard rubber? I'm just having really bad luck finding new or good for my boat. I have same style as you just little newer boat
 

odyssey350kc

Petty Officer 2nd Class
Joined
Jun 5, 2012
Messages
144
Re: 1967 Starcraft 15' Jet Star Restoration

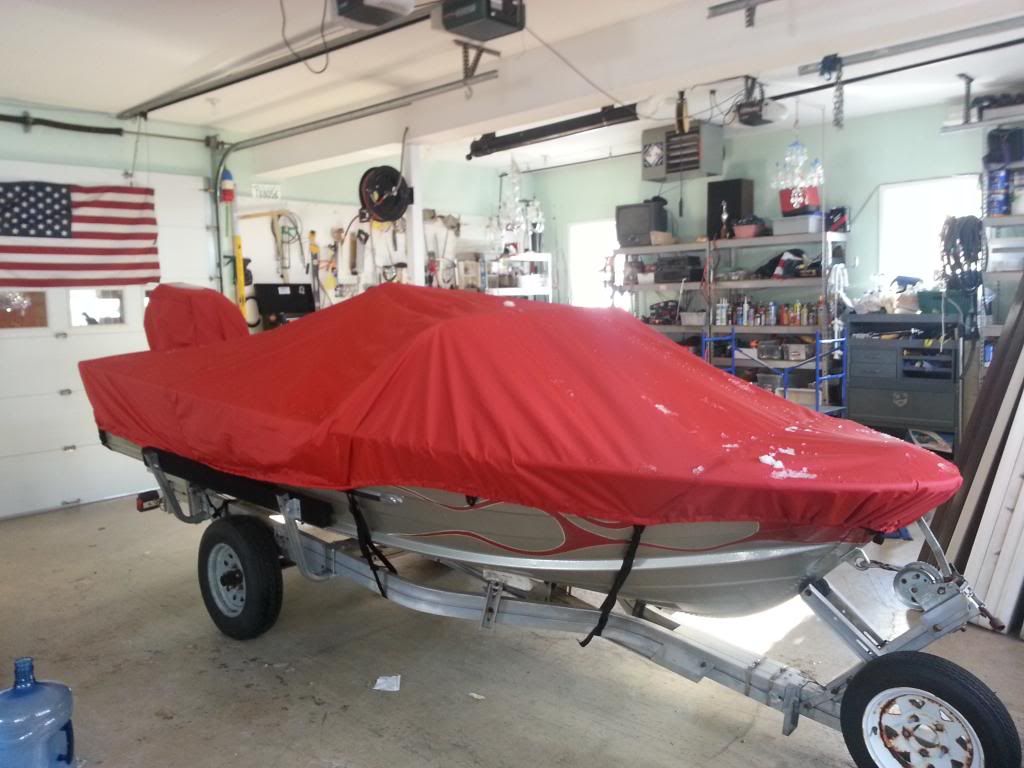
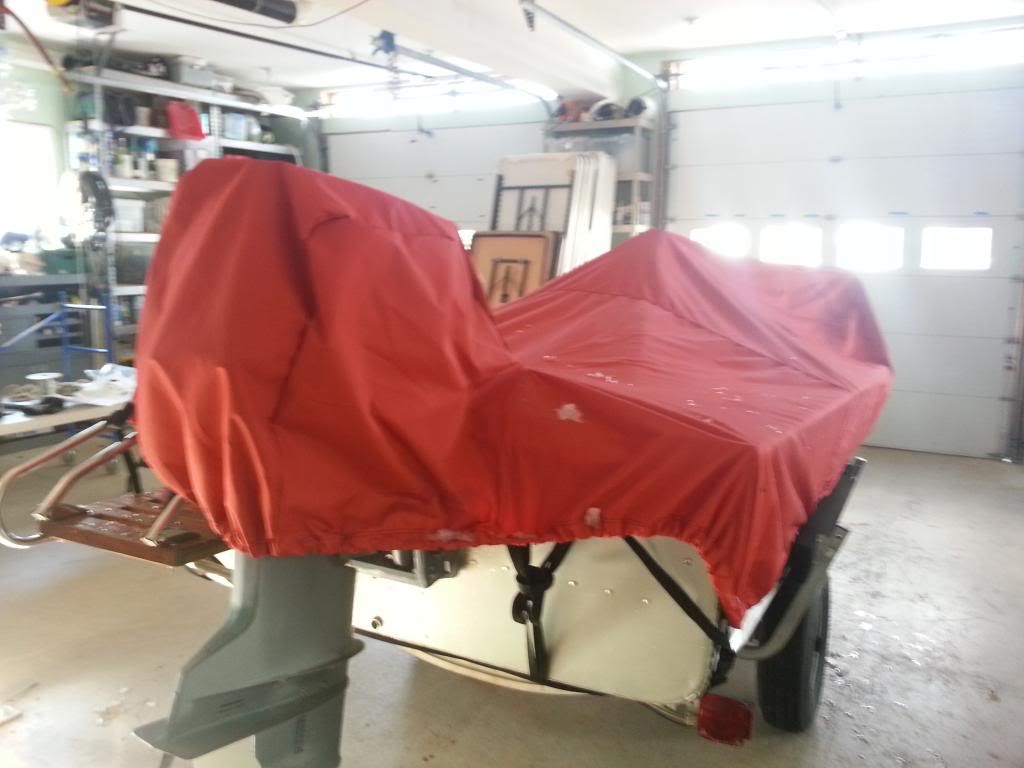
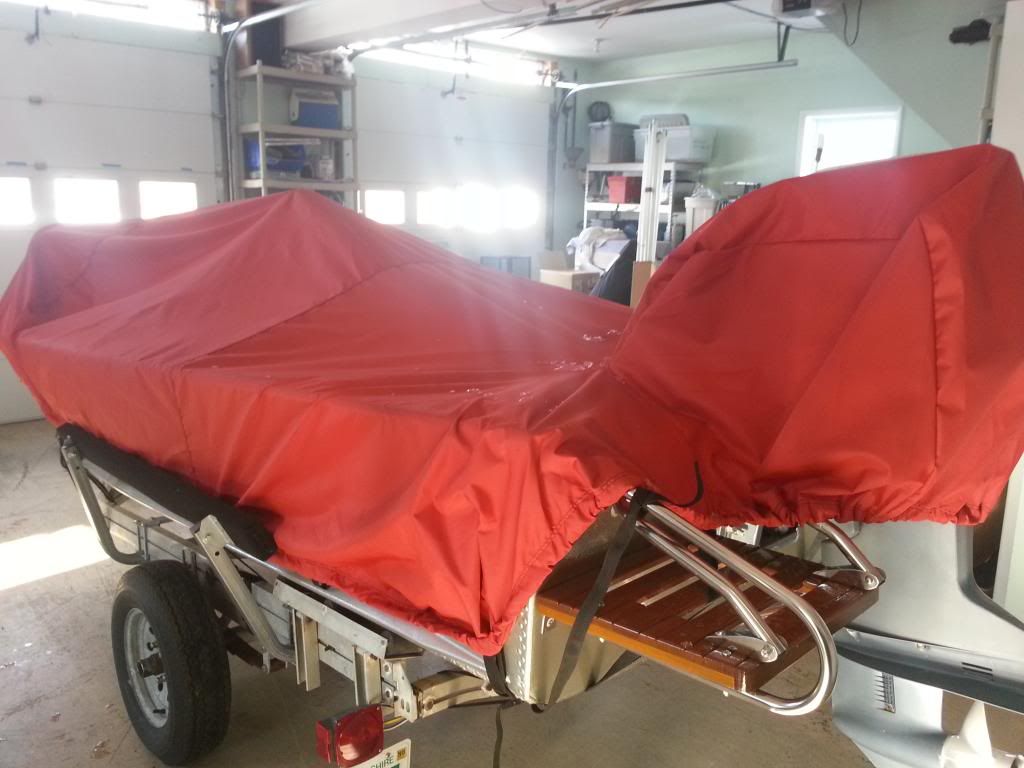
Figured i would post some final pics of her all covered up for the winter.

I ended up purchasing a cover right here on iboats, and I am very happy with the results. Here's a link for the cover... Supreme Aqua Shield - ENDURACover 77015S - iboats


It came in the right color, has a warranty, and best of all came with a free tie down kit and support system to hold it up, as you can see in the pics it fits very nicely and seems very durable, and the motor hood is the perfect size as well.

In the third pic you can also see the swim platform i added a while back, a must if you want to get in an out of this boat in the middle of a lake.
 

dozerII

Admiral
Joined
Oct 25, 2009
Messages
6,527
Re: 1967 Starcraft 15' Jet Star Restoration

Great boat od, I got you added to the nominations list for the SOTY award.
 

InMotion

Commander
Joined
Nov 3, 2011
Messages
2,080
Re: 1967 Starcraft 15' Jet Star Restoration

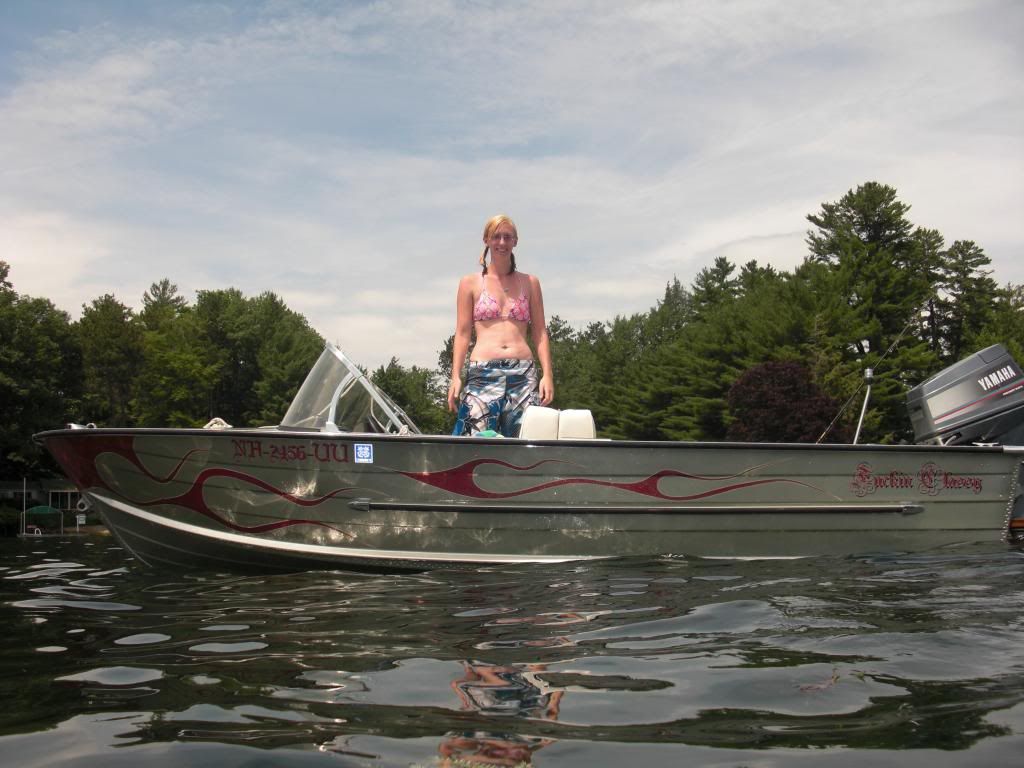
Sweet looking boat OD.... really like the graphics and details! Nice work man.... nice to see some "on the water" shots there as well. You should be really happy with the rebuild results. For sure ---- its a runner for SOTY!!!

Take care,

Jim
 

odyssey350kc

Petty Officer 2nd Class
Joined
Jun 5, 2012
Messages
144
Re: 1967 Starcraft 15' Jet Star Restoration

Sweet looking boat OD.... really like the graphics and details! Nice work man.... nice to see some "on the water" shots there as well. You should be really happy with the rebuild results. For sure ---- its a runner for SOTY!!!

Take care,

Jim

Thanks Jim, I appreciate it.
 

odyssey350kc

Petty Officer 2nd Class
Joined
Jun 5, 2012
Messages
144
Re: 1967 Starcraft 15' Jet Star Restoration

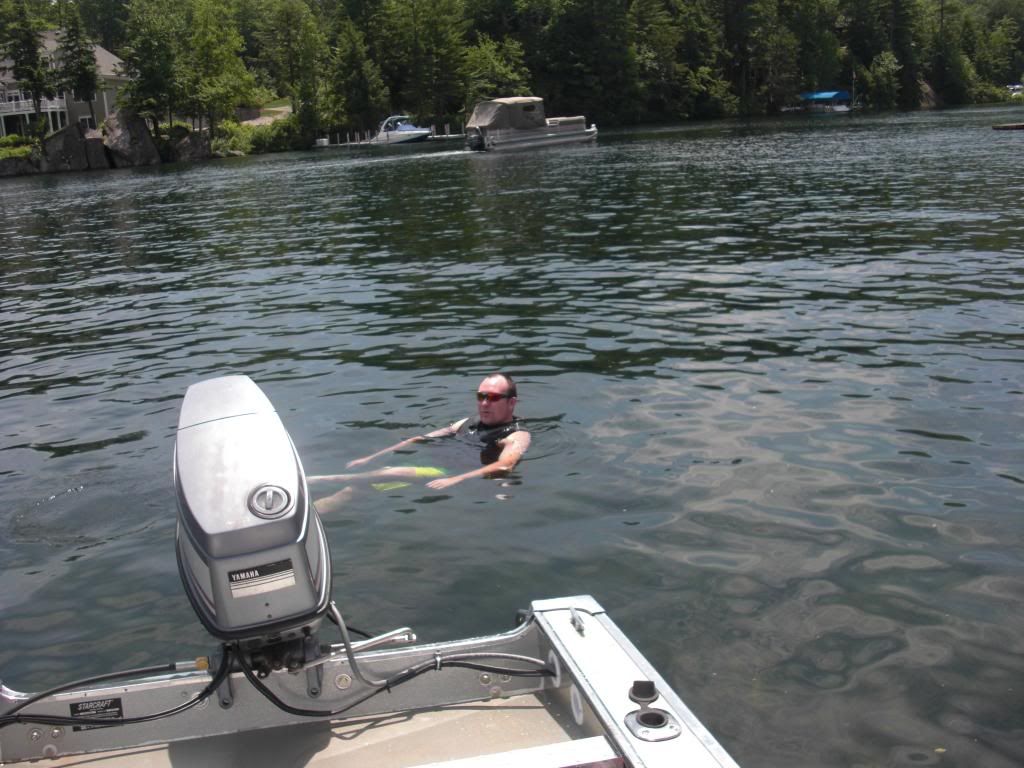
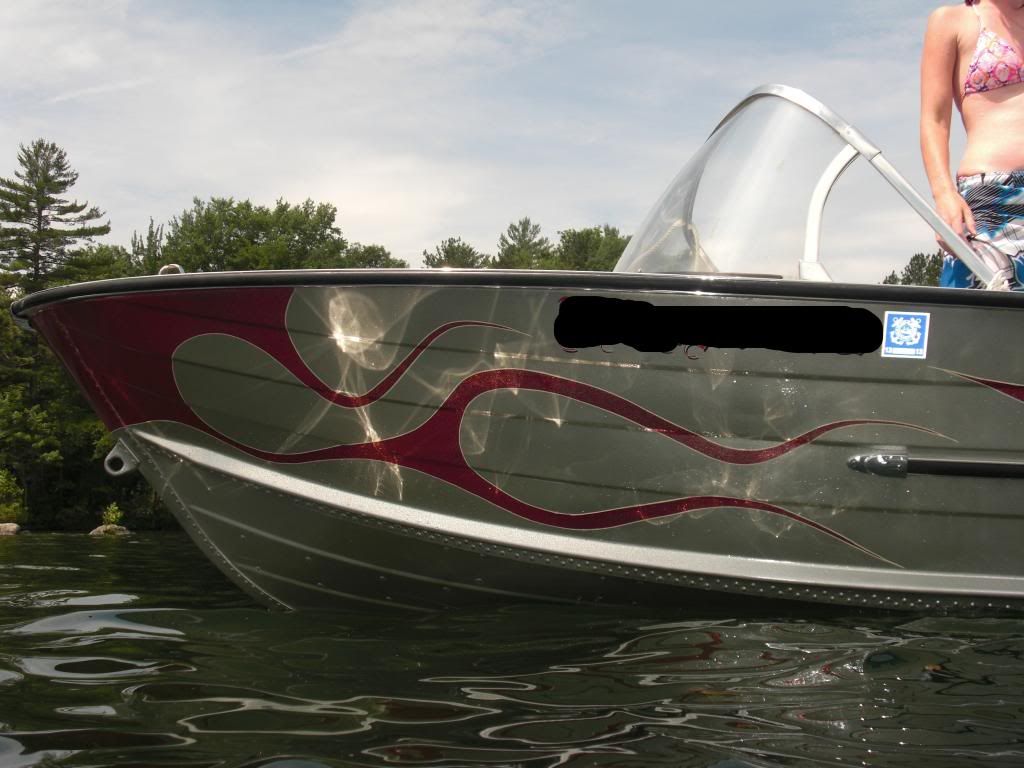
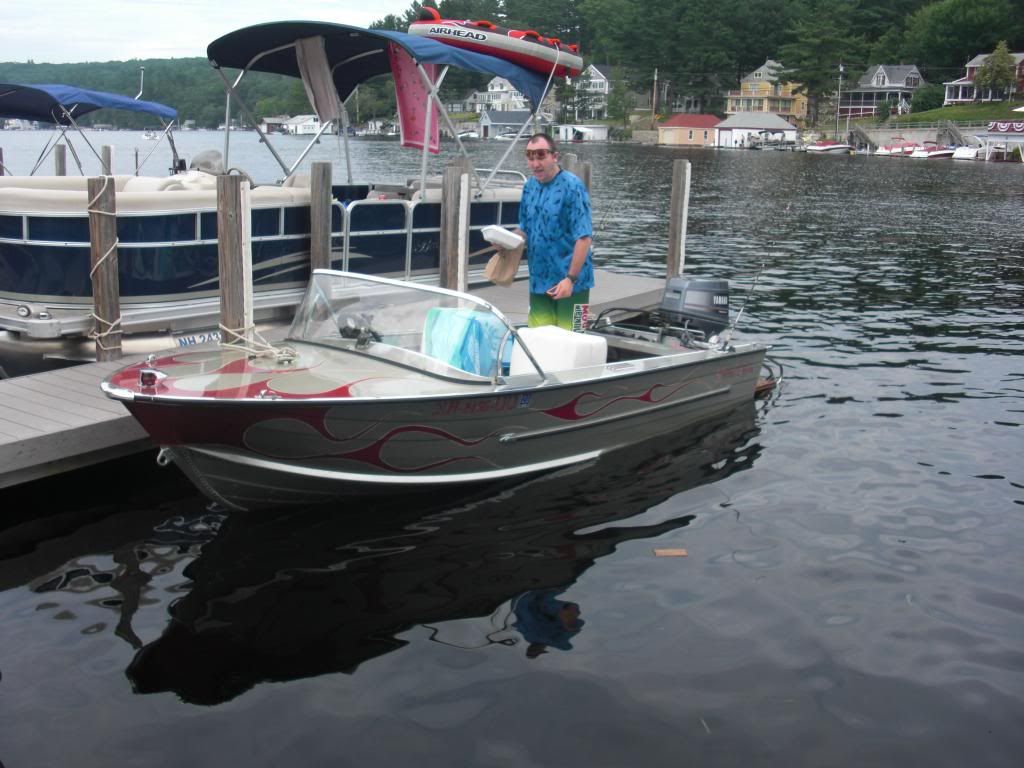
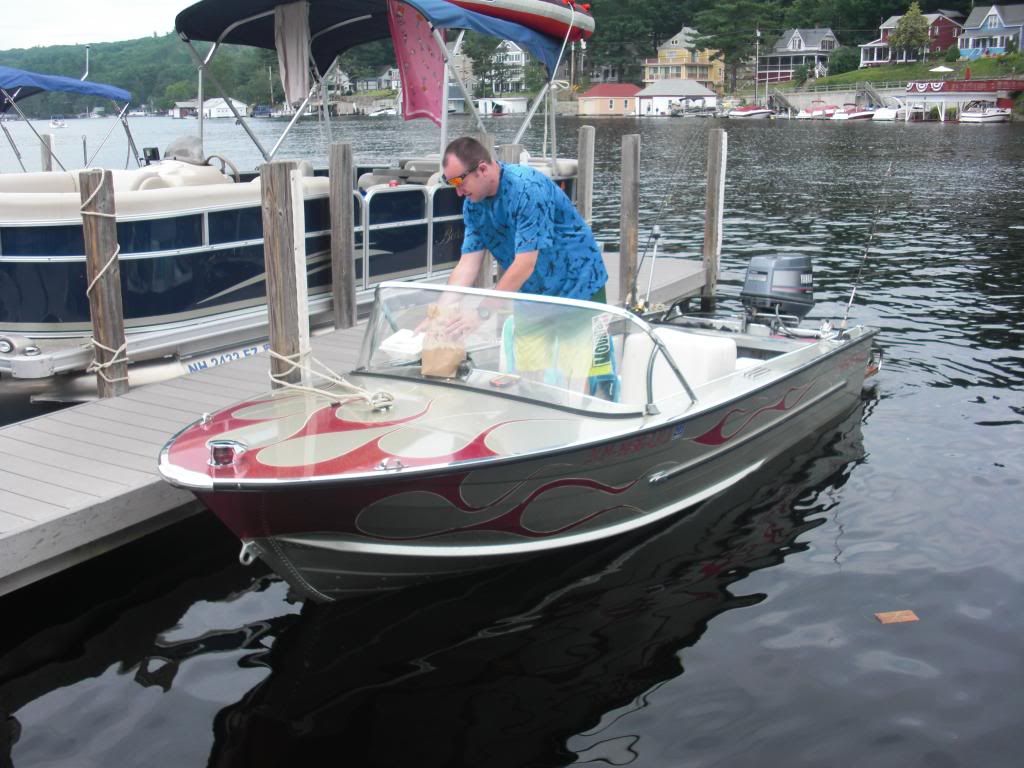
I think I need some more watery pics just in time for the SOTY award. :D


Goin for a little swim - much easier with the swim platform installed


Cool reflections


Lunch at the dock


kfa4303

Banned
Joined
Sep 17, 2010
Messages
6,094
Re: 1967 Starcraft 15' Jet Star Restoration

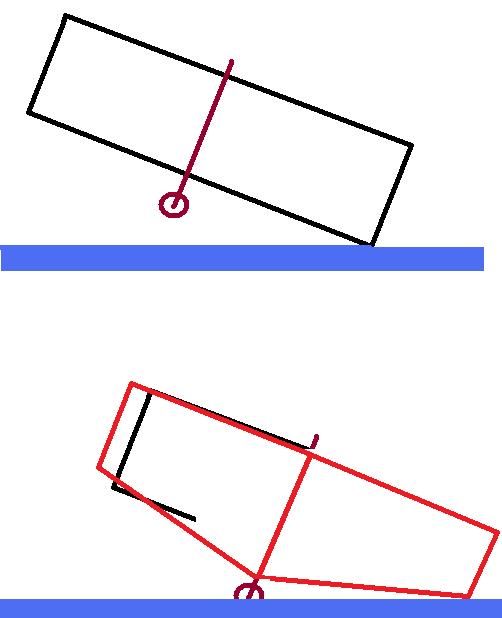
This is likely part of the problem causing the prop to ventilate crossing waves & high speed turns:
attachment.php


As the hull rolls into a turn, the other side is lifting out and w/ a flat bottom, the prop is catching some of the air under the hull... Not correctly scaled or dimensioned, but kind of shows you what I meant:
Flatbottom_zps488fdba3.jpg


You can't mount the motor lower on the existing transom, so changing the trim angle may have to be sufficient.

It's also called cavitation, as Crosby mentions, and that's what the horizontal fin above the prop is supposed to help prevent, hence the name: anti-ventilation or anti-cavitation plate.


+1. However, the correct term when the prop is exposed to air above the waterline is ventilation (aka "blowing out"). Whereas cavitation is a process that occurs below the water on the surface of the the prop itself in which air bubbles essentially boil and cause pitting and damage, and is often caused by pre-existing damage to the prop. Here's a neat little link on the topic.

Cavitation and Ventilation

I love the shots of the boat on the water. I'm glad she tasted a bit of saltwater too. No doubt the flames helped keep you in the lead...until the gas ran out. Let that be a lesson to all to keep a spare gallon, or two on hand.
 

odyssey350kc

Petty Officer 2nd Class
Joined
Jun 5, 2012
Messages
144
Hey guys its been a long time since my last post. I've been using my boat every chance I get. But all the little problems are starting to pop up now.

1. When I restored the boat i filled the hull with water, and no leaks, now i have several leaky rivets, the entire rear end of the boat will be full of water within 30 minutes if the bilge pump is off.

I can no longer access the inside of the hull, what would be the best thing to seal from the outside? 5200?

2. My bilge pump has gotten stuck in the on position several times and completely killed the battery. Today that became a problem when I stopped on a sandbar for an hour and the battery died. luckily my father was able to come save me with his boat.

For this I have ordered a new bilge pump with a built in float switch. A bilge switch on the dash (so the float is no longer wired directly to the battery) and a battery selector switch. so i can turn off the power between uses.

How many of you guys run dual batteries? I was thinking about doing this as well. I never want to be stranded again!
 

Watermann

Starmada Splash of the Year 2014
Joined
Jan 12, 2013
Messages
13,787
Welcome back to the fold!

Since your SC isn't painted you could always try propping her up on each side and using some of the West System G-Flex epoxy on those leakers.

There's no way with 5200, that stuff would be a huge mess.

Adding a battery isolator switch is another good way to keep the battery from being drained inadvertently.
 

lakelover

Rear Admiral
Joined
Mar 26, 2003
Messages
4,386
I had the same leaky rivet problem that you have, despite re-bucking the rivets and 2 coats of Gluvit. I did resort to 5200 around the rivets on the exterior of the hull bottom. When the boat was on the lift, I just used a very small amount on the (many) suspected rivets and it's been dry as a bone now for 2 seasons. Sure, 5200 is messy to work with even in the best of conditions, but it worked for me. I should try to get a pic of it, not too pretty to look at, but only the fish see it anyway.

I say go for it.
 

odyssey350kc

Petty Officer 2nd Class
Joined
Jun 5, 2012
Messages
144
By the way, I have one battery and never have to use the bilge pump.

Thanks. I am hoping that is the case. It gets annoying having to pump the thing out every 15 minutes. Its a rainy day here so I guess I'll go buy some 5200 and get gluing.
 

odyssey350kc

Petty Officer 2nd Class
Joined
Jun 5, 2012
Messages
144
Welcome back to the fold!

Since your SC isn't painted you could always try propping her up on each side and using some of the West System G-Flex epoxy on those leakers.

There's no way with 5200, that stuff would be a huge mess.

Adding a battery isolator switch is another good way to keep the battery from being drained inadvertently.

Thanks for the reply.

Actually the bottom is painted, just silver metallic with metal flake and clear over it.

I actually ordered the battery disconnect switch last night to completely eliminate that problem.
 

Watermann

Starmada Splash of the Year 2014
Joined
Jan 12, 2013
Messages
13,787
Ahh ok, I skimmed back through your thread and I guess seeing the bottom taped and papered stuck in my head. Yeah heat and wire brushing isn't good for paint.

Seems like you have a bunch of water for seeping rivets, be sure to check out the keel plate closely on your leak test as that's one of the biggest leakers on these tin boats. Filling the back of the boat with water in 15 minutes is a pretty serious of a leak, I hope you get it under control.

I have a very small leak in my Chief at the keel that never even reaches the bilge pump after a day on the water and it drives me nuts so I can imagine how you feel. I was planning on using 5200 on the keel seam using a small squeegee for window sealing to lightly apply a bead of that seagull poop and hope it stays put. Around a rivet may be a challenge trying to get it underneath the head with gravity working against you.
 

hayko1971

Starmada Splash of the Year 2015
Joined
May 24, 2013
Messages
448
i found those plastic handled rubber triangle tipped tools for smoothing caulking to be supper effective at working with 3m adhesives.
 
Status
Not open for further replies.
Top