1967 Starcraft 15' Jet Star Restoration

Status
Not open for further replies.

lakelover

Rear Admiral
Joined
Mar 26, 2003
Messages
4,386
Re: 1967 Starcraft 15' Jet Star Restoration

Jas may be right, check around some more. Your piece does have a nice grain to it. I added a 1/4" oak plywood overlay to mine and put 7 coats of spar urethane on it. With the 3/4" original dash and th overlay it made it 1" thick, but system check gauge and steering wheel were able to handle the 1" thickness. Here's a link to my overlay: http://forums.iboats.com/boat-restoration-building-hull-repair/1964-15-starcraft-aluminum-runabout-project-309879-28.html#post3334302

I'm no expert on Iroko..in fact I never even heard of it before now! :D But I did a little reading around the web and there's a lot of conflicting info about working it and finishing it. I'd recommend googling something like "how to finish Iroco" and read all you can about it and you should be able to get some direction. Wish I could be more help. I always think the wood look on the dashboard of these old boats looks nicer than metal, plastic or marine vinyl.

Very nice job on that transom by the way. Looks like there's a gap between the transom board and your side brackets? I presume you're going to add a spacer/filler in there?
 

InMotion

Commander
Joined
Nov 3, 2011
Messages
2,080
Re: 1967 Starcraft 15' Jet Star Restoration

Did the same thing to mine as LL's and added 3/4" in front of the original dash. The gauges were a bit tricky... but basically I cut the holes as they should be from the front side and then made the holes part way from the inside out an extra 1/2" bigger to make the connections.

But I agree with all... that there has to be something that can seal up the wood without it flaking!

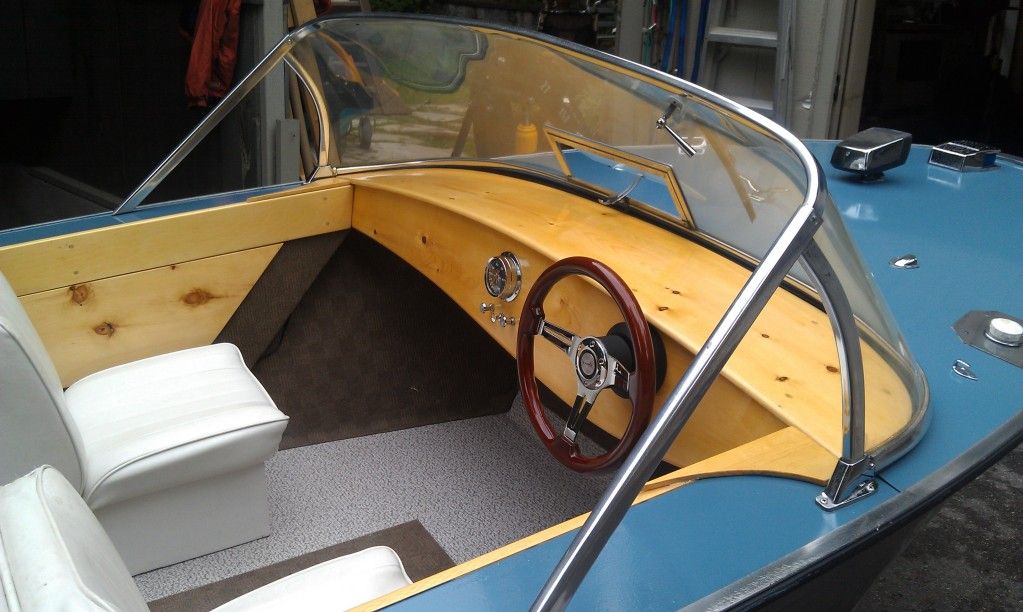
Here is a shot of the overlay over the original dash piece I did as a reference point...

IMAG0373.jpg


Hope this helps!

Jim
 

odyssey350kc

Petty Officer 2nd Class
Joined
Jun 5, 2012
Messages
144
Re: 1967 Starcraft 15' Jet Star Restoration

Jas may be right, check around some more. Your piece does have a nice grain to it. I added a 1/4" oak plywood overlay to mine and put 7 coats of spar urethane on it. With the 3/4" original dash and th overlay it made it 1" thick, but system check gauge and steering wheel were able to handle the 1" thickness. Here's a link to my overlay: http://forums.iboats.com/boat-restoration-building-hull-repair/1964-15-starcraft-aluminum-runabout-project-309879-28.html#post3334302

I'm no expert on Iroko..in fact I never even heard of it before now! :D But I did a little reading around the web and there's a lot of conflicting info about working it and finishing it. I'd recommend googling something like "how to finish Iroco" and read all you can about it and you should be able to get some direction. Wish I could be more help. I always think the wood look on the dashboard of these old boats looks nicer than metal, plastic or marine vinyl.

I spent probably spent a good 4-5 hours scouring the internet about finishing Iroko, and there were so many opinions but the vast majority said not to bother staining or sealing because it will just peel. The best results would come from either using a teak stain and sealer, or waxing the wood. I thought about using a piece of wood overlay, but i really don't want the maintenance down the line of having to reseal it, and I know it seems like a shame to cover up nice wood grain, but i don't really like the wood dash look for this boat, so I think I'm gonna try to find a white plastic to cover it up with. But I really do appreciate all the suggestions.
 

odyssey350kc

Petty Officer 2nd Class
Joined
Jun 5, 2012
Messages
144
Re: 1967 Starcraft 15' Jet Star Restoration

Very nice job on that transom by the way. Looks like there's a gap between the transom board and your side brackets? I presume you're going to add a spacer/filler in there?

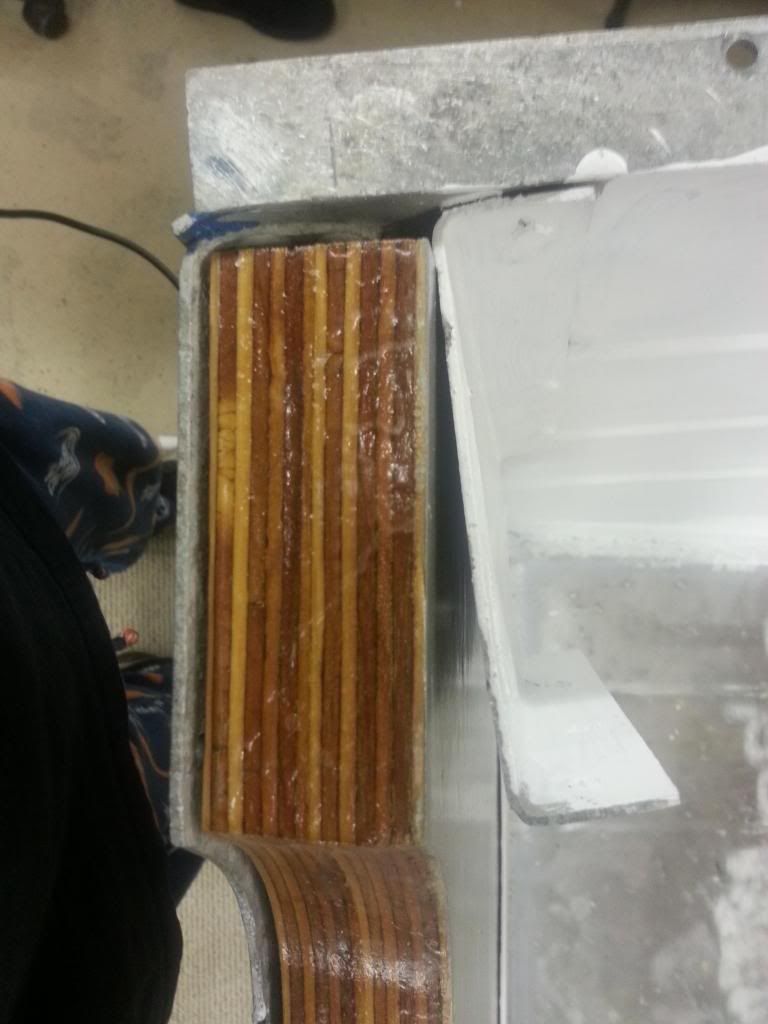
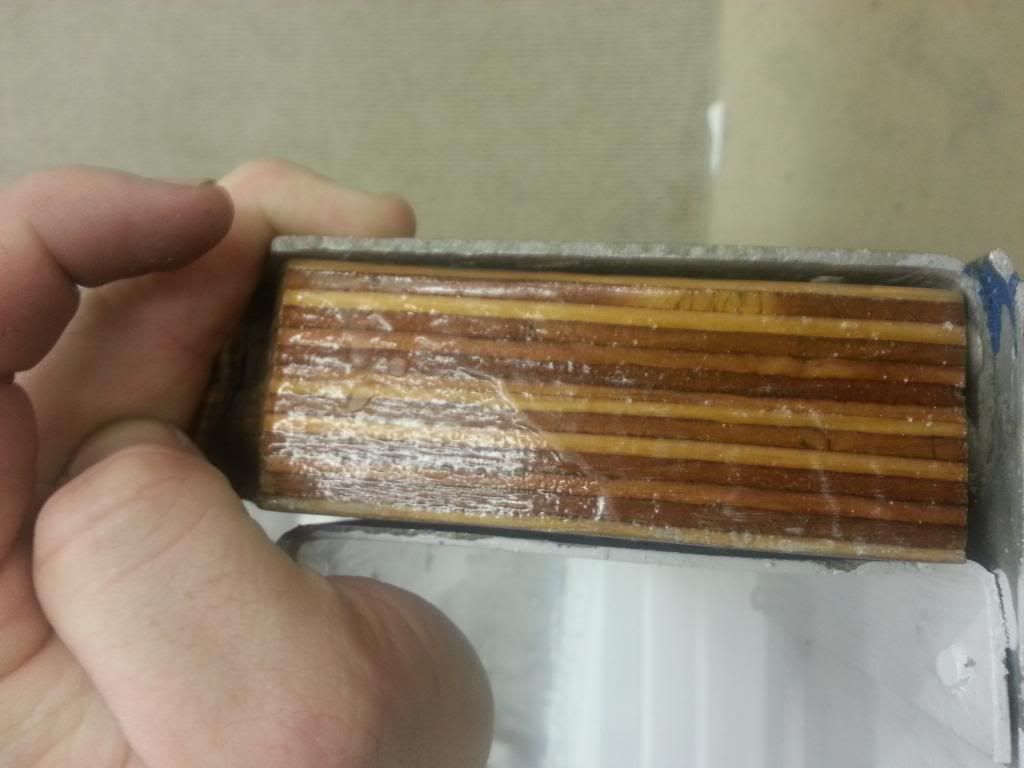
Good eye. The gap is actually because the transom is a little bit to thick, i think from all the coats of resin and paint.

You can see in the pics below once i put the bolts in it will line up nicely.

20121217_191335_zps40509a20.jpg

20121217_191353_zps65755d7a.jpg
 

odyssey350kc

Petty Officer 2nd Class
Joined
Jun 5, 2012
Messages
144
Re: 1967 Starcraft 15' Jet Star Restoration

Did the same thing to mine as LL's and added 3/4" in front of the original dash. The gauges were a bit tricky... but basically I cut the holes as they should be from the front side and then made the holes part way from the inside out an extra 1/2" bigger to make the connections.

But I agree with all... that there has to be something that can seal up the wood without it flaking!

Here is a shot of the overlay over the original dash piece I did as a reference point...

IMAG0373.jpg


Hope this helps!

Jim

That is amazing looking! Where is the thread for that boat? I looked through all 3 of the threads in your sig but i couldn't find that boat.
 

odyssey350kc

Petty Officer 2nd Class
Joined
Jun 5, 2012
Messages
144
Re: 1967 Starcraft 15' Jet Star Restoration

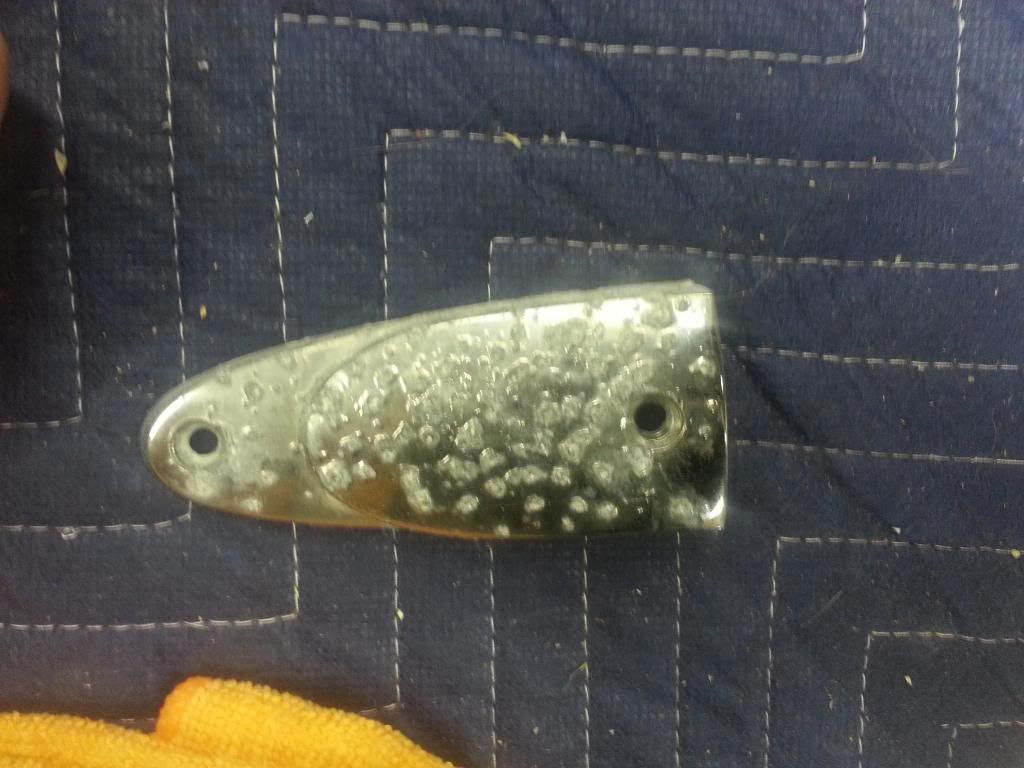
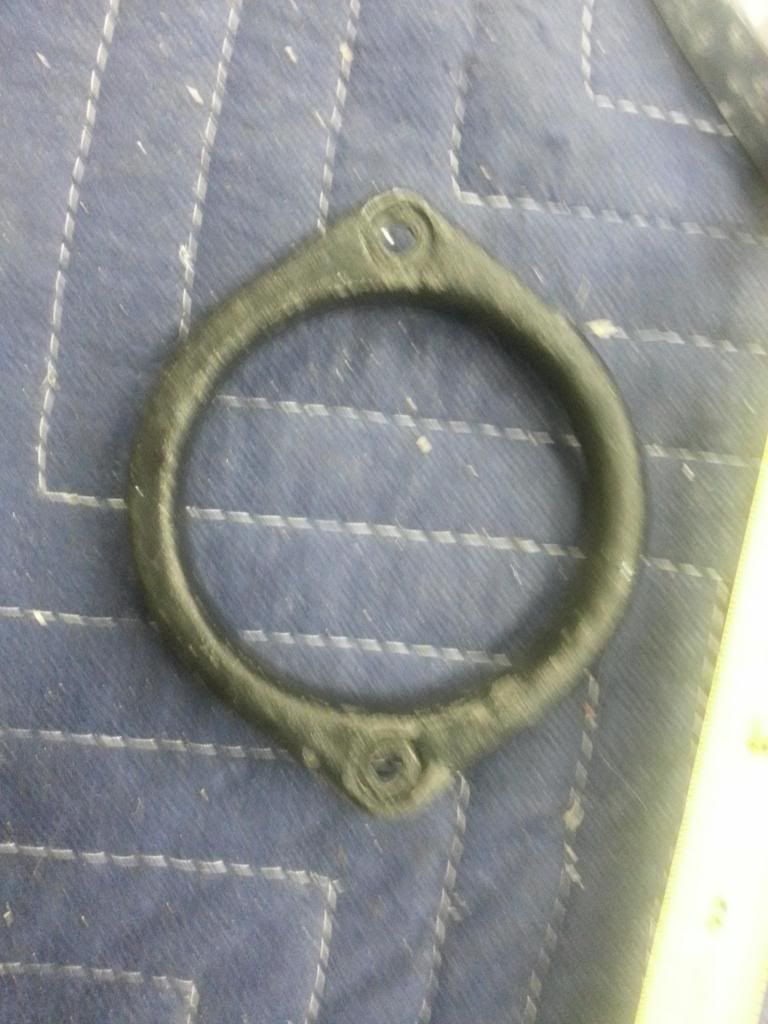
Does anyone know where i would find these pieces?

This is a piece that is on the end of the mid hull rub rails. Is there anywhere i can get new ones?
20121217_191759_zps84932e20.jpg


This is a little plastic ring that goes around the holes for the steering cables, fuel lines etc. I broke one trying to get it off.
Its for a 2 1/2" hole
20121217_191853_zps6066c43d.jpg
 

Grandad

Lieutenant Commander
Joined
Jun 7, 2011
Messages
1,504
Re: 1967 Starcraft 15' Jet Star Restoration

I began working on the dash setup however i ran into a pretty big problem. The wood I used for the dash is called Iroko. I was going to use teak but found out the cost of it and was told iroko was a common teak substitute and decided to use that. Still cost me $35 though.

My issue is after i had bought it, got it plained, cut it to shape and cut out the steering hole I did a little reasearch on the wood and found out that it is nearly impossible to paint or stain without peeling occuring within a year even in the best situation.

I would just leave it raw but it turns a nasty grey brown color and it doesn't go well with my boat at all.

So I want to try and make a dash cover out of a white plastic or something. I looked around lowes but couldn't find anything. I thought about diamond plate but its a bit pricey and i wouldn't want to do all of the cutouts.
Any suggestions?
Hopefully I can find something to cover my dash with so i can start wiring.
If you're wanting something durable with wood grain and you're willing to resort to a plastic face on the dash anyway, why not use a Formica type laminate. I've had great success using it throughout my rebuild. It's a little pricey, but I think it's a great compromise. - Grandad
http://i1072.photobucket.com/albums/w380/Karsh2/100_3830.jpg
 

odyssey350kc

Petty Officer 2nd Class
Joined
Jun 5, 2012
Messages
144
Re: 1967 Starcraft 15' Jet Star Restoration

If you're wanting something durable with wood grain and you're willing to resort to a plastic face on the dash anyway, why not use a Formica type laminate. I've had great success using it throughout my rebuild. It's a little pricey, but I think it's a great compromise. - Grandad
http://i1072.photobucket.com/albums/w380/Karsh2/100_3830.jpg

Thats a good idea. Looks great on your boat. Thanks
 

odyssey350kc

Petty Officer 2nd Class
Joined
Jun 5, 2012
Messages
144
Re: 1967 Starcraft 15' Jet Star Restoration

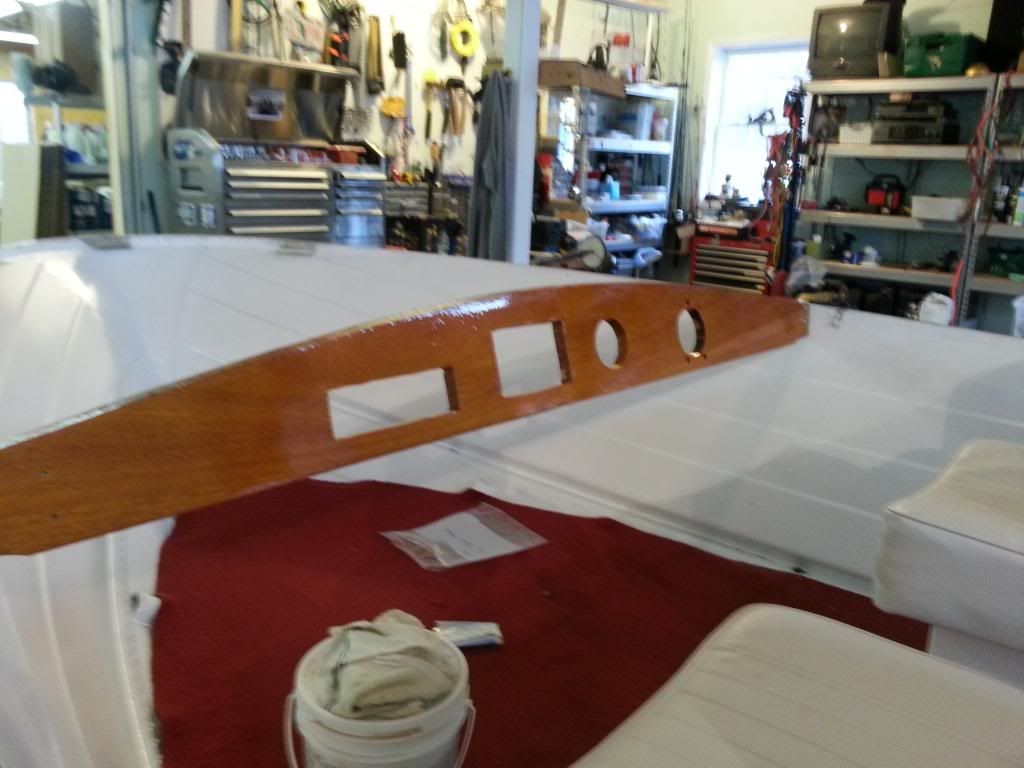
After going back and forth in my head about what to do for my dash for a week or 2 I decided to cover it with white plastic, however when I got the plastic it turned out to be more opaque than white, so I had a small mental breakdown and decided to stain it with cetol. I am actually glad I did though, after 2 coats of stain and 2 coats of gloss it looks great. I'm not sure how it will hold up hopefully pretty well.

20130113_131730_zpsdd94ae85.jpg


After a weeks worth of staining and drying I can finally get the dash in and start putting the boat back together.

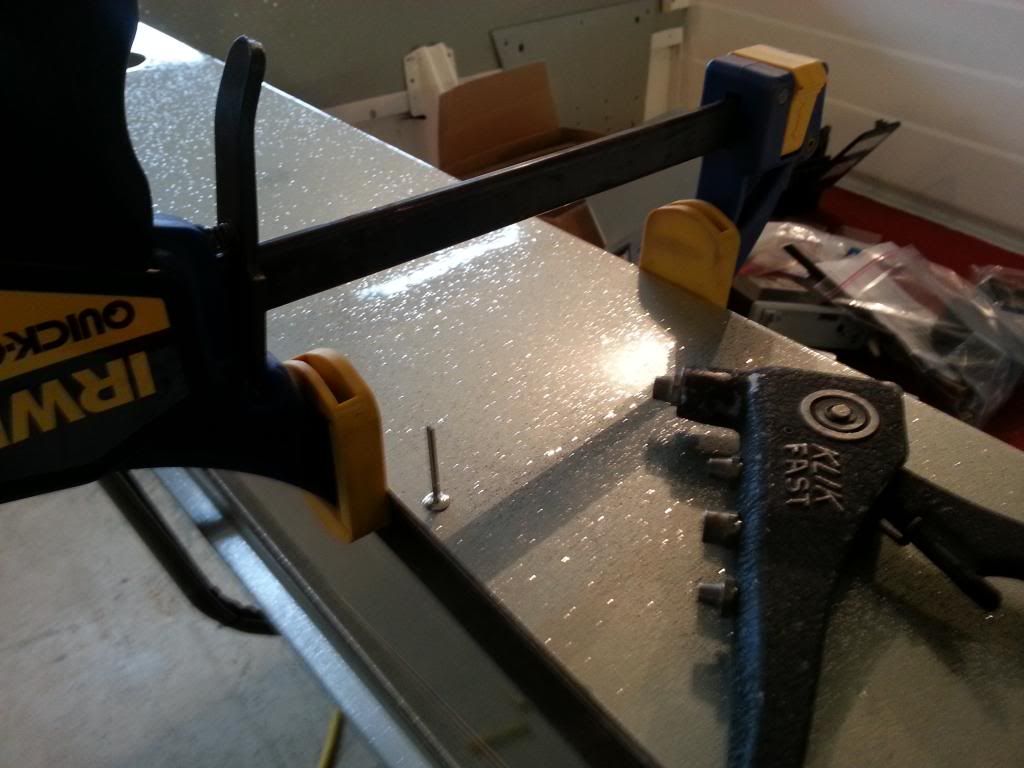
I got alot done today including riveting both the gunnels back on and getting 12 bolts through the transom. It's amazing how the gunnel stiffens the hull right up, I had to use a clamp just to pull the hull straight it was probably 4" bowed out on the sides from where it should be.


20130113_144548_zps1b2a7def.jpg


Tomorrow i'm gonna try and get the splashwell put on.
 

dozerII

Admiral
Joined
Oct 25, 2009
Messages
6,527
Re: 1967 Starcraft 15' Jet Star Restoration

Great looking project you have going 350. You are doing some real nice quality work there.
 

odyssey350kc

Petty Officer 2nd Class
Joined
Jun 5, 2012
Messages
144
Re: 1967 Starcraft 15' Jet Star Restoration

Great looking project you have going 350. You are doing some real nice quality work there.

Thanks man, I love the naked lady, just looked at it after seeing it in the splash of the year.
 

odyssey350kc

Petty Officer 2nd Class
Joined
Jun 5, 2012
Messages
144
Re: 1967 Starcraft 15' Jet Star Restoration

Got a little bit done on the boat this afternoon.

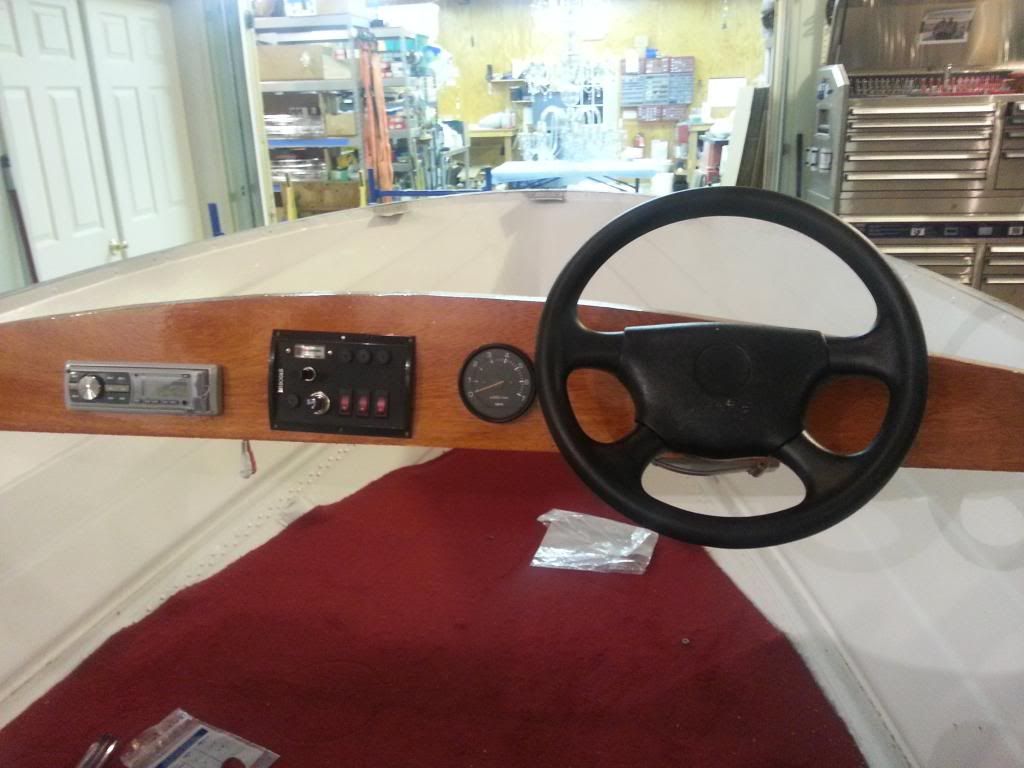
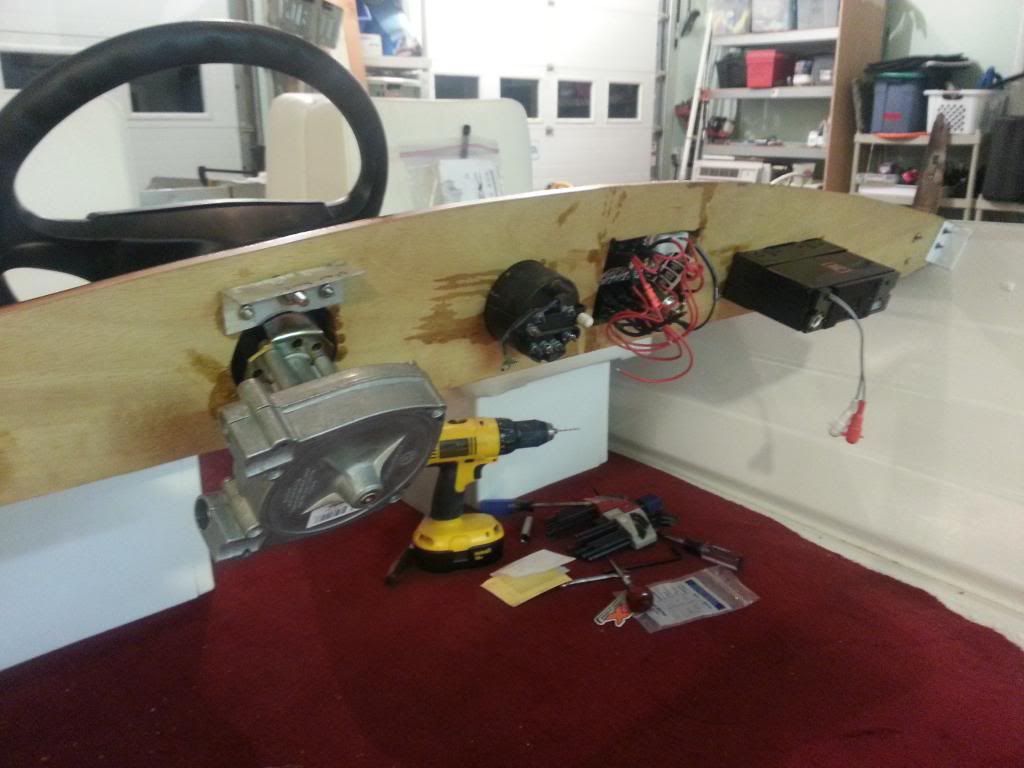
Good pic of my dash layout
20130114_191430_zpsced059e0.jpg


Backside not so pretty
20130114_191411_zpscaeaa31b.jpg


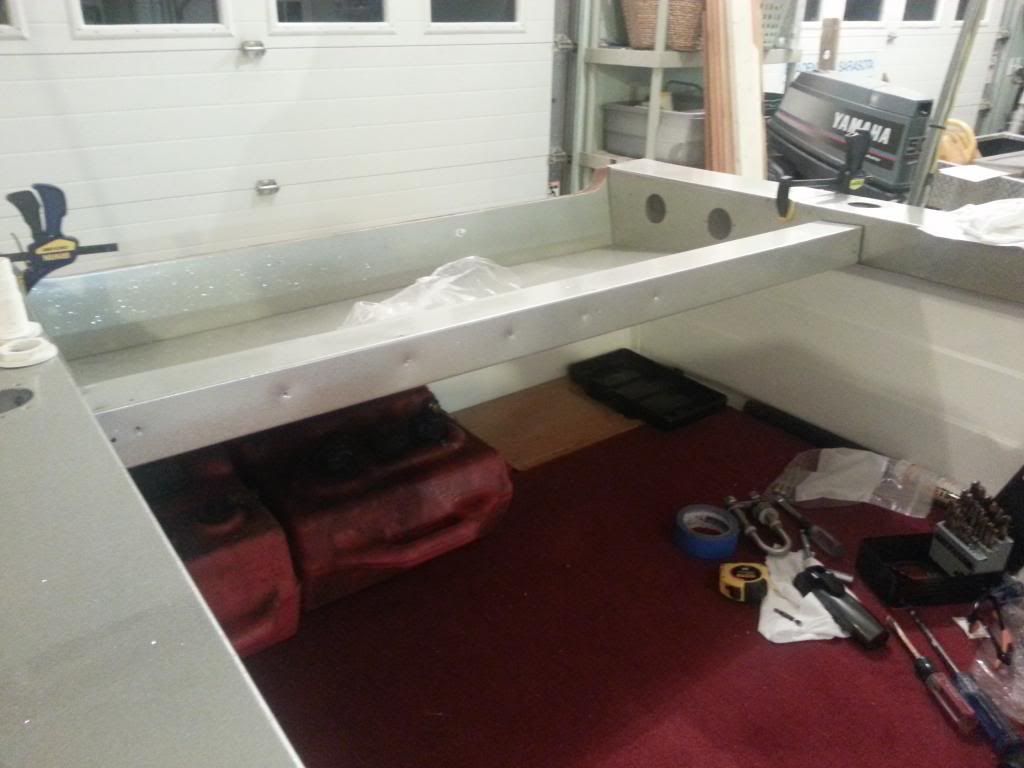
Temporarily put the splashwell in to get a feel for how the gastanks and batteries will sit underneath.
20130114_191443_zpsca8d45c1.jpg


If I use the 2 gas tanks i have pictured that will put me at 9 gallons.

What do you guys think will 9 gallons last me a full day with a 50hp 2 stroke?
 

InMotion

Commander
Joined
Nov 3, 2011
Messages
2,080
Re: 1967 Starcraft 15' Jet Star Restoration

Lookin' good 350! Full day... probably 2-3 hrs or so at 1/2 to 3/4. Seems to me I remember a rough guide to be to take your horsepower / 10 for full throttle fuel consumption of most 2 strokers. So lets say half of that for 1/2 throttle would equal roughly 2.5 gallons an hour. Trolling... ya you'd be good! Nice progress there!!!

Jim
 

odyssey350kc

Petty Officer 2nd Class
Joined
Jun 5, 2012
Messages
144
Re: 1967 Starcraft 15' Jet Star Restoration

Sweet, looks like i'll stick with the 9 gallons then.
 

lakelover

Rear Admiral
Joined
Mar 26, 2003
Messages
4,386
Re: 1967 Starcraft 15' Jet Star Restoration

Your dash looks great, nice looking work. Looks like you're doing a quality job, you'll really enjoy it when you're finished.
 

odyssey350kc

Petty Officer 2nd Class
Joined
Jun 5, 2012
Messages
144
Re: 1967 Starcraft 15' Jet Star Restoration

Your dash looks great, nice looking work. Looks like you're doing a quality job, you'll really enjoy it when you're finished.

Thanks, I'm trying to do everything with the highest quality i can, but still keep it inexpensive, easier said than done though.
 

odyssey350kc

Petty Officer 2nd Class
Joined
Jun 5, 2012
Messages
144
Re: 1967 Starcraft 15' Jet Star Restoration

So I realized i'm a psycho today. I spent 4 hours straight polishing 1 piece of aluminum, and I'm still not happy with it. I want a mirror finish.

First I sanded the piece down with 120 grit sandpaper, then 240 grit, then 400 grit.

Then I buffed it out with brown rouge on a yellow cutting wheel - At this point the metal looked pretty good I can see my reflection but there is a slight whitish haze.

I then polished it out with a soft white buffing wheel and red rouge but it didn't seem to make any difference there was still that cloudy haze, I noticed if I looked at it at an angle it looked great but if i look at it head on it didn't look good at all.

Anyone have any ideas? I've seen some nice looking polished hulls on here.


On a good note I got a couple things for the boat,

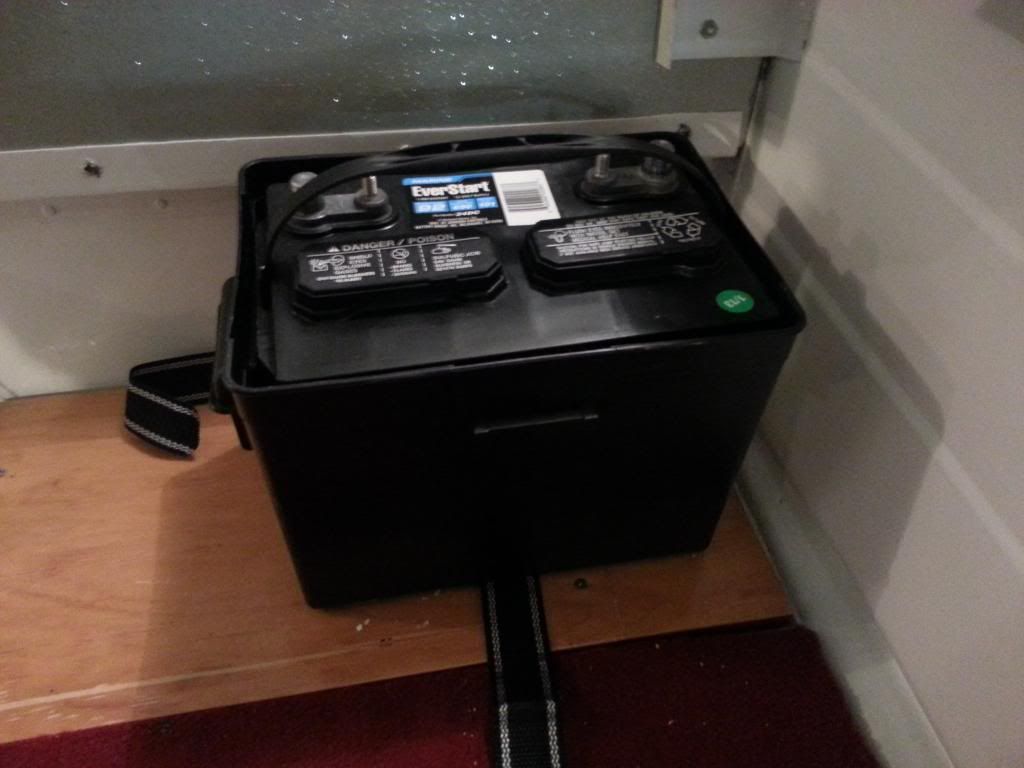
New battery - walmart $80 + battery box $8
20130117_192246_zpsce2f2dc3.jpg


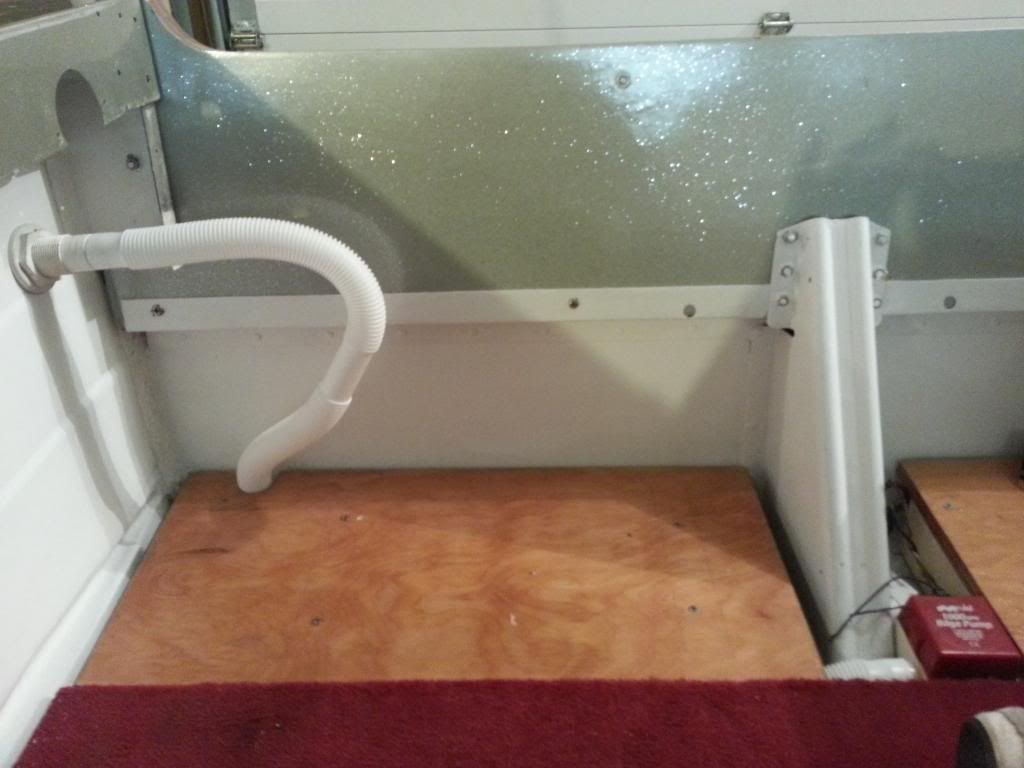
New hose for bilge pump
20130117_192309_zps0c6d20b0.jpg


And the most exciting thing.......

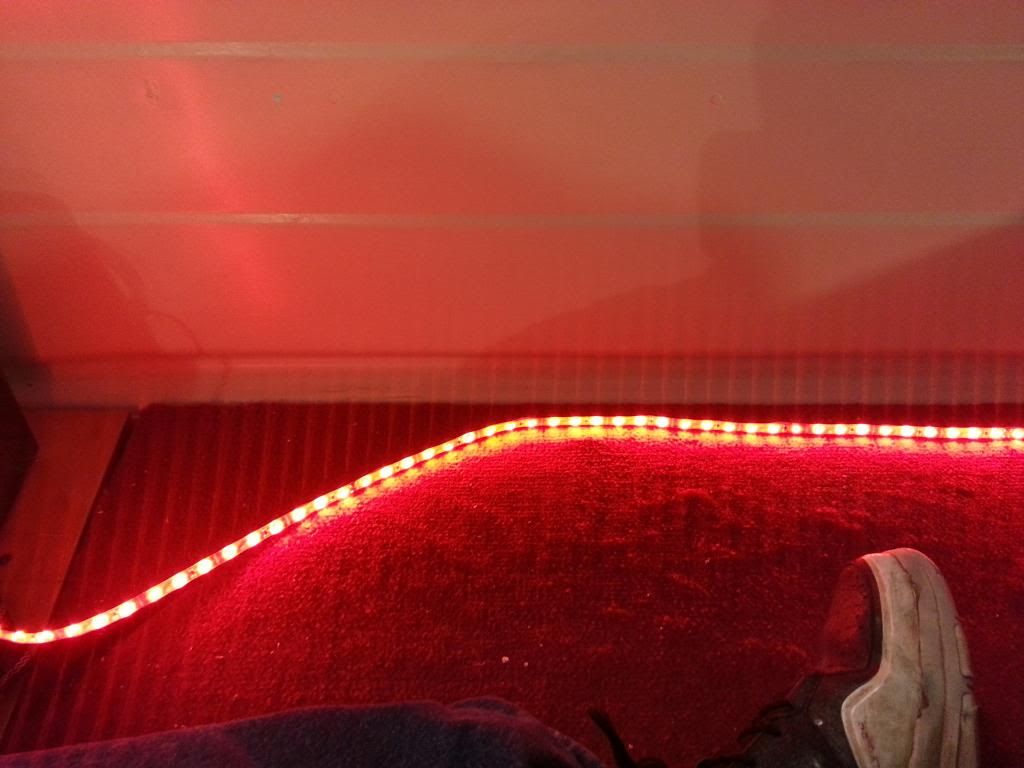
Underglow! Gonna look sweet. $18 per 16 foot roll, I got 2 to do the whole boat.
20130117_192514_zps0957376e.jpg
 

jbcurt00

Moderator
Staff member
Joined
Oct 25, 2011
Messages
25,036
Re: 1967 Starcraft 15' Jet Star Restoration

Might need to post a pix of an un-polished piece of trim & the piece you polished, for comparison, but this may help:

else I got nothing....
 

odyssey350kc

Petty Officer 2nd Class
Joined
Jun 5, 2012
Messages
144
Re: 1967 Starcraft 15' Jet Star Restoration

Wow, that looks like it worked great, alot easier than my method, i'll definitely have to try that out.
 
Status
Not open for further replies.
Top