



basstender
Cadet
- Joined
- Jun 25, 2007
- Messages
- 13
Last Spring, I pulled out my boat, and as usual, the 1980 something johnson 40 that was on it gave me problems starting. It had done this just about every year that I owned the boat, since about 2010. It would be a giant pain to start after being winterized, then it would clear up and run pretty good for the summer. Last year however, The motor fought me, and from late april to June, I tinkered with it almost every weekend. I got busy with other things, and pretty discouraged with the boat. I never ended up getting it running well enough to take it out last year.
Fast forward to December, my 5 year old niece gave me a hand made birthday card with a drawing of us on my boat, and two identical lures, that her dad said she picked out herself. She said they were "for when we go fishing on your boat this summer!"
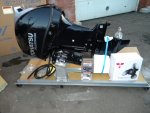
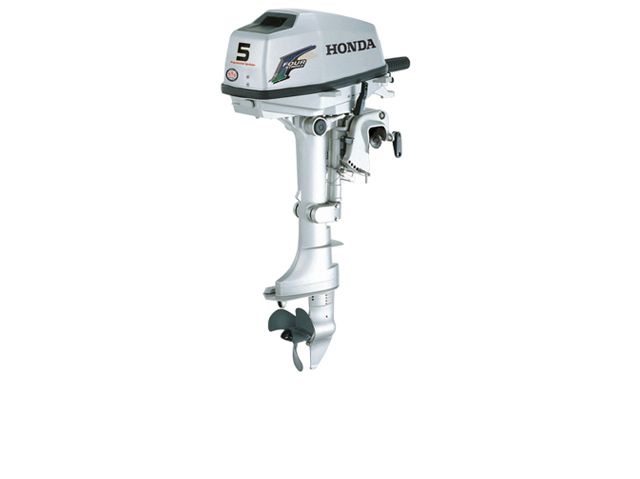
Now I had a bit of a problem. I decided right then and there that I needed to get my boat working again. And not half-*****ed like last time. I spent some money. I bought a new Tohatsu 50hp 4 stroke outboard.
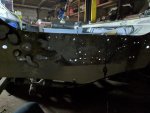
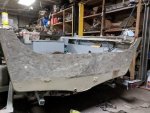
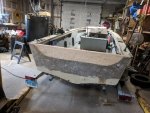
While I had spent a lot of time 2 years ago, patching a few places in the hull, and repainting the interior, When I took the old motor off, I found that the transom board was rotten. I can't put a brand new outboard on a questionable transom! Out came the splash well, and out came the rotten plywood. Underneath I found a dirty holy corroded mess. Interestingly the corroded parts were just where the plywood was. In addition to corrosion, there were about 40 extra holes from where people mounted who knows what over the years, some of which were badly patched, some not at all.
Stay tuned for more progress.
Fast forward to December, my 5 year old niece gave me a hand made birthday card with a drawing of us on my boat, and two identical lures, that her dad said she picked out herself. She said they were "for when we go fishing on your boat this summer!"
Now I had a bit of a problem. I decided right then and there that I needed to get my boat working again. And not half-*****ed like last time. I spent some money. I bought a new Tohatsu 50hp 4 stroke outboard.
While I had spent a lot of time 2 years ago, patching a few places in the hull, and repainting the interior, When I took the old motor off, I found that the transom board was rotten. I can't put a brand new outboard on a questionable transom! Out came the splash well, and out came the rotten plywood. Underneath I found a dirty holy corroded mess. Interestingly the corroded parts were just where the plywood was. In addition to corrosion, there were about 40 extra holes from where people mounted who knows what over the years, some of which were badly patched, some not at all.
Stay tuned for more progress.