1966 Starcraft Holiday Engine Repower

66Holiday924

Chief Petty Officer
Joined
Aug 21, 2017
Messages
578
Day 36:

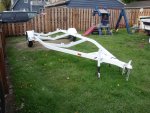
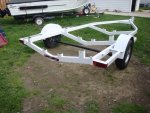
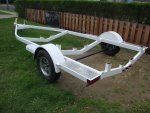
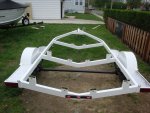
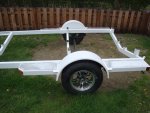
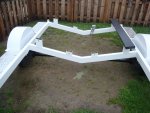
I had to waited a week to get going on the boat because I needed some brackets from the welder. The weather was pretty bad anyway, and I got my trailer back from the painter yesterday.

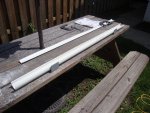
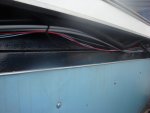
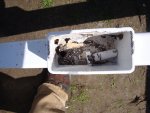
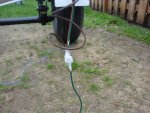
The first thing I noticed was that my wiring was hanging loose. So I put together some temporary wire management with PVC pipe. It's not great but it will work for now, so I can get going with the rest of my project. I'll revisit it later though.

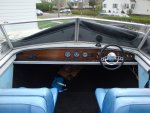
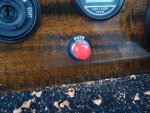
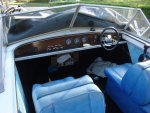
Then I made another decision. Instead of having the horn on the steering wheel, I installed a horn button on my dash. I think it looks kind of cool and I got another label made just like my pull switches, so they all match. I couldn't find a slip ring for the steering wheel and it was going to start holding me up. I like the red button look though.

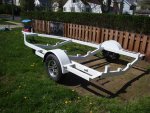
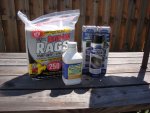
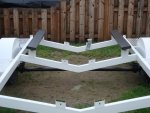
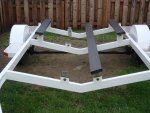
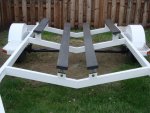
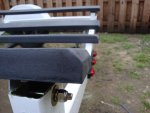
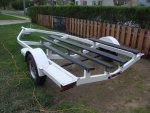
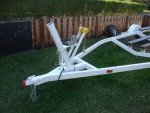
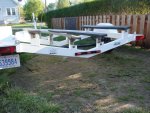
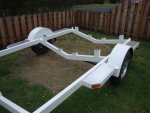
I got my trailer back yesterday, so I'm getting that in order too. First, I had to remove the old hex bolts for the old bunks. They were welded on. I was going to keep them but sometime over the winter I decided the trailer should get all new hardware, so they will be replace with Grade 8 bolts. After I got that hardware removed, I drilled holes in the bottoms of vertical tubing that the swivel brackets attach to. They had no way to drain so water could pool in them indefinitely... After that I painted the inside of the frame with Eastwood Internal Frame Paint. It's really neat stuff. The can comes with a 24" tube. You insert the tube and spray in all the openings, bolt holes, light holes etc. and it will cover the inside of your frame. It seems to work pretty good. The can is very high pressure. When I sprayed the paint inside my tail light holes I could see paint mist coming our of the tongue at the front of the trailer. Additionally the paint is made so that it "creeps" and it expands over surfaces, and soaks into any rust. Then it chemically changes the rust to another substance, so it stops it, and it encapsulates it. Two cans was enough but I did 3 just to make sure everything got a good coating.
 

Attachments

  • photo311997.jpg
    photo311997.jpg
    1.7 MB · Views: 3
  • photo311998.jpg
    photo311998.jpg
    1.6 MB · Views: 2
  • photo311999.jpg
    photo311999.jpg
    1.3 MB · Views: 2
  • photo312000.jpg
    photo312000.jpg
    1.6 MB · Views: 3
  • photo312002.jpg
    photo312002.jpg
    1.9 MB · Views: 3
  • photo312001.jpg
    photo312001.jpg
    1.1 MB · Views: 3
  • photo312003.jpg
    photo312003.jpg
    1.4 MB · Views: 3

Watermann

Starmada Splash of the Year 2014
Joined
Jan 12, 2013
Messages
13,787
Yeah same here with the horn. I have a button on the dash panel. I'm not sure there's even a way to make it like a car using the center cap.

Trailer work is the worst, I have a ton to do on the galvanized trailer I got but at least there's no rust or painting.
 

66Holiday924

Chief Petty Officer
Joined
Aug 21, 2017
Messages
578
Another day spent on the trailer.

My boat dash was the first real wiring job I've ever done, so building this harness was a long tedious drawn out project, but over all I think it went pretty good. I didn't have too many hiccups, everything works, and I think the new light scheme looks good on the trailer. I really cleaned it up a lot. It had more than twice as many fixtures because they had a separate fixture for every light and reflector on it... I think I went from sixteen lights and reflectors down to seven. All my connectors got a healthy amount of grease in them and I sealed them with a few coats of liquid electric tape.
 

Attachments

  • photo312073.jpg
    photo312073.jpg
    1.4 MB · Views: 1
  • photo312074.jpg
    photo312074.jpg
    1.6 MB · Views: 1
  • photo312075.jpg
    photo312075.jpg
    1.7 MB · Views: 1

66Holiday924

Chief Petty Officer
Joined
Aug 21, 2017
Messages
578
Since I have a lot of 5200 on-hand right now, I 5200 all the bolts on my trailer. I'm hoping it will help with corrosion.
 

66Holiday924

Chief Petty Officer
Joined
Aug 21, 2017
Messages
578
Day 37:

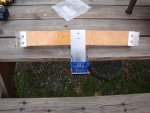
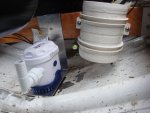
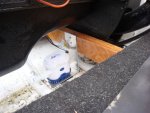
Today I installed the Bilge Pump and Blower, and wired up the horn. For the bilge pump I built a bracket and spanned my bilge with a couple pieces of Marine Grade Ply I had left over from my transom. I did a few coats of poly on the wood a few weeks ago, so it was ready to go. I put some viton rubber from the mat I bought to place under my fuel tank under my bilge to reduce rattling. Viton rubber is supposed to hold up to gas and oils really good.
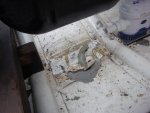
The blower is pretty deep into my bilge. It'll probably be ok, but not sure I want it that low. That and I'm sad to report that my bilge paint job didn't seem to hold up at all... There was a lot of gluvit down, I'm thinking it didn't stick to the gluvit very well, because that's the only paint that is peeling.
 

Attachments

  • photo312110.jpg
    photo312110.jpg
    1.7 MB · Views: 1
  • photo312111.jpg
    photo312111.jpg
    1 MB · Views: 1
  • photo312112.jpg
    photo312112.jpg
    1.6 MB · Views: 1
  • photo312113.jpg
    photo312113.jpg
    1.3 MB · Views: 1
  • photo312114.jpg
    photo312114.jpg
    1.1 MB · Views: 11
  • photo312115.jpg
    photo312115.jpg
    1.2 MB · Views: 1

Watermann

Starmada Splash of the Year 2014
Joined
Jan 12, 2013
Messages
13,787
It's best to have your blower motor mounted up on the transom and run the vent hose into the bilge. If/when water enters the bilge and gets into the blower impeller it will be ineffective and most likely will blow the fuse.

fetch
 

66Holiday924

Chief Petty Officer
Joined
Aug 21, 2017
Messages
578
It's best to have your blower motor mounted up on the transom and run the vent hose into the bilge. If/when water enters the bilge and gets into the blower impeller it will be ineffective and most likely will blow the fuse.

[IMG2=JSON]{"data-align":"none","data-size":"full","src":"https:\/\/forums.iboats.com\/filedata\/fetch?photoid=10736376"**[/IMG2]

That's what I'm thinking too. I think I'm going to move it and mount the end of the hose there instead.
 

66Holiday924

Chief Petty Officer
Joined
Aug 21, 2017
Messages
578
Another light day working on the trailer. Weather is keeping me to a healthy pace. I'm kind of liking it.
 

Attachments

  • photo312173.jpg
    photo312173.jpg
    1.3 MB · Views: 0
  • photo312174.jpg
    photo312174.jpg
    1.6 MB · Views: 0
  • photo312175.jpg
    photo312175.jpg
    1.6 MB · Views: 0
  • photo312176.jpg
    photo312176.jpg
    1.6 MB · Views: 0

66Holiday924

Chief Petty Officer
Joined
Aug 21, 2017
Messages
578
Another light day on the trailer. I'm really looking forward to finishing this up today... It just really bothers me to have it 3/4 of the way done...
 

Attachments

  • photo312225.jpg
    photo312225.jpg
    1.5 MB · Views: 0
  • photo312226.jpg
    photo312226.jpg
    1.5 MB · Views: 0
  • photo312227.jpg
    photo312227.jpg
    1.6 MB · Views: 0

66Holiday924

Chief Petty Officer
Joined
Aug 21, 2017
Messages
578
Easy Day.
 

Attachments

  • photo312319.jpg
    photo312319.jpg
    1.4 MB · Views: 1
  • photo312320.jpg
    photo312320.jpg
    1.1 MB · Views: 1
  • photo312321.jpg
    photo312321.jpg
    1.6 MB · Views: 1

66Holiday924

Chief Petty Officer
Joined
Aug 21, 2017
Messages
578
Day 38:

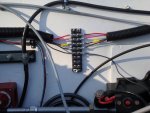
Did some wiring on the boat. I added a junction for all my wires that run from the front of the boat to the back. My idea is to try and isolate the wires that run the length of the boat as best as possible so they last, and so I don't end up with a bunch of old wires running down the side of my boat again.

So, my blower for example, will have a wire from the switch that runs down the side of my boat to the junction. Then another wire will run from the junction to the blower. The idea is that when I need a new blower, I don't need to worry about the wire running the length of the boat, I just replace the blower and the wire up to the junction and leave the rest of it that runs to the dash alone. I'm hoping it'll keep replacing things in the future clean and easy.

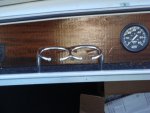
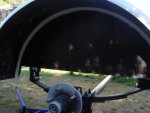
Besides that I installed my cup holder on the dash, which I am really happy with, wide enough for a koozie or coffee mug. Did some trailer work, got my winch post on, a couple decals, and I caulked the seam on my fenders with 5200, inside and out.
 

Attachments

  • photo312493.jpg
    photo312493.jpg
    1.1 MB · Views: 2
  • photo312494.jpg
    photo312494.jpg
    1.2 MB · Views: 2
  • photo312495.jpg
    photo312495.jpg
    1.2 MB · Views: 2
  • photo312496.jpg
    photo312496.jpg
    1 MB · Views: 2
  • photo312497.jpg
    photo312497.jpg
    1.7 MB · Views: 2
  • photo312498.jpg
    photo312498.jpg
    1 MB · Views: 1
  • photo312499.jpg
    photo312499.jpg
    1,010 KB · Views: 1
  • photo312500.jpg
    photo312500.jpg
    1.4 MB · Views: 2

66Holiday924

Chief Petty Officer
Joined
Aug 21, 2017
Messages
578
Day 39:

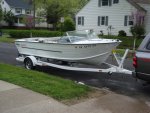
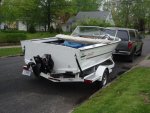
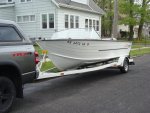
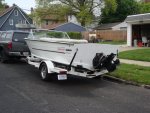
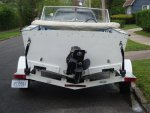
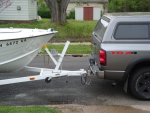
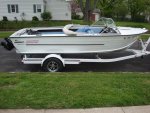
The day of reckoning for the trailer! It fit beautifully! I couldn't be happier with it!

It turns out that I am not going to have to add any tongue. Everything went great at the boat ramp. My boat floats great! :D My dad helped me out, it took about 4 hours total, but we got everything adjusted nicely. My center 10' bunks had to be adjusted to fit the boat, which was anticipated. I used a hack some scrap wood and an $8 Wal-Mart bathroom scale and made sure that all contact points were carrying 50-150 lbs. It went well.

Side note: I decided not to put the red Starcraft decals on the trailer. I had them on there the other day and immediately didn't like it, so I took them off before the glue on the decal really set-up.
 

Attachments

  • photo312569.jpg
    photo312569.jpg
    1.3 MB · Views: 5
  • photo312570.jpg
    photo312570.jpg
    1.5 MB · Views: 3
  • photo312571.jpg
    photo312571.jpg
    1.7 MB · Views: 3
  • photo312572.jpg
    photo312572.jpg
    1.5 MB · Views: 4
  • photo312573.jpg
    photo312573.jpg
    1.4 MB · Views: 4
  • photo312574.jpg
    photo312574.jpg
    1.6 MB · Views: 5
  • photo312575.jpg
    photo312575.jpg
    1.7 MB · Views: 5

Watermann

Starmada Splash of the Year 2014
Joined
Jan 12, 2013
Messages
13,787
Hey that is a perfect fit! Down the road you could add 2' of tongue with a fold away hinge. I just did that for my galvanized SS trailer I'm working on right now, a Fulton steel weld on model.
 

66Holiday924

Chief Petty Officer
Joined
Aug 21, 2017
Messages
578
I forgot to bring my camera to the boat ramp. I didn't even turn it over. It just floated at the dock while we did trailer work. I'm getting ready to head out of town for a few days. I'm taking the boat to Toledo and coming back on the 22nd. Hopefully it is completely put back together and I can take my family for a ride on that Thursday. I'll definitely take pictures of that. It will be the first time it's been splashed since the repower project started.

I was thinking that I would need to add tongue, but it's looking good. My tongue weight is spot on at about 190-200 lbs. If I do decide to add tongue I'll be doing what you're doing Watermann. That's probably the best option for that.
 
Top