Bakeys
Seaman
- Joined
- Jun 14, 2012
- Messages
- 63
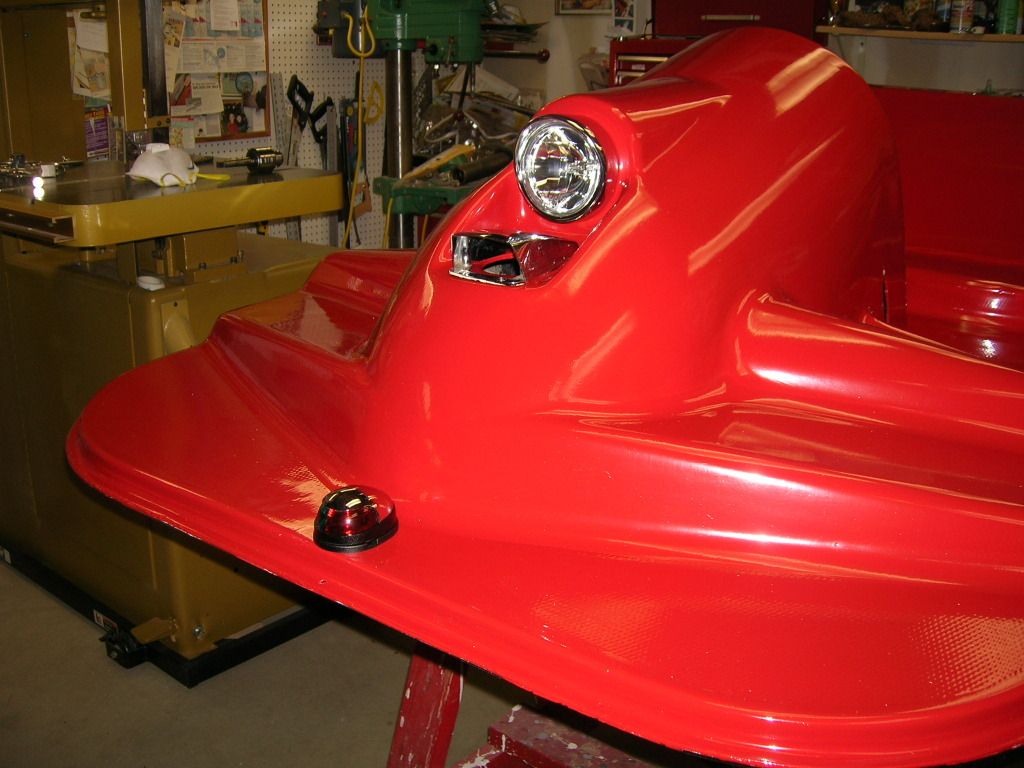
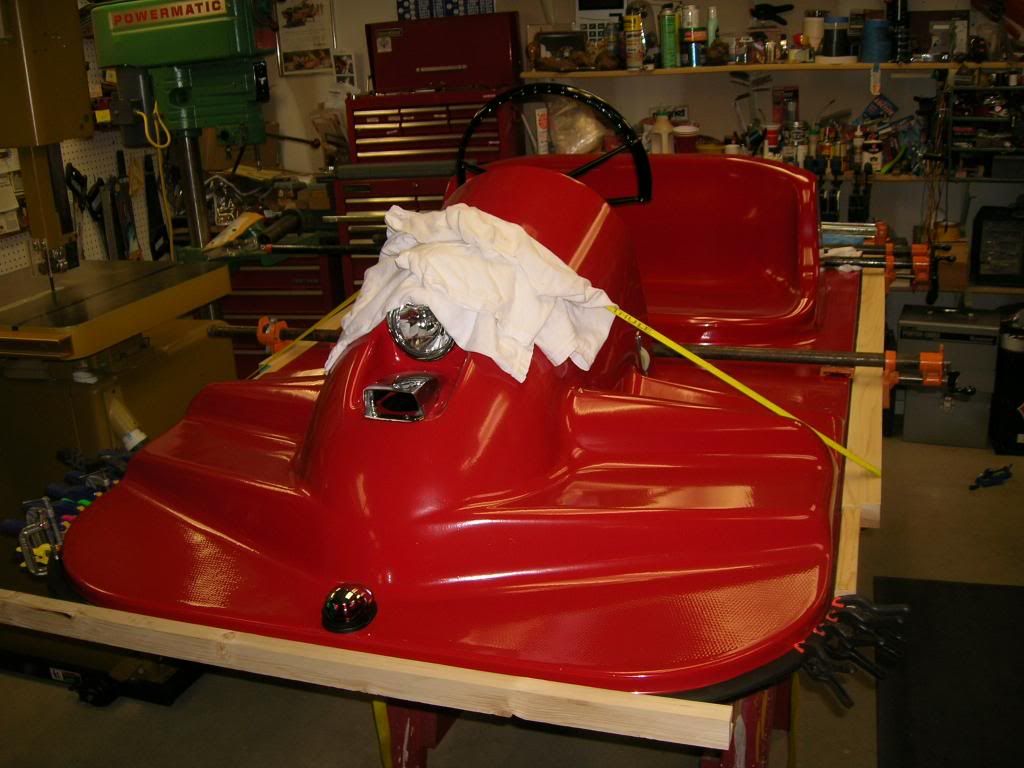
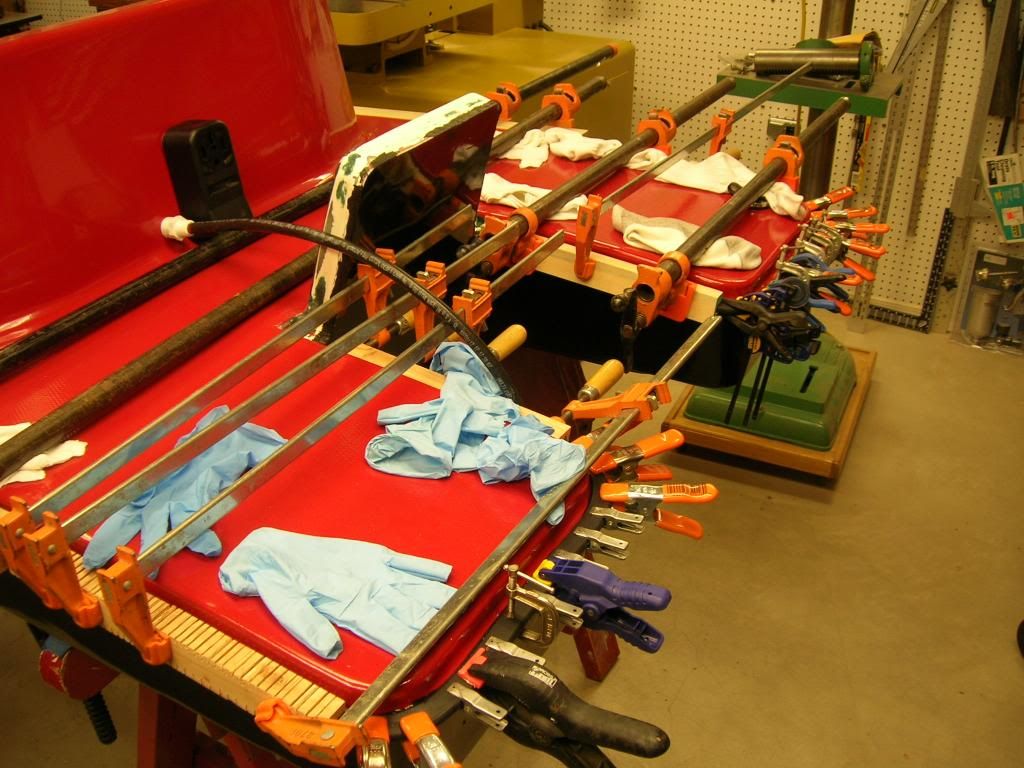
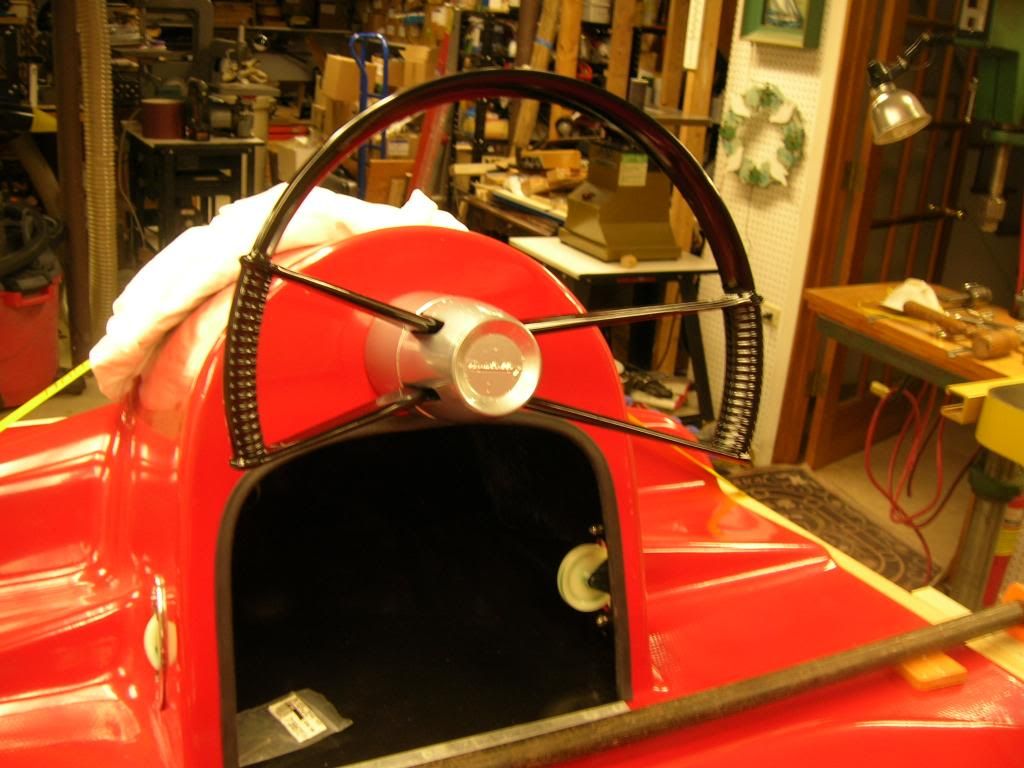
Re: Water Wasp Mini Boat
Old Scout, you are a true craftsman. I am admittedly envious of your talents. Keep up the exceptional work and keep us posted on your progress. I can only speak for myself but your work motivates and inspires me. My hat's off to you, Sir. I don't wear hats normally, but if I did, it'd be off.")
Old Scout, you are a true craftsman. I am admittedly envious of your talents. Keep up the exceptional work and keep us posted on your progress. I can only speak for myself but your work motivates and inspires me. My hat's off to you, Sir. I don't wear hats normally, but if I did, it'd be off.