metriccrescentwrench
Commander
- Joined
- Oct 22, 2007
- Messages
- 2,598
I was going to start this thread in the "completed projects" section, but noticed that I can't start a thread there (so I'm guessing the moderators will move this over once I complete the thread.)
I finished this rebuild over a year ago and thought I'd create a thread detailing the entire process so that maybe someone can learn from it, especially since there seem to be quite a few older Checkmates being restored now. When I was a kid we had a cabin on Higgins Lake in Michigan and the oldest son of one of my dad's friends had a Checkmate with a 150 Merc Tower of Power. I fell in lust with that boat, I remember many mornings hearing the scream of that engine and watching Kenny disappear across the lake followed by a huge rooster tail. In my opinion nothing matches the look of vintage Checkmates, especially the closed bow models, but for me a bowrider was the only way I could get permission from the Admiral to do a Checkmate project since it's more family friendly.
I found my project Checkmate online, the seller stated that it was lake ready and only had one soft spot in the bow. Well, having already replaced the transom in my other boat I knew full well what soft spots usually mean. I was still interested because the asking price wasn't too bad even for a project boat (and I held out the slightest hope that I could simply replace a section of the deck and be done with it).
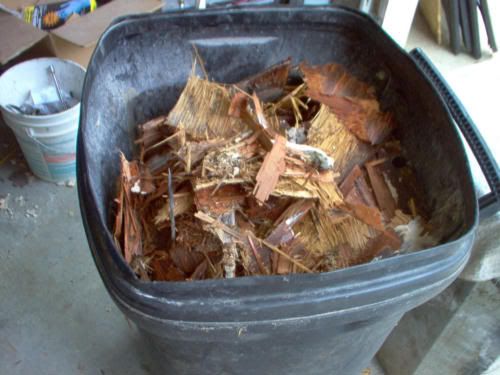
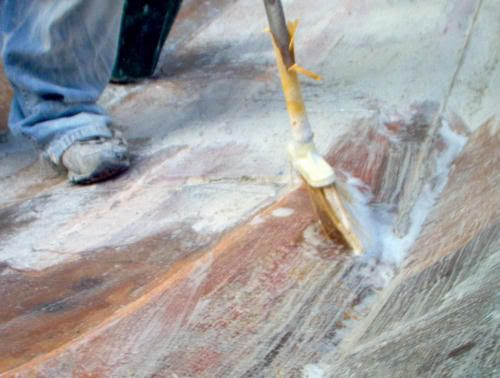
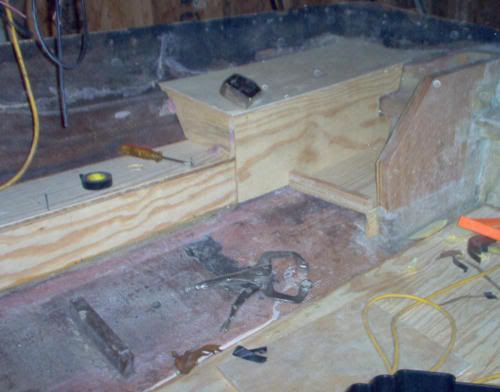
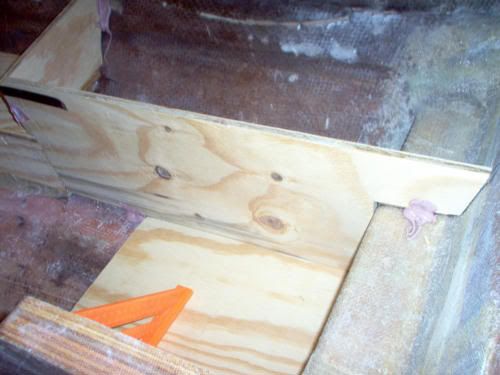
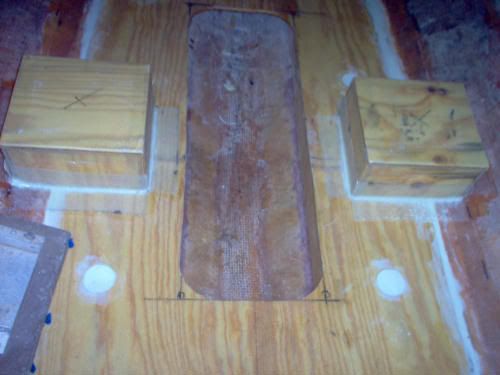
When I got the boat home I did a complete inspection and found extremely wet foam under the deck and wood so rotted around the flotation box in the stern that it would crumble with only slight help from a screwdriver. It was obvious that this boat had been left out in the weather uncovered for a long time.
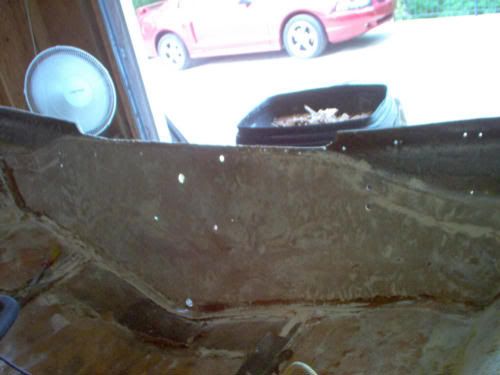
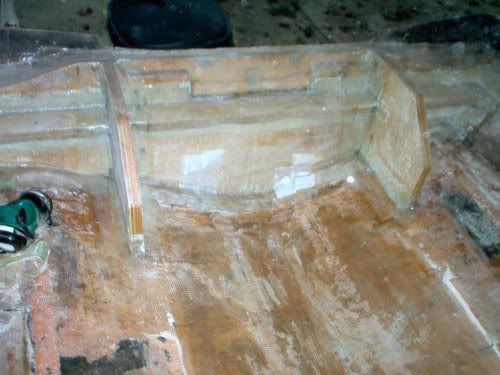
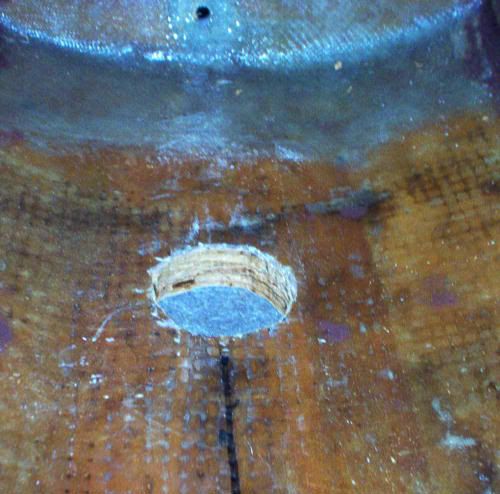
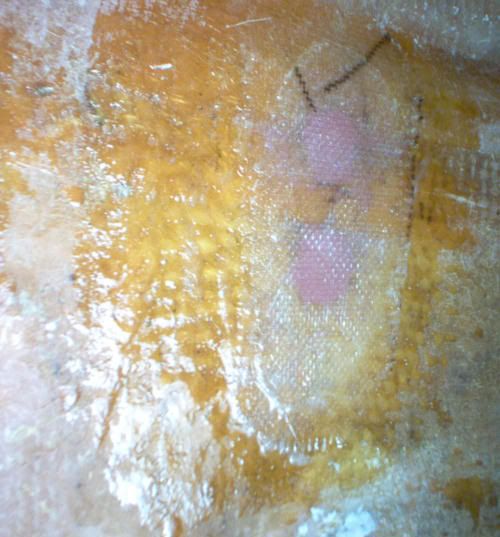
Here's a photo of that "soft spot" in the bow after removing the carpet. The plywood under this section of the bow was completely gone, all that remained was a layer of fiberglass. I also found that the stringer was mush.

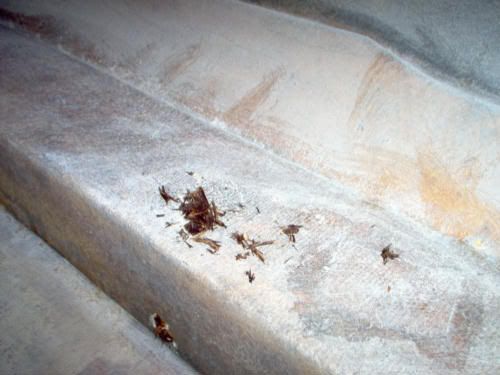
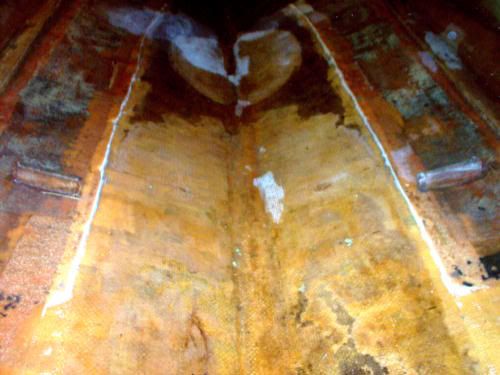
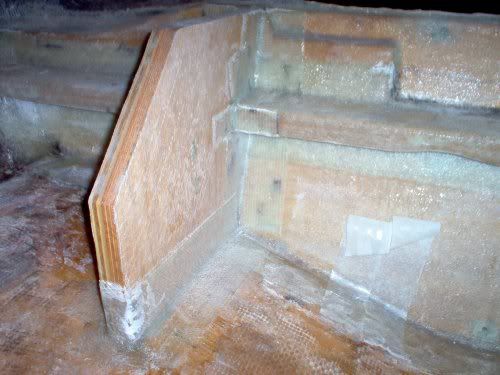
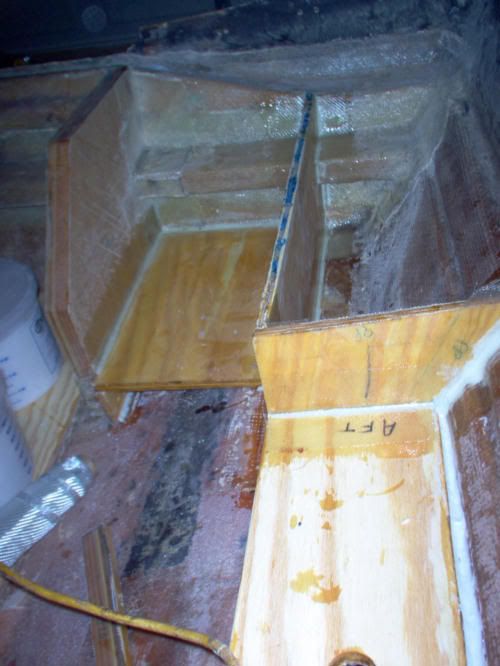
And here's the side of a 'flotation box' in the stern (this side of the box also serves as a transom knee so it's an integral part of the structure). The wood was totally rotten and with just a layer of glass there was absolutely no structural integrity, it took very little poking with a screwdriver to get through the glass and remove this wood "mulch".

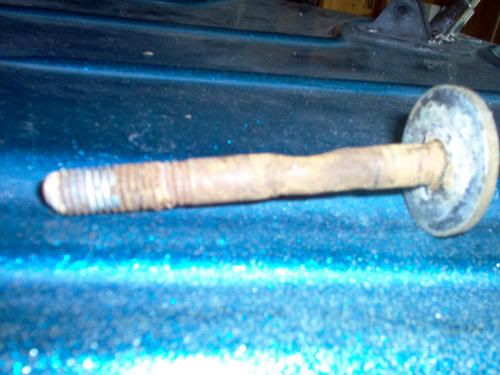
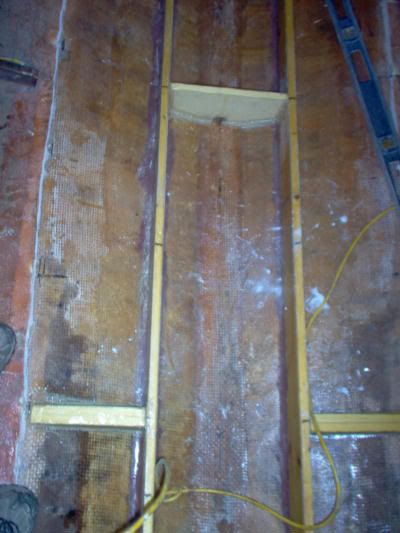
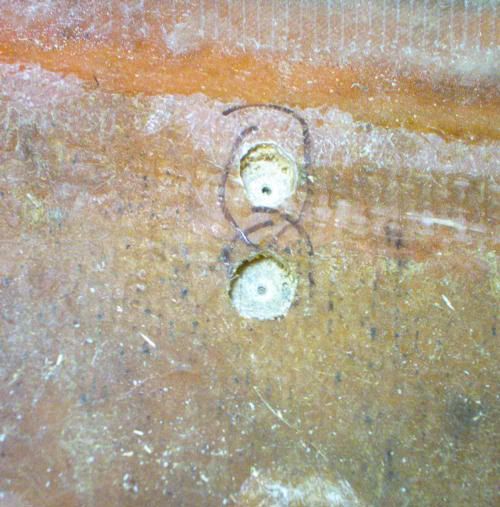
Here's a photo of what I found in the bilge after removing the fuel tank. Notice that the brass insert for the drain plug hole is coming out, which probably exposed the wood in the transom to water.

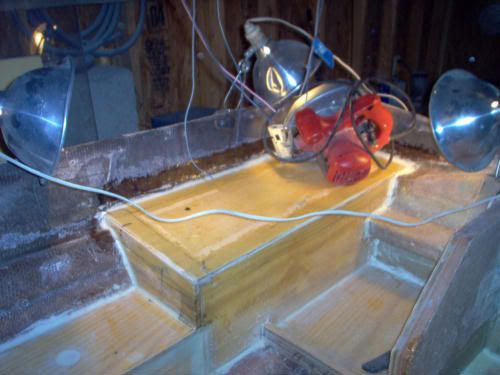
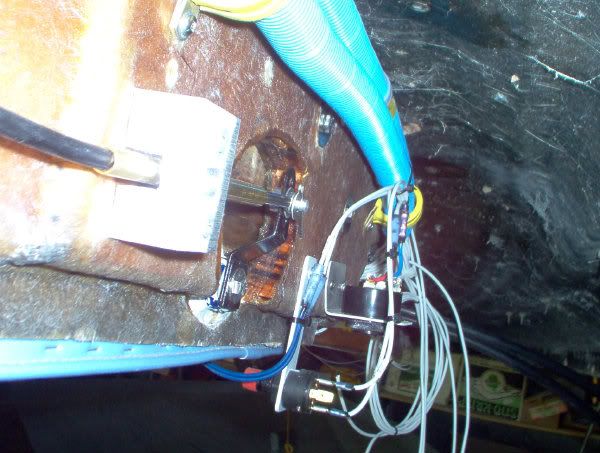
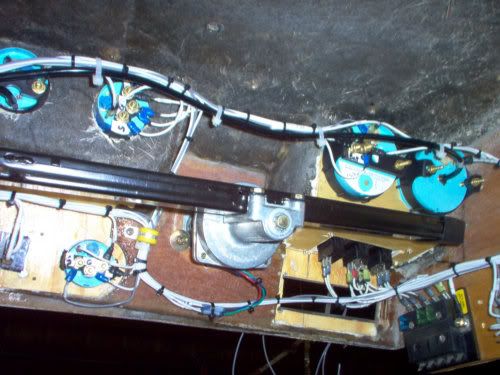
This is some of the wiring as I found it. Notice the melted and burnt look .
.

I finished this rebuild over a year ago and thought I'd create a thread detailing the entire process so that maybe someone can learn from it, especially since there seem to be quite a few older Checkmates being restored now. When I was a kid we had a cabin on Higgins Lake in Michigan and the oldest son of one of my dad's friends had a Checkmate with a 150 Merc Tower of Power. I fell in lust with that boat, I remember many mornings hearing the scream of that engine and watching Kenny disappear across the lake followed by a huge rooster tail. In my opinion nothing matches the look of vintage Checkmates, especially the closed bow models, but for me a bowrider was the only way I could get permission from the Admiral to do a Checkmate project since it's more family friendly.
I found my project Checkmate online, the seller stated that it was lake ready and only had one soft spot in the bow. Well, having already replaced the transom in my other boat I knew full well what soft spots usually mean. I was still interested because the asking price wasn't too bad even for a project boat (and I held out the slightest hope that I could simply replace a section of the deck and be done with it).
When I got the boat home I did a complete inspection and found extremely wet foam under the deck and wood so rotted around the flotation box in the stern that it would crumble with only slight help from a screwdriver. It was obvious that this boat had been left out in the weather uncovered for a long time.
Here's a photo of that "soft spot" in the bow after removing the carpet. The plywood under this section of the bow was completely gone, all that remained was a layer of fiberglass. I also found that the stringer was mush.
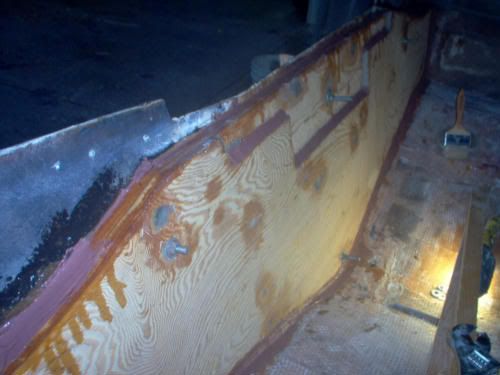
And here's the side of a 'flotation box' in the stern (this side of the box also serves as a transom knee so it's an integral part of the structure). The wood was totally rotten and with just a layer of glass there was absolutely no structural integrity, it took very little poking with a screwdriver to get through the glass and remove this wood "mulch".
Here's a photo of what I found in the bilge after removing the fuel tank. Notice that the brass insert for the drain plug hole is coming out, which probably exposed the wood in the transom to water.
This is some of the wiring as I found it. Notice the melted and burnt look
.