Re: 1961 Lonestar "Flamingo" - I finally Started w/pics
Re: 1961 Lonestar "Flamingo" - I finally Started w/pics
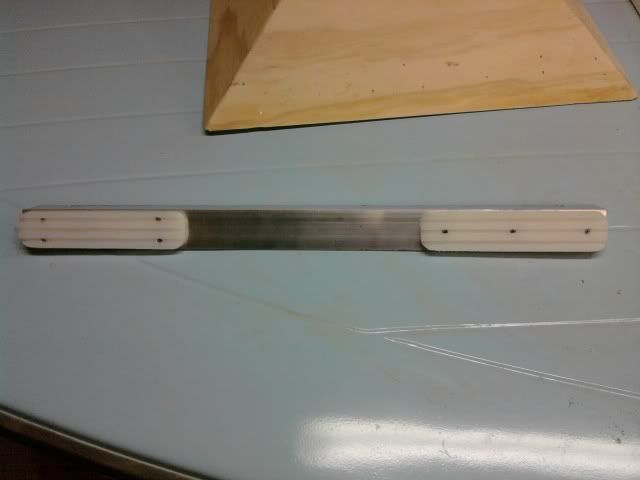
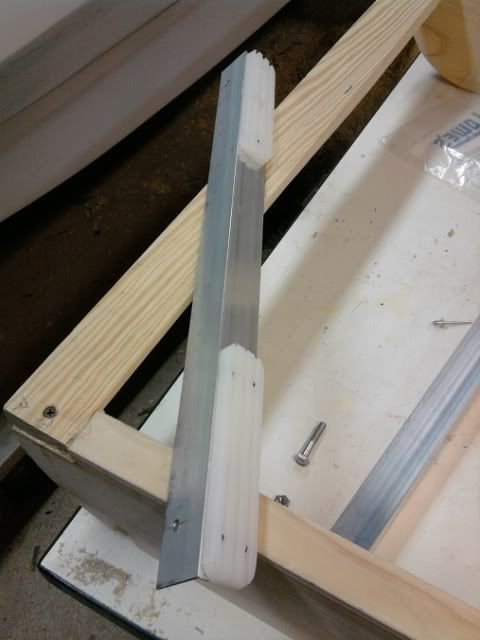
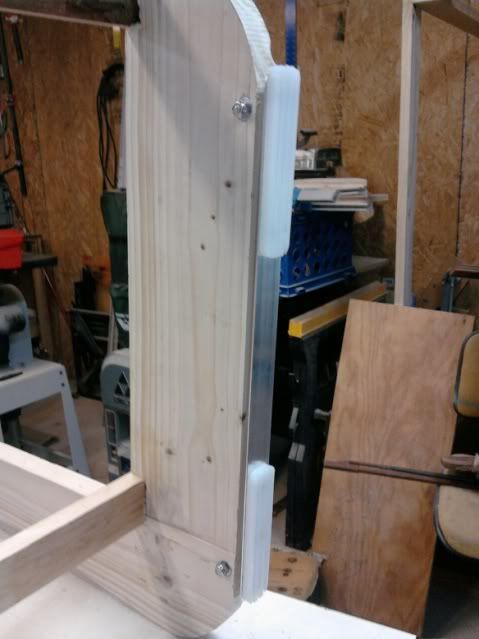
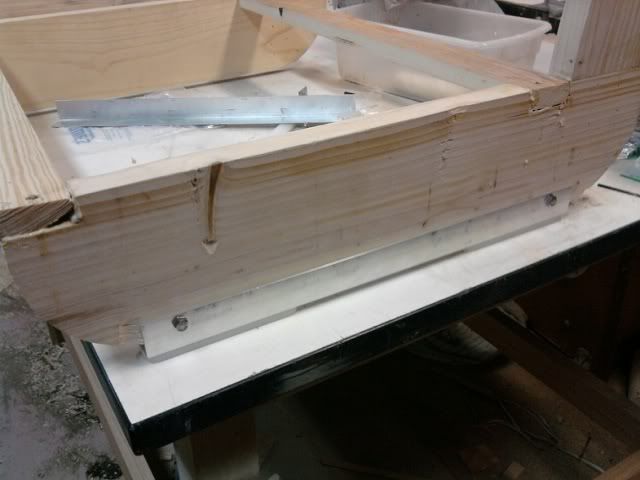
Edited in POST #845
Hey Wood,
That really sux!...
There are actually two good things in your favor, however...well sort of anyway...
1- You still have the original color???!!!, I hope...and
2- It hasn't been aged by the sun or weather...Soooo...
you should be able to do a really good touch up, and maybe just get away with nobody but you knowing where it is...
First a question...this is just paint, right? No clear coat on top??, Right...
Well this is how we do 'em at the body shop...
this kinda carp happens all the time on freshly painted panels, and with a little elbow grease and patience, we take care of the f-ups and no body is ever the wiser...
There are two methods we use, kinda depends on a face to face with the actual damage to determine which one is more appropriate, but both will work in the end.
METHOD ONE;
Clean the area with an appropriate pre-cleaner, Fill the chipped area with paint, until it is over-filled, Let dry thoroughly, then sand with 1500/2000 grit Wet, then Buff/Polish.
METHOD TWO;
Step one- Hardest part, make it bigger with sandpaper, 180/220 grit, feather out the damage, no sharp edges...
Step two- sand with 320/400 grit about twice the size
Step Three- sand twice the size again to 600/800 grit
Step three A- Sand twice the size again, but very lightly, more like scuff, with 1500/2000 grit.
IMPORTANT NOTE: Leave the previously sanded areas untouched by the finer papers, in other words, you should end up with four or five distinct grades of roughness, the closer to the damaged area, the coarser the grit.
Step Three B- Clean/dry area with proper pre-cleaner for the paint being applied.
Step Four- begin spraying the center with the color...very light coats, keep it contained to the damaged/faired area. Let the paint flash before the next coats...
Step Four A-Z: keep spraying until it seems "filled" and faired into the 400 grit area...
Step Five- spray a couple of light coats into the final 600/800 grit area...
Step Six- Let dry thoroughly then...
Step Seven- Sand with 1500/2000 grit then Buff by whatever method, Hand {prefered} or machine to blend the painted repair in with the rest.
IMPORTANT: We usually use WET sandpaper and WET Water { Water with a few drops of dish soap in it} while sanding and flush regularly with clear water, to keep from creating more scratches than necessary.
ALSO: If possible, use a hard rubber backer block on the sandpaper when you get to the final sanding before the buffing
If done right, even you will be hard pressed to tell it ever happened...
AND: Remember to let the paint flash between coats.
Hope this Helps and Good Luck


")