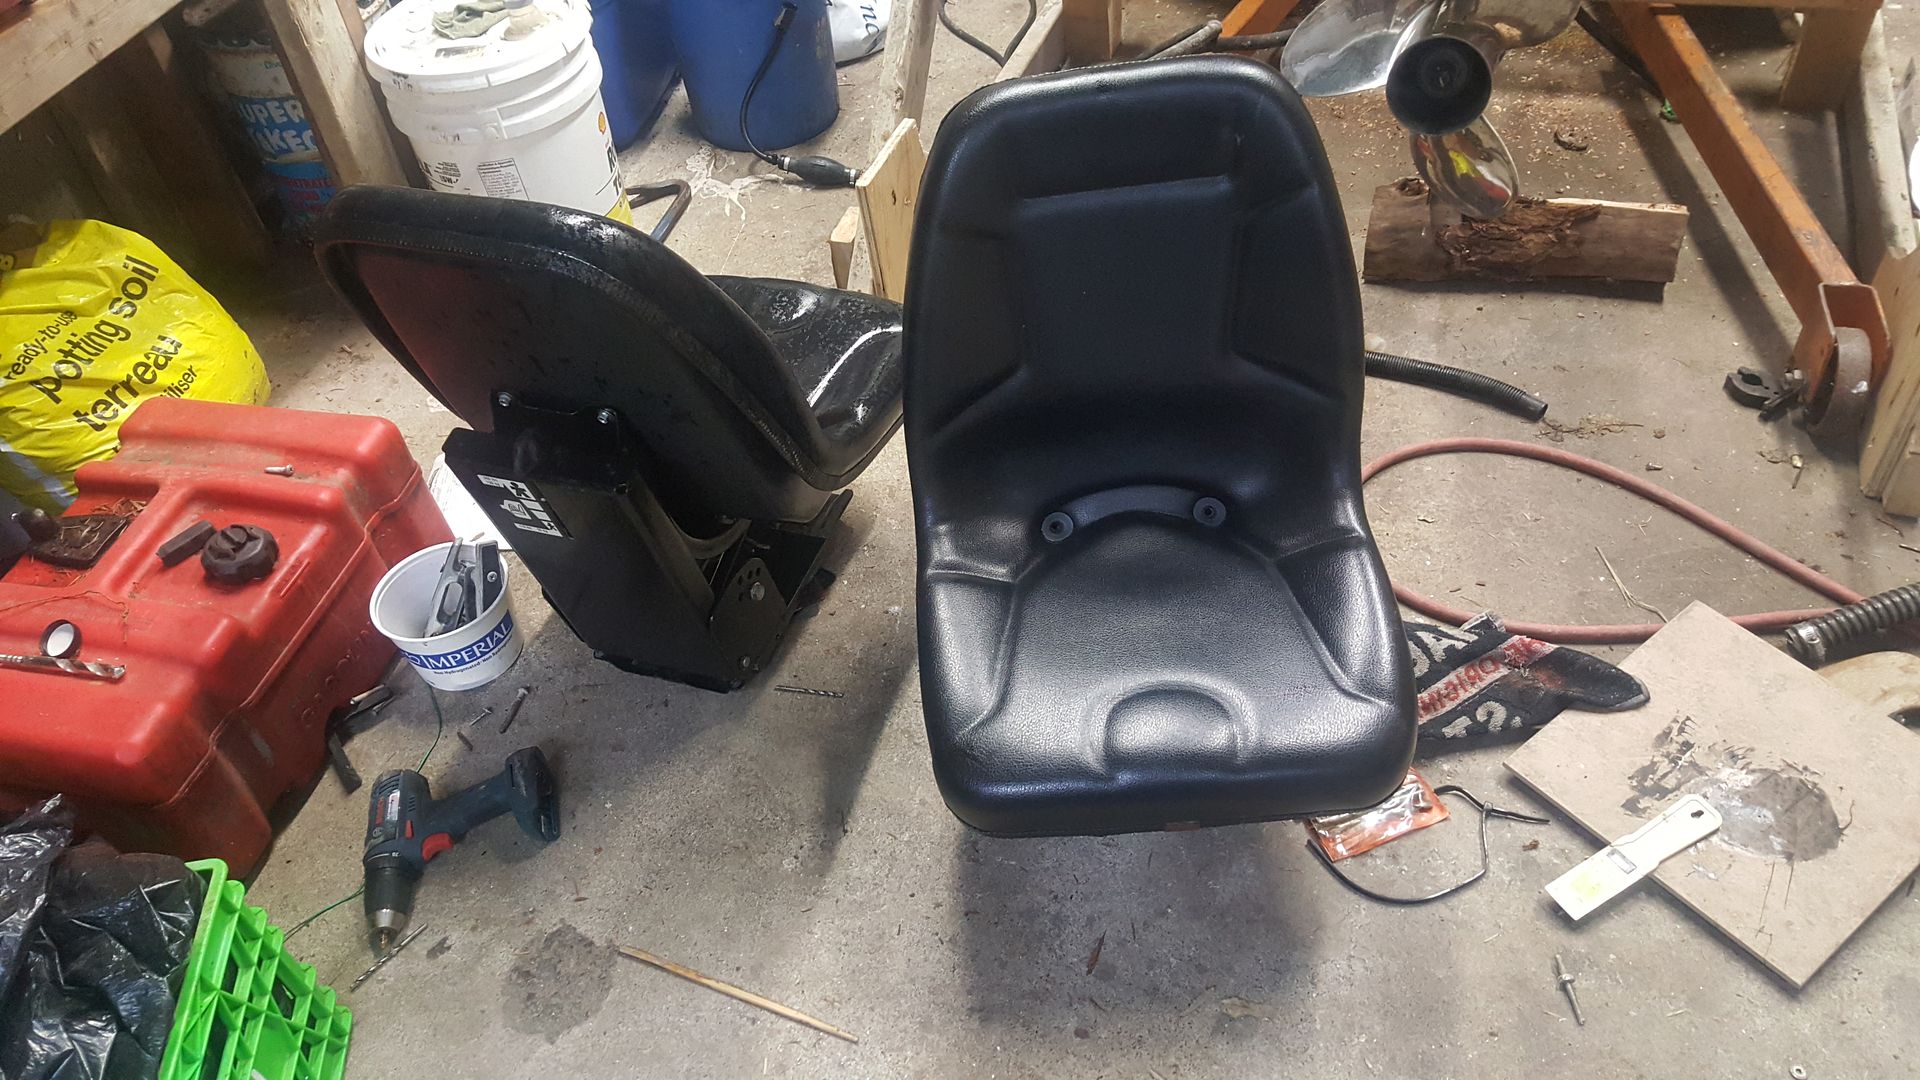
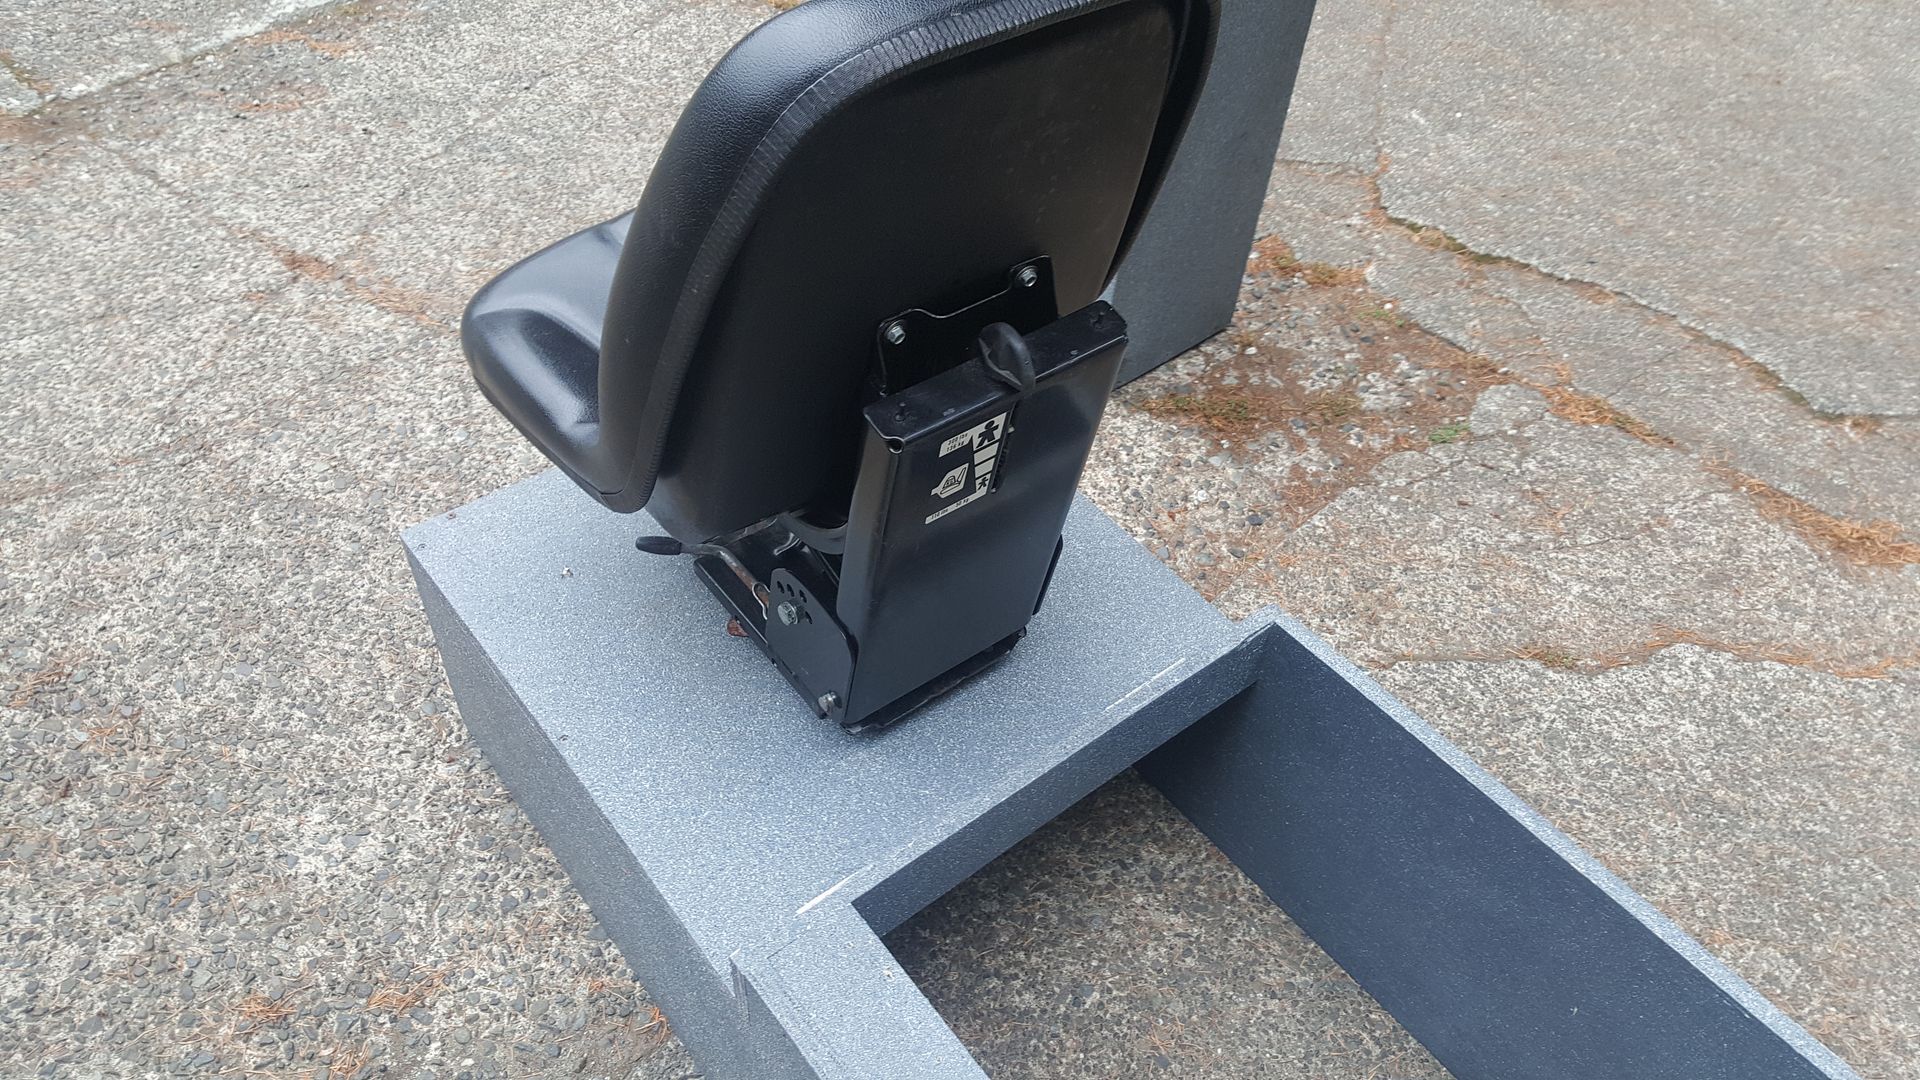
Starcraft islander resto..... where to stop

Captaincrisp

Petty Officer 2nd Class
Joined
May 28, 2016
Messages
128
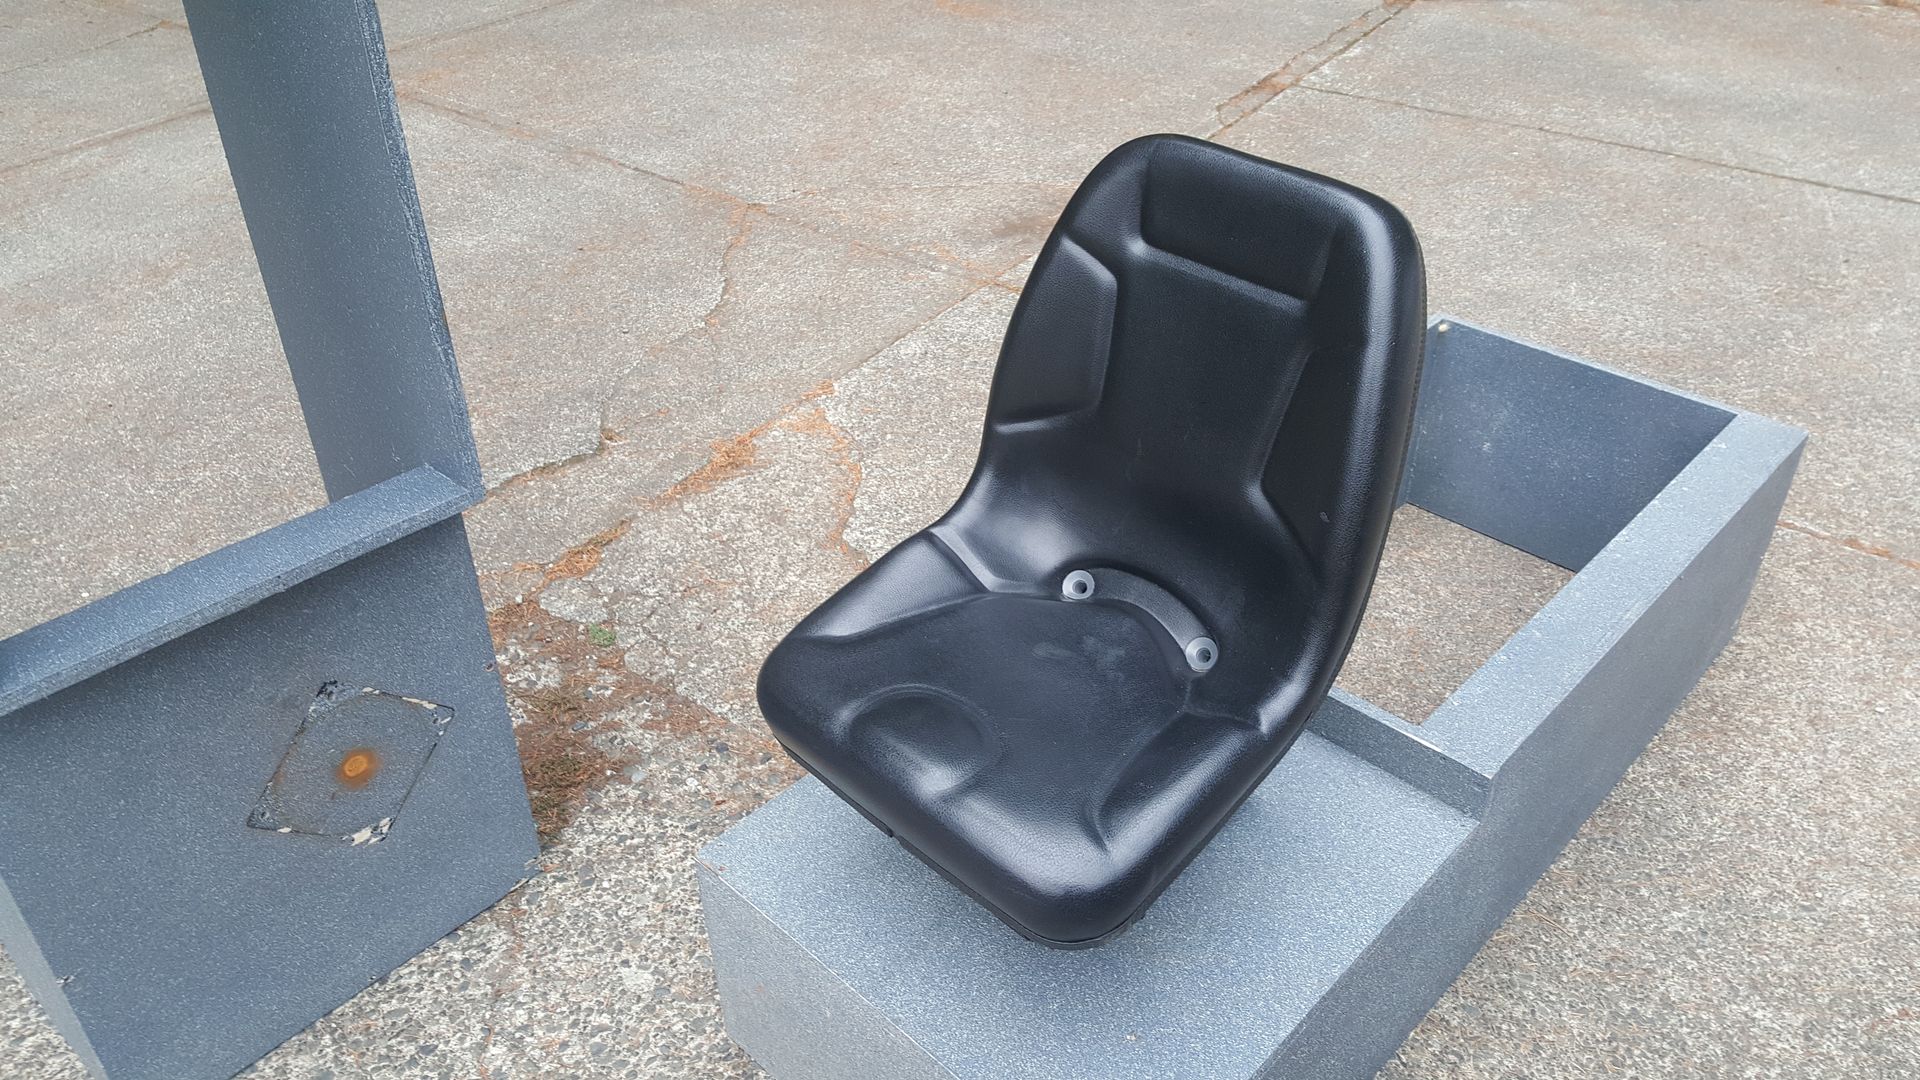
Ok on to the bulkheads(?) The wood you kick from drivers seat and passenger. Anyways doing that and the wood at the noise of the cuddy. The look of epoxy makes me hard. But after reading a bit im more confused then when i started. What are the best steps to insure a good final end result and not have to worry about uv beating up my epoxy... i want to make the wood a little darker then the 105 west systems did.
 

GA_Boater

Honorary Moderator Emeritus
Joined
May 24, 2011
Messages
49,038
You can use some stain to darken the wood and spar varnish instead of epoxy on the bulkhead. Spar is UV resistant.
 

Captaincrisp

Petty Officer 2nd Class
Joined
May 28, 2016
Messages
128
Thx ga after a quick read ill go that route. I just need to find all the leaks on this bad dog before i go about putting new wood back in. I think i will pull windows and frames but i imagine this will be some work.
 

Captaincrisp

Petty Officer 2nd Class
Joined
May 28, 2016
Messages
128
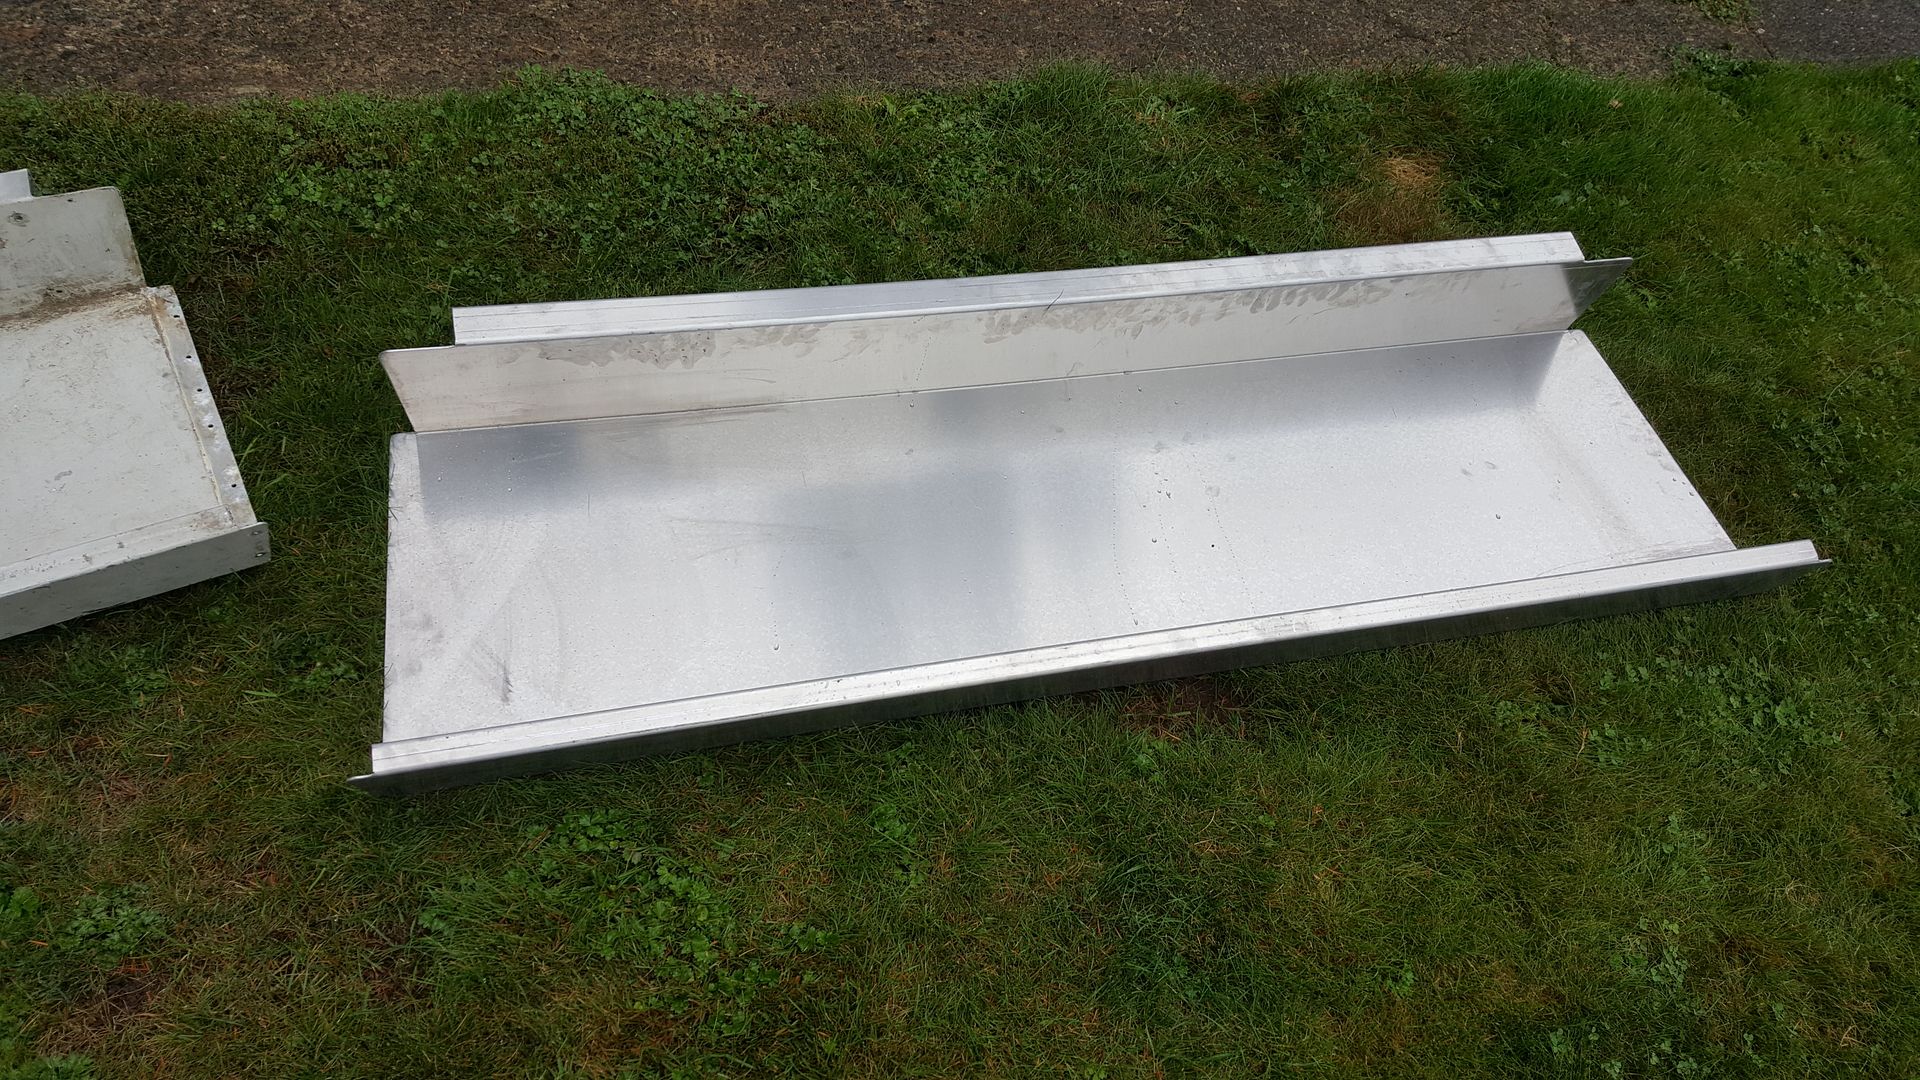
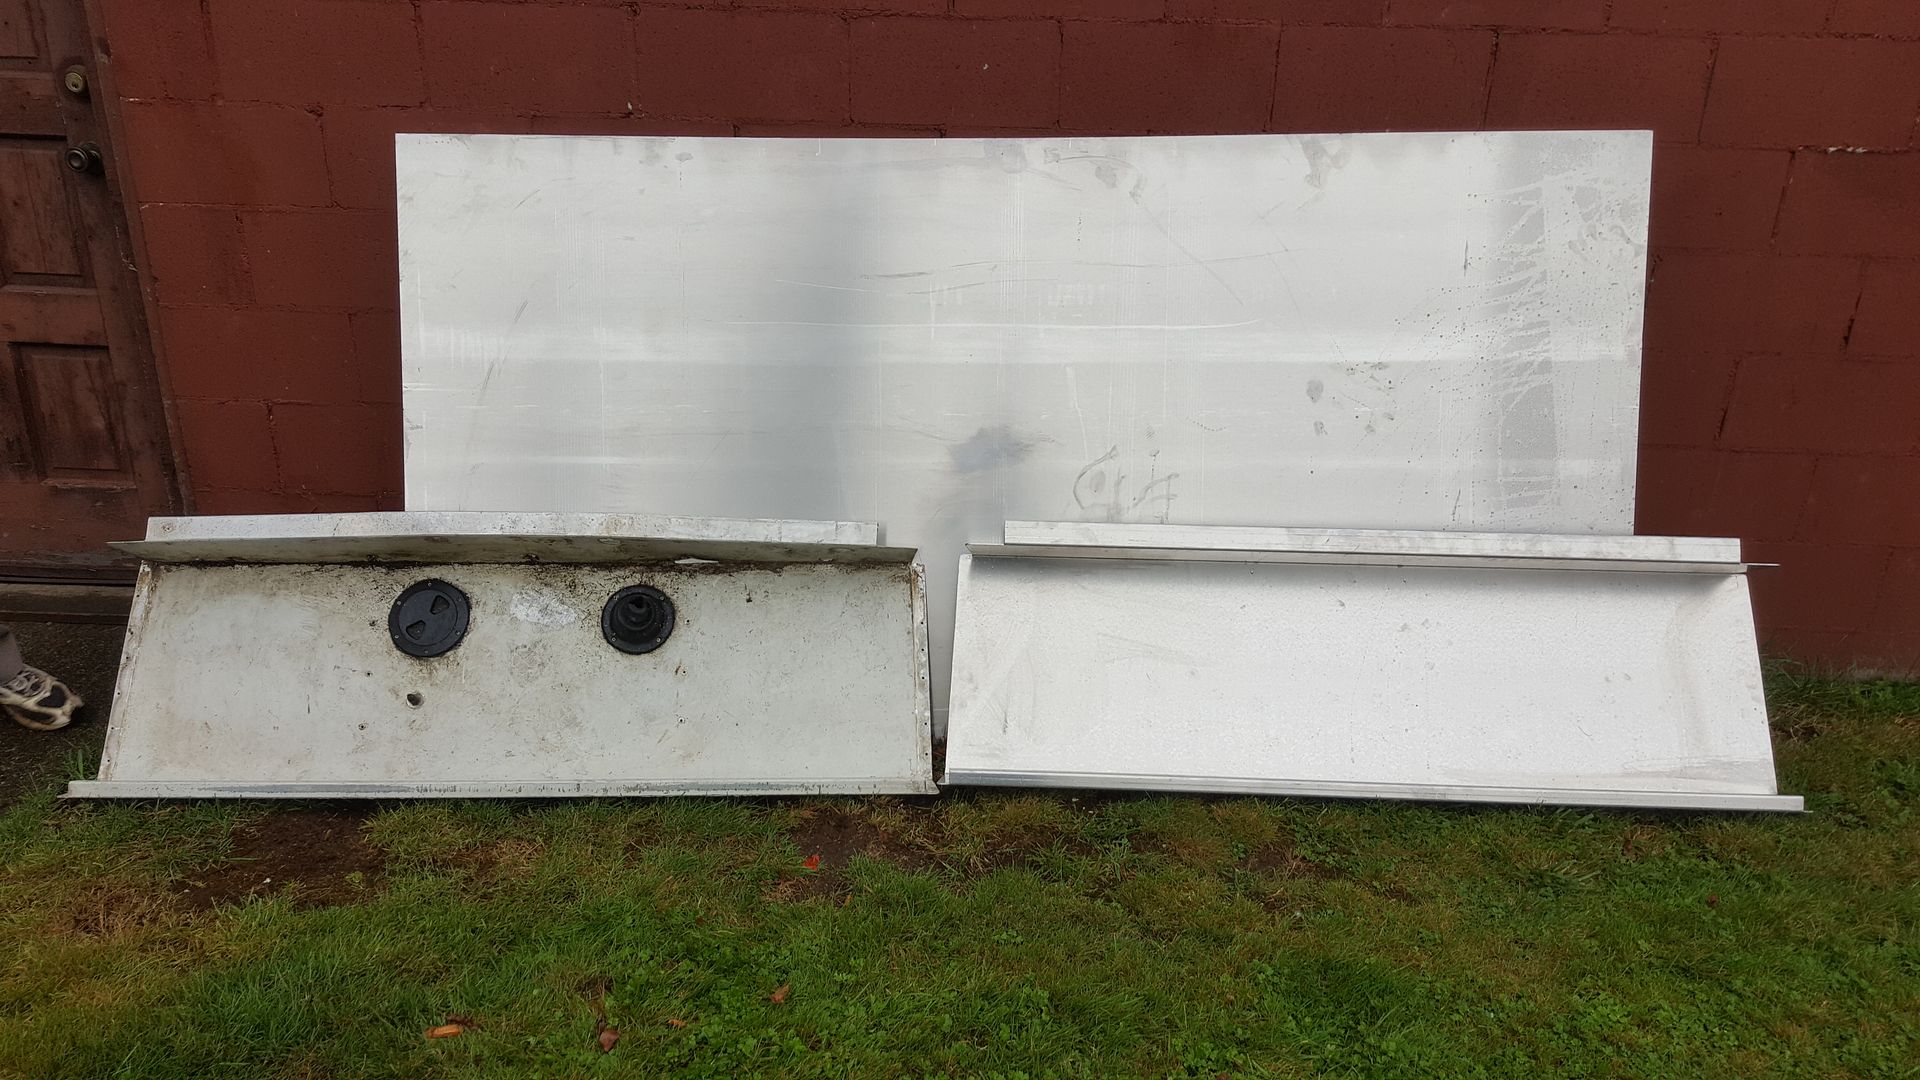
New sheet 1/8 5052 of transom i will be smearing with 5200 then riveting to old transom every 6 inches im thinking solid rivets.
 

Watermann

Starmada Splash of the Year 2014
Joined
Jan 12, 2013
Messages
13,798
Remember the solid rivet bucktails will be on the inside and a hole every 6 inches is a lot of holes and rivets. Personally I would rivet it around the bottom / side edges where the wood won't be on the inside and clamp up the center field nice and tight. That way you don't have to worry about dealing with the bucktails up against the wood transom issue. There is a work around for the bucktails but why if you don't have to? Remember to clamp from the inside out too so the 5200 doesn't end up in the center and works out around the edges.

New SW looks nice!
 

oldhaven

Chief Petty Officer
Joined
Aug 30, 2015
Messages
576
When putting on my outer transom patch I first dry fitted it and marked all the holes I would be reusing for motor and motor plate mounting holes. These were useful for doing temporary through bolt fasteners to clamp the plate in the center while the 5200 was curing. By the way, I used slow drying 5200 and probably could have used the fast cure stuff to speed things up.
 

Captaincrisp

Petty Officer 2nd Class
Joined
May 28, 2016
Messages
128
Few questions for old haven or someone . i couldnt see exactly how you had it rigged up on your build post. How many clamps and how do i need i really dont want to mess this up. Im thinking a think chunk of ply holding everything from my motor bolts. Then no rivets well it dryes?
 

oldhaven

Chief Petty Officer
Joined
Aug 30, 2015
Messages
576
As I mentioned, I used a 5' long piece of 5052 aluminum. If I was to do it again I would have made it just a bit longer and shaped the outboard ends to the hull angle and caught the transom through bolts at each end. I had removed the transom z brace shelf by drilling out the solid rivets, so those holes were available, as were the drain 1" holes and the motor mount holes and the motor pad holes. I also had a few other holes that I would reuse or that were in convenient spots for through bolts. I pre cut the plate to size and shape using the old transom and the transom cap as a template for the top curve. I made the curve offset from the transom top so it would allow the cap to fit above it.

The plate was then clamped to the transom skin and all the holes I mentioned above were predrilled using the transom skin holes. For the 3/16 rivet holes and most of the others, including the 1/4 bolts, I under drilled to fit 10-32 screws and nuts, and put those in place as I went along. This makes the plate drilling more accurate as they go in to hold things rigid. Once all the holes are drilled you can remove the plate and prep it for bonding, deburring the holes and roughing up the inner surface. I did not rivet the z channel during the bonding process, just reused the machine screws and nuts. You can see that I used a lot of clamps along the top curve , I had not predrilled holes there and waited for the wood to be installed before doing wood screws up there. When I applied the 5200 I used a grooved spreader to get complete coverage, and used most of a big tube of 5200. I got quite a bit of squeeze out. Wear gloves and old clothes or coveralls. With slow cure 5200 I could then go back and do rivets along the bottom. Here is where under drilling helps since you may have to put a reamer or drill through to get the rivets in, but very little aluminum is removed. You should have the transom wood fit and sealed and ready to go in, so you can begin to do the through bolts and the drains. Also have the new bolts and the transom drains and tools pre bought and handy. You will need longer than original fasteners and rivets due to the plate thickness.
I pictured the drill guide I used to keep the holes I drilled in the transom wood perpendicular in my project thread. I used a synthetic material for the transom instead of plywood, so you may have to find some way of sealing those holes in ply, possibly dry fitting even the cut transom, but I just used 5200 liberally on the screw and bolt shanks. With all that, your plate is held on solidly during the cure period, and after that I pity anyone who has to remove it.
 
Last edited:

Captaincrisp

Petty Officer 2nd Class
Joined
May 28, 2016
Messages
128
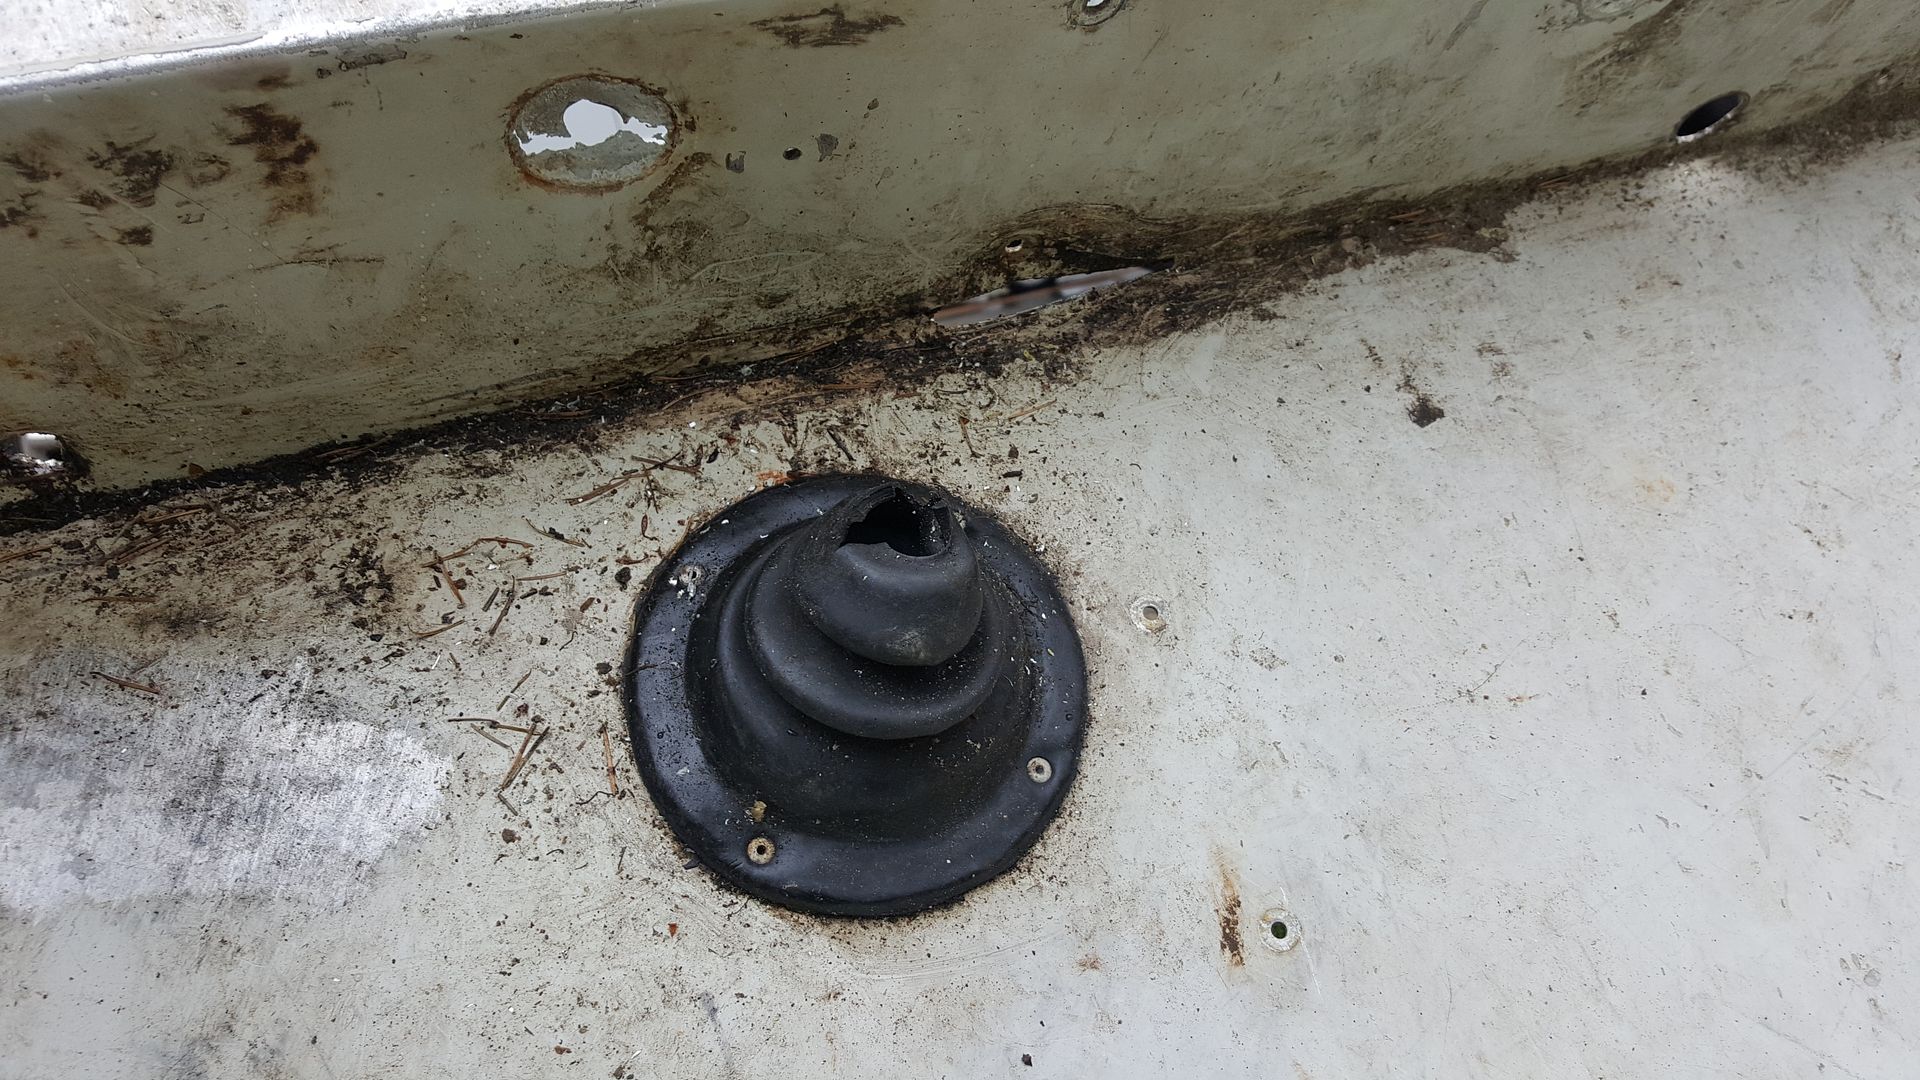
Well been working to much as of late to make any real progress besides cleaning up my mess and a bit of tinkering. My new small battle is the drain plug hole is just about corroided right out of her ... will follow up with pics. Not as bad as i make it sound but sure not a pile of peaches
 

Captaincrisp

Petty Officer 2nd Class
Joined
May 28, 2016
Messages
128
Just the inside of boat part that has it bad outside looks fine but the inside looks to normaly stick out a inch or so ans im left with 1/2 a inch of beat up aluminum
 

classiccat

"Captain" + Starmada Splash Of The Year 2020
Joined
Dec 20, 2010
Messages
3,412
Well been working to much as of late to make any real progress besides cleaning up my mess and a bit of tinkering. My new small battle is the drain plug hole is just about corroided right out of her ... will follow up with pics. Not as bad as i make it sound but sure not a pile of peaches


Moeller makes a kit for that. Mine (thread link) was hosed as well.
 

jbcurt00

Moderator
Staff member
Joined
Oct 25, 2011
Messages
25,056
When shopping for a drain tube, be sure to get the one for aluminum boats for the bilge. The typical tube will work for the splashwell drains.

The aluminum boat version includes spacer rings (and O-ring) so the tube is thru more then the thin cross section of a single sheet of aluminum transom.
 

Captaincrisp

Petty Officer 2nd Class
Joined
May 28, 2016
Messages
128
Ahh thx guys ! My is gone gave her a good squeze and found the o ring your talking about lol
 
Top