Small Fiberglass Skiff Restoration

Camdenites

Cadet
Joined
Apr 28, 2009
Messages
26
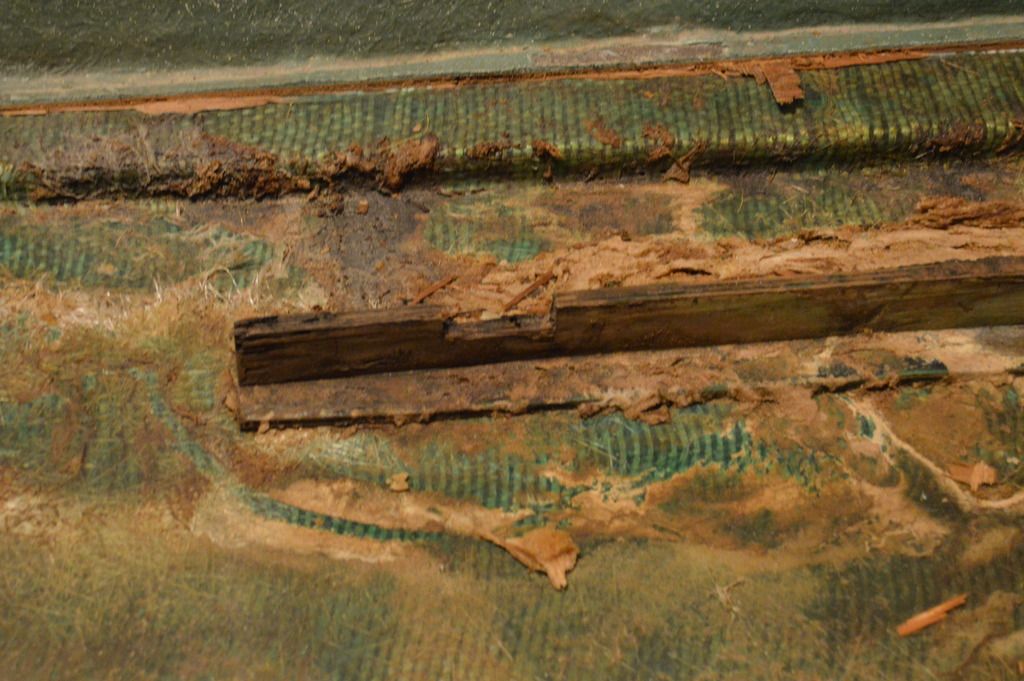
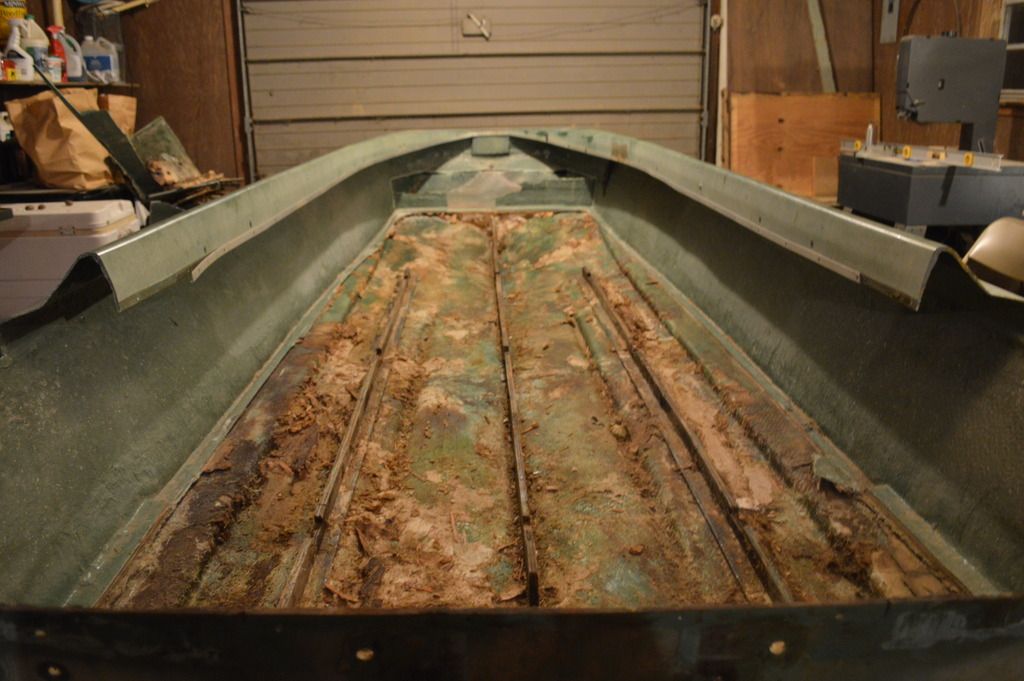
I've used this boat for several duck seasons and have thoroughly enjoyed it. I really like the stick steering setup for several reasons, and it is just easy to use due to its small size. I've known from the beginning that there was a rotten area in the floor, but wanted to be certain that the engine was reliable and I liked the boat before I tackled the restoration. After lots of research on this forum, I have finally gathered enough courage to pull her apart!

My 11 yr old son will be my apprentice and responsible for pic/video documentation.

My first question is? I can't find any hull identification.. Does anyone have any idea who the manufacturer was?
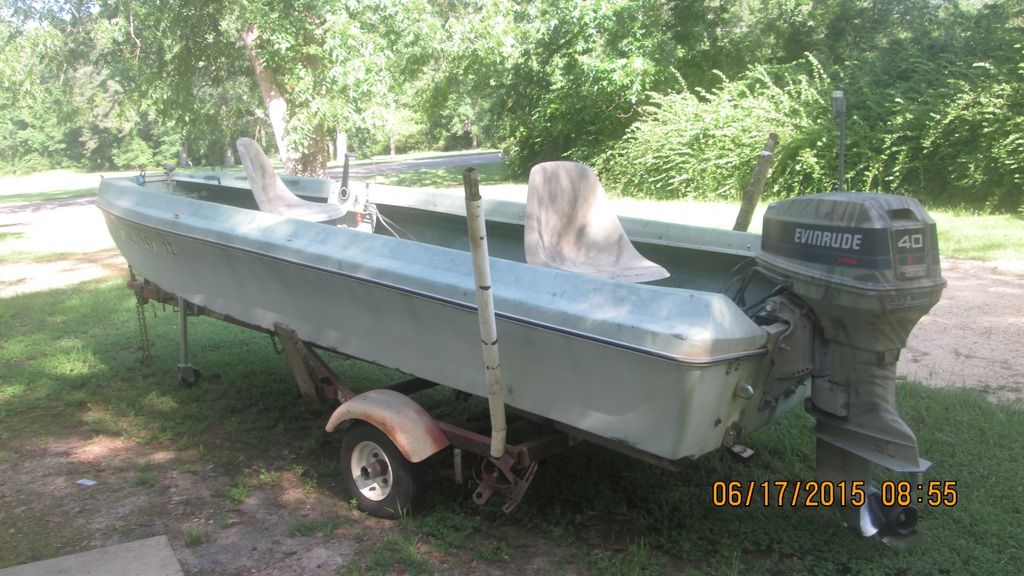
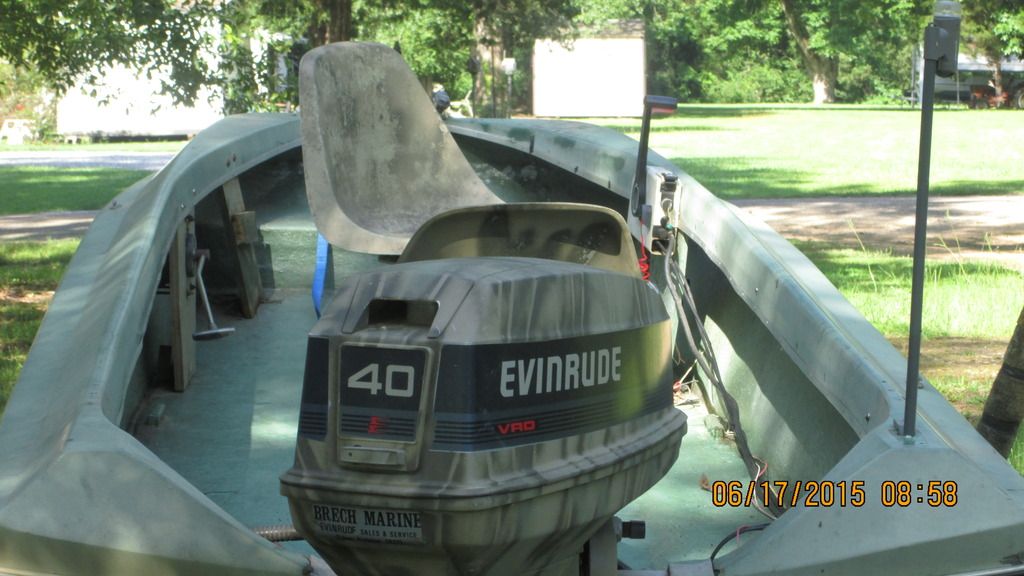


Thank you all in advance for guidance and advice as we tackle this new project.
 

Camdenites

Cadet
Joined
Apr 28, 2009
Messages
26
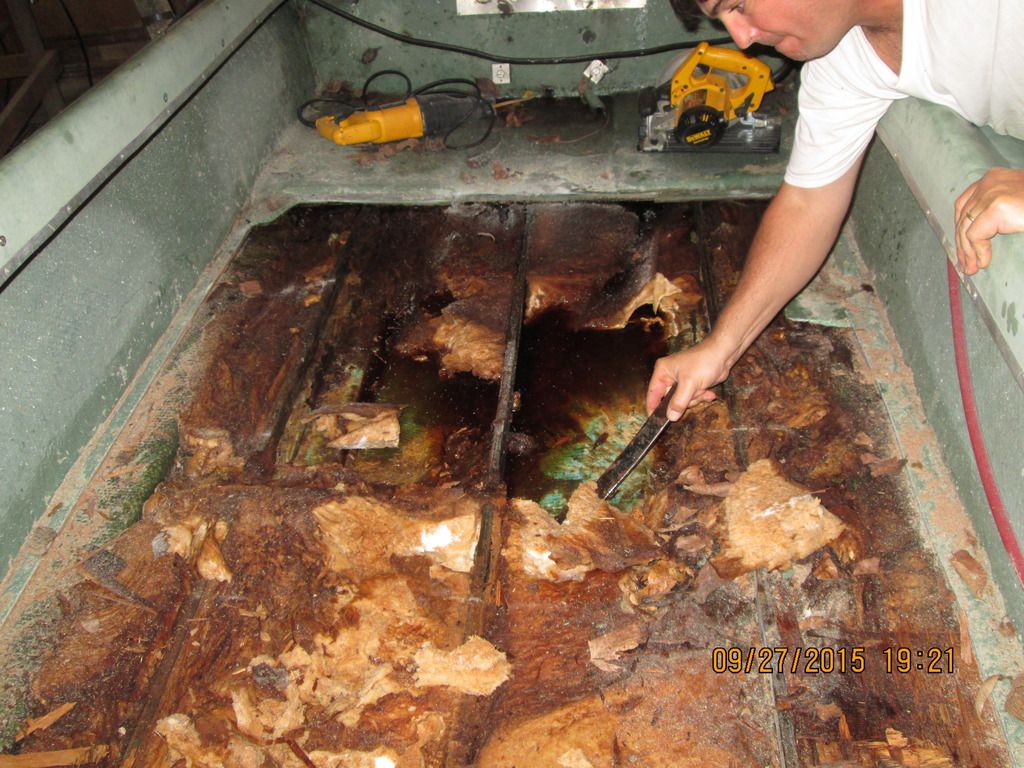
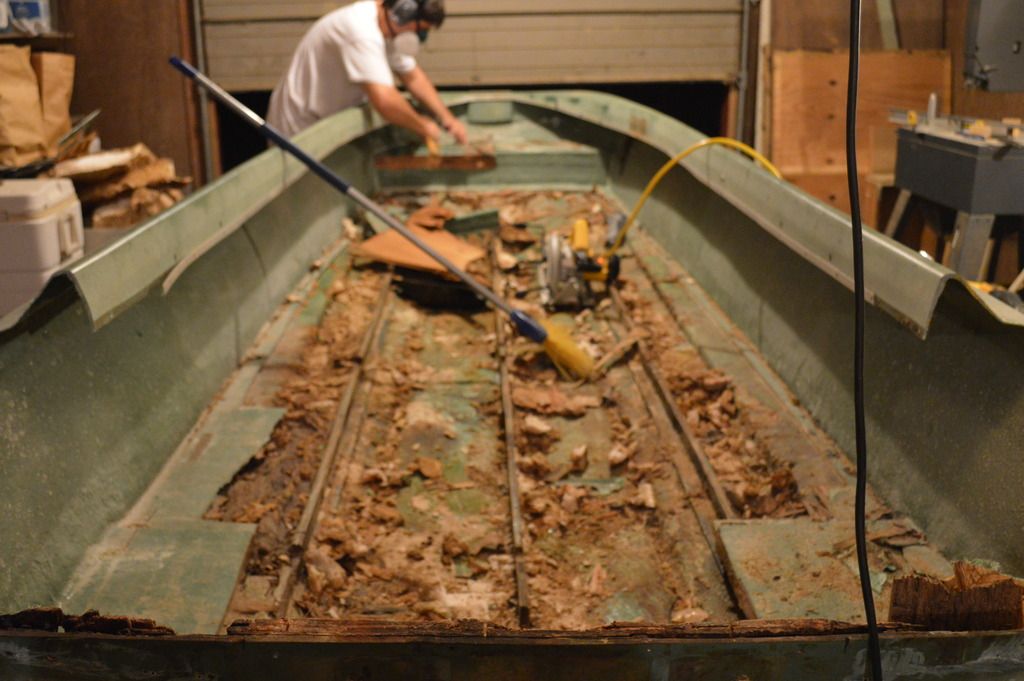
My next step was to open up the area around the "soft spot" and see how bad it was..........


The foam was totally soaked with water! The decking seems okay once you get away from the 2x2 ft decking area that was cracked and apparently leaking.
The stringers are all in one piece but definitely soaked and beginning to rot. What about the transom? I assume from others' experiences that it will be soaking wet also?
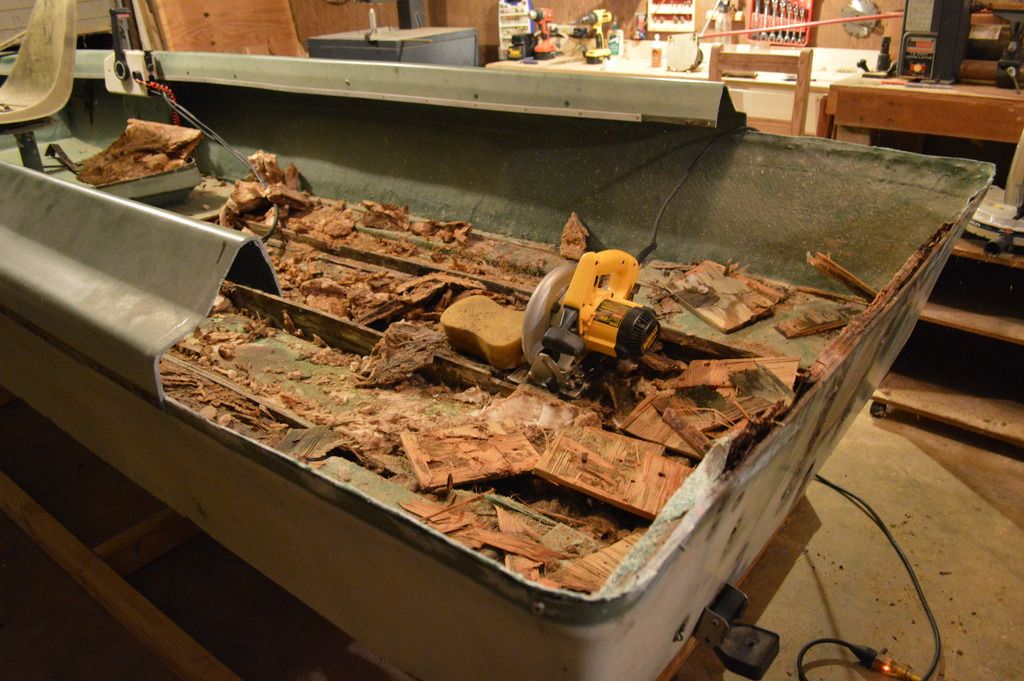
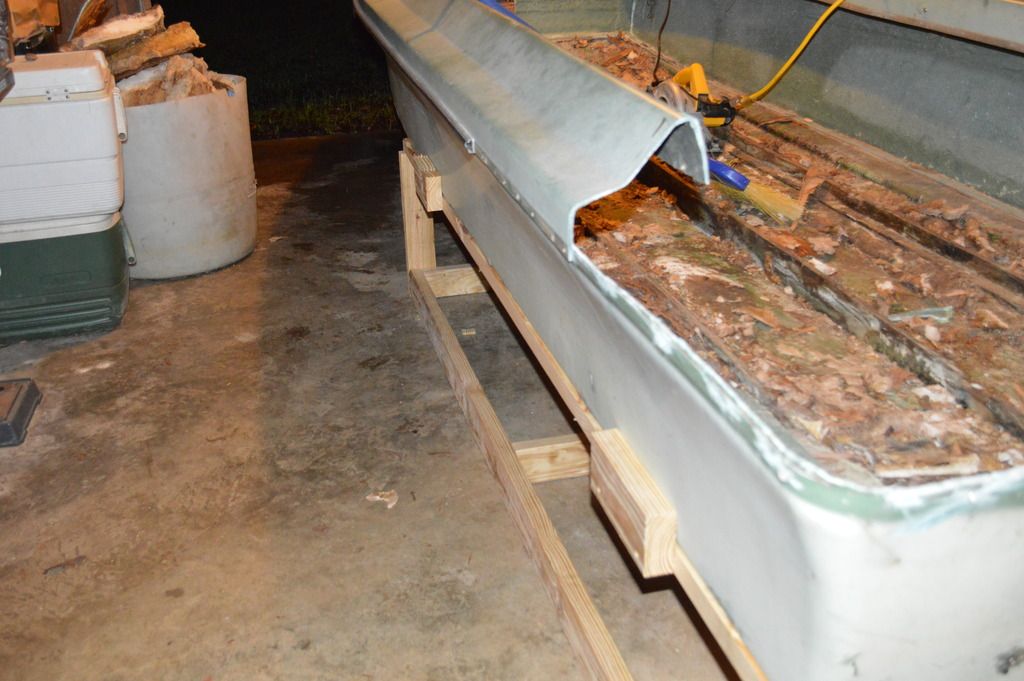
I wanted to leave the full cap on but i couldn't seem to get to the upper corners of the transom. I hope nobody bashes me for this one... I decided to cut away the back two feet of the cap only. This will give me plenty of room to work on the transom, but the rest of the cap shouldn't hinder my work space at all due to its minimal design.

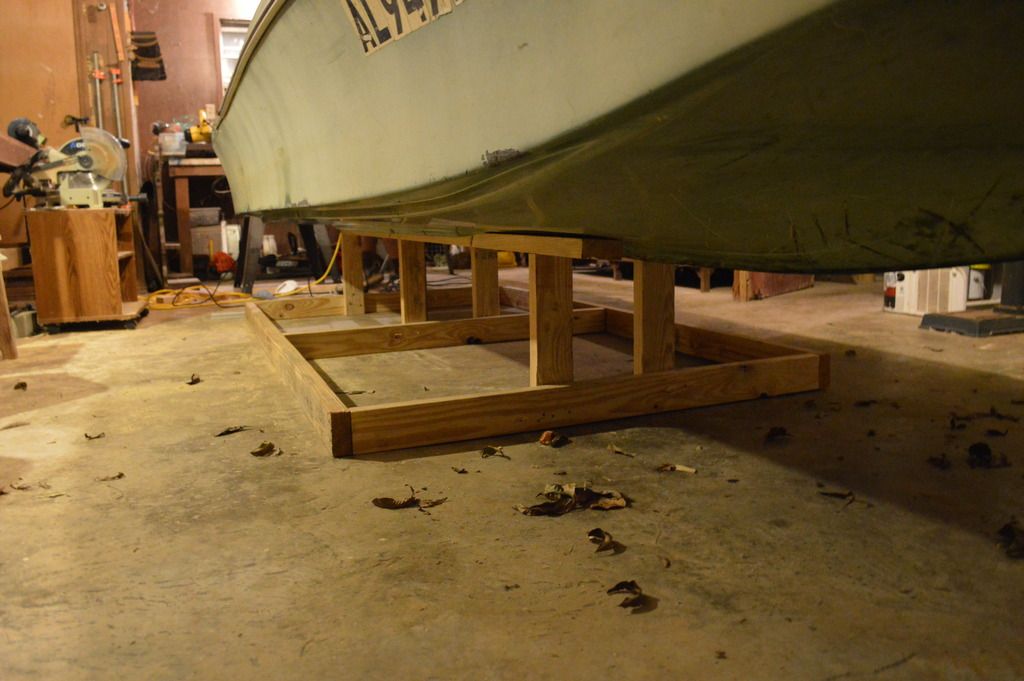
I did build a simple cradle at this point. I started with the center supports only as seen in the pic below, leveled the boat on those, and then added two more on the outer edges and a support on the keel up front.


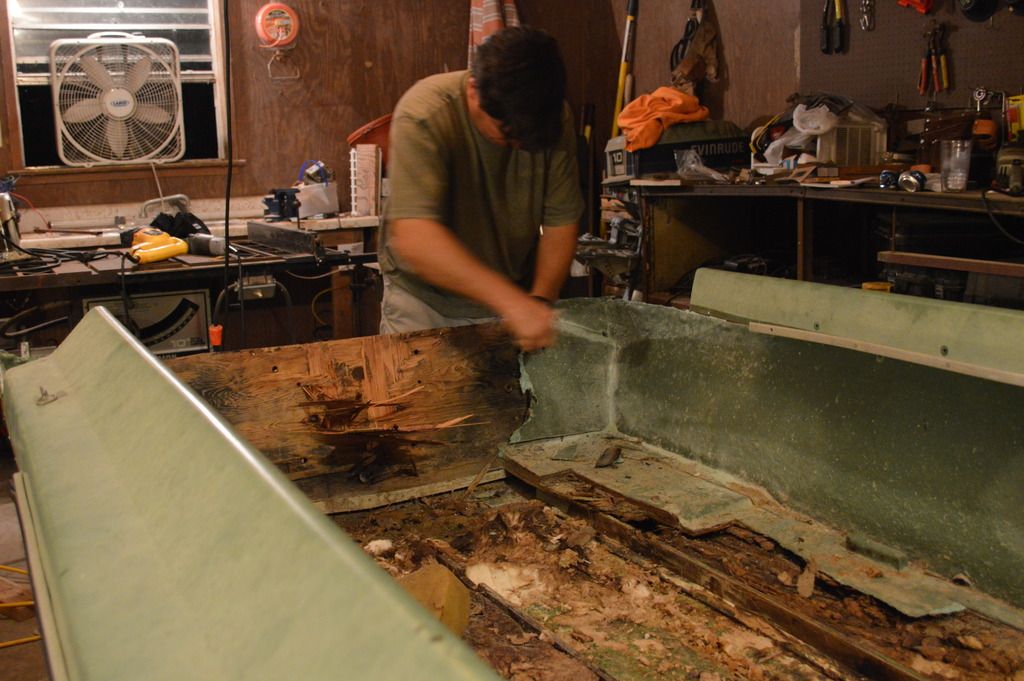
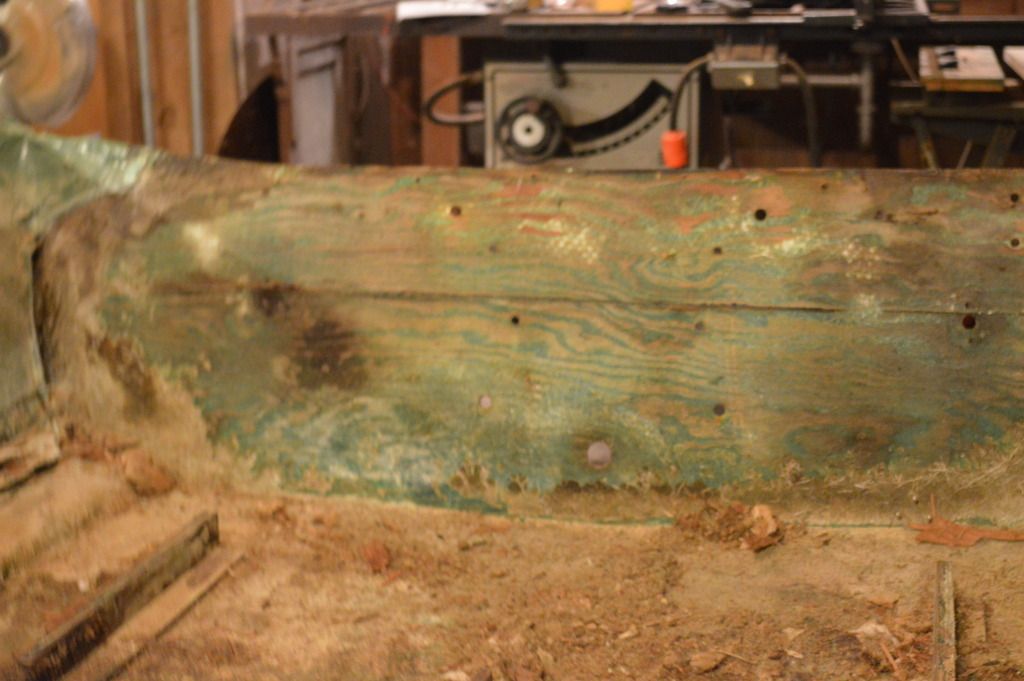
So now back to the transom. I peeled away the inner fiberglass layer, and found damp wood, but very little rot? Oh well, I assume that I might as well replace it while I'm at it instead of wondering for years if I made a mistake..


pro-crastinator

Chief Petty Officer
Joined
Dec 12, 2013
Messages
453
I think you got a good project coming along.
The straight forward - simplicity of the repairs appeals to me greatly.
Regarding the cutting of the rear of the cap to expose the transom -
I for one will not fault you in any way. Decisions need to be made, and you made them.
I say full speed ahead.

Are you up to speed on the polyester resin work that is in your future?
Did you find any "holes" where the water got in?
 

Woodonglass

Supreme Mariner
Joined
Dec 29, 2009
Messages
25,928
Welcome to iBoats! Lots of these kinds of boats were made back in the late 60's and early 70's by multiple MFG's. Hard to say what your's is. Do you have a Title? Cutting the back half of the cap is fairly common practice and a good way to get at the transom. You're fine. I'd recommend using that Circ. Saw set to a depth just shy of the depth of the transom wood and cut a 2" grid pattern on the transom wood on the inside. The use a 1/1/2" wood chisel to remove the existing wood. It'll make it much easier to get it off the outer skin. A Sawsall with a flexible blade works well for cutting the stringers away from the hull. These two links should be helpful as well...

Fabricating Decks, Stringers, and Transoms


Attachments

  • MaterialsList.pdf
    161.5 KB · Views: 0
Last edited:

sphelps

Supreme Mariner
Joined
Nov 16, 2011
Messages
11,468
Ahw man ! You cut the cap off the back ! Gunna have to haul it to the dump now it's ruined ! :rolleyes:
Nah , just joking .. No problem at all with how you cut it ..
You have it well on the way to be better than new .. ;)
One thing I will add is you might want to add another bunk on the outside edge of the hull to carry the weight of the sides .. It will make it more stable while your walking around in it also ..
Good Luck with the restoration !

Edit : Just re-read and you did add the extra support on the edges ..
As Gildna Radner would say .. " Oh ,never mind " ...:D
 
Last edited:

Camdenites

Cadet
Joined
Apr 28, 2009
Messages
26
I've pulled most of the decking and quite a bit of the wet foam out now. While pulling on a front section of decking, the boat shifted significantly on the cradle and I'm struggling to get it leveled again... frustrating. I plan to add "tabs" on the outer support bunks that should keep the hull from shifting again. I had to quit for tonight to avoid frustration!
I have studied quite a few of the other restoration projects and do have an idea of what i'm tackling.. I think :joyous:

I am excited to have you guys following along and giving advice and support as I move forward! Thank you..

I will be using this small boat for duck hunting, and even sight fishing redfish. Both of which require a very shallow draft. I certainly don't want to build a "flimsy" boat, but I do want to be very careful about keeping the weight as low as possible. Most of the builds that I have studied seem to me to be erroring on the side of overbuilding, so I would like for you guys to be thinking about how I might keep this goal in mind as I plan the rebuild. I hope to make some more progress tomorrow.
 

Camdenites

Cadet
Joined
Apr 28, 2009
Messages
26
I forgot to answer two of your questions....
1)Boats aren't titled in Alabama. I've already registered with the county probate office.
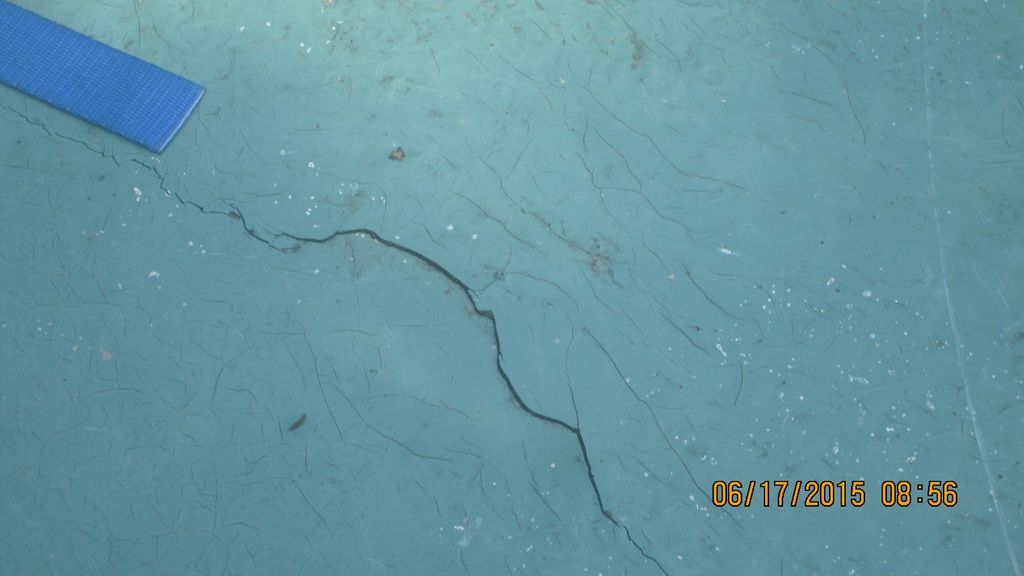
2)How did the water get in the hull? There was a very soft area of decking which actually had a large crack in the fiberglass and disintegrated plywood underneath. I believe that the boat was stored outside for several years.


Woodonglass

Supreme Mariner
Joined
Dec 29, 2009
Messages
25,928
Ok, so no title to give you any past history. I have no idea on how to discover the MFG of the boat. Really doesn't matter, actually. Once you get her restored, it'll be YOUR boat so you can name her and call it what ever you want!!!! Using Poly resin and using Ext. Grade plywood should minimize your costs. Think first and working smart will keep your errors to a minimum too!!
 

sphelps

Supreme Mariner
Joined
Nov 16, 2011
Messages
11,468
Add you some diagonal braces to your vertical bunk supports and that will help on the boat movement also ..
 

Chrisravosa36

Chief Petty Officer
Joined
Aug 16, 2015
Messages
622
Looks like a great project! Cant wait to see it complete! I would STEAL thar 40hp Evinrude for my MFG!!! :rolleyes: Good Luck!
 

Camdenites

Cadet
Joined
Apr 28, 2009
Messages
26
I spent several nights this week struggling with the boat alignment on the cradle. I finally decided to move the hull back to the trailer and rework the cradle.
It rained ALL day today, so I had an "excuse" to spend the afternoon in the shop finishing the cradle and continuing on with the demo.


I hope to make some more progress tomorrow night after work!
 

Camdenites

Cadet
Joined
Apr 28, 2009
Messages
26
I was excited to find a few hours to work on the project last night! I''m still in demo mode, but I'm starting to feel like I'm getting somewhere now. I had "peeled" 2/3 of the layers of plywood off of the inside of the transom when one side of it delaminated from the hull. It took very little persuasion to just pull it off in one piece!


I'm taking my time cleaning out the inside of the hull with a chisel and rubber mallet. I'm hoping to get my stringers out in one piece, and I'm also thinking that anything i chip out with the chisel will reduce grinding time. Take a look at the outer stringers. i haven't seen anyone else with the small horizontal "base" that these have. I'm thinking that I'll put a dado in the base to accept the vertical stringer, then pl the base to the hull, then pl the vertical stringer down to the already set base??? any thoughts??


jbcurt00

Moderator
Staff member
Joined
Oct 25, 2011
Messages
25,057
PL will take a while to cure (72hrs +/-) and off gas while it does. Until it cures 100% and stops off gassing you'll need to keep everything stable and held in place to keep it from moving. So no crawling in and out of the boat and no progress moving on to glassing the stringers in w PB and tabbing or covering them w glass.

I used to support PL use for bedding/fabbing stringers, but no longer do. Use PB mixed yourself out of the supplies you need to rebuild the boat anyway.
 

Woodonglass

Supreme Mariner
Joined
Dec 29, 2009
Messages
25,928
Yup, that's the first time I've seen that method. Not sure the bottom plate is really necessary. If you understand the anatomy of a stringer and how it works on a boat, the wood bottom plate is actually a moot point. I guess you can put it back on if you want, but if it were me I wouldn't go to all the trouble.;)
 

gm280

Supreme Mariner
Joined
Jun 26, 2011
Messages
14,605
Okay another boat project and seems to be going really well. The pros have already steered you in the right direction it seems. So I will just follow along if that is okay. I am presently working a boat not that far from your hull design. And yes I too had the rotted everything including soaked foam to remove as well. But it will certainly come out as a much better then new boat when you're done for sure. I also built a moveable cradle for mine so I can roll it wherever it needs to be. You can click the link below to see it if you like. :thumb:
 

Camdenites

Cadet
Joined
Apr 28, 2009
Messages
26
I made a little more progress this weekend. I was able to remove both of the outer stringers in basically one piece. With a little "prying" down the base of the stringer, they popped loose fairly easily. On the other hand...... The center stringer is relatively rot free and seems to be very well bonded to the hull. It sits down in the V of the center keel and appears to be bedded in a relatively thick layer fiberglass. I don't think I can cut it from the hull due to the location in the V.
Does anyone have any suggestions?
 

gm280

Supreme Mariner
Joined
Jun 26, 2011
Messages
14,605
A tool I used a lot while prepping the hull was a Dremel Mighty Max. Seem everybody makes something similar to that now. But I was able to cut in places on other power tool could get into. Also, if you can't get it out and really want to replace it, an angle grinder can remove it as well with 24 grit disks. JMHO!
 
Top