It looks like you are starting to make great progress.
Keep up the good work.
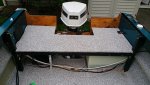
Welcome back in from the cold, almost a year. I'll be interested to see what you come up with for the splashwell.
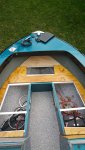
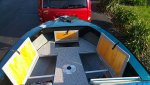
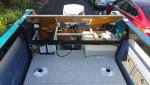
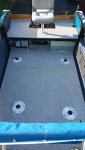
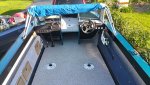
Nicely done M8, and thanks for sharing your progress with pics. We are at the same stage in our re-do's. What's your plan with the rear casting deck, any seating?
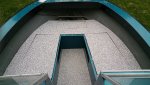
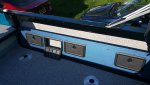
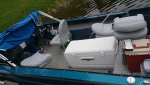
What I've seen most is a removable piece of vinyl snapped on to cover and block the pass through between the consoles.
That makes sense. Much easier to carry and store, vs a board. I guess I will need to learn how to attach snaps to vinyl. Thank you once again.