First rebuild - '89 Campion Allante 185 - Stringers, Deck, Transom

Mechanicalmike08

Petty Officer 1st Class
Joined
Aug 29, 2018
Messages
308
Stick with man, its all worth it in the end when your on the lake. Sometime you just have to roll with what works. Is everything on mine perfect and 100% how I wanted it...No. But at the end of they day I took a step back and said this thing is 100% a better boat then from the factory and what i bought and a lot of the stuff can be hidden and no one but you (And this forum) knows the little imperfections.

I bought mine in the weather strip section of the home improvement store, it already had a adhesive backing. You have to read the package to find the actual material but most are listed. But I have a plastic tank as well so not as restricted. I did a quick search and Amazon has it in 25ft rolls on prime for $15.
 

dezmond

Senior Chief Petty Officer
Joined
Jul 21, 2010
Messages
760
Titebond makes an epoxy glue which is amazing stuff. It will hold the strips in for sure.
 

Chris51280

Ensign
Joined
Jan 24, 2018
Messages
932
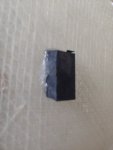
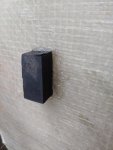
I stand corrected. It did dry and stuck pretty good. I was able to peel it away with a good amount of force. This was a 1/2x1" piece and I assume I could have hung 20# on it
 

Attachments

  • photo312060.jpg
    photo312060.jpg
    89.2 KB · Views: 0
  • photo312061.jpg
    photo312061.jpg
    136.5 KB · Views: 0

steve_h7

Chief Petty Officer
Joined
Sep 16, 2018
Messages
401
Thanks Chris, still here. :) Waiting for gelcoat, foam, and more resin from USC. I ordered 2 - 16lb. kits but hoping that is enough? Your tank pressure test was perfectly timed since I'm going to give that a try while I wait. And got the deck plywood so trying to get templates made so I can get those cut. All little bits of progress... Thanks again for checking in.
 

kcassells

Fleet Admiral
Joined
Oct 16, 2012
Messages
8,715
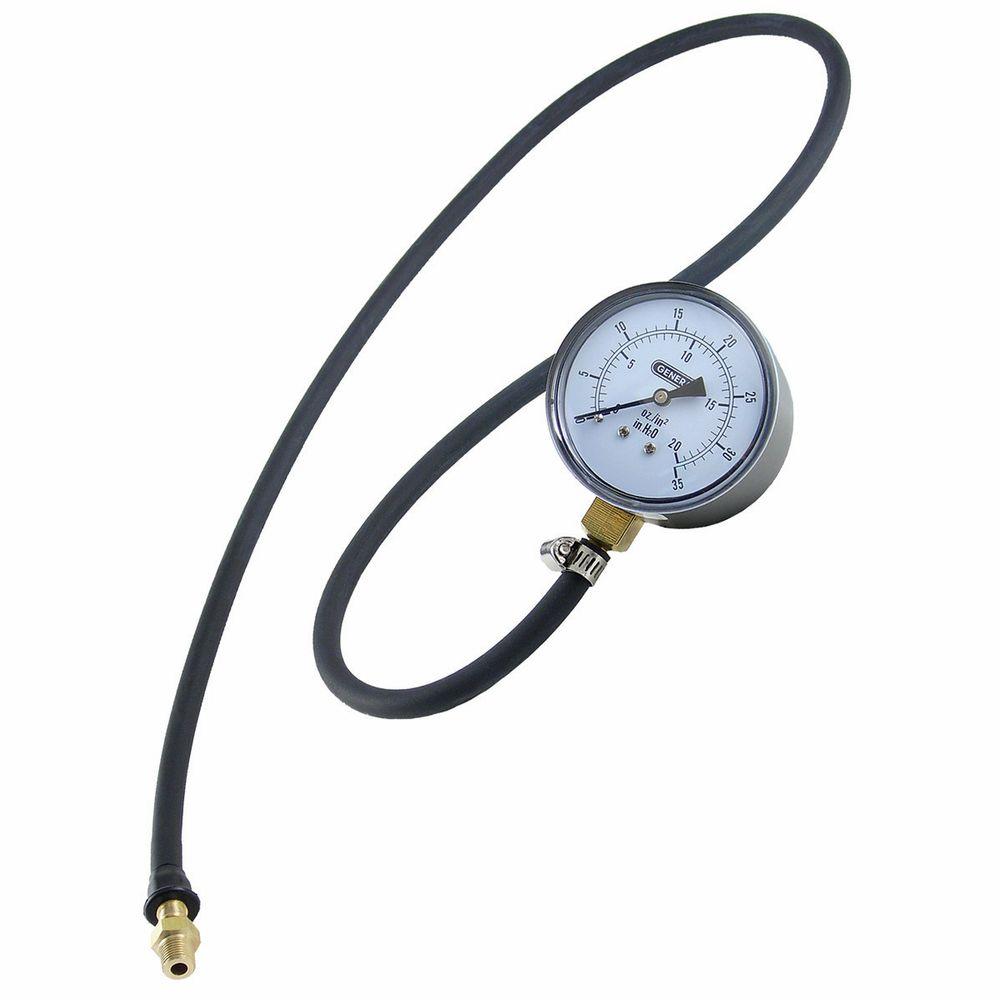
Max 3 psi. After 3 psi the tank will distort. You can get the components, foot pump, gauge, fuel and vent covers at hdblow. Rubber caps also. Plumbing section. Foot pump anywhere. Also some gas line Bubble tester. It will show areas that leak by bubbling.
Car quick pump works too just need add'l pcs, to work/transition to the gauge.
Cool! Good luck!!
 

kcassells

Fleet Admiral
Joined
Oct 16, 2012
Messages
8,715
Gauge needs to be 1 lb increments. There are others available. Pressure test needs at least 4 hours to confirm no leaks.
Hot sunny day may actually increase pressure in tank. So keep an eye on it. :]
general-tools-specialty-meters-gpk035-64_1000.jpg
 
Last edited:

steve_h7

Chief Petty Officer
Joined
Sep 16, 2018
Messages
401
Tank is under pressure (man, scares the crap out of you when the tank pops :)) but my sending unit was bad so I replaced it before the test. The new screws it came with didn't fit my tanks holes so I reused the old ones. I see small air leaks at two of the screw heads... none between the sending unit and the tank. The new screws came with a sealer molded onto the underside of the heads so it would squish out when tightened... should I use Permatex #2 (non hardening) or something on the heads of the old screws to help them seal? I checked the entire tank with soapy water and see no pin holes but it's just the two screws on the sending unit.
 

steve_h7

Chief Petty Officer
Joined
Sep 16, 2018
Messages
401
Yes, I think 1, 2, 3 are all fuel resistant. I think #3 is the same #2 but just a brush on instead of in a tube. Maybe
other differences but it says both are non hardening.
 

steve_h7

Chief Petty Officer
Joined
Sep 16, 2018
Messages
401
Must be busy time for US Comp but more supplies finally arrived. While I was waiting I cut out the floor pieces and got the backside covered with csm. Got the bilge/tank area gel coated and the 1/2" neoprene strips glued in. Today I'm going to try and get at least part of the floor screwed in so I should be ready for the first foam soon.
Next week I'll have a short break for surgery on my aorta for an aneurysm. Oh boy, can't wait. :rolleyes:
 

Attachments

  • photo313154.jpg
    photo313154.jpg
    645.8 KB · Views: 2
  • photo313155.jpg
    photo313155.jpg
    241.6 KB · Views: 2
  • photo313156.jpg
    photo313156.jpg
    221.6 KB · Views: 2

steve_h7

Chief Petty Officer
Joined
Sep 16, 2018
Messages
401
Thanks guys, I appreciate it. Growing old is not for the weak. :)
The underside has two coats of resin then csm. The top side I've been wetting out when I have extra resin but will give another coat and glass when it's in the boat... which I just got done with. I'd say it's good to have a floor back in it but I never used it before I ripped out the floor so I have nothing to compare it to! But it is nice to be able to stand and not be on a slope. :D
 

Attachments

  • photo313174.jpg
    photo313174.jpg
    171.4 KB · Views: 1

Chris51280

Ensign
Joined
Jan 24, 2018
Messages
932
leave the sides open for foaming. And dont overfill it too much. it will lift your deck even with the sides open. foam will expand in the most odd places with nowhere to go. it popped part of the aft section where i did not screw it down.
 

ACon977

Senior Chief Petty Officer
Joined
Nov 21, 2017
Messages
759
Great progress Steve! Aorta surgery sounds a bit scary, but hopefully it all goes well.

I think I mentioned this before, but dont glass the top of the deck until after you have put the holes in your floor to pour foam into. I made this mistake and burnt up my drill trying to drill holes. I ended up having to get a heavy duty cement mixer drill to finish up.
 
Top