Complete rebuild of 1979 Checkmate Eluder

Status
Not open for further replies.
Joined
Oct 22, 2007
Messages
2,598
Re: Complete rebuild of 1979 Checkmate Eluder

I thought the restoration looked familiar, great project!!! You're Groundloop from CM website. I'm cmpulse170 from over there.LOL!!!

I've gotten so much help here on iboats getting my engine right that I figured it was time to share some experience with the rebuild project.
 
Joined
Oct 22, 2007
Messages
2,598
Re: Complete rebuild of 1979 Checkmate Eluder

I decided to clean up the fuel tank before re-installing it. I have the original 30 gallon aluminum tank, built in 1979. I decided to pull the fuel pickup to see if it had a strainer, and if so to see what it looked like (no, I just couldn't leave well enough alone). Here's how that turned out:

AIM000437.jpg


I got that out with an EZ out and bought a new pickup tube from iboats. I also discovered that the fuel level sender was toast, so pulled that and bought a new one of those as well. With the sender out I could see inside well enough to confirm that it was very clean, so that was good news. An in the course of installing the new sender I discovered that there is one and only one way that the screw holes line up (I would have thought they'd be in a symmetrical pattern, but NOOOOO!!!). With a bit of elbow grease I got the tank cleaned up and ready to re-install.

AIM000446.jpg
 
Joined
Oct 22, 2007
Messages
2,598
Re: Complete rebuild of 1979 Checkmate Eluder

Because I had redesigned the deck somewhat I couldn't use the old console sides as patterns for new ones. I lowered the cap into place temporarily and made cardboard mock ups, test fit them, and then cut 1/2 inch plywood for the new dash sides. These were glassed on each side with 7725 cloth, filled, sanded, and painted.

AIM000440.jpg


AIM000461.jpg


The forward bulkhead was in pretty bad shape so I made a new one of those as well. The old one had vinyl on it, I filled and sanded the new one, painted it gloss white, but later decided I'd like it better carpeted.


AIM000462.jpg


While I was at it I designed a new logo for the dash and cut it on the water jet at work.

AIM000449.jpg
 
Joined
Oct 22, 2007
Messages
2,598
Re: Complete rebuild of 1979 Checkmate Eluder

Since I chose to use a Hot Foot I didn't need a control box, so decided to use a billet shifter from Eddie Marine with an integral neutral safety switch.


AIM000451.jpg


Since the side panel was so thick where the shifter needed to be mounted I had to fabricate an offset arm for it. Once again, thank goodness for a water jet at work.

AIM000489.jpg


AIM000485.jpg
 
Joined
Oct 22, 2007
Messages
2,598
Re: Complete rebuild of 1979 Checkmate Eluder

I removed the windshield and side windows to clean them up (there was the start of some corrosion on the frames), decided I didn't like the aluminum look so painted the frames black.

AIM000479.jpg


While I was in the painting mood I painted the bilge black, painted all the visible areas in the stern grey using bilge-kote (being careful not to paint the area that would later need to bond to the splash-well). I had some bilge-kote leftover so painted the area in the bow that wouldn't get carpet (it would be hidden by the front bulkhead, but slightly visible with the hatch open). Once all the paint was dry I mounted the bilge pump and float.

AIM000480.jpg


AIM000481.jpg


AIM000501.jpg
 
Joined
Oct 22, 2007
Messages
2,598
Re: Complete rebuild of 1979 Checkmate Eluder

I installed my new carpet before putting the cap back on, it was way way easier to do it this way. As I have already admitted, it was somewhat of a pain getting the carpet perfect around the seat boxes, and if I had it to do all over I'd have gone with pedestals.


AIM000498.jpg


I also got the seats and ski locker frame installed with the cap off, more room to maneuver that way.

AIM000514.jpg


Planning ahead for steering and control cable installation, I installed two large Adel clamps.

AIM000525.jpg


AIM000523.jpg


I was toying with the idea of building custom speaker enclosures but decided to save time and purchase marine 2-way box speakers instead (in addition to the two speakers in the front bulkhead). These will be recessed under the side panels, so I mounted those while access was still easy.

AIMG_2712.jpg
 
Joined
Oct 22, 2007
Messages
2,598
Re: Complete rebuild of 1979 Checkmate Eluder

Here's the last photo taken before reinstalling the cap. All of the wiring that could possibly be done to this point is complete, as is the installation of control cables, etc. At this point I had also wet sanded the entire boat, buffed it out, and waxed it. I'm amazed how good 33 year old gelcoat can look, IMHO Checkmate is one of the best out there when it comes to the quality of their gelcoat.

AIMG_2710.jpg


Before permanently installing the cap I ran a bead of sealer around the hull, then dropped the cap in place. Then I filled the space between the transom and splash well with filler made from microballoons, cabosil, and epoxy. After that cured I fabricated a fiberglass piece to go on top of the transom where I had to cut to remove the cap, and reinstalled the rubrail using special rivets made for fiberglass.

Here's what the interior looks like after installing trim on the console sides and bottom of the dash, installing the windshield, mounting the HotFoot, etc. Notice that the HotFoot is set up for my left foot - the hull is sloped where the driver's right foot goes so it would sit at an extremely awkward angle. I've seen a couple of other boats with the HotFoot set up for left foot operation so decided to go that route. It was really no big deal to get used to, took me less than 30 seconds to be comfortable with it.


aIMG_2751.jpg
 
Joined
Oct 22, 2007
Messages
2,598
Re: Complete rebuild of 1979 Checkmate Eluder

I fabricated a backer plate for the lower jackplate mounting bolts

AIM000526.jpg


Mounted the jackplate and engine

AIM000529.jpg


AIM000531.jpg


Mounted the front speakers and a hatch cover on the front bulkhead which I cut on our waterjet with the Checkmate logo in it:

aIMG_2750.jpg
 
Joined
Oct 22, 2007
Messages
2,598
Re: Complete rebuild of 1979 Checkmate Eluder

Instead of going with a ladder I built a small platform, again with the Checkmate logo in it. I used some of the original ladder, and fabricated the rest from scratch.


aIMG_2754.jpg


aIMG_2755.jpg
 
Joined
Oct 22, 2007
Messages
2,598
Re: Complete rebuild of 1979 Checkmate Eluder

I obtained new decals from Checkmate to replace the original ones. Here are a few photos of the completed boat. Unfortunately I never took the time to take any glamor shots with my good camera.

aIMG_2756.jpg


aIMG_2757.jpg


aIMG_2758a.jpg


And here's one when i took it out last spring. The engine still wasn't running right when I had it out then, and in fact I spent nearly a year getting multiple issues with the engine straightened out. I found this engine on ebay and thought I was getting one that was ready to bolt on and go. It turns out that at least two other members on iboats have bought engines from the same guy that I did and have had similar bad experiences. I've detailed that information in the non-repair outboard forum - I don't want to go into much detail about the engine here 'cause this thread is meant to be a celebration of bringing a sweet old Checkmate back to life. I'll just say that if anybody is thinking about buying an engine from Frank Mathews near Savannah they should look it over much better than I did before making the purchase.


mCRW_2958-002_med.jpg
 

Jeffp1

Cadet
Joined
Jun 19, 2013
Messages
7
Re: Complete rebuild of 1979 Checkmate Eluder

What a beautiful boat!!! Great job!!!
 

DGMAX99

Cadet
Joined
Sep 9, 2013
Messages
16
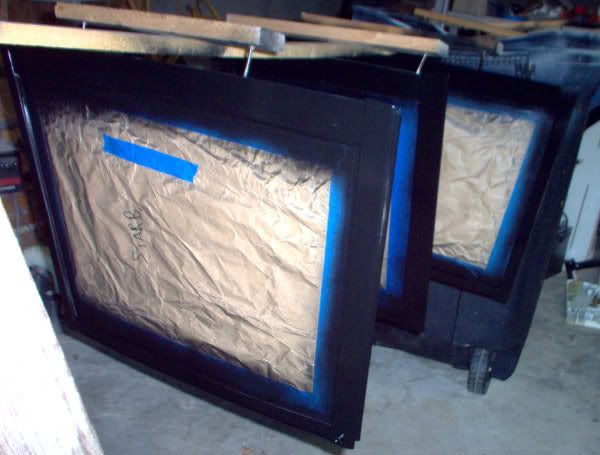
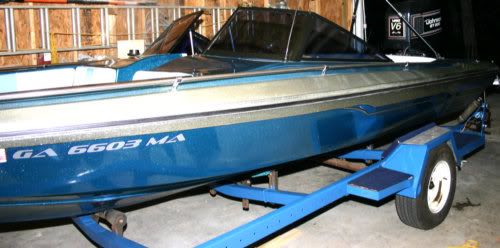
I realize this is an old thread, and a long-shot at getting a question answered, but thought I would give it a post anyway! First off, let me say this was very interesting, and well done, restoration, especially for me since I currently own a Checkmate Eluder also! Bought mine new waaaaay back around 1980. Mine is black and silver and still in pretty solid shape, although it could use a good cleanup, buff and wax. It still has the original Mercury 175 on it!

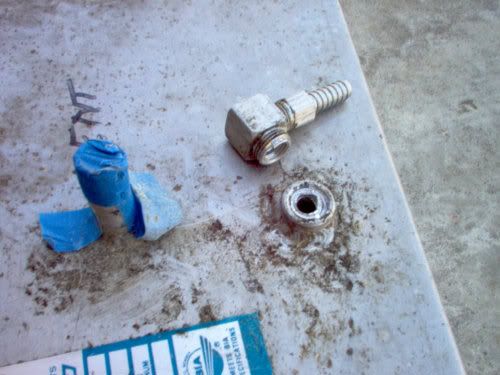
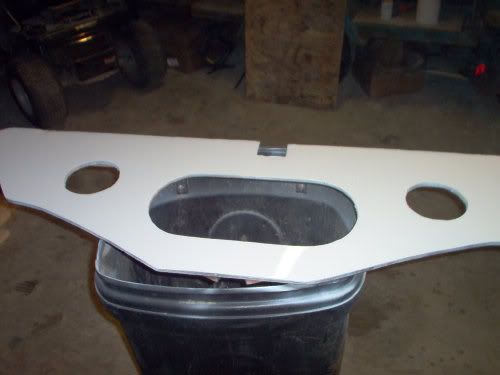
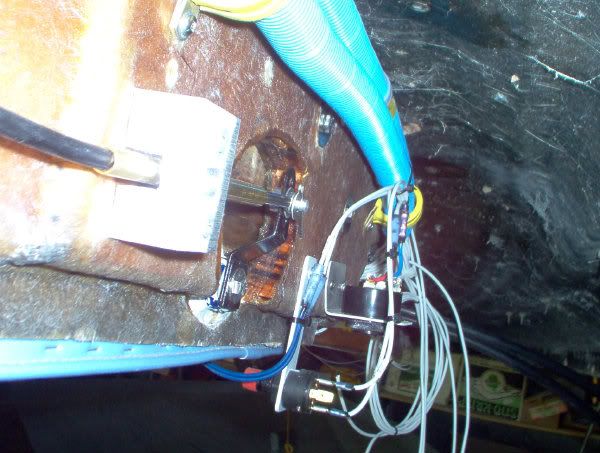
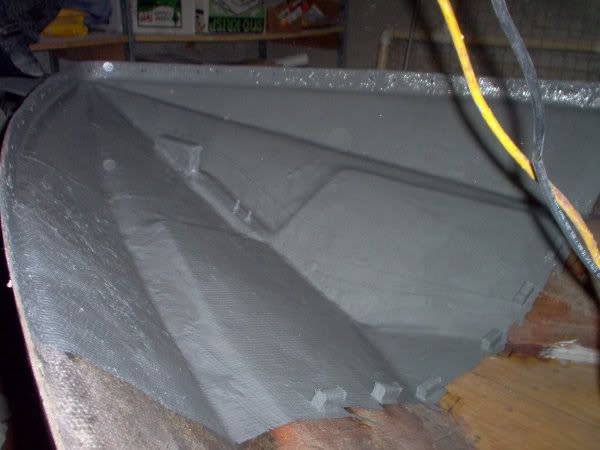
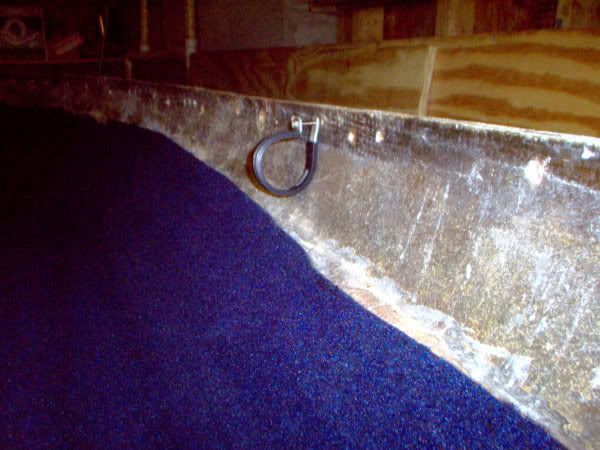
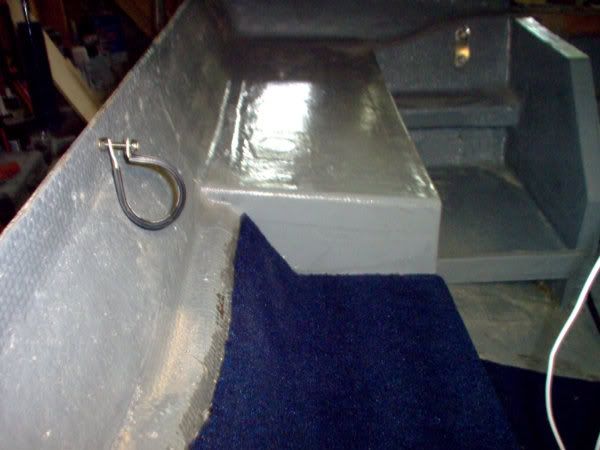
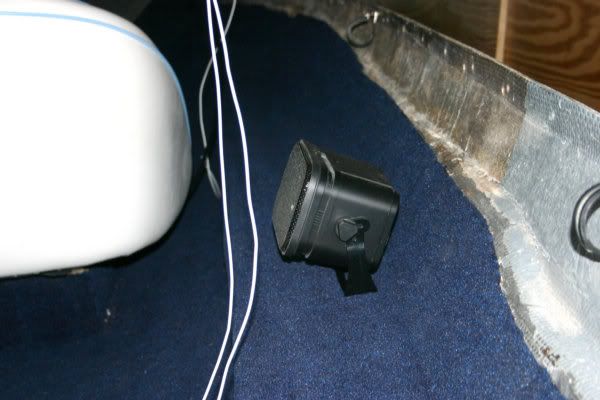
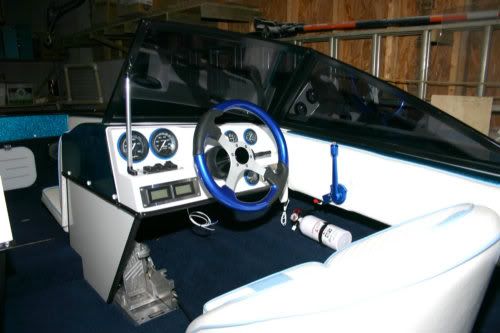
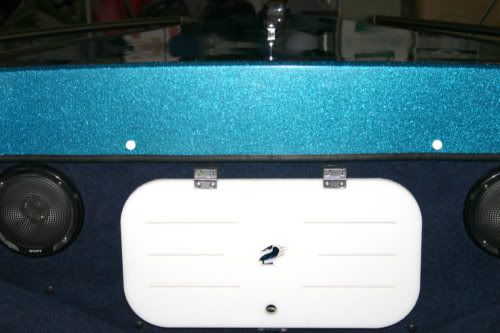
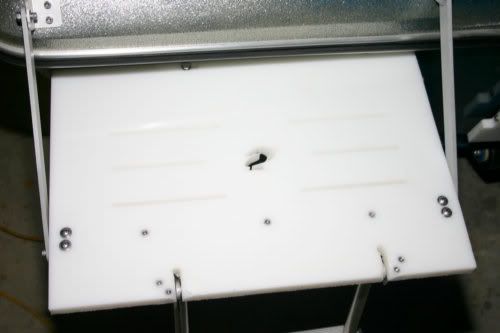
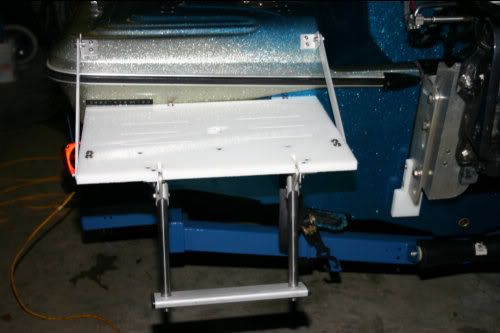
My question is for the original poster (metriccrescentwrench) concerning the installation of the "in-hull transducer" (I believe it was in post #14 ), I assume the transducer was for a depth gauge, or something similar. I would like to add a depth finder on my Checkmate, and would like to do the in-hull/shoot-thru-hull type also. Not knowing the thickness of the Checkmate outer skin layer, I am a little apprehensive starting the cutting and drilling installation process. I won't be able to get mines as close to the transom as yours appears to be (I don't currently have the decking and tank removed) but I hope to be able to create an access area under the rear seat.

I was wondering how the transducer actually worked after the boat was returned to the water. Also, it would be good to know what type of transducer was used, and for what type of depth finder.

Thanks a bunch in advance, and Kudos on an awesome restoration!!
 
Status
Not open for further replies.
Top