Building a 23' Pacific Power Dory

sheboyganjohn

Senior Chief Petty Officer
Joined
Aug 2, 2005
Messages
753
Re: Building a 23' Pacific Power Dory

I did not take any pictures of the glassing part. Doing most of the work by myself did not leave a lot of time to take pictures and not have the epoxy kick off on me.

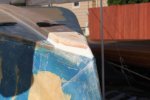
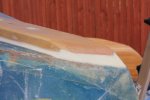
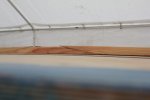
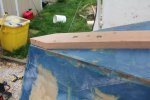
So now that the boat has its layer of glass on it, It is time to install the external keil. I decided to cheat a slight bit. I made the scarf joint and did the glueup for it right on the boat. Here it is before adding the PB to it.

IMG_4424.JPG

As I said earlier I ran a bolt through the inner keelson between the frames, except in the very bow since I could not get into the tight space in the front to get the nut on the back. Here I just used two lag bolts.
IMG_4427.JPG

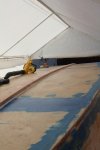
Once I had it bolted in place with PB between it and the hull it was time to start putting fillets along the edges to ease the transition for the glass. How do you like my handy dandy power duster. Much easier then trying to sweep off the sanding dust.
IMG_4429.JPG
 
Last edited:

sheboyganjohn

Senior Chief Petty Officer
Joined
Aug 2, 2005
Messages
753
Re: Building a 23' Pacific Power Dory

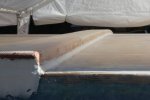
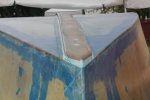
I also started working on filling and shaping the transion to the bow and transom. Since this filling was not structural I used microballons which sand a heck of a lot easier then silica.

IMG_4435.JPG IMG_4440.JPG


Now it is time to start glassing in the keel.

IMG_4447.JPG
IMG_4450.JPG

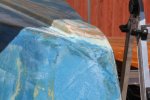
Sometimes after the glass was on it required a little extra filling to get it to look right.

IMG_4454.JPG
 
Last edited:

sheboyganjohn

Senior Chief Petty Officer
Joined
Aug 2, 2005
Messages
753
Re: Building a 23' Pacific Power Dory

I would have to say the one thing I wish I did better was fairing out the hull prior to glassing. I had a few spots I had to grind out (small dime size or smaller) due to an air pocket under from a divot in the wood or a sunk screw I did not fill back to perfectly flush. I also did some fairing to even out the glass transition points.

IMG_4458.JPG

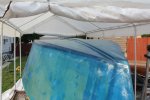
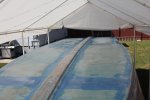
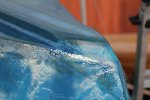
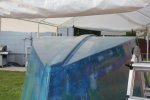
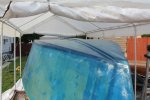
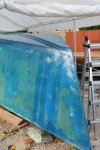
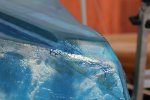
Next came the seeming never ending task of filling the weave in the cloth. I used blue dye again and I am glad I did. You can see as the layers built up.

IMG_4460-1.JPG IMG_4462.JPG IMG_4464.JPG IMG_4465.JPG IMG_4466.JPG IMG_4469.JPG
 

Attachments

  • IMG_4460-1.JPG
    IMG_4460-1.JPG
    164.6 KB · Views: 3
  • IMG_4462.JPG
    IMG_4462.JPG
    208.8 KB · Views: 3
  • IMG_4464.JPG
    IMG_4464.JPG
    234.7 KB · Views: 3
  • IMG_4465.JPG
    IMG_4465.JPG
    231.6 KB · Views: 3
  • IMG_4466.JPG
    IMG_4466.JPG
    149.6 KB · Views: 3
  • IMG_4469.JPG
    IMG_4469.JPG
    195.1 KB · Views: 2
Last edited:

sheboyganjohn

Senior Chief Petty Officer
Joined
Aug 2, 2005
Messages
753
Re: Building a 23' Pacific Power Dory

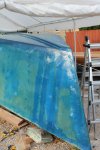
Now it was time to sand, prime and paint. This is a hunting boat so I went with a flat grey from Parker Coatings. They are located in Greenbay so it is just an hours drive for me. They also tinted the primer so it is hard to tell between the two.

IMG_4476.JPG
IMG_4479.JPG
IMG_4483.JPG
IMG_4485.JPG
 
Last edited:

sheboyganjohn

Senior Chief Petty Officer
Joined
Aug 2, 2005
Messages
753
Re: Building a 23' Pacific Power Dory

Sorry its been awhile, got busy with my other hobby, making beer, and car shopping to replace my daughters car which was broadsided.

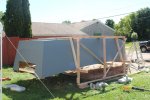
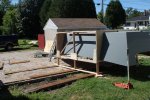
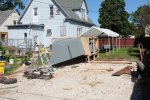
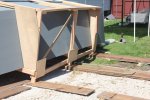
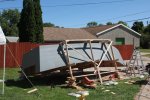
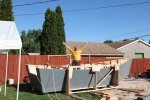
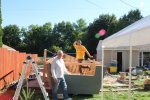
Anyhow I left off with painting. Now the whole exterior of the hull is painted, now the problem, the boat is upside down, need to turn it over. I did some math after the fact and figured the hull was near 1000lbs, not the easiest thing in the world to turn over. I ended up making a cradle for the boat, jacked it up as high as I could and got the help of a few people to get it up to standing on the side, I then tilted it over using ropes to control the decent, and had it land on sandbags. I would have used tires if I had them, but sandbags are what I had so that is what I used. Following are what pictures I was able to take along the way, was a little more concerned about the work then the photos at the time.

IMG_4487.JPG
IMG_4489.JPG
IMG_4493.JPG
IMG_4495.JPG

IMG_4497.JPG
IMG_4501.JPG
 
Last edited:

sheboyganjohn

Senior Chief Petty Officer
Joined
Aug 2, 2005
Messages
753
Re: Building a 23' Pacific Power Dory

One of the most unnerving parts was climbing underneath and removing the strongback the boat was on and allowing the cradle to hold the boat. I cut down the cradle on the side I was rolling towards to get it as close to the gound as possible (last pick last post). I started out using jacks and blocks to get it up as far as I could bofore calling in the calvery.

IMG_4503.JPG
IMG_4505.JPG
IMG_4508.JPG

IMG_4509.JPG
IMG_4510.JPG
 
Last edited:

sheboyganjohn

Senior Chief Petty Officer
Joined
Aug 2, 2005
Messages
753
Re: Building a 23' Pacific Power Dory

And now she is over and looking more like a boat, and also like a ton more work.

IMG_4513.JPG

IMG_4520.JPG

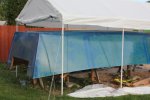
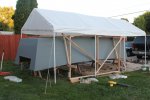
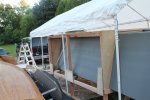
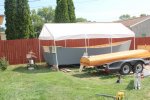
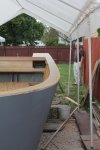
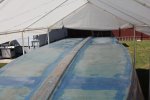
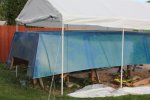
Now the tent is set back up over the boat and time to get back to work.

IMG_4522-1.JPG
 
Last edited:

sheboyganjohn

Senior Chief Petty Officer
Joined
Aug 2, 2005
Messages
753
Re: Building a 23' Pacific Power Dory

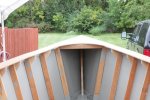
Now that the boat is upright it is time to start doing work on the inside. I started by installing supports for the side decks. I found the easiest way to get the angles the way I wanted them was to use the belt / spindle sander combo I bought from Home Depot. I knew there was a reason I bought it.

You will also notice the bilge area is grey. This is two part epoxy garage floor paint. Since the bilge will not be exposed to UV light, it worked great. Also got a bit loopy using it, the worst fumes I have ever encountered. Should have used the resporator.

IMG_4523.JPG
IMG_4524.JPG
IMG_4526.JPG

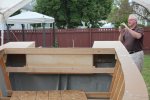
I also started boxing in the splash well. When you put an XXL motor on the boat, you get a real high transom.
IMG_4528.JPG
IMG_4529.JPG
 
Last edited:

sheboyganjohn

Senior Chief Petty Officer
Joined
Aug 2, 2005
Messages
753
Re: Building a 23' Pacific Power Dory

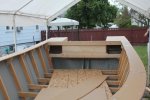
I then put the side decks on. These I used 1/2" MDO. Not to be confused with MDF. MDO is plywood that has a smooth face on it. Same material wooden road signs and billboards were, and in some places still, made from.

IMG_4531.JPG
IMG_4532.JPG
IMG_4533.JPG
IMG_4534.JPG

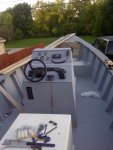
After this point I was in a mad dash to try and get the boat sea worthy for the fall hunting season of 2011. I had a half arse deck put in of chipboard and a mock-up center console. I decided a maiden voyage in November on Lake Michigan was not the best idea so I wrapped it up for the winter and started work again in the spring of 2012.
 
Last edited:

sheboyganjohn

Senior Chief Petty Officer
Joined
Aug 2, 2005
Messages
753
Re: Building a 23' Pacific Power Dory

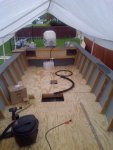
So when I started back up in the spring I first put all the sub deck items in. The fuel tank I picked up from Great Lakes Skipper since their warehouse is only and hour and a half south of me. Must have been sort of funny seeing a guy driving down the road in a convertable mustang with a fuel tank sticking out the back seat. I ran some 2" and 1 1/2" conduit from the center console location to the rear of the boat to both support the wires and make it easier to chase them back. The only thing I ran exterior was the main wire harness which I cable tied to the conduit. I also ran some conduit from the center console up to the bow for the same reason.

IMG-20120606-00054.JPG
 
Last edited:

sheboyganjohn

Senior Chief Petty Officer
Joined
Aug 2, 2005
Messages
753
Re: Building a 23' Pacific Power Dory

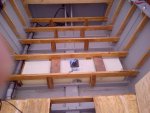
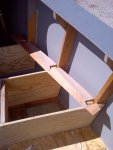
Now it was time to work on the front platform / storage lockers. I used a trick I learned on watching another dory build on youtube (building of the Jani J if you want to look it up). I use scrap pieces, along with carboard and hot glue to make the patterns. Much easier then trying to cut everything by measurement or making whole sections out of cardboard.

IMG-20120522-00049.JPG
IMG-20120523-00050.JPG

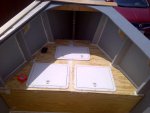
Here is the finished product with the three hatches installed.

IMG-20120527-00051.JPG

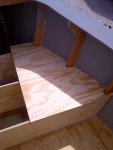
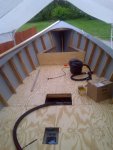
Now it was time to lay the sole. Used 3/4" AC plywood.

IMG-20120517-00047.JPG
IMG-20120517-00048.JPG

I did not get any pictures of the glass work. I started by filling all the joints around the edge. After loosing too much material due to running down inside the gaps (I was not using any milled fibers, just cabosil and microballons) I found the solution, foam backer cord. The stuff you use to fill gaps behind caulk. Worked real well. I think th main mistake I made was trying to angle the edges of the sole to match the sides of the boat, I tended to undercut a bit too much. If I would have just cut them square, I would have had a nice pocket to fill in at the hull/sole joint. Live and learn. Once this was complete I layed one layer of 6 oz glass cloth from side to side, and used the glass as the tabbing material. Other then some fighting to get the cloth around the frame members, it did not turn out half bad. Since this glass was non-structural, I was not too worried about it being perfect.
 
Last edited:
sheboyganjohn

Senior Chief Petty Officer
Joined
Aug 2, 2005
Messages
753
Re: Building a 23' Pacific Power Dory

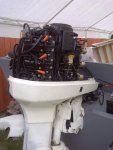
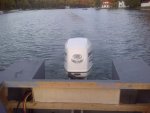
Here is a pick of the nice little motor I installed to push it gently across the water, or at least as gently as 225 hp can push a boat.

IMG-20120604-00052.JPG
 
Last edited:
sheboyganjohn

Senior Chief Petty Officer
Joined
Aug 2, 2005
Messages
753
Re: Building a 23' Pacific Power Dory

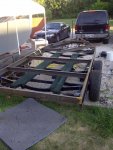
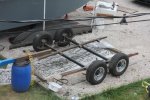
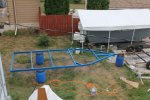
So now that the boat was getting close to being water ready it was time to turn my attention to the trailer. Being the cheap SOB that I am, I found a newer box frame trailer that was rotting out from the inside. Cost me $400, but got me two good axles, four almost new wheels and some nice fiberglass fenders. I decided I taught myself to build a boat, might as well teach myself to weld. I cheated by using the old trailer frame as a form for the new frame. Only partially welded the two frames together by accident once.

IMG-20120707-00077.JPG

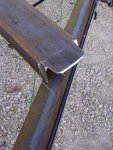
Here you can see how the cross members were notched to fit together. Since I am new at welding I was not confident enough for single pass one side welding. Every side of each joint was welded. Many times when I went to weld the othe side it looked like the penitration was all the way through, but I still put down another bead to be safe.

IMG-20120707-00081.JPG


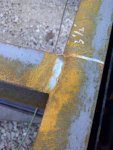
Here is one of my early welds, not too bad. No it was not all rusty when I welded, I took the picture a few days later after some rain came through.

IMG-20120707-00078.JPG

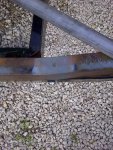
Everything was going fairly well, until I tired to heat bend the frame. This is the best I could do on both sides. I gave up and just bird mouthed the web of the channel steel and plated it with 1/4 flat stock on the inside and bottom.

IMG-20120707-00080.JPG
 
Last edited:
sheboyganjohn

Senior Chief Petty Officer
Joined
Aug 2, 2005
Messages
753
Re: Building a 23' Pacific Power Dory

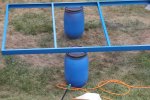
I then moved the new frame to drums in the yard and removed the old frame from the axle carrier. Looks sort of pathetic sitting in the yard by itself.

IMG_8297.JPG


Then came the part of the project I absolutely despised sandblasting the frame for painting. I then painted the frame using a cheap HVLP from Harbor Freight with tractor paint from Fleet Farm with enamel hardener in it. Did not seem too hard, until about three weeks later, then it was as hard as a rock.

Could not decide what color at first, but then figured there would not be many Ford blue trailers at the lot, would make mine easy to spot.

IMG_8296.JPG
IMG_8300.JPG
 
Last edited:
Jimmy H.

Petty Officer 1st Class
Joined
May 15, 2012
Messages
220
Re: Building a 23' Pacific Power Dory

Nice work, thanks for taking the time to detail it out for us!
James
 

sheboyganjohn

Senior Chief Petty Officer
Joined
Aug 2, 2005
Messages
753
Re: Building a 23' Pacific Power Dory

The trailer took a lot more time then I was planning so I was pushing late summer again with the build. I did not get as many pictures as I wanted for the end of the building process. These are the last of the build pictures (minus some I might come up with when I do some finishing touches this summer.

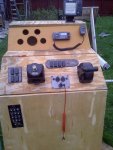
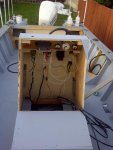
Here is the center console I made for the boat. It is a functional rough mock-up that I am currently using. About 3 hours in google sketch-up and I was able to come up with a cut sheet. I wanted the console to tapper towards the bow and tapper inwards towards the top. Makes it look a lot better then everything being perfectly square, but a royal pain to design on the computer.

IMG-20120913-00139.JPG
IMG-20120925-00154.JPG


Here is a peak inside the console when I was working on hooking everything up.
IMG-20120925-00155.JPG
 
Last edited:
sheboyganjohn

Senior Chief Petty Officer
Joined
Aug 2, 2005
Messages
753
Re: Building a 23' Pacific Power Dory

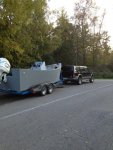
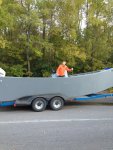
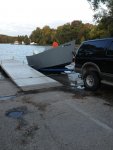
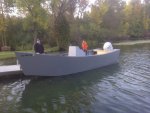
Now that most everything was installed it was time for the maiden voyage in September of 2012. Took it out to Elkhart Lake and put her in the water for the first run.

IMG_2301-1.JPG
IMG_2300.JPG
IMG_2303.JPG
IMG_2304.JPG
IMG-20120927-00160.JPG
IMG-20120927-00161-1.JPG
 
Last edited:
sheboyganjohn

Senior Chief Petty Officer
Joined
Aug 2, 2005
Messages
753
Re: Building a 23' Pacific Power Dory

Ran real nice. Just came up with some things to work on, first and foremost the tach is screwed up, I am missing a systems check gauge (can combine with a new tach in one package). The second voyage I had a starting issue that cropped up once before when starting on the hose, might have a bad PDP on the motor. Still need to figure out the door for the front hatch into the bow. The battery is not tied down yet and a royal pain to get in the back compartment, might relocate it. Need to install the locator, come up with some sort of swim platform. Move the axles on the trailer. Glass work on the side decks, list goes on and on. Every time I worry I still have a ton of work I just look back at this picture and remember, it was all worth it.

IMG_2305-1.JPG
 
Last edited:
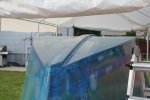
sheboyganjohn

Senior Chief Petty Officer
Joined
Aug 2, 2005
Messages
753
Re: Building a 23' Pacific Power Dory
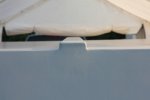
Almost forgot to say, since I am such a glutton for punishment I have a 1973 Sea Ray weekender with twin I/O's sitting at my storage unit waiting for a restore. I will be sure to document that one real well.
 
Top