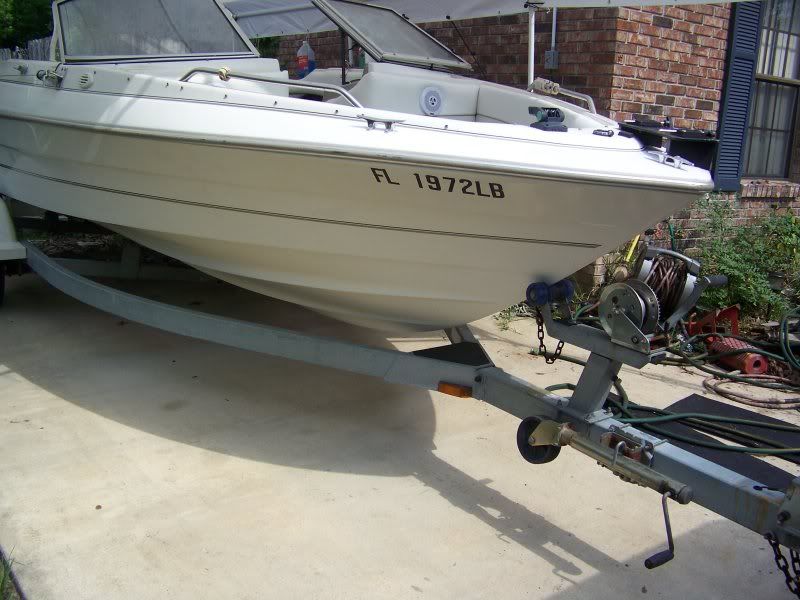
99 Bayliner Capri 1954 redeck

P3FE

Seaman
Joined
Apr 2, 2010
Messages
66
Re: 99 Bayliner Capri 1954 redeck

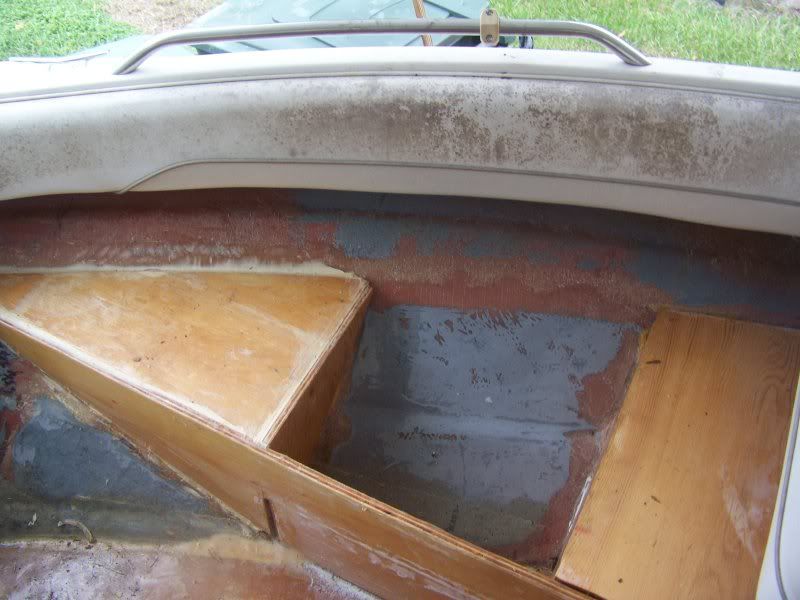
Thanks for the comment-I am on the fence about trimming the outboard edges because that is the way the factory made the deck. If you look at the picture you will see a chine that the deck should follow-However- it has been my experience that when you strive for too much perfection, you create more work for yourself. I think I am going to inspect below the deck and see if the deck is riding ok on the bulkheads, if it is on the hull- is that a big deal? Also-does anyone know if foam is absolutely necessary? I know it is required by USCG- but does it provide the hull with any structural integrity?
 
Last edited:

P3FE

Seaman
Joined
Apr 2, 2010
Messages
66
Re: 99 Bayliner Capri 1954 redeck
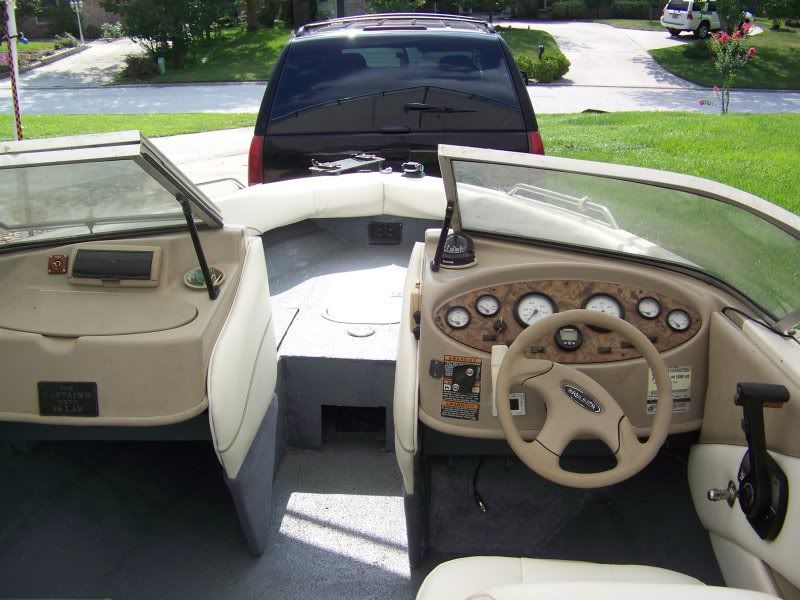
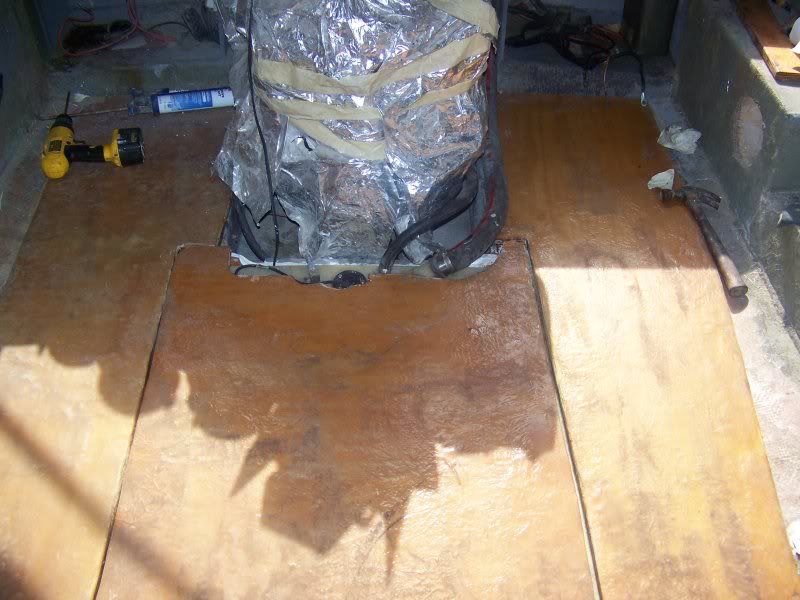
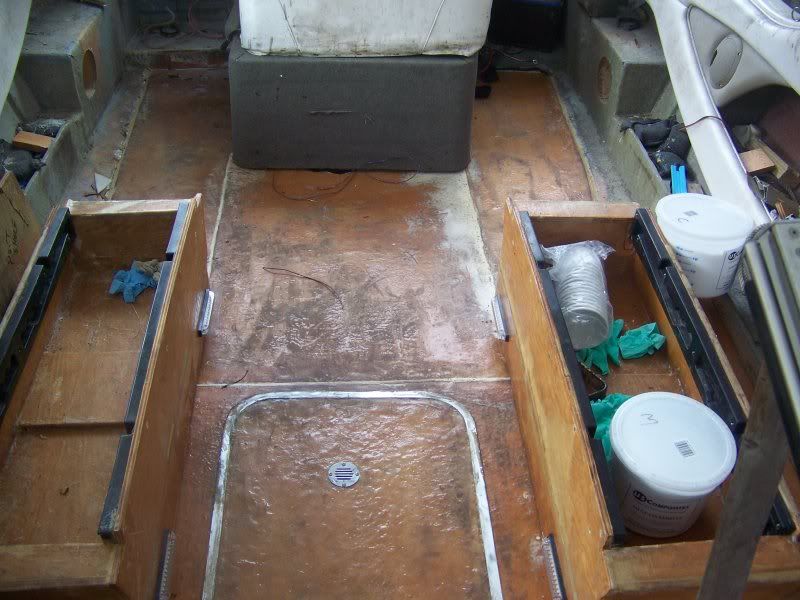
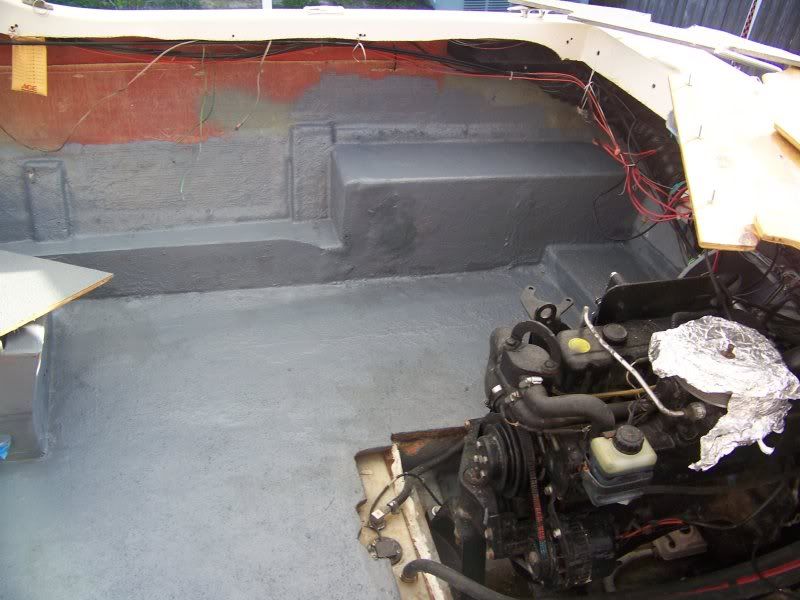
Sorry I've been away...life got in the way. Here's an update. I found out from Bayliner engineers that foam lends minimal support, so i installed the deck without foam, using US Composites I created a filler out of Cabrosil and #M micro bubbles...you want to mix these two with poly resin and activator until you get the stirring stick standing up in the cup, the consistnecy of peanut butter. have some acetone nearby incase some of it drops off your applicator and alsoe for cleaning up the edges...the idea is to create a filet like "cove" so the glass will not be subjected to bending at a 90 degree angle. Micro bubbles are a must because cabrosil by itself will dry and be gummy to sand. So...after installing the deck it was time to use the filler to the hull.I created the seat boxes by disassembling the old boxes and using the wood as templated. The boxes had to be filleted as well. If you look close you can see where I am levelling the deck as the decking was not fitting perfectly and seemed to bounce a little when stepped on. After levelling with filler...I used cloth and resin and she came out firm.
100_2299.jpg
100_2312.jpg
 

P3FE

Seaman
Joined
Apr 2, 2010
Messages
66
Re: 99 Bayliner Capri 1954 redeck

Sorry I've been away...life got in the way. Here's an update. I found out from Bayliner engineers that foam lends minimal support, so i installed the deck without foam, using US Composites I created a filler out of Cabrosil and #M micro bubbles...you want to mix these two with poly resin and activator until you get the stirring stick standing up in the cup, the consistency of peanut butter. Have some acetone nearby incase some of it drops off your applicator and alsoe for cleaning up the edges...the idea is to create a filet like "cove" so the glass will not be subjected to bending at a 90 degree angle. Micro bubbles are a must because cabrosil by itself will dry and be gummy to sand. So...after installing the deck it was time to use the filler to the hull.I created the seat boxes by disassembling the old boxes and using the wood as templated. The boxes had to be filleted as well. If you look close you can see where I am levelling the deck as the decking was not fitting perfectly and seemed to bounce a little when stepped on. After levelling with filler...I used cloth and resin and she came out firm.
100_2312.jpg

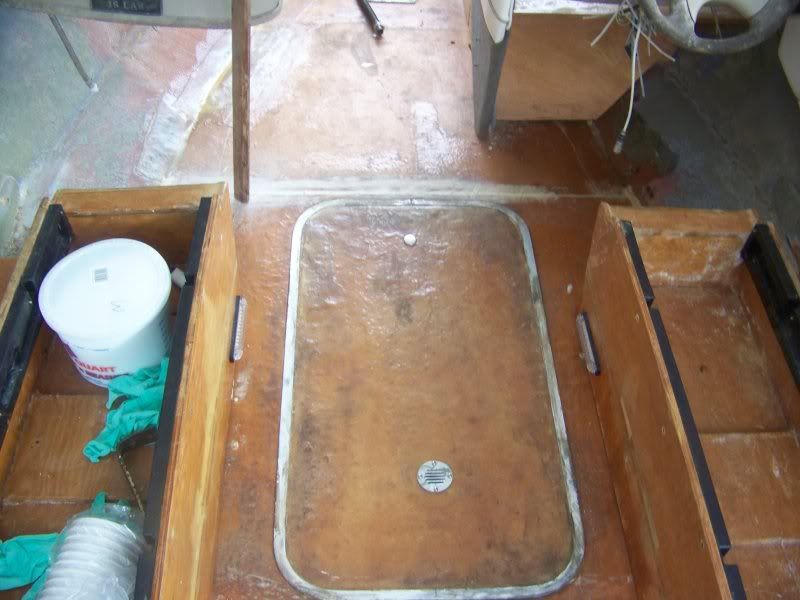
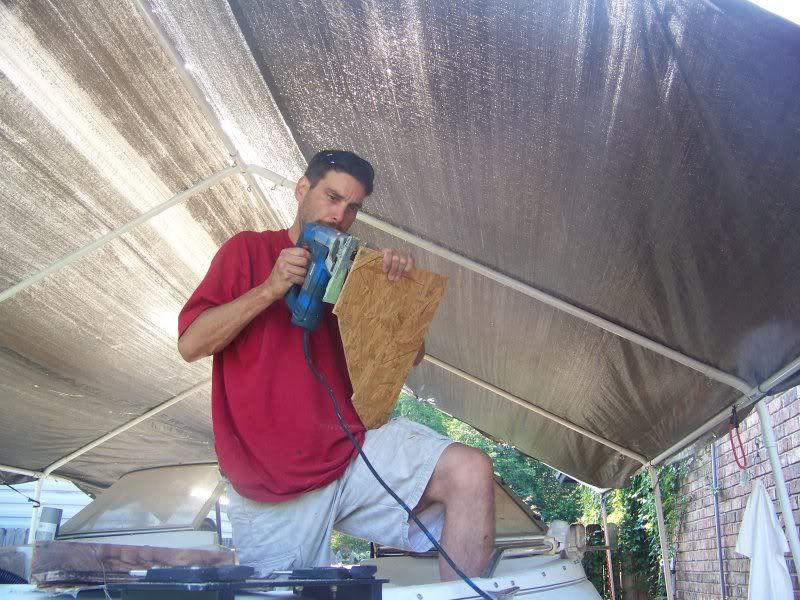
I also had to create the ski box lid...that was challenging and I used a piece of cardboard to trace out the old lid...then I cut the new one with a jigsaw and used my grinder to remove high spots...cutting out the opening in the deck was a nervous undertaking...I actually hated cutting a perfectly good piece of deck and knew if I messed up..well it would be costly in $$ and time. Note the filler ...
100_2313.jpg

***TIP*** (Sorry if too basic- a carpenter I am not) To make a cut in deck panels without using a drill hole and jugsaw - use the reverse cut method...Line up circular saw on the line you want to cut. Set the blade to about 1/4 to 1/2 inch deeper than thickness of the board (to prevent binding) Start the saw and line it up front and back on the line then CAREFULLY lower it ensuring you are straight on both the front and back lines...
 

P3FE

Seaman
Joined
Apr 2, 2010
Messages
66
Re: 99 Bayliner Capri 1954 redeck

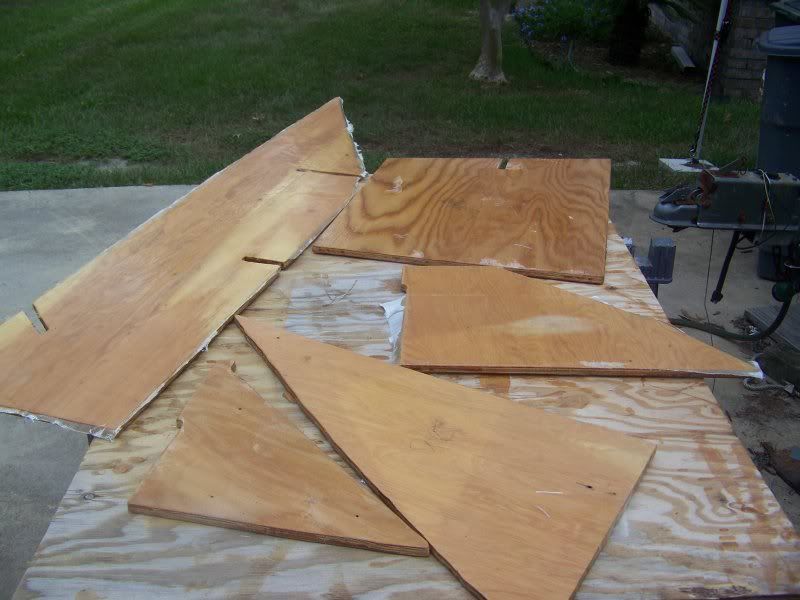
For the bow compartments I used the old panels and templated them, I used cheap board to crete good templates because some of the panels were ruined in removal
100_2310.jpg
Then some minor cuts on the templates by my friend and I tabbed the new boards in, then glassed them
100_2304.jpg
I used filler for the edges here too
100_2311.jpg
 

P3FE

Seaman
Joined
Apr 2, 2010
Messages
66
Re: 99 Bayliner Capri 1954 redeck

I decided to do an entire reupholstery...this part I subbed out to an upholsterer with over 20 years experience.
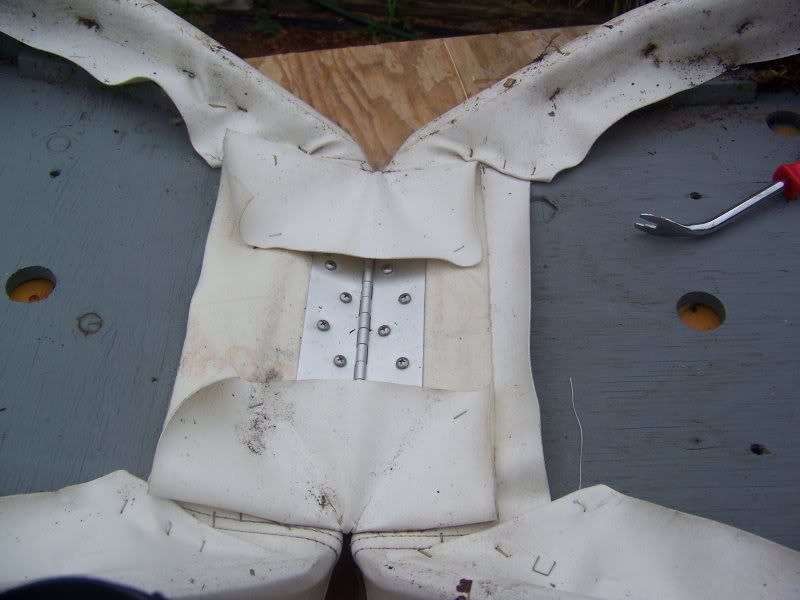
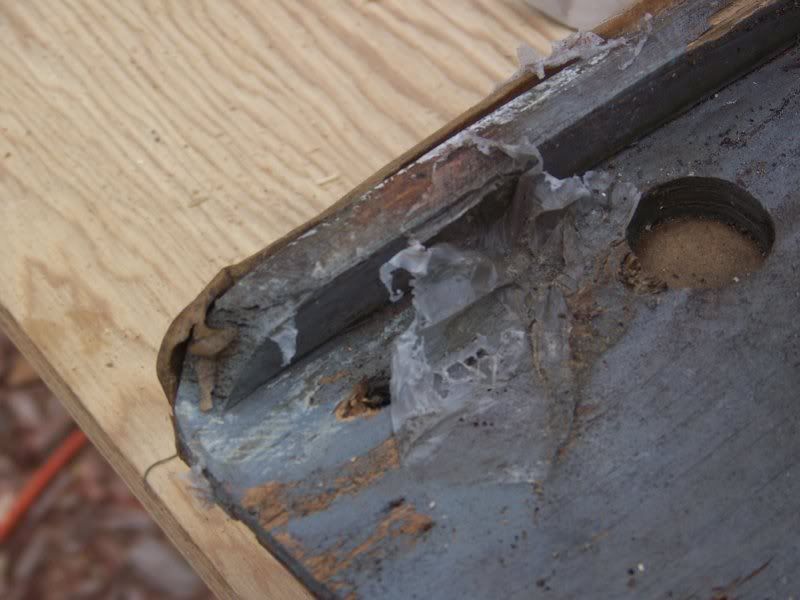
**Tip** when selecting an upholsterer liaten to their estimates...do NOT base your final decision on $$ alone. You will get what you pay for. Some of the things you want to consider. Did they mention UV resistant thread? Did they mention marine grade UV resistant upholstery? Are the swtches thick and pliable for the material they are going to use? A good upholsterer will also have experience and guide you to tricks for removing and replacing your hardware. These are the seats...the pans were all rotted so I made new ones and resin sealed them. Do not cut corners here either..use marine grade plywood...pressure treated may leach into the vinyl.
100_2324.jpg
100_2336-1.jpg
 

P3FE

Seaman
Joined
Apr 2, 2010
Messages
66
Re: 99 Bayliner Capri 1954 redeck

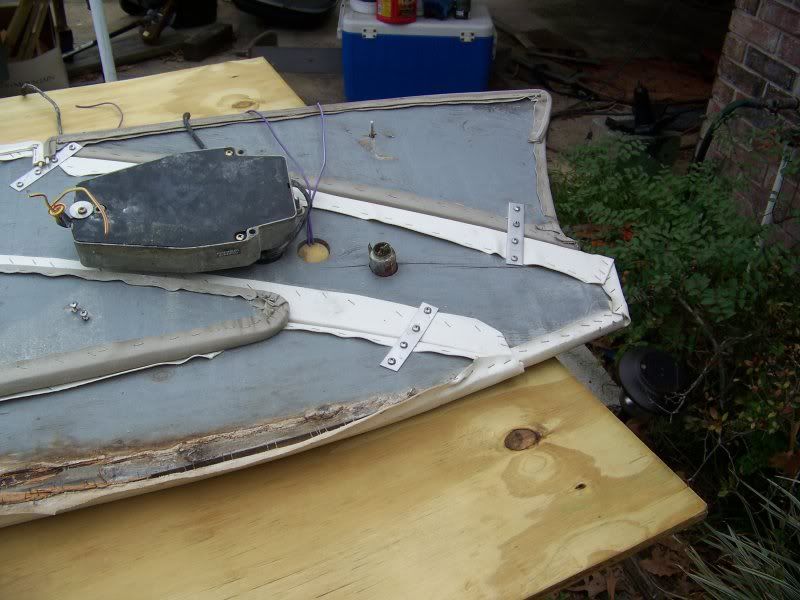
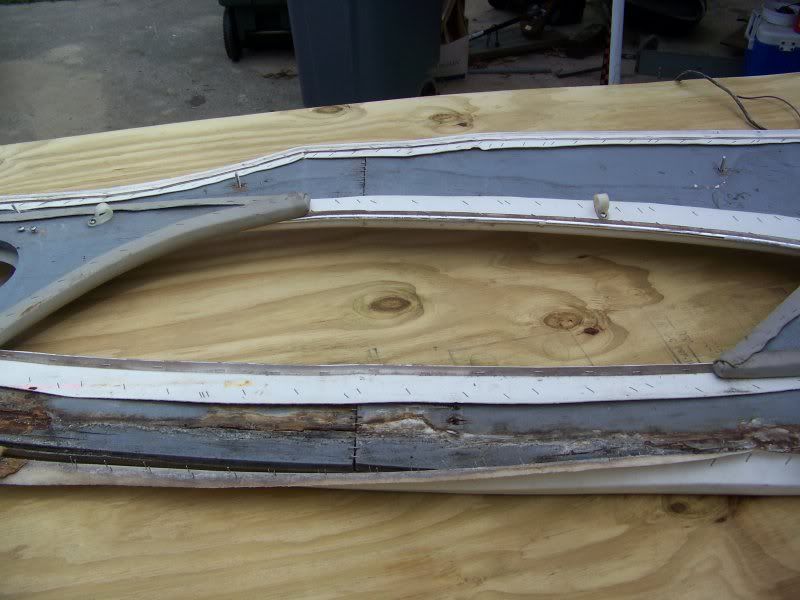
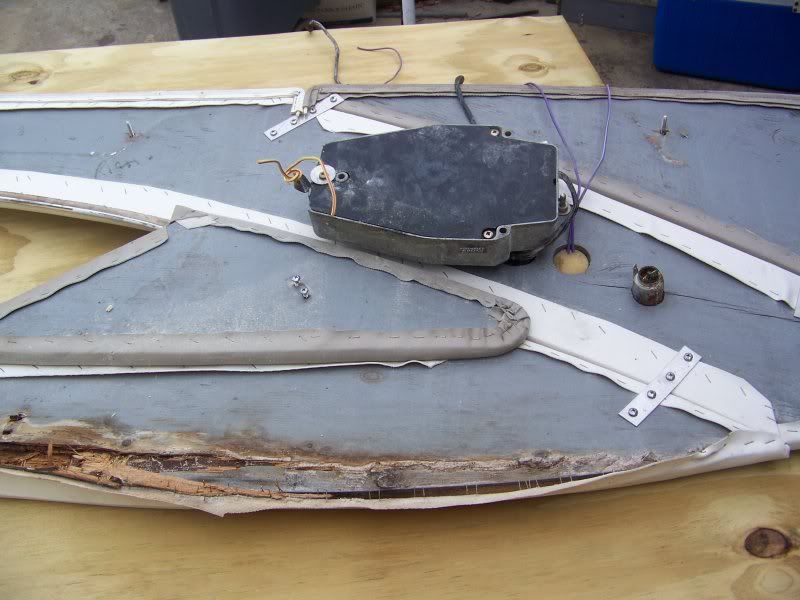
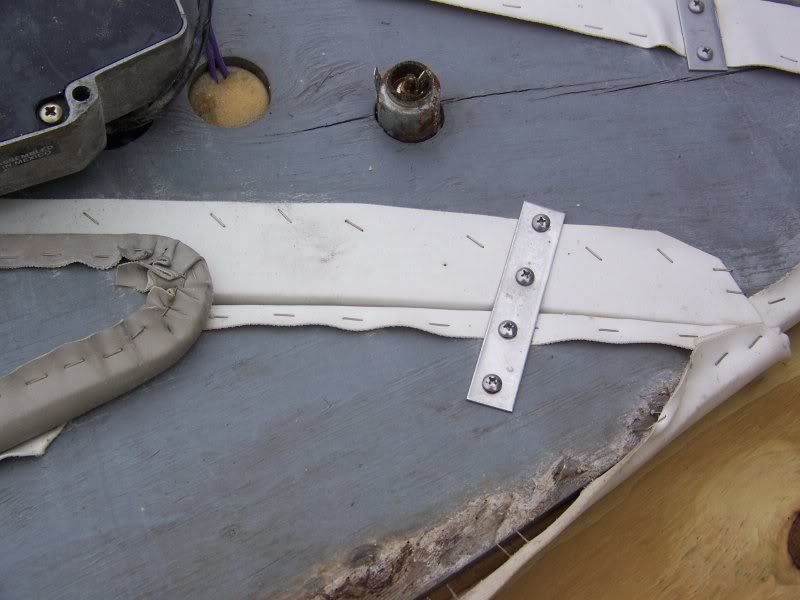
The side panels were rotten also...
100_2568.jpg
100_2570.jpg
100_2567.jpg
100_2578.jpg


As were the battery compartment covers
100_2587.jpg
 

ZenFerret

Cadet
Joined
May 3, 2012
Messages
25
Re: 99 Bayliner Capri 1954 redeck

Wow, this is really nice work. I started a thread on my '85 Capri, and all these pictures have really helped me feel like I didn't just waste a wad of cash on a piece of crap. I spent TWO months shopping for boats, and every deck was rotted. Thanks for sharing the pictures. I can't wait to get started!
 

P3FE

Seaman
Joined
Apr 2, 2010
Messages
66
Re: 99 Bayliner Capri 1954 redeck

I had a Quicksilver 3000 shifter on the stbd side panel that had to be removed for new upholstery...This is the back view
100_2563.jpg


The shifter is removed by removing the fast idle button...I used a screw driver and broke it...the mercruiser dealer sells new buttons for about $3-$4.00.
 

P3FE

Seaman
Joined
Apr 2, 2010
Messages
66
Re: 99 Bayliner Capri 1954 redeck

The Bow upholstery panels were rotten also...it is a trick to remove them. When the boat is assembled at the factory, the cap is separate from the hull, then reiveted on. When the cap is off the hull the bow upholstery panels are installed. There is minimum room to take the screws out...a stubby will not fit.
**TIP** I went to Harbor Freight and bought a low profile rachet socket adapter. I used electrical tape and taped a phillips apex tip to the socket. Then I used a racheting box end wrench to accept the tool. It is a little frustrating...but it will work. Photos to follow.
 

P3FE

Seaman
Joined
Apr 2, 2010
Messages
66
Re: 99 Bayliner Capri 1954 redeck

100_2604.jpg

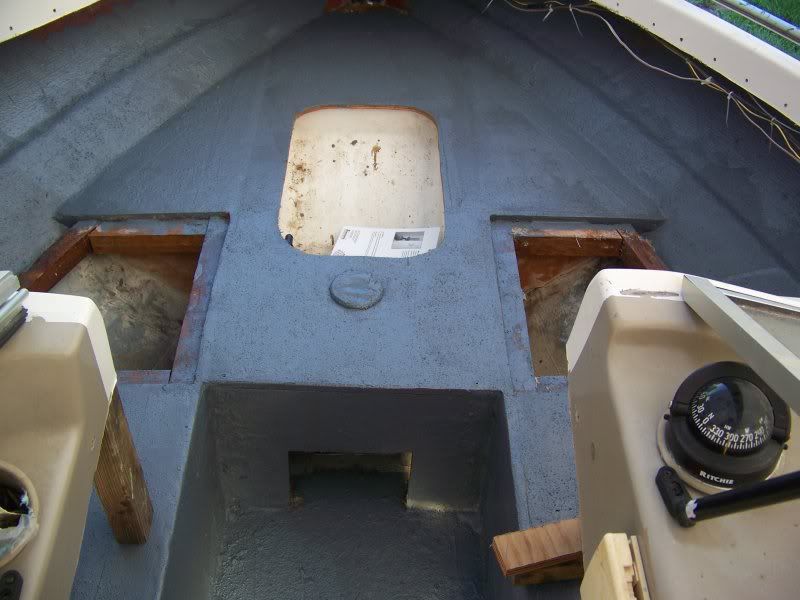
The first coat of Durabak grey...I began with non-skid coats and finished with smooth. I would not recommend the non-skid- it is hard on the feet.
 

P3FE

Seaman
Joined
Apr 2, 2010
Messages
66
Re: 99 Bayliner Capri 1954 redeck

100_2608.jpg

Picture of the bow after first coat of Durabak.
 

P3FE

Seaman
Joined
Apr 2, 2010
Messages
66
Re: 99 Bayliner Capri 1954 redeck

100_2612.jpg

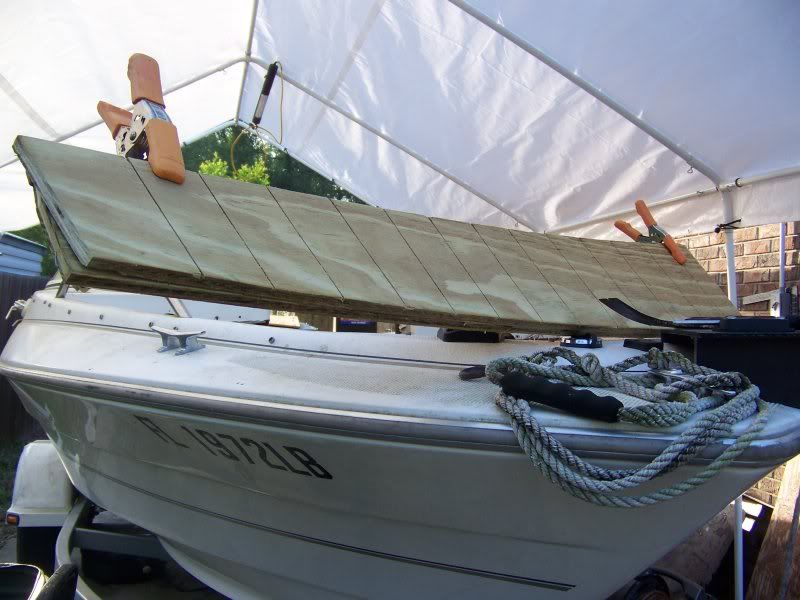
The boards for the port & starboard bow bolsters. I cut across the boards half of the thickness to make it easier to bend. This is pressure treated and I will paint them. I am using T nuts and 1/4-20 all thread bolts to create studs for all my bolsters...then using wingnut and lock washers to attach them- so I can remove them easy for cleaning...or access to wiring.
 

P3FE

Seaman
Joined
Apr 2, 2010
Messages
66
Re: 99 Bayliner Capri 1954 redeck

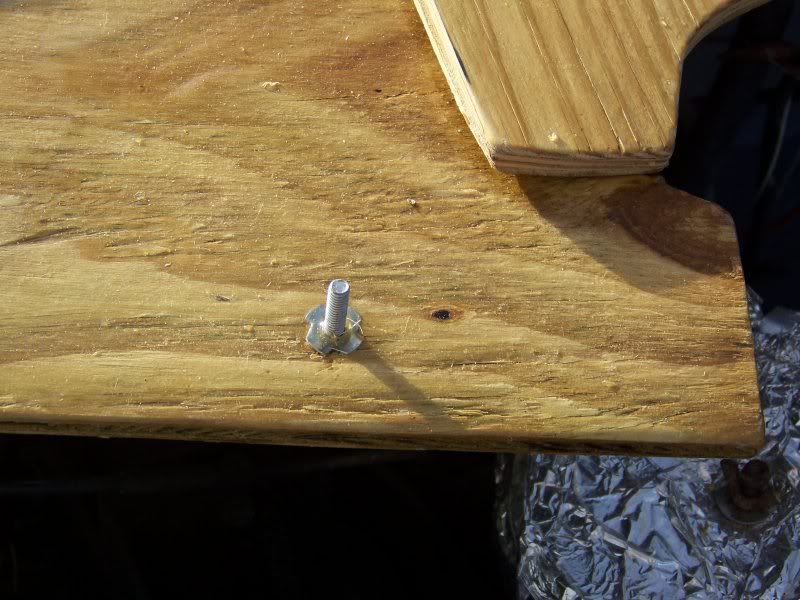
This is a closeup of the T-nut with the 1/4-20 bolt. I found stainless steel hardware at the local ACE hardware store- do not try to use Lowe's or Home Depot for your stainless hardware- too expensive in my opinion. So I drilled the hole, ran the bolt through (the torque to set the T-nut is incredible and too much for a countersunk screw, so I used bolts- no big deal as the uipholstery foam will cover up the bolt heads)
100_2609.jpg
 

P3FE

Seaman
Joined
Apr 2, 2010
Messages
66
Re: 99 Bayliner Capri 1954 redeck

I have since removed the nasty fungus ridden steering wheel. To remove it...there re 2 phillips screws holding the cover over the boly on. You have to get on your back and look up at the steering wheel to see them. I used my gear wrench with a socket and apex tip to remove them as you cannot get a regular screwdriver on them- might be possible with a stubby. Then I used an electric impact wrench and removed the steering wheel nut. Using both hands, I rocked the wheel back and forth until it came free. *Warning* there is is a woodruff key on the steering wheel shaft at the helm. Once you remove the wheel, don't lose it! I am soaking the wheel in my pool to see if the fungus gets removed by pool chemicals.
 

P3FE

Seaman
Joined
Apr 2, 2010
Messages
66
Re: 99 Bayliner Capri 1954 redeck

Steering wheel required a 2 day soak with bleach/water combo in kitchen sink...musch to the disgust of my wife! Came out almost perfectly clean- Side panels are installed...now I am waiting for upholstery lady to finish.
 

P3FE

Seaman
Joined
Apr 2, 2010
Messages
66
Re: 99 Bayliner Capri 1954 redeck

100_2619.jpg

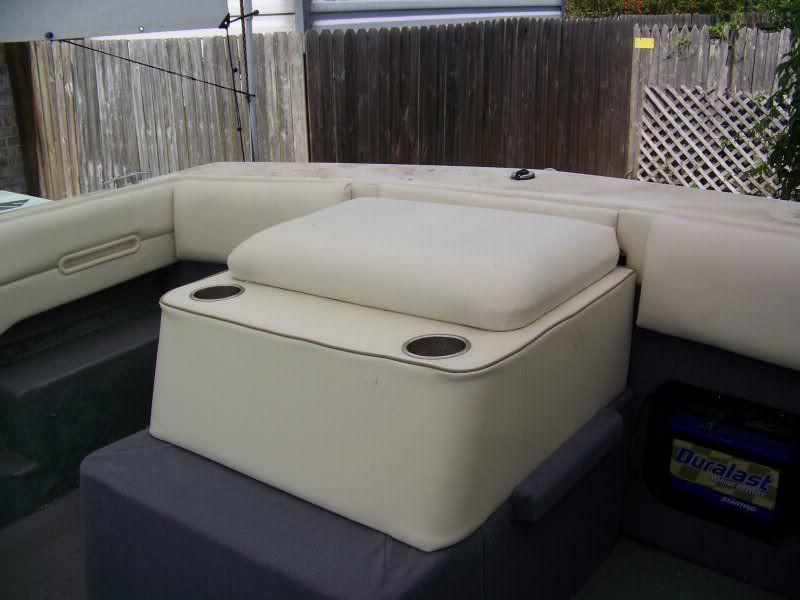
the dogbox and battery coaming after restore
 

P3FE

Seaman
Joined
Apr 2, 2010
Messages
66
Re: 99 Bayliner Capri 1954 redeck

100_2618.jpg

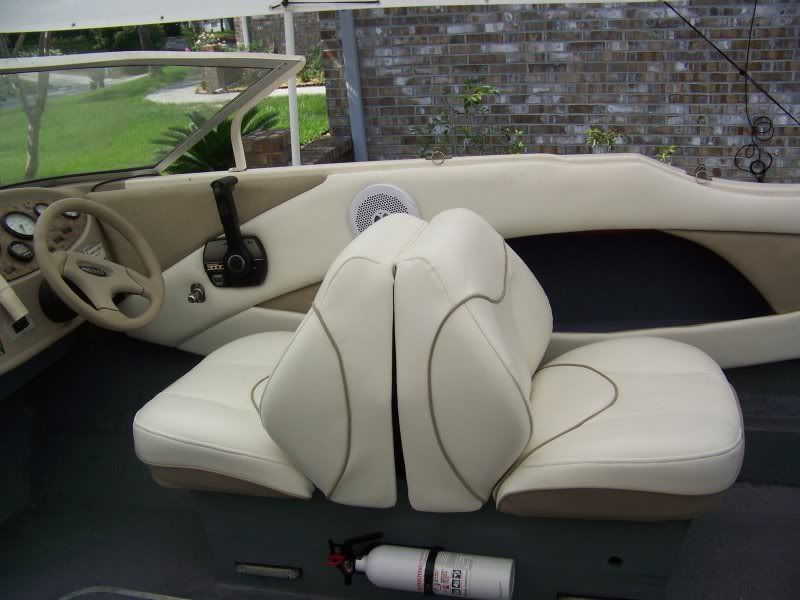
seats after restoring...note the courtesy lights on the bottom of the seatbox
 

P3FE

Seaman
Joined
Apr 2, 2010
Messages
66
Re: 99 Bayliner Capri 1954 redeck

100_2624.jpg

The bow...note the new speakers I installed
 
Top