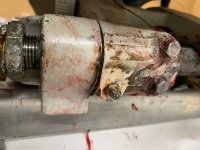
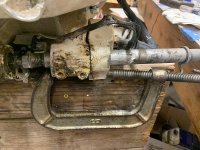
OK, point well taken. I managed to get a chisel blunted and it fit snug and popped open, with a little effort. Replacement set screws cost $90, so I'll be fixing this one. Thanks.
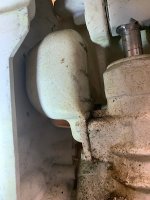
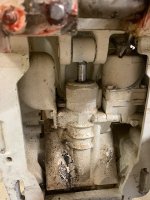
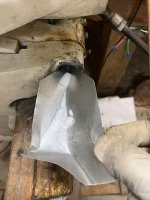
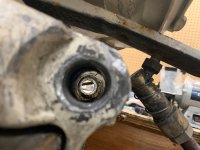
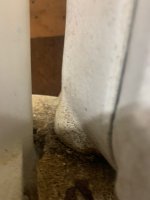
O-ring topic. this O-ring seems to fit in the well and has a square wall. I'm not sure a regular round cross section O-ring would work. Has anyone replaced one of these on a Johnson? Last resort silicone the whole mating surface? I did descale and lightly sand the surface or the pump and plastic reservoir.
I appreciate the advice and suggestions