78 Century 4000 gut and rebuild

2boatsinMI

Seaman
Joined
Aug 25, 2013
Messages
51
Still not that fluent in picture posting , but all the nasty stuff is gone. Anyone ever seen a motor mount setup like that before? It was 1/4 inch steel lagged into a 2?4 with the Merc mount thru bolted to that.
 

kcassells

Fleet Admiral
Joined
Oct 16, 2012
Messages
8,637
Well I have outboards so no help there but someone will chime in. Great Progress!! :eek:
 

Vintage Rider

Seaman
Joined
Mar 6, 2016
Messages
62
Well it sure looks like you got it all! How long did it take? Aside from the motor mounts is there anything unusual I should be looking for when its my turn? How bad was the transom? Details! I need all the details! Oh, and nice work by the way.
 

2boatsinMI

Seaman
Joined
Aug 25, 2013
Messages
51
Well, next step after my fiberglass supplies arrive will be to wrap the transom in csm and resin, then pb it to the transom skin, right? Glad you chimed in Wood, you and the other glass gurus always talk about grinding down to "good pink glass", all my glass is greenish grey. This doesn't mean my is constructed of something other than poly, does it?
 

Mark72233

Ensign
Joined
Jul 11, 2014
Messages
926
Nope, resin come in different colors depending on manufactures I think. I have had pinkish, greenish and one that was orangish.
 

Woodonglass

Supreme Mariner
Joined
Dec 29, 2009
Messages
25,924
Correctamundo. All different colors!!! You don't Have to wrap the transom in glass. The PB will have chopped stand in it sooooo, just coat the back half with resin and when it tacks up apply the PB to it and the outer skin and clamp it on. Make sure and SOAK the edges with resin really well. I've come to believe that's all that's necessary. You can apply a layer of CSM if you're paranoid about it but IMHO it's really not required. Once it's clamped in and the PB has oozed around the edges make sure to cove the fillets and NO air pockets are formed. If you cut the transom so there's a 1/2" gap all around you'll have 1/2" of solid glass encapsulating the edges of the transom and there's very little chance that water will ever be able to get to the edges.or the back side unless you poke holes in the skin and DON'T fill them with sealant!!! Once the transom is installed you can then coat the inner layer with resin and apply two layers of 1708 fabric extending them out onto the sides of the hull and onto the bottom of the hull and your transom will be super strong. I also like to drill 1/2" holes in the transom prior to glueing it home to allow the PB to ooze thru and create "Fiberglass Rivets" which create somewhat of a mechanical bond to the hull as well. You don't have to do this just something to consider. You can see this technique here...http://forums.iboats.com/forum/boat...s-total-gut-and-rebuild?p=8512409#post8512409
 

2boatsinMI

Seaman
Joined
Aug 25, 2013
Messages
51
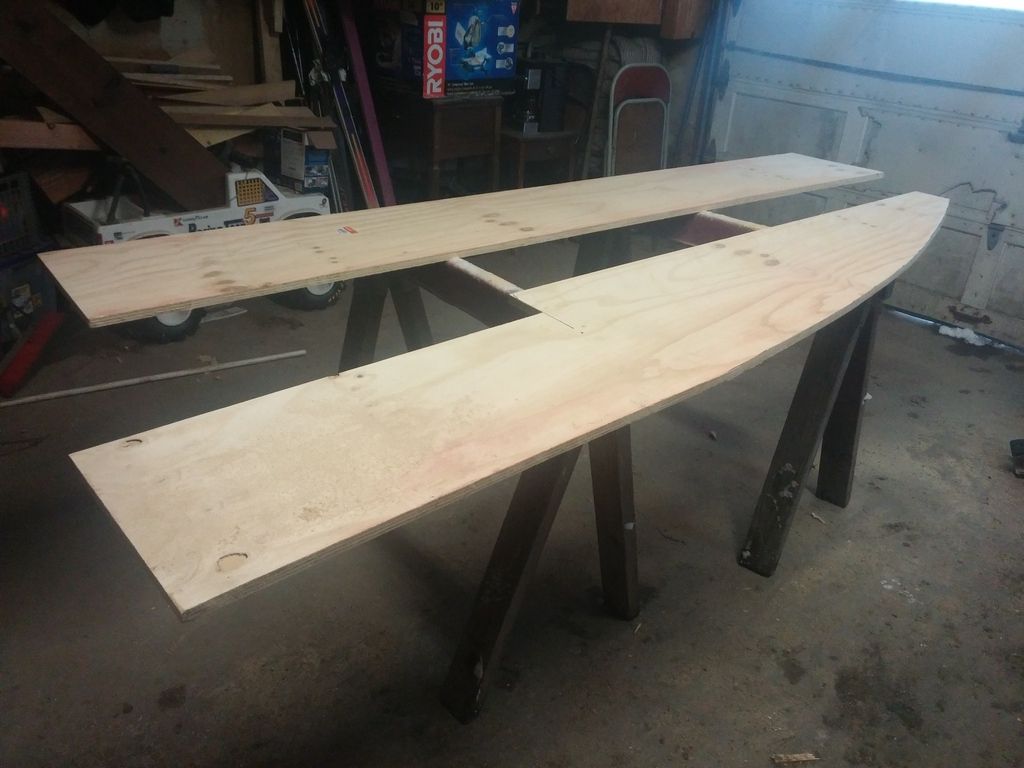
After reading the recommended thread I think I'm going to use the " pb rivets" during the transom install. Got my clamps made up and resin and cloth supplies are on their way. Started cutting and trimming the main stringers and here's where I could use a little advice. My main stringers are 16 ft. long by 14 to 18 inches tall. Since I can't find any 16 ft sheets of ply L will need to piece them together. My question is can I use a but joint like the originals or should I try to scarf them? The main drawback to the latter is trying to manhandle a piece of this size into the boat by myself
 

Woodonglass

Supreme Mariner
Joined
Dec 29, 2009
Messages
25,924
I'd use "Butted Sistered Joints"

SisteredJoint.jpg


Use Titebond III wood glue , 1 1/4" Deck Screws & 1/4" plywood. Screw and glue 36" long pieces to both sides of the joint, Bevel/Sand the edges to blend into the stringer for easier glassing. They'll be strong as a Tank!!!
 

Vintage Rider

Seaman
Joined
Mar 6, 2016
Messages
62
Were the old stringers in good enough shape when you removed them to serve as templates for the new ones? I did a little poking around under the cushons in the cuddy area of mine and found a screwdriver went through with very little effort. Since the stringers under the cuddy should be the most protected from water, I hate to think of what I'm going to find under the rest. The funny thing about it is that there are no soft spots in the floor though, yet!
 

2boatsinMI

Seaman
Joined
Aug 25, 2013
Messages
51
The only piece that came out whole was the forward section of the port stringer.This was fortunate since 5hats where it curves up at the bow.
 

2boatsinMI

Seaman
Joined
Aug 25, 2013
Messages
51
So springtime boat building in nortern Michigan is an iffy proposition at best. My glass supplies arrived and winter returned with 2 feet of snow and high temps in the teens. But with lots of propane, halogen lamps and creativity prgress has been made.
 
Top